Raspberry Lemon Bars Delightful and Easy Recipe
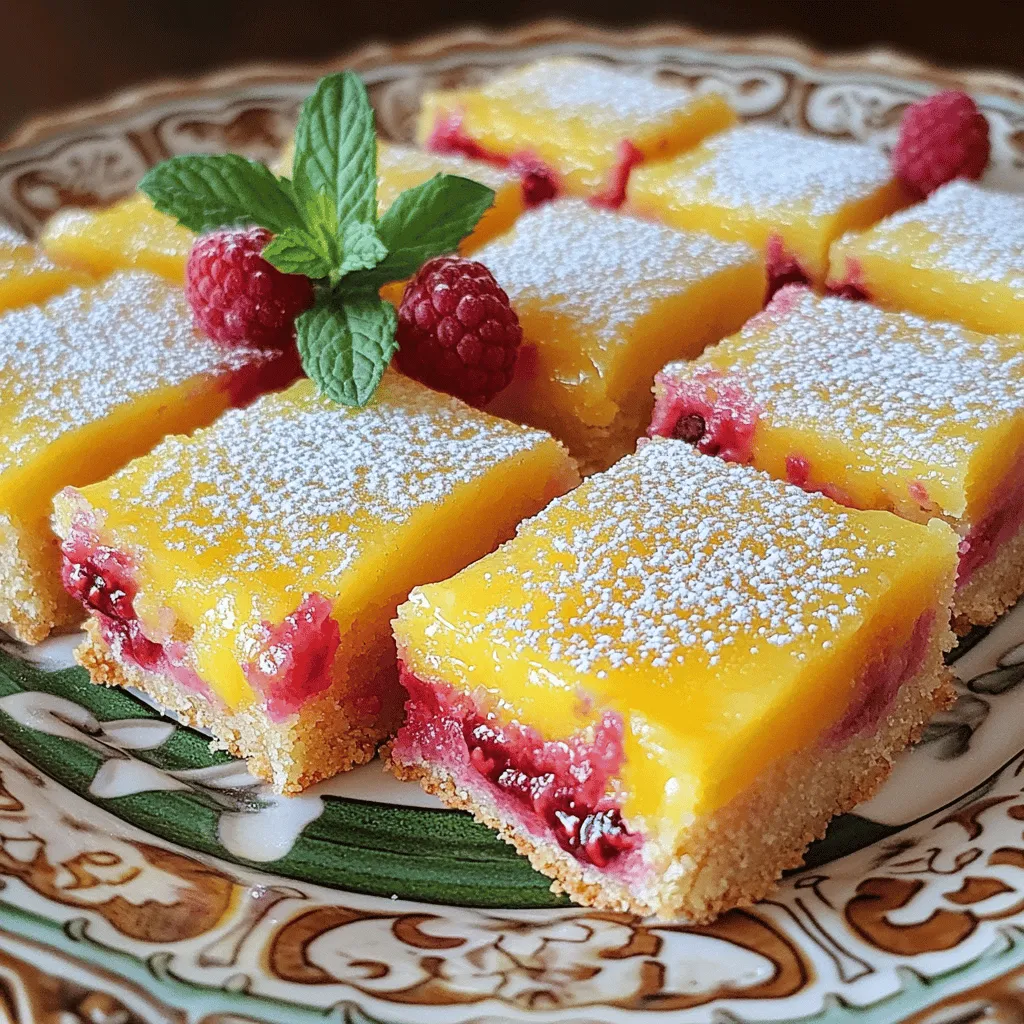
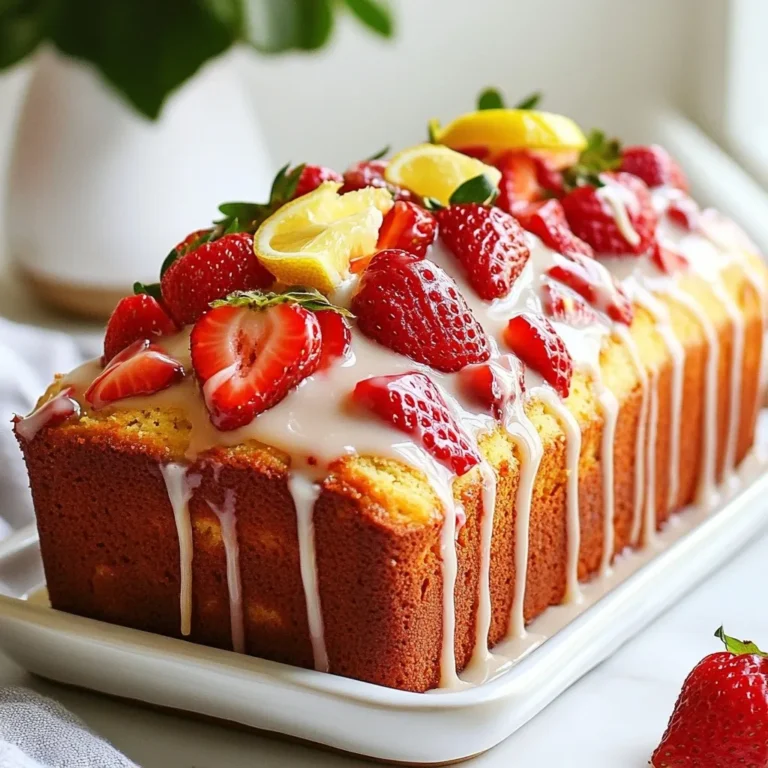
Are you ready to whip up a treat that blends sweet and tangy bliss? My Raspberry Lemon Bars are a delightful dessert perfect for any occasion. This easy recipe brings together fresh raspberries and zesty lemon in a buttery crust. Whether you’re baking for a party or just for yourself, these bars satisfy every sweet tooth. Let’s dive into the delicious details and bake something amazing together!
Ingredients
List of Ingredients
– 1 cup all-purpose flour
– 1/2 cup powdered sugar
– 1/2 cup unsalted butter
– 1/2 cup granulated sugar
– 2 large eggs
– 1/2 cup fresh lemon juice
– Zest of 2 lemons
– 1 cup fresh raspberries
– 1/4 teaspoon salt
– 1 teaspoon baking powder
Ingredient Substitutions
What can I use instead of butter?
You can use coconut oil or vegan butter. Both work well in this recipe.
Can I use something other than fresh raspberries?
Absolutely! You can use frozen raspberries. Just thaw them before adding.
What sweeteners can I use?
You can swap granulated sugar with coconut sugar or honey. They will add a unique flavor.
Step-by-Step Instructions
Preparing the Base
1. Preheat the oven: First, set your oven to 350°F (175°C). This step helps bake the crust evenly.
2. Make the dough mixture: In a bowl, mix the softened butter, granulated sugar, and powdered sugar. Use a hand mixer or whisk to blend until smooth. Gradually add the all-purpose flour and salt. Mix until just combined to form a soft dough.
3. Press the crust: Place the dough into your greased or lined baking dish. Use your fingers or the back of a measuring cup to press it evenly. Bake for about 15 minutes until golden.
Creating the Filling
1. Mix the filling ingredients: In another bowl, whisk together the eggs, granulated sugar, fresh lemon juice, lemon zest, and baking powder. Mix until all ingredients blend well.
2. Importance of egg quality: Use fresh eggs for the best taste. They add richness and help the filling set nicely.
3. Folding in raspberries carefully: Gently fold fresh raspberries into the lemon mixture with a spatula. Be careful not to crush the berries to keep their shape.
Baking and Cooling
1. Combine the filling and crust: After the crust is golden, pour the lemon-raspberry filling over it. Spread it evenly for a consistent bake.
2. Key signs of doneness: Bake for 25-30 minutes. Look for a slight puff and a firm center. It should have a slight jiggle but not be liquid.
3. Cooling and chilling process: Let the bars cool in the pan for about an hour. For best results, refrigerate for at least 2 hours. This helps them set and makes slicing easier.
Tips & Tricks
Baking Tips
– How to avoid overbaking: Keep an eye on the bars as they bake. Set a timer for 25 minutes. The filling should be set but still jiggle a bit. This ensures a soft texture.
– Using an oven thermometer for accuracy: Ovens can be tricky. A thermometer helps you know the true heat. This can save your bars from being too dry or burnt.
– Ensuring the crust is perfect: Press the dough evenly in the pan. This helps the crust bake uniformly. A golden crust is a sign that you did it right!
Serving Suggestions
– Creative plating ideas: Serve your bars on a colorful plate. Cut them into fun shapes for a twist. You can also stack them for a tall, eye-catching display.
– Pairing with beverages: These bars pair well with iced tea or lemonade. Their sweet-tart flavor complements drinks nicely. You can also try them with a light white wine.
– Best accompaniments: Fresh whipped cream or vanilla ice cream goes well with the bars. A scoop of ice cream adds a creamy touch that balances the tartness.
Garnishing Ideas
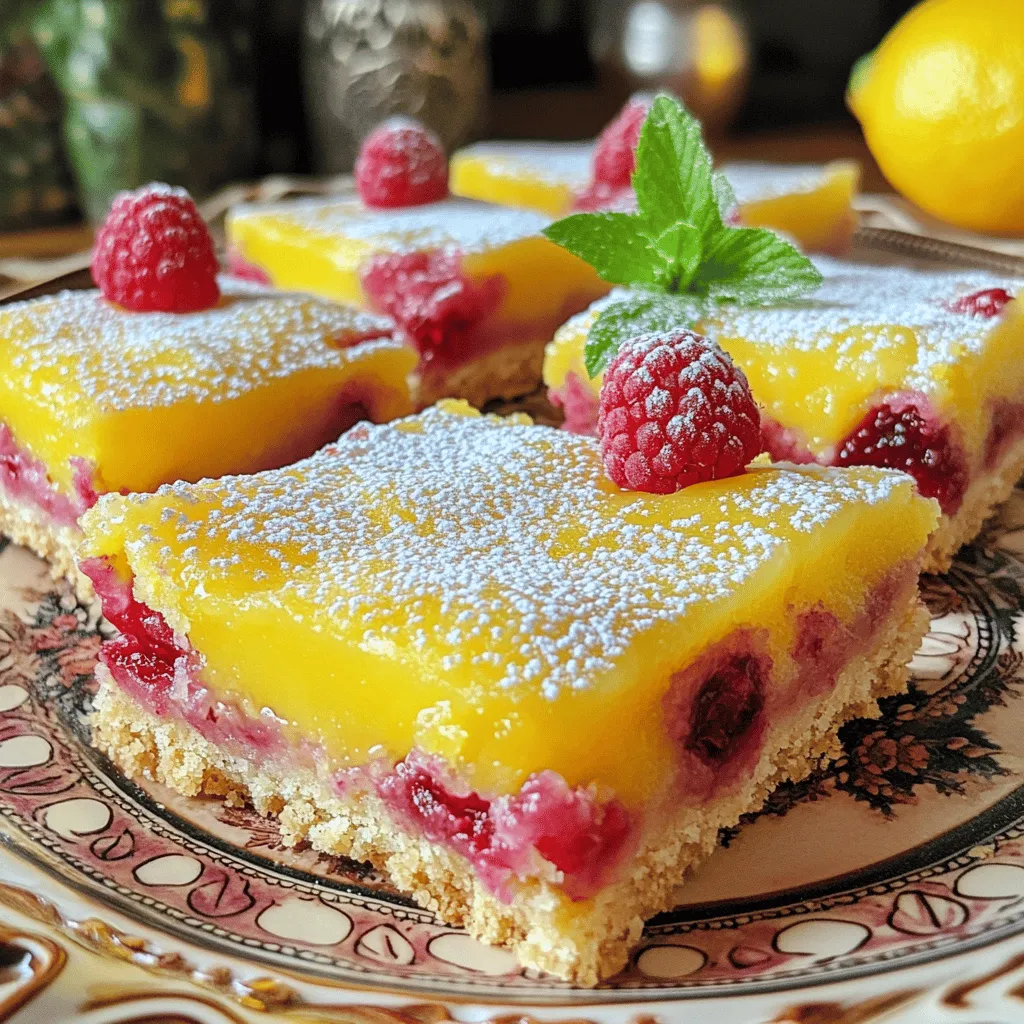
– Using powdered sugar for presentation: A light dusting of powdered sugar makes your bars look fancy. It adds a nice contrast to the bright colors of the raspberries and lemons.
– Adding fresh fruits: Top each bar with a few fresh raspberries. You can also add lemon slices for a pop of color and a burst of flavor.
– Incorporating edible flowers: Edible flowers, like pansies or nasturtiums, add beauty. They make your dessert special for parties or gatherings. Plus, they are safe to eat!
Variations
Flavor Combinations
You can play with flavors to make these bars even more fun.
– Incorporating other fruits with raspberries: Try adding blueberries or strawberries. They mix well and add a new taste.
– Adding herbs for extra zest: Fresh basil or mint can make a surprise twist. Just chop a little and mix it in.
– Swapping lemon juice for lime or orange: Lime adds a fun tang, while orange gives a sweet flavor. Be creative and switch it up!
Gluten-Free Options
If you want gluten-free bars, you can use special flour.
– Using gluten-free flour blends: Look for a blend that works for baking. This keeps the bars soft and tasty.
– Recommended brands for substitutions: Brands like Bob’s Red Mill or King Arthur Flour offer great options. They make it easy to bake without gluten.
Vegan Modifications
You can make these bars vegan with a few simple swaps.
– Egg replacements: chia seeds vs. flaxseeds: Both are good choices. Mix 1 tablespoon of either seed with 2.5 tablespoons of water. Let it sit for a few minutes until it gets thick.
– Dairy-free butter alternatives: Use coconut oil or vegan butter. These keep the bars creamy and rich.
Storage Info
Proper Storage Techniques
To keep your raspberry lemon bars fresh, store them in the fridge. Place them in an airtight container. This helps keep them moist and tasty. If you want to save them for longer, freezing is a great option. Wrap each bar in plastic wrap. Then, place them in a freezer-safe container. This method keeps them safe from freezer burn.
Best Containers for Storage
Use airtight containers for the best results. Glass or plastic containers work well. Make sure they seal tightly to block air. If you plan to freeze, use freezer bags. Remove as much air as possible. This helps prevent freezer burn and keeps flavors intact.
Shelf Life
When stored properly, the bars last about a week in the fridge. If frozen, they can stay good for up to three months. Check for signs of spoilage, like an off smell or mold. If the bars look dry or crumbly, it’s best to toss them.
FAQs
How do I know when the Raspberry Lemon Bars are done?
You can tell when your Raspberry Lemon Bars are done by checking for a slight jiggle in the center. The edges should be puffy and set, while the middle may still move a bit. This jiggle means the filling is perfect.
Look for visual cues too. A light golden color on the edges shows that the bars are ready. The top should look shiny, signaling that it has baked well.
Can I use frozen raspberries in this recipe?
Yes, you can use frozen raspberries! Just make sure to thaw them first. This helps keep the filling smooth.
When using frozen fruit, the texture might change slightly. The bars may be a bit softer, but they will still taste great. The sweet, tangy flavor will shine through.
What can I serve with Raspberry Lemon Bars?
Raspberry Lemon Bars pair well with many side dishes and drinks. Consider serving them with whipped cream or vanilla ice cream. They also go well with a scoop of yogurt for a fresh touch.
For drinks, try iced tea or a light lemonade. These drinks enhance the fruity flavors. These bars are ideal for summer picnics, birthday parties, or family gatherings. Enjoy them anytime you want a sweet treat!
In summary, we’ve covered everything you need for perfect Raspberry Lemon Bars. From the key ingredients to step-by-step baking instructions, you now have the tools to create this delicious treat. Remember to explore variations and storage tips to make it your own. Whether you choose fresh or frozen raspberries, your bars will surely impress. Enjoy baking and sharing these sweet-tart delights!