Skip to content
About
Contact
Cookie Policy
Copyright Policy
Disclaimer
Search
Home
Dinner
Appetizer
Desserts
Drinks
About
Contact
Privacy Policy
Toggle Menu
Home
/
Appetizer
Appetizer
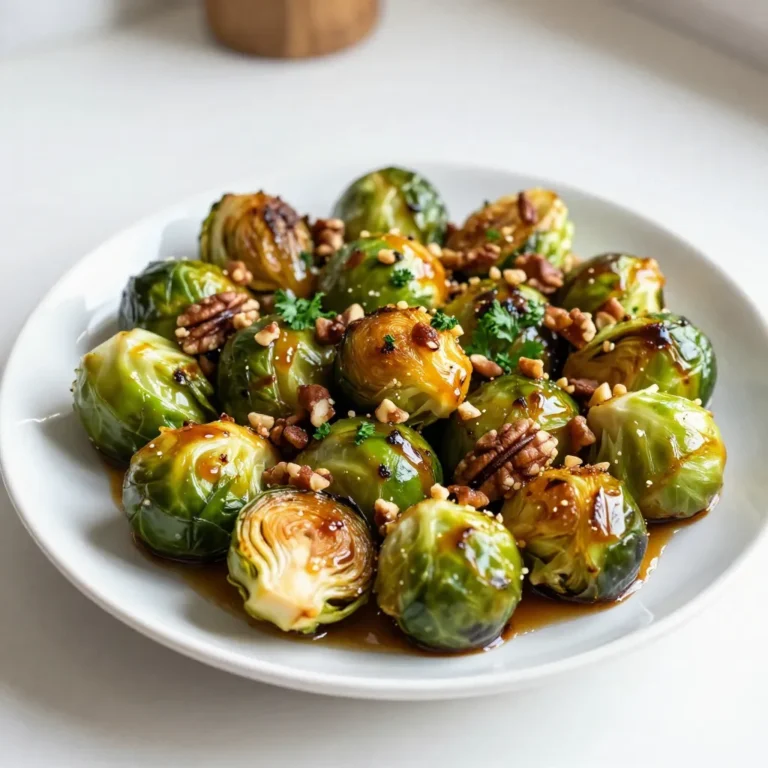
Balsamic Honey Roasted Brussels Sprouts Flavor Boost
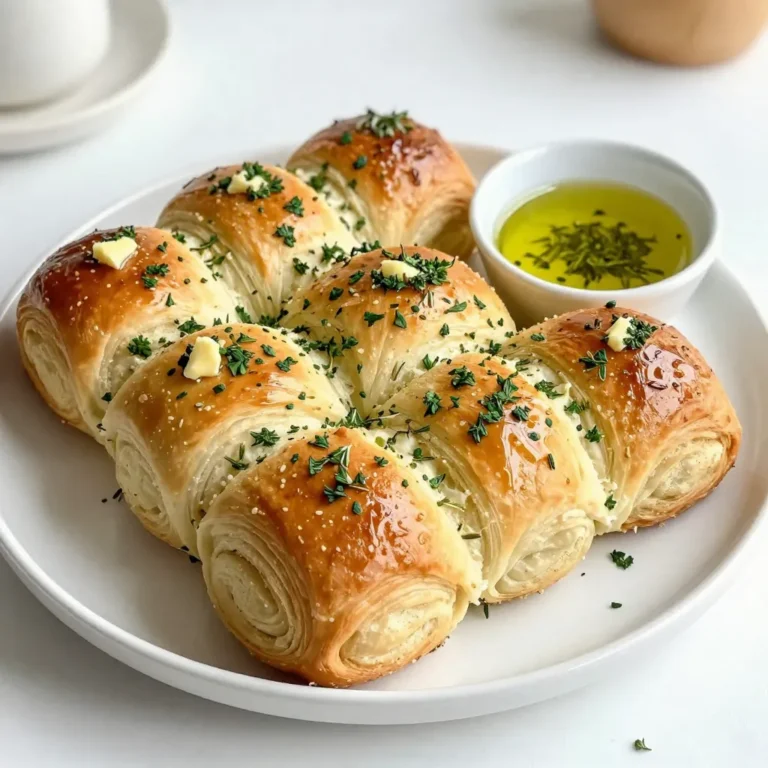
Herb Garlic Pull-Apart Rolls Soft and Flavorful Treat
Creamy Avocado Ranch Dip Flavorful Snack Recipe
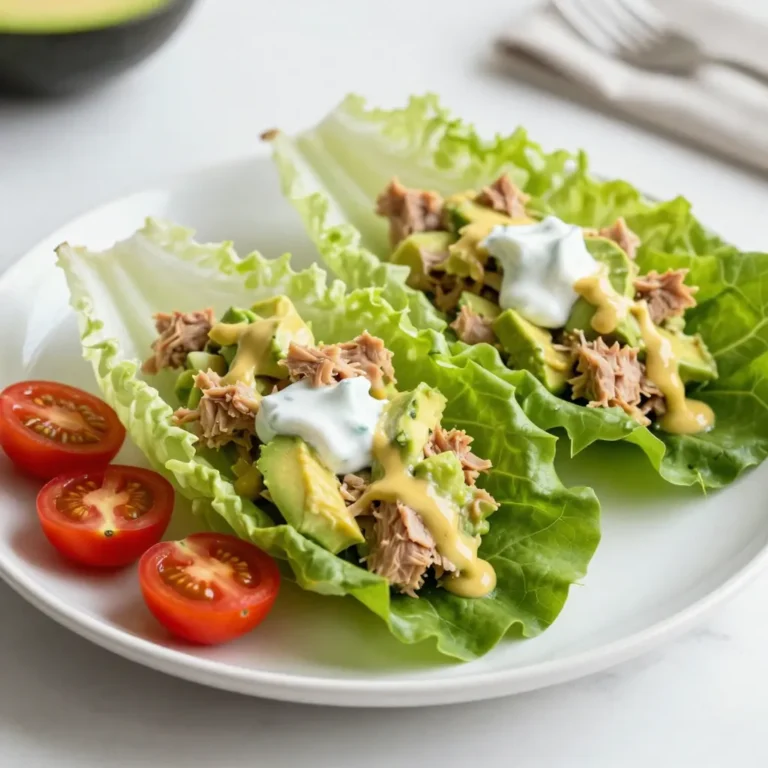
Avocado Tuna Salad Lettuce Wraps Healthy and Fresh
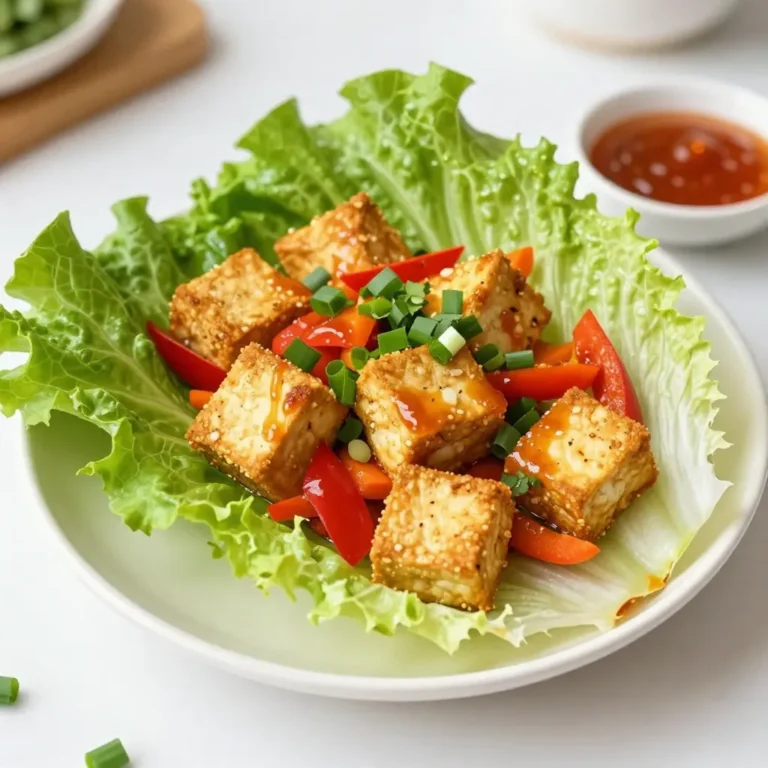
Sweet Chili Tofu Lettuce Wraps Flavorful and Fresh Meal
Greek Spanakopita Triangles Savory and Crispy Snack
Garlic Butter Parmesan Corn on the Cob Delight
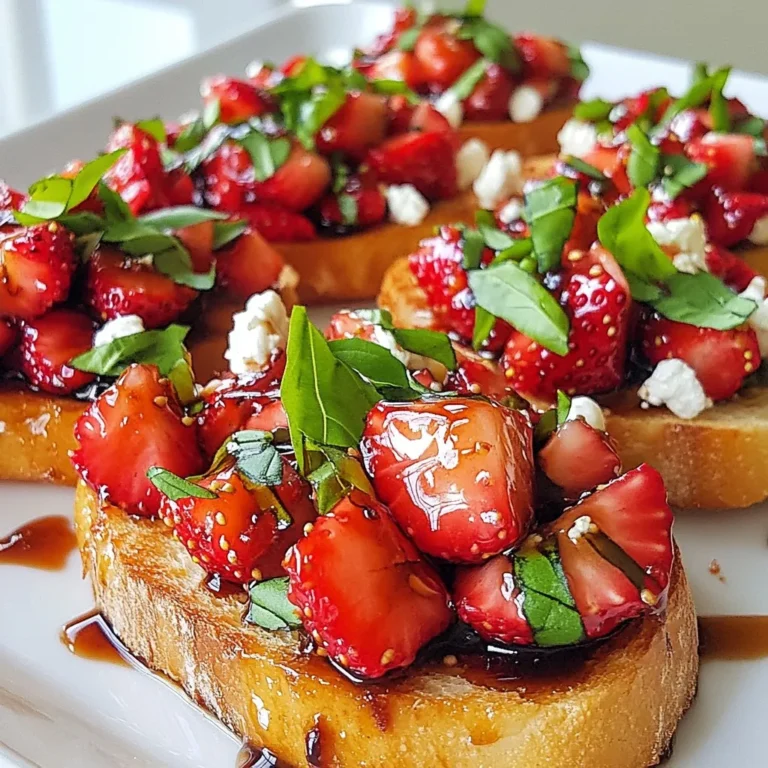
Balsamic Strawberry Bruschetta Flavorful Delight Recipe
Cheesy Baked Spinach Dip Irresistible Party Delight
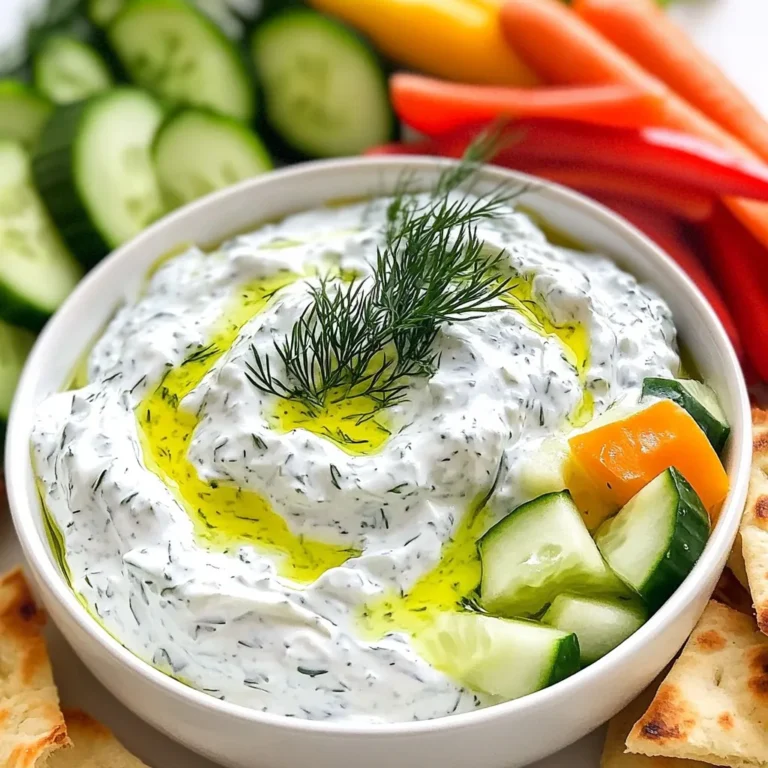
Creamy Greek Tzatziki Dip Simple and Flavorful Recipe
Page navigation
1
2
3
…
23
Next Page
Next
Home
Dinner
Appetizer
Desserts
Drinks
About
Contact
Privacy Policy
Toggle Menu Close
Search for:
Search