Skip to content
About
Contact
Cookie Policy
Copyright Policy
Disclaimer
Search
Home
Dinner
Appetizer
Desserts
Drinks
About
Contact
Privacy Policy
Toggle Menu
Home
/
Appetizer
- Page 12
Appetizer
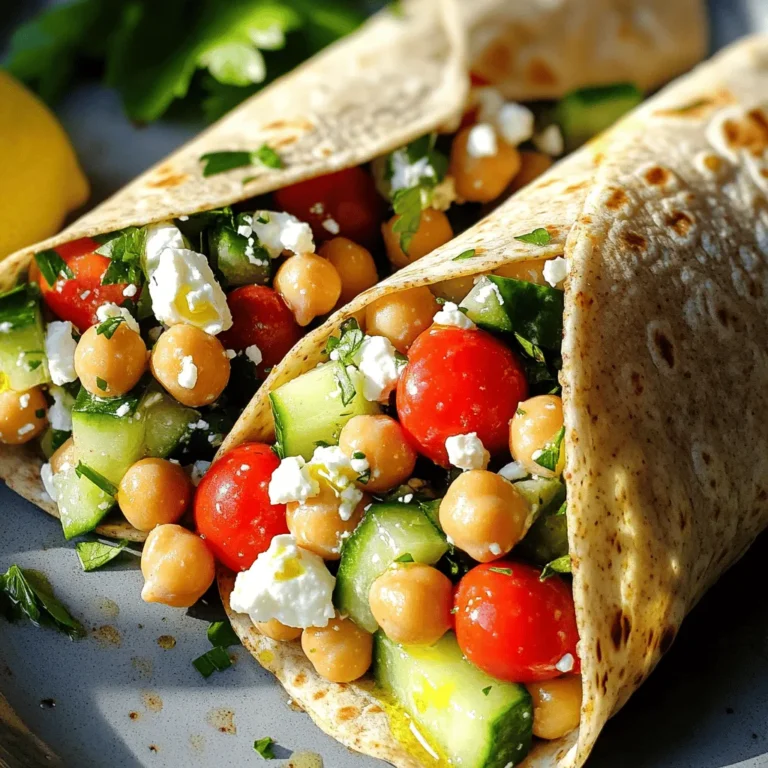
Greek Chickpea Salad Wraps Fresh and Tasty Meal
Air Fryer Parmesan Chicken Tenders Crispy and Juicy
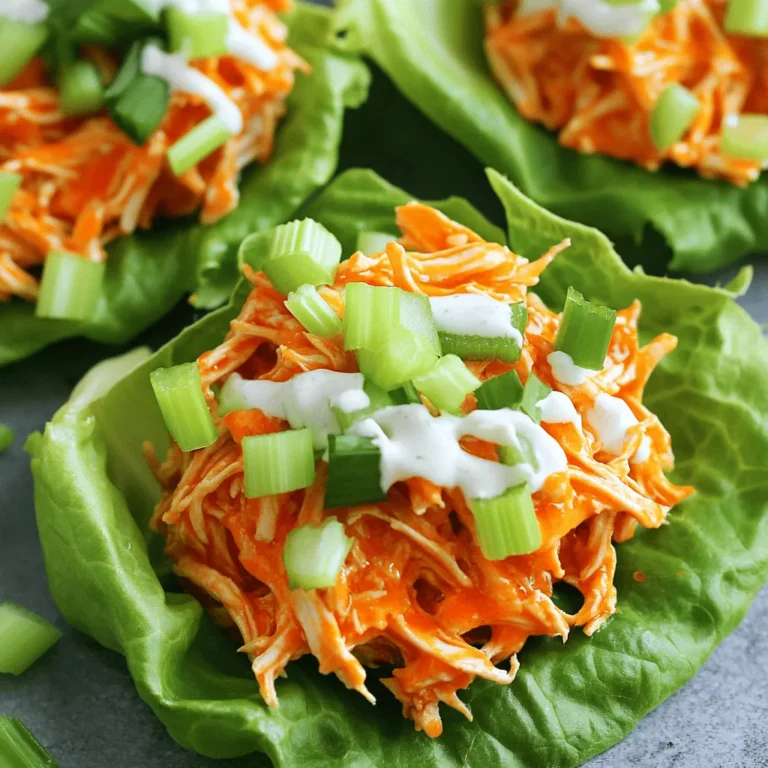
Savory Buffalo Chicken Lettuce Wraps Healthy Delight
Garlic Herb Roasted Mushrooms Flavorful and Simple Dish
Crispy Chicken Tenders Flavorful and Easy Recipe
Cheesy Spinach Stuffed Mushrooms Savory and Simple Recipe
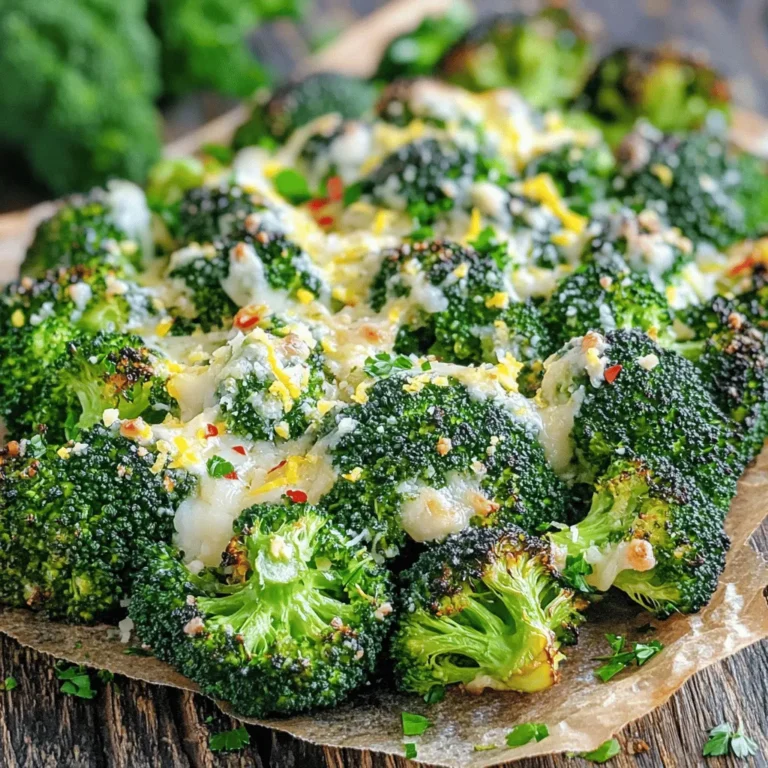
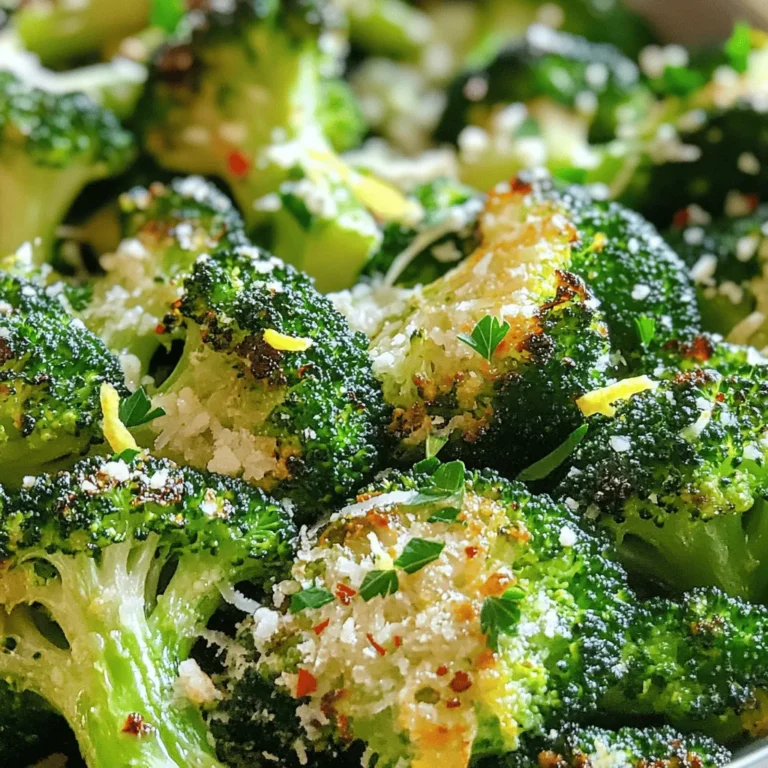
Lemon Garlic Roasted Broccoli Flavorful and Easy Recipe
Loaded Veggie Nachos Flavorful and Fun to Make
Savory Spinach Artichoke Dip Easy and Delicious Recipe
Garlic Parmesan Roasted Broccoli Simple and Tasty Dish
Page navigation
Previous Page
Previous
1
…
10
11
12
13
14
…
23
Next Page
Next
Home
Dinner
Appetizer
Desserts
Drinks
About
Contact
Privacy Policy
Toggle Menu Close
Search for:
Search


![- 1 lb (450g) small cremini or button mushrooms - 4 tablespoons extra virgin olive oil - 4 cloves garlic, finely minced - 1 teaspoon fresh thyme leaves, finely chopped - 1 teaspoon fresh rosemary, finely chopped - 1 teaspoon fresh parsley, finely chopped - Salt and freshly cracked black pepper, to taste - Zest of 1 medium lemon To clean mushrooms effectively, use a damp cloth or a soft brush. This method helps remove dirt without soaking them in water. Mushrooms are like sponges; they soak up water and can become soggy. When selecting herbs, look for fresh, vibrant leaves. They should smell strong and pleasant. Avoid wilted or yellowing leaves, as they won’t add much flavor. For the best taste, use herbs right after cutting them. With these ingredients and tips, you’ll have the perfect base for garlic herb roasted mushrooms. Follow the [Full Recipe] for a delightful cooking experience! Preheating the oven is key for even cooking. Set your oven to 400°F (200°C) before you start. This helps the mushrooms cook right from the start. Lining your baking sheet with parchment paper makes cleanup easy. It also keeps the mushrooms from sticking. In a big bowl, add the cleaned mushrooms. Pour in the olive oil next. Then, add the minced garlic, thyme, rosemary, parsley, lemon zest, salt, and pepper. Toss gently to coat the mushrooms evenly. This step is vital for great flavor. The oil helps the herbs stick and adds richness. Spread the mushrooms in a single layer on the baking sheet. Avoid crowding them. This allows for even roasting. Roast them in the oven for 20 to 25 minutes. Halfway through, stir the mushrooms gently. They are ready when they feel tender and look golden brown. You can find the full recipe [here](#Full Recipe). To roast mushrooms well, spread them out on the baking sheet. Overcrowding makes them steam instead of roast. This means they won’t get that nice brown color. Keep them in a single layer. If you have a lot, use two sheets. Stir the mushrooms halfway through cooking. This helps them cook evenly. Use a spatula to turn them gently. This way, all sides get that tasty brown crust. For a great look, serve the mushrooms warm. A sprinkle of fresh parsley adds color. A light squeeze of lemon juice brightens the dish. You can arrange them on a fancy platter for sharing. For a personal touch, use small ramekins. Pair garlic herb roasted mushrooms with grilled meats or pasta. They also work well with risotto or as a side for steak. The flavors blend nicely and make your meal more special. Want to boost the taste? Try adding a pinch of smoked paprika or red pepper flakes. These spices add a nice kick. You can also mix in some grated Parmesan cheese for richness. Experiment with different mushrooms. Shiitake or portobello can change the flavor profile. Each type brings its own unique taste. Use this recipe as a base and have fun with it. For the full recipe, check out the details above. {{image_4}} You can easily adapt this dish to fit your dietary needs. For a vegetarian option, use vegetable broth instead of chicken broth. If you follow a vegan diet, simply ensure all ingredients are plant-based. You can swap out the butter for olive oil for cooking. Add nutritional yeast for a cheesy flavor without dairy. To spice things up, try adding red pepper flakes to the garlic herb mix. This will give your mushrooms a nice kick. If you love cheese, sprinkle some grated Parmesan on top before serving. The cheese adds richness and depth to the dish. You can also try different herbs like oregano or basil for a unique taste. For a seasonal twist, add some sliced seasonal vegetables like bell peppers or zucchini. This enhances the dish and adds color. During holidays, serve the mushrooms on a festive platter with fresh herbs or citrus slices as garnish. They look great and taste even better at gatherings. Check out the Full Recipe for more ways to enjoy garlic herb roasted mushrooms! To store your leftover garlic herb roasted mushrooms, first let them cool completely. Place them in an airtight container. This helps keep them fresh. You can store them in the fridge for up to three days. Make sure to label the container with the date. This way, you know when you made them. If you want to keep them longer, consider freezing them. They can last about three months in the freezer. Just remember to thaw them in the fridge before reheating. When you’re ready to enjoy your mushrooms again, reheating is key. The best way is to use the oven. Preheat it to 350°F (175°C). Spread the mushrooms on a baking sheet. Heat them for about 10-15 minutes. This keeps them crispy and flavorful. You can also use the microwave, but be cautious. If you do, heat them in short bursts, about 30 seconds at a time. Stir in between to ensure they heat evenly. Always check that they are hot all the way through before serving. Enjoy your delicious dish again! For the full recipe, check the earlier section. You can enhance the flavor of garlic and mushrooms by using fresh herbs. Common combinations include: - Thyme - Rosemary - Parsley These herbs work well together. They add depth and freshness to the dish. Thyme brings an earthy note, while rosemary adds a pine-like flavor. Parsley brightens everything up. Mix and match to find your favorite blend. Yes, you can use frozen mushrooms. However, they may change in texture. Frozen mushrooms release more moisture during cooking. This can lead to a softer result. Fresh mushrooms, on the other hand, hold their shape and have a firmer bite. For the best flavor and texture, I recommend using fresh mushrooms whenever possible. You can prepare the mushrooms in advance. Simply clean and season them. Store them in an airtight container in the fridge. When you're ready to cook, just spread them on a baking sheet and roast. You can also roast them ahead of time. Reheat them in the oven at a low temperature for a few minutes. Garlic herb roasted mushrooms pair well with many sides. Here are some ideas: - Grilled chicken or fish - Creamy mashed potatoes - Quinoa salad - Steamed green beans These sides create a tasty and balanced meal. Feel free to mix and match based on your preferences. For the full recipe, check out the detailed instructions above. In this post, we discussed the key ingredients for flavorful garlic herb roasted mushrooms. You learned the best practices for prepping these ingredients, how to roast them perfectly, and tips for serving. I also shared variations to suit different diets and occasions, ensuring something for everyone. Embrace these techniques to elevate your meals. Simple steps lead to tasty results. Enjoy your cooking journey, and don’t hesitate to experiment with flavors!](https://blissfulmeal.com/wp-content/uploads/2025/06/54acd482-a30e-476f-8fd7-724d7c0415b8-768x768.webp)

![- 12 large portobello or cremini mushrooms - 1 cup fresh spinach - 1 cup creamy ricotta cheese - 1 cup shredded mozzarella cheese (divided) - 1/2 cup grated Parmesan cheese - 2 cloves garlic - 1/4 teaspoon crushed red pepper flakes - Salt and freshly ground black pepper - 2 tablespoons extra virgin olive oil - Fresh parsley for garnish To make cheesy spinach stuffed mushrooms, you need fresh and simple ingredients. Start with mushrooms that are large and firm. Portobello or cremini mushrooms work best. The filling calls for creamy ricotta and plenty of mozzarella. This combination makes the dish rich and cheesy. Spinach adds a great color and flavor. Use fresh spinach for the best taste. Garlic gives the filling a nice kick. You can add crushed red pepper flakes for some heat, but it’s optional. Don’t forget to season with salt and pepper. Olive oil adds richness and helps sauté the garlic. Fresh parsley is perfect for garnish. It brightens up the dish and adds a pop of color. For the full recipe, you can check the detailed steps. Enjoy cooking! - Preheat the oven to 375°F (190°C). - Clean the mushrooms with a damp cloth and place them hollow side up on a lined baking sheet. - In a skillet over medium heat, add 2 tablespoons of olive oil. - Once hot, add the minced garlic and sauté for 1 minute. - Then, add 1 cup of chopped spinach and stir for about 2 minutes. - Remove the skillet from heat and let the spinach cool slightly. - In a mixing bowl, combine 1 cup of ricotta cheese, half of the shredded mozzarella, and 1/2 cup of grated Parmesan. - Add the sautéed spinach, crushed red pepper, and a pinch of salt and pepper. - Mix well until you get a creamy filling. - Use a spoon to fill each mushroom cap with this cheese mixture. - Top each filled mushroom with the remaining shredded mozzarella. - Bake the mushrooms for 20-25 minutes until the cheese melts and the mushrooms are tender. This recipe is perfect for a fun appetizer or snack! For the complete recipe, check out the [Full Recipe]. Use fresh ingredients for the best taste. Fresh spinach and cheeses enhance the dish. Adjust seasoning based on your taste. Add more salt or pepper if needed. A pinch of crushed red pepper adds a nice kick. Avoid overcooking the mushrooms. They should be tender but still hold their shape. Let the filling cool slightly before stuffing. This helps it stay firm inside the mushroom. You want a creamy filling that doesn't spill out. Serve with lemon wedges and parsley for a bright look. The lemon adds zest and freshness. Use decorative plating to make it visually appealing. A colorful plate makes the dish stand out. You can impress your guests with just a few simple touches. {{image_4}} You can switch ricotta with cream cheese or cottage cheese for a different taste. Both options work well and keep the filling creamy. If you want to play with flavors, try goat cheese or feta instead of mozzarella. These cheeses add a tangy twist that many people enjoy. Want to spice things up? Incorporate sun-dried tomatoes or artichokes into your filling. These ingredients bring extra depth and a bit of sweetness. You can also add fresh herbs like basil or thyme. They boost the flavor and add a nice aroma to your dish. If you need a vegan option, swap out regular cheese for cashew cheese. Nutritional yeast can give it a cheesy flavor without dairy. For those who need gluten-free options, choose gluten-free bread for any variations. This way, everyone can enjoy cheesy spinach stuffed mushrooms. For the full recipe, check the section above. After enjoying your cheesy spinach stuffed mushrooms, store any leftovers in an airtight container. Make sure to place them in the fridge. They will stay fresh for up to three days. If you want to keep them longer, consider freezing them. To reheat the mushrooms, the oven works best. Preheat your oven to 350°F (175°C). Place the stuffed mushrooms on a baking sheet. Heat them for about 10 to 15 minutes. This method keeps the mushrooms tender and the cheese nice and gooey. If you’re short on time, you can use a microwave. Heat them in 30-second intervals until warm, but this may change the texture. Always check that the mushrooms are heated through before serving. Yes, you can prepare cheesy spinach stuffed mushrooms ahead of time. Stuff the mushrooms and place them in the fridge for up to 24 hours. Just bake them before serving. This saves time and keeps things easy for you. These stuffed mushrooms pair well with many dishes. You can serve them with a fresh salad, garlic bread, or even pasta. They make a great appetizer or side dish at any meal. Leftovers of cheesy spinach stuffed mushrooms last about 3-4 days in the fridge. Store them in an airtight container. Make sure to enjoy them within that time for the best taste and quality. Yes, you can freeze cheesy spinach stuffed mushrooms! First, prepare and stuff them. Then, place them on a baking sheet and freeze until solid. After that, transfer them to a freezer-safe bag. They can last up to 3 months in the freezer. The best mushrooms for stuffing are portobello and cremini. They have a sturdy shape and hold the filling well. Their rich flavor also enhances the dish. You can use other mushrooms, but these two are top choices. Cheesy spinach stuffed mushrooms are a delicious and easy dish to make. We covered key ingredients like fresh spinach, different cheeses, and seasonings. I shared step-by-step cooking instructions for perfect results. You learned tips to enhance flavor, texture, and presentation. We discussed variations for different dietary needs and how to store and reheat leftovers. With these insights, you can make tasty stuffed mushrooms that impress. Experiment with flavors, be creative, and enjoy the process!](https://blissfulmeal.com/wp-content/uploads/2025/06/98528154-af4f-4a69-a343-874aae800050-768x768.webp)

![- 1 cup frozen spinach, thawed and thoroughly drained - 1 cup canned artichoke hearts, rinsed and chopped - 1 cup cream cheese, softened - 1/2 cup sour cream - 1/2 cup mayonnaise - 1 cup shredded mozzarella cheese - 1/2 cup grated Parmesan cheese - 2 cloves garlic, minced - 1 teaspoon onion powder - 1 teaspoon fresh lemon juice - Salt and pepper, to taste When I make spinach artichoke dip, I love how simple the ingredients are. You can find most of them in your pantry or fridge. The frozen spinach is easy to use, and it gives that fresh taste once thawed and drained. Artichoke hearts add a nice texture and flavor. Cream cheese, sour cream, and mayonnaise create the rich base. The mozzarella and Parmesan cheese make it ooey-gooey and tasty. Garlic adds a punch of flavor, while onion powder and lemon juice brighten it up. Salt and pepper help balance everything out. - Calories per serving: Approximately 250 calories - Total fat: 20g - Carbohydrates: 6g - Protein: 8g - Dietary considerations: This dip can be gluten-free and low-carb. Use gluten-free crackers for dipping. Knowing the nutritional info helps you enjoy this dip guilt-free. Each serving is filling and satisfying. You can enjoy it with veggies or whole-grain chips to make it healthier. Check out the full recipe for details on how to make this dip shine at your next gathering! First, set your oven to 350°F (175°C). This temperature is key for baking the dip evenly. A hot oven helps the cheeses melt well and gives a nice golden top. In a large bowl, mix together the softened cream cheese, sour cream, and mayonnaise. You can use a hand mixer or a sturdy spatula. Blend until smooth and free of lumps. This creamy base makes the dip rich and tasty. Add the chopped artichoke hearts, drained spinach, minced garlic, onion powder, and lemon juice to the creamy base. Mix well to ensure everything is evenly combined. Proper mixing is important for great flavor in every bite. Now, carefully transfer the dip mixture into a baking dish. Spread it out evenly. This ensures it bakes well. Place the dish in your preheated oven and bake for 25-30 minutes. Look for bubbling and a light golden brown top as signs that it's done. Enjoy making this creamy spinach artichoke dip with the [Full Recipe] for reference! To get the best texture for your spinach artichoke dip, start with room-temperature cream cheese. This helps it blend easily with other ingredients. Mix the cream cheese with sour cream and mayonnaise until smooth. You want a creamy base without lumps. If your dip feels too thick, add a bit more sour cream or mayonnaise until you reach the desired creaminess. This will make every bite rich and velvety. Adding a few extra spices can elevate your dip. Consider mixing in some crushed red pepper for heat or a dash of smoked paprika for depth. Fresh herbs like parsley or dill can also brighten the flavor. When you add new spices, start with small amounts. Taste as you go to find the perfect balance. Remember, every spice adds a new layer of taste that can surprise your guests. When serving your dip, think about what to pair with it. Crispy tortilla chips are a classic choice. You can also serve it with toasted baguette slices for a crunchy bite. Fresh veggies like carrots, celery, or bell peppers add a crisp texture that contrasts nicely with the creamy dip. For a beautiful presentation, sprinkle extra grated Parmesan cheese on top. Add a few fresh spinach leaves and a drizzle of olive oil. This makes your dish look as good as it tastes. Enjoy your savory spinach artichoke dip! {{image_4}} You can change the cheese in your dip to suit your taste. Goat cheese gives a tangy twist. Cheddar adds a rich flavor. Cream-based cheeses can make it even creamier. Mix and match for your perfect blend. For those who like heat, adding jalapeños is a great idea. You can also use hot sauce to spice things up. This adds a fun kick. Adjust the amount to fit your heat level. A little goes a long way! If you want a lighter dip, use low-fat dairy. Greek yogurt is a great substitute for sour cream. You can also add more veggies like bell peppers or mushrooms. This boosts nutrition and keeps it tasty. These changes make the dip healthier without losing flavor. For the full recipe, check out the detailed steps above. Enjoy your kitchen adventure! To store leftovers, let the dip cool to room temperature. Place it in an airtight container. Make sure it seals well to avoid drying out. Store it in the fridge. Your dip will last about 3 to 5 days this way. Before serving, check for any off smells or signs of spoilage. You can freeze spinach artichoke dip for later use. To do this, let the dip cool completely. Then, transfer it to a freezer-safe container. Leave some space at the top, as the dip may expand when frozen. Seal it tightly and label it with the date. The dip can last up to 3 months in the freezer. When you're ready to use it, take the dip out and place it in the fridge overnight to thaw. For quicker thawing, you can use the microwave. Just be sure to stir it every few minutes for even thawing. To keep the dip's texture and taste, reheat it gently. The best method is to use the oven. Preheat it to 350°F (175°C). Place the dip in an oven-safe dish and cover it with foil. Heat for about 15 to 20 minutes. Stir halfway through to ensure even warming. You can also use a microwave. Place the dip in a microwave-safe bowl and heat in short bursts. Stir every 30 seconds until it's warm. This method works well, but the oven keeps the dip creamy. Enjoy your delicious spinach artichoke dip! Yes, you can make this dip ahead of time. To prepare, follow the recipe and mix all the ingredients. Place the dip in a baking dish and cover it. You can store it in the fridge for one to two days. When ready to serve, just bake it in the oven. This method saves you time and keeps the flavors fresh. You have many tasty options to serve with this dip. Here are some favorites: - Crispy tortilla chips - Toasted baguette slices - Fresh vegetable sticks like carrots and celery - Pita bread or crackers These options add crunch and flavor. You can also offer a variety of dips for guests to choose from. Yes, this dip can be gluten-free. Most ingredients are naturally gluten-free. When shopping for artichoke hearts and other canned items, check the labels. Some brands may add gluten to their products. Always choose brands that are labeled gluten-free for safety. If stored properly, this dip lasts about three to five days in the fridge. Keep it in an airtight container. If you freeze it, it can last up to three months. When you want to eat it, thaw it in the fridge overnight. Reheat in the oven until warm and bubbly. Enjoy this creamy treat anytime! This blog post showed you how to make Spinach Artichoke Dip. We covered ingredients, nutritional facts, and simple steps to prepare this dish. Remember to mix well and adjust flavors to your taste. Also, storage tips help keep leftovers fresh. Variations let you customize this dip with different cheeses or add some spice. With easy instructions and helpful FAQs, you can enjoy this creamy dip any time. Try it out for your next gathering. You'll impress your guests with a dish that's both delicious and inviting.](https://blissfulmeal.com/wp-content/uploads/2025/06/0b06ef1f-c3f5-4742-be40-a2b73db10e41-768x768.webp)