Skip to content
About
Contact
Cookie Policy
Copyright Policy
Disclaimer
Search
Home
Dinner
Appetizer
Desserts
Drinks
About
Contact
Privacy Policy
Toggle Menu
Home
/
Appetizer
- Page 19
Appetizer
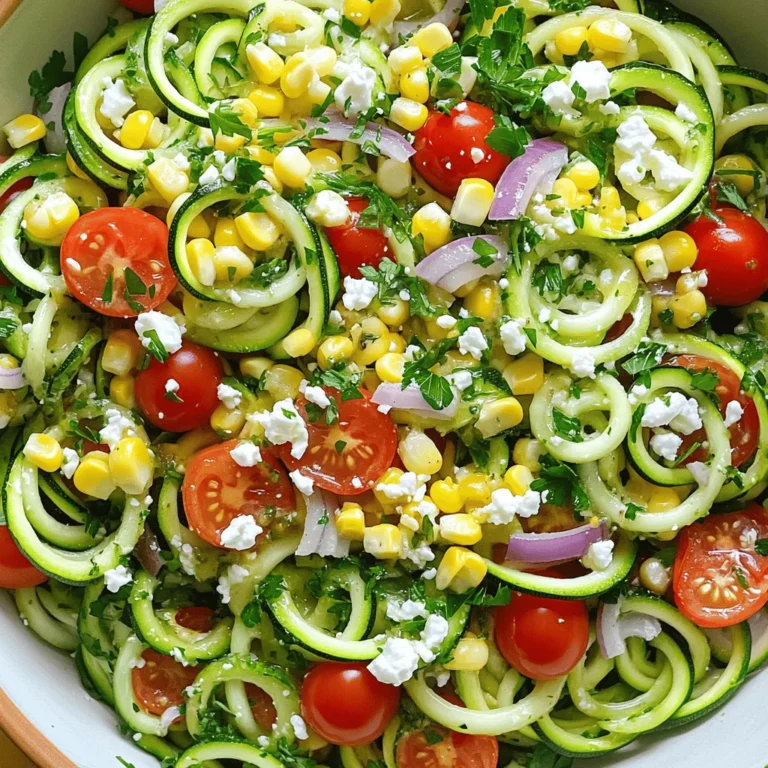
Zucchini Noodle Salad Fresh and Flavorful Recipe
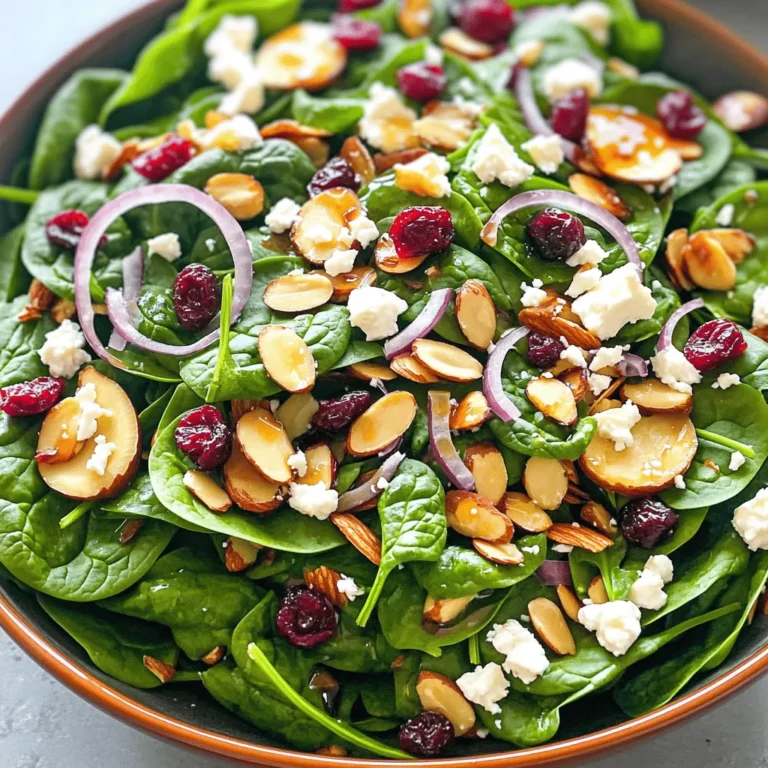
Spinach and Almond Salad Fresh and Healthy Delight
Caramelized Onion and Goat Cheese Tart Delight
Sweet and Spicy Meatballs Tasty and Simple Recipe
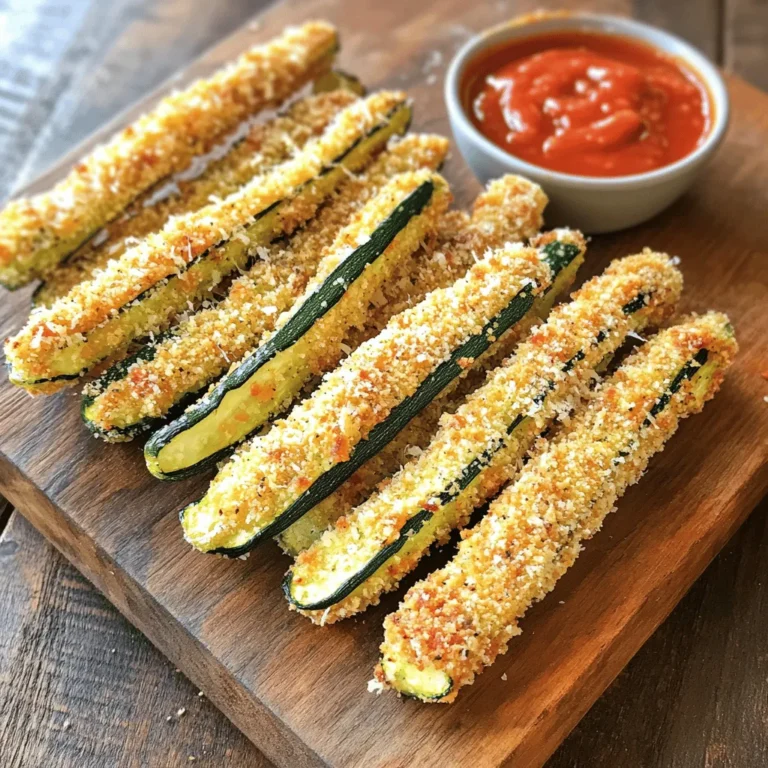
Baked Zucchini Fries Crispy and Flavorful Snack
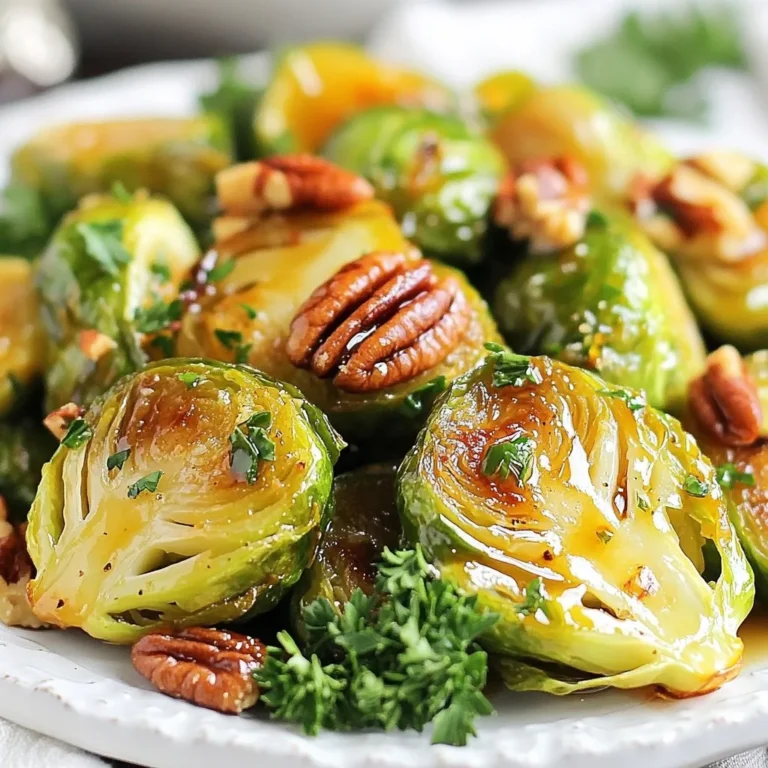
Maple Dijon Roasted Brussels Sprouts Sweet and Savory Delight
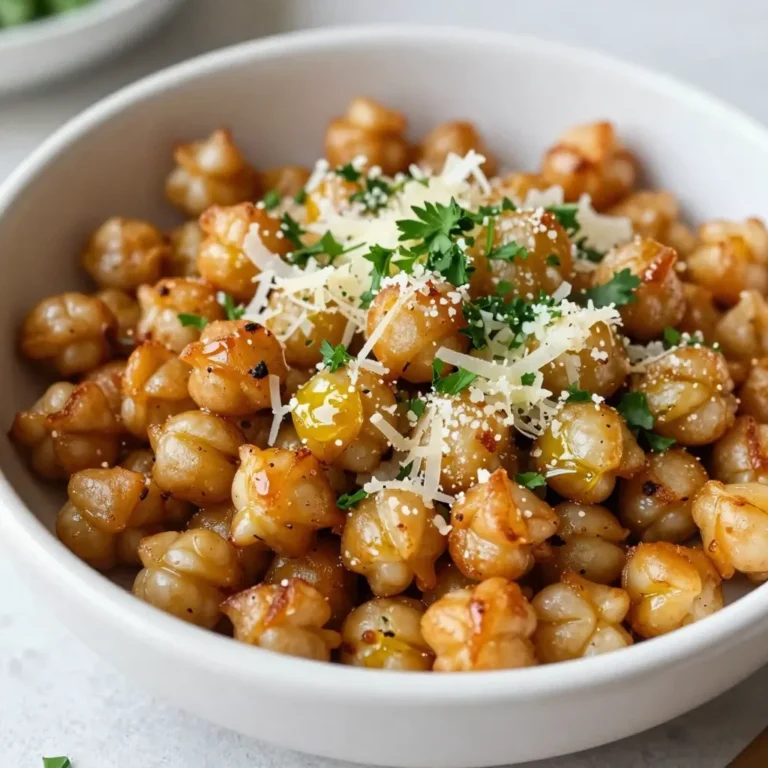
Garlic Parmesan Roasted Chickpeas Crunchy Snack Delight
Air Fryer Zucchini Fries Crispy and Flavorful Snack
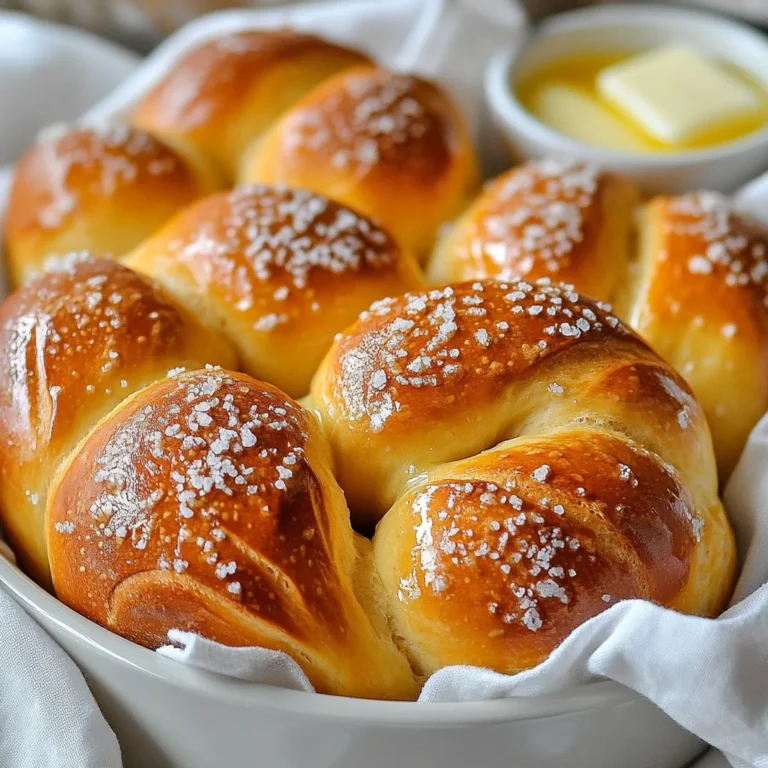
Buttery Soft Pretzel Rolls Irresistible Homemade Treat
Honey Sriracha Chicken Wings Flavorful and Easy Recipe
Page navigation
Previous Page
Previous
1
…
17
18
19
20
21
…
23
Next Page
Next
Home
Dinner
Appetizer
Desserts
Drinks
About
Contact
Privacy Policy
Toggle Menu Close
Search for:
Search

![To make the Caramelized Onion and Goat Cheese Tart, gather these key items: - 1 sheet of puff pastry, thawed - 3 medium onions, thinly sliced - 2 tablespoons olive oil - 2 tablespoons balsamic vinegar - 1 teaspoon brown sugar - 4 ounces goat cheese, crumbled - 1 teaspoon fresh thyme leaves - Salt and freshly ground black pepper to taste - 1 egg, beaten (for egg wash) These ingredients bring the dish to life. The sweetness of the caramelized onions pairs perfectly with the tangy goat cheese. You can enhance your tart with these toppings: - A handful of fresh arugula or mixed greens (for serving, optional) Adding greens gives a fresh touch. It balances the richness of the tart. For this recipe, I suggest having these tools ready: - Tart pan - Large skillet - Rolling pin - Pastry brush - Knife and cutting board These tools help you work efficiently. They ensure a smooth cooking process and beautiful presentation. You can find the full recipe in the above section. Enjoy cooking this delightful dish! Start by preheating your oven to 400°F (200°C). On a clean surface, lightly flour it and roll out the thawed puff pastry. Aim for a shape that fits your tart pan. Use a fork to prick the base gently. This helps prevent bubbling during baking. Once pricked, place the pastry in the fridge to keep it chilled while you prepare the filling. In a large skillet, pour in the olive oil and set the heat to medium. Add the thinly sliced onions. Stir them often to avoid burning. This step is key for that sweet caramelized flavor. Cook for about 15-20 minutes until the onions soften and turn a golden brown. When the onions look great, add the balsamic vinegar and brown sugar. Turn up the heat a bit and cook for another 5 minutes. The mixture will thicken and the vinegar will be absorbed. Don’t forget to season it with salt and freshly ground black pepper. This enhances the flavor. When done, take the skillet off the heat. Retrieve the puff pastry from the fridge. Place it in the preheated oven and bake for about 10 minutes. The edges should puff up, but the center should remain soft. After 10 minutes, take the tart shell out of the oven. Spread the caramelized onion mixture over the pastry evenly. Then, sprinkle the crumbled goat cheese on top. Add the fresh thyme leaves for a burst of flavor. To get a golden crust, brush the outer edges of the pastry with the beaten egg using a pastry brush. Now, put the assembled tart back in the oven and bake for another 15-20 minutes. Watch it closely as the pastry puffs and turns golden brown. Once it reaches perfection, let the tart cool slightly before slicing. It tastes great warm or at room temperature. If you want, garnish each slice with fresh arugula or mixed greens. Enjoy this delightful dish! For the full recipe, refer to the earlier section. To get those sweet, golden onions, slice them thinly. Heat your skillet over medium heat and add olive oil. Toss in the onions and stir often. This helps them cook evenly. Be patient; it takes about 15-20 minutes. If they stick, add a splash of water. When they are soft and brown, add balsamic vinegar and brown sugar. Cook for another 5 minutes to deepen the flavor. Using cold puff pastry is key. When you roll it out, keep it chilled. Pricking the base with a fork helps prevent bubbles. Bake the pastry until the edges puff up but the center is still soft. This ensures a flaky crust when you add your filling. Remember, don’t overbake it at this stage; you want it to rise beautifully. This tart shines when served warm. Slice it and add fresh arugula or mixed greens on top. The greens give a nice crunch and balance the rich flavors. Pair it with a light salad or a glass of white wine. If you want to impress your guests, drizzle a bit more balsamic reduction over the top before serving. Enjoy every bite of this delicious creation! For the complete details, check the Full Recipe. {{image_4}} You can switch up the cheese to change the tart's flavor. Try feta or blue cheese for a stronger taste. Cream cheese gives a smooth, creamy texture. Each cheese brings its own charm. Goat cheese offers tang, while mozzarella adds a mild, stretchy quality. Mix and match to find your perfect blend. Adding veggies can make your tart even tastier. Consider using spinach for a pop of color and nutrients. Bell peppers add sweetness and a crunch. Mushrooms bring an earthy flavor that pairs well with onions. Just make sure to sauté them first to release their moisture. This keeps your tart from getting soggy. Want to make your tart heartier? Add proteins! Cooked chicken or bacon can bring a savory depth. You can also use crumbled sausage for a spicy kick. Tofu is a great option for a vegetarian twist. Just ensure any proteins are cooked before adding them to the tart. This way, they blend well with the caramelized onions and cheese. Feel free to experiment. Each variation offers a unique taste. Find your favorite way to enjoy this delicious caramelized onion and goat cheese tart. For the full recipe, check out the section above. To keep your caramelized onion and goat cheese tart fresh, store it properly. Let it cool completely before wrapping. Use plastic wrap or foil to cover it tightly. Place the wrapped tart in the fridge. It will stay good for up to three days. If you have extra slices, store them in an airtight container. This helps keep the flavors intact. When you're ready to enjoy leftovers, reheating is key. Preheat your oven to 350°F (175°C). Place the tart on a baking sheet. This helps it heat evenly. Bake for about 10-15 minutes. Check frequently to avoid burning. The goal is to warm it through without drying it out. You can also microwave individual slices. Heat for 30 seconds, then check if it's warm. If not, add 10 more seconds. If you want to store the tart for longer, freezing is a great option. First, cool the tart completely. Wrap it tightly in plastic wrap, then in foil. This prevents freezer burn. Label it with the date. Your tart can last up to three months in the freezer. To thaw, place it in the fridge overnight. Reheat as mentioned above. Enjoy the flavors just like fresh! You can find the Full Recipe [here]. Yes, you can use homemade pastry. If you want a richer flavor, make a butter-based pastry. Roll it out to a thin layer. Keep it chilled before baking. This helps achieve a flaky texture. Homemade pastry allows for creative twists too. You can add herbs or spices to the dough for extra flavor. Just ensure it fits your tart pan well. This tart is already vegetarian-friendly with its main ingredients. To enhance its appeal, use vegetable broth instead of chicken broth, if called for in variations. You can also add more veggies like spinach or mushrooms. This adds color and nutrition. Ensure that the cheese you use is suitable for vegetarians. Most goat cheese is vegetarian, but check the label just in case. For the perfect pairing, consider fresh salads. A simple arugula salad with a light vinaigrette works well. Roasted vegetables also complement the tart nicely. Try serving with a side of garlic bread for a hearty meal. A crisp white wine can enhance the flavors too. These side dishes balance the richness of the tart and bring freshness to the table. This blog post covered the key ingredients, steps, tips, and variations for a delicious tart. You learned how to work with puff pastry and caramelize onions. We also discussed storage methods and addressed common questions. In summary, making this tart is fun and rewarding. Experiment with different toppings or cheese for a twist. Enjoy your cooking journey and delight in sharing this dish with family and friends.](https://blissfulmeal.com/wp-content/uploads/2025/06/2e4e25d8-682b-4301-93bf-02818ed79f0f-768x768.webp)