Skip to content
About
Contact
Cookie Policy
Copyright Policy
Disclaimer
Search
Home
Dinner
Appetizer
Desserts
Drinks
About
Contact
Privacy Policy
Toggle Menu
Home
/
Appetizer
- Page 2
Appetizer
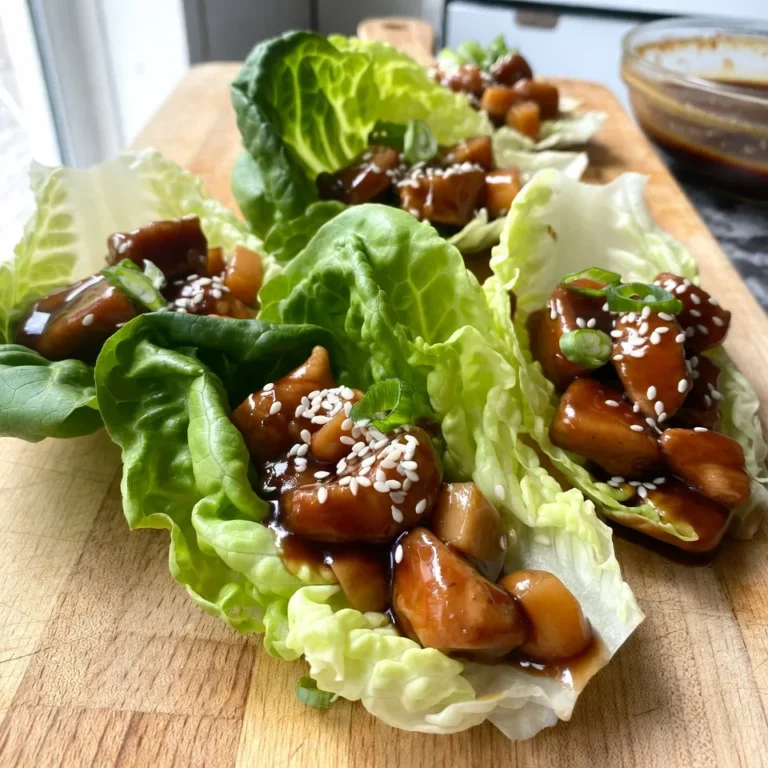
Teriyaki Chicken Lettuce Cups Healthy and Flavorful Dish
Spicy Korean Cucumber Salad Bold and Flavorful Dish
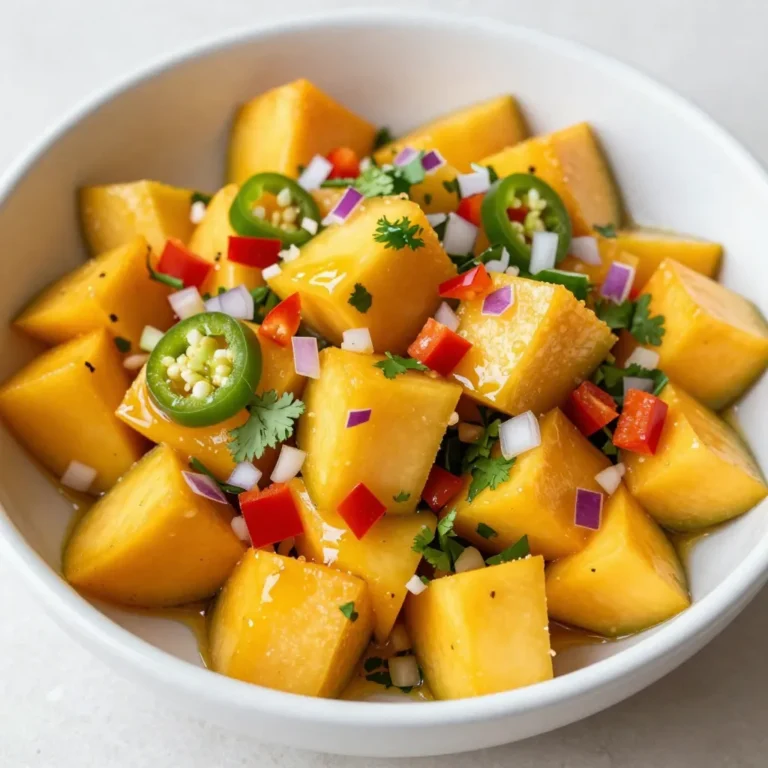
Spicy Mango Salsa Flavorful and Fresh Delight
Maple Dijon Roasted Brussels Sprouts Sweet and Savory Delight
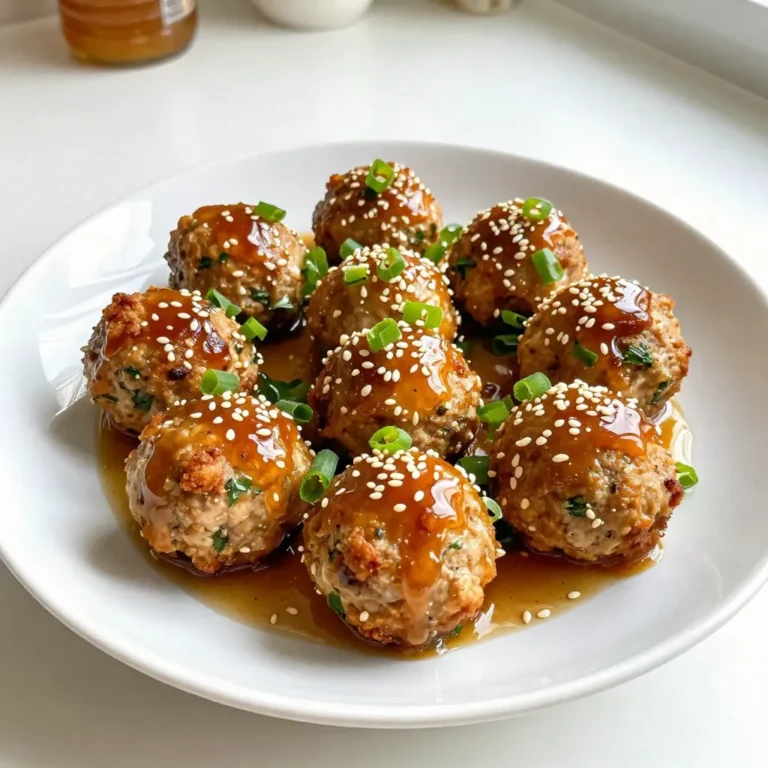
Honey Garlic Chicken Meatballs Flavorful and Easy Dish
Sweet Chili Glazed Chicken Wings Irresistible Recipe
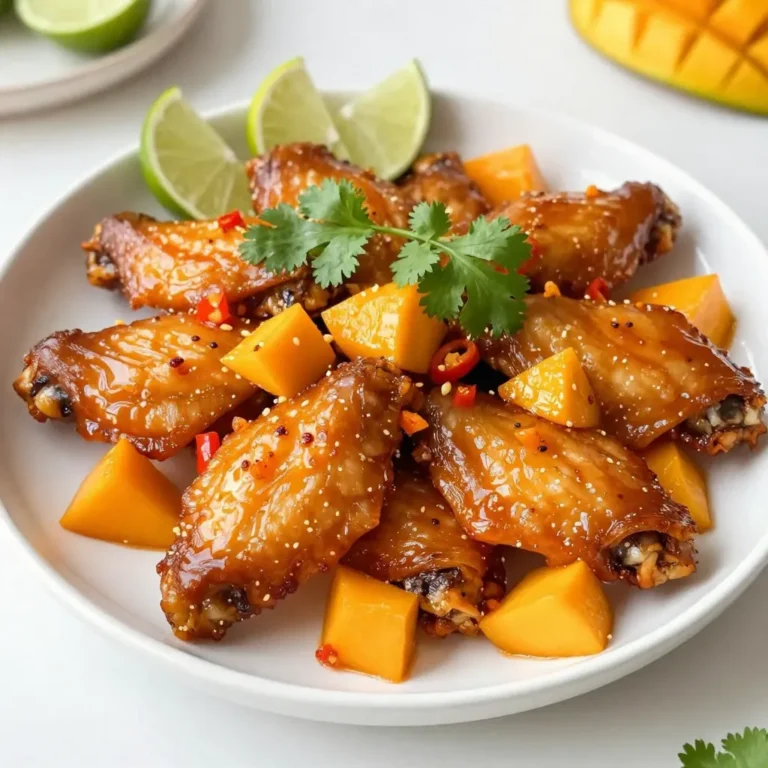
Mango Habanero Wings Flavorful and Spicy Recipe
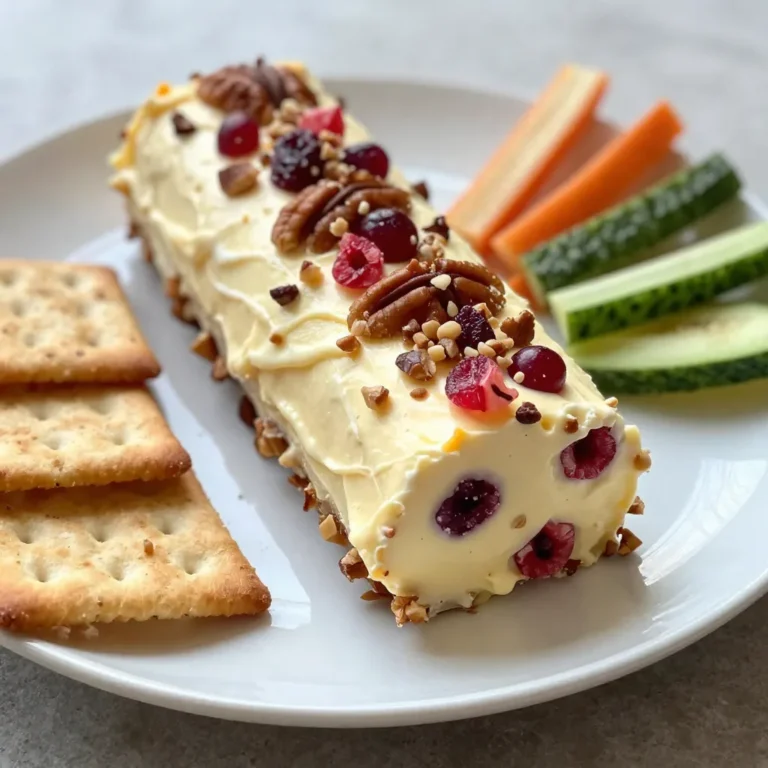
Cranberry Pecan Cheese Log Delightful Holiday Treat
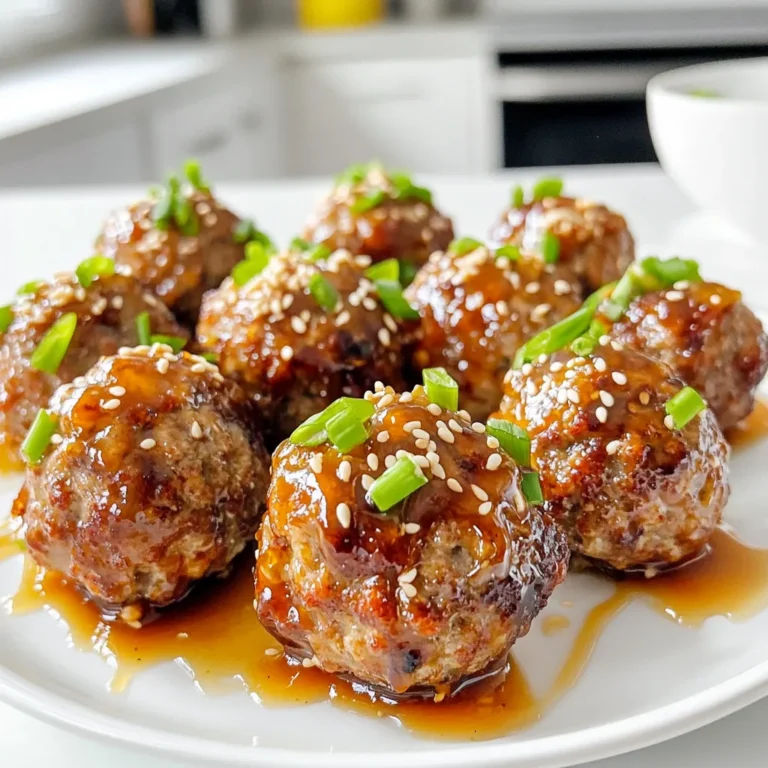
Air Fryer Honey Garlic Meatballs Flavorful Dinner Treat
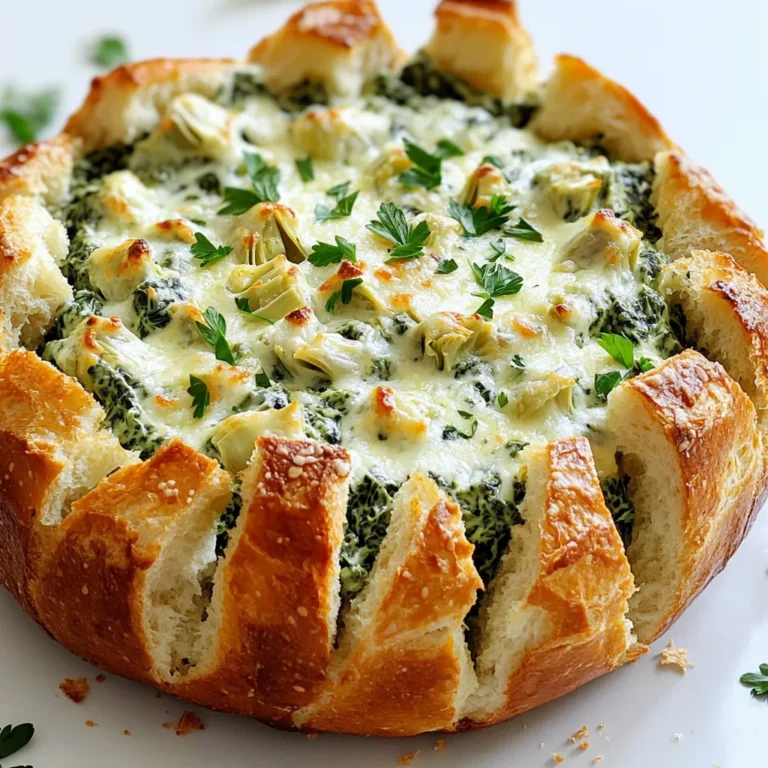
Savory Spinach Artichoke Dip Pull Apart Bread Recipe
Page navigation
Previous Page
Previous
1
2
3
4
…
23
Next Page
Next
Home
Dinner
Appetizer
Desserts
Drinks
About
Contact
Privacy Policy
Toggle Menu Close
Search for:
Search