Skip to content
About
Contact
Cookie Policy
Copyright Policy
Disclaimer
Search
Home
Dinner
Appetizer
Desserts
Drinks
About
Contact
Privacy Policy
Toggle Menu
Home
/
Appetizer
- Page 21
Appetizer
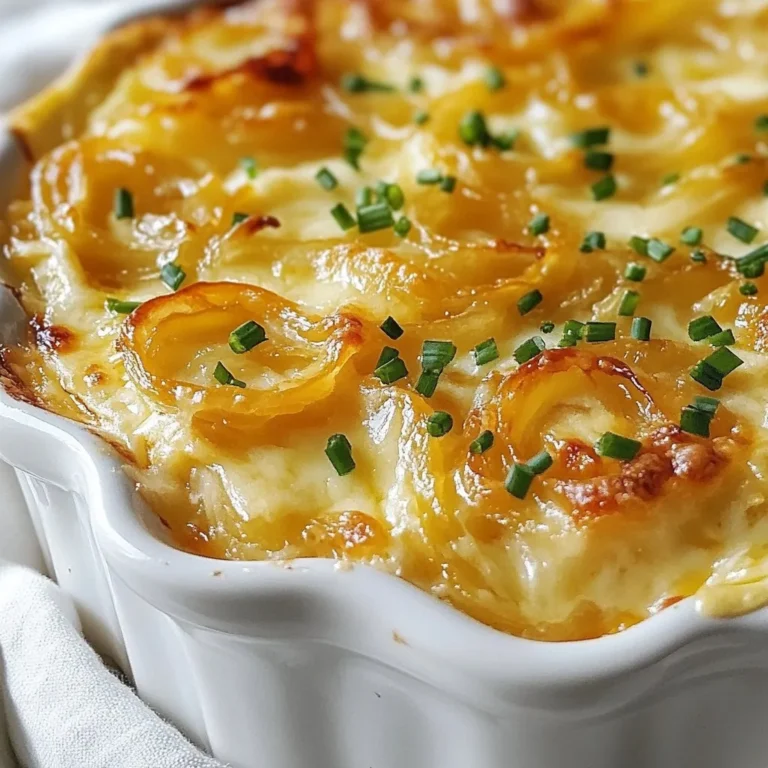
Caramelized Onion Gruyere Dip Tasty and Simple Recipe
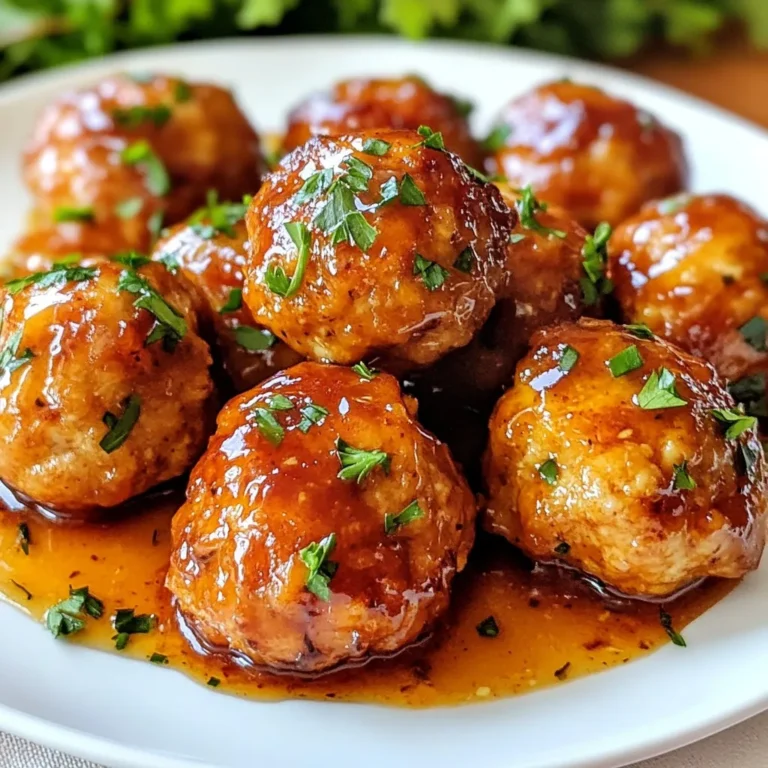
Honey BBQ Chicken Meatballs Tasty Dinner Delight
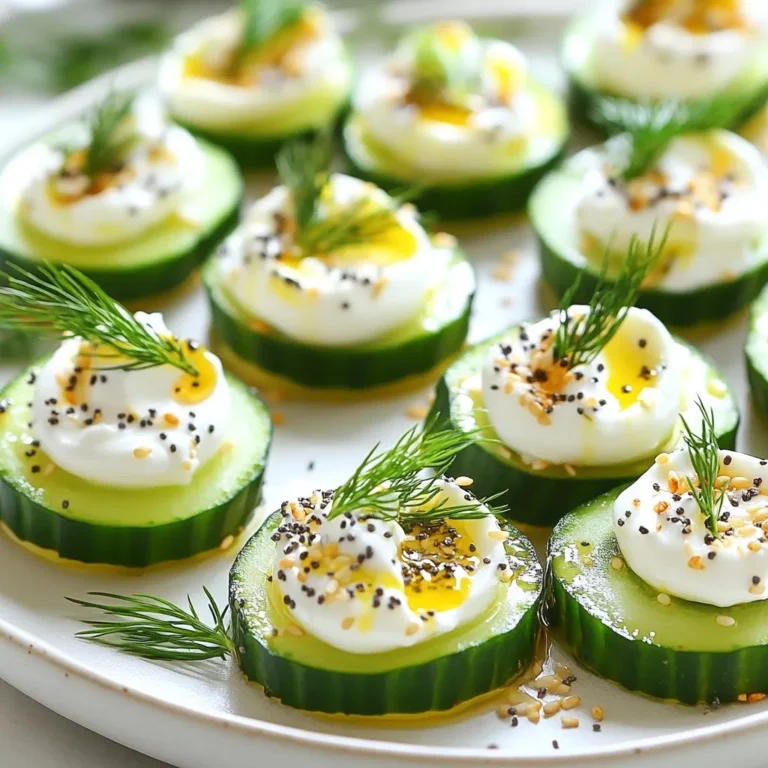
Everything Bagel Cucumber Bites Savory and Fresh Appetizer
Greek Spanakopita Triangles Savory and Crispy Snack
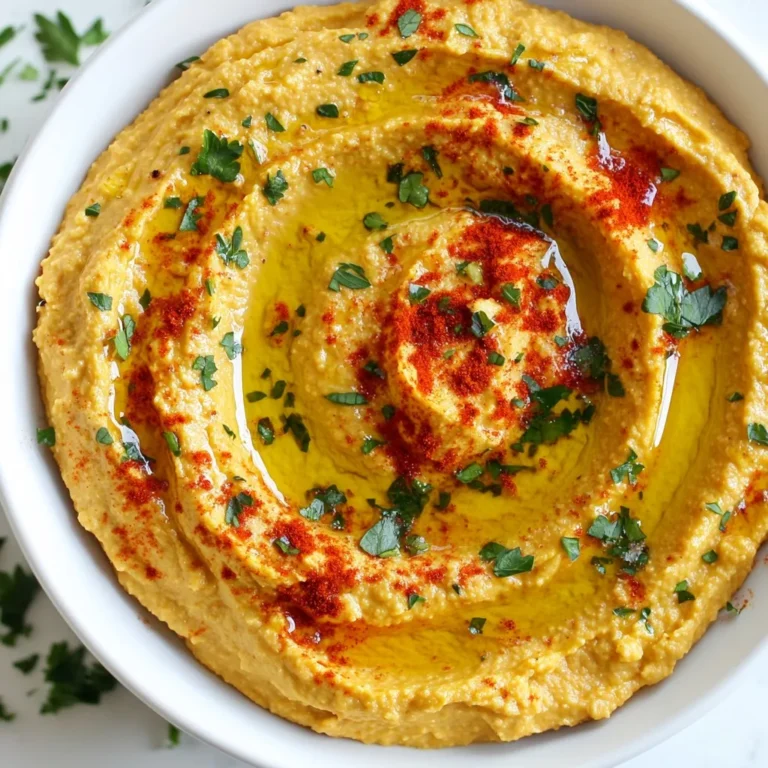
Roasted Red Pepper Hummus Simple and Creamy Dip
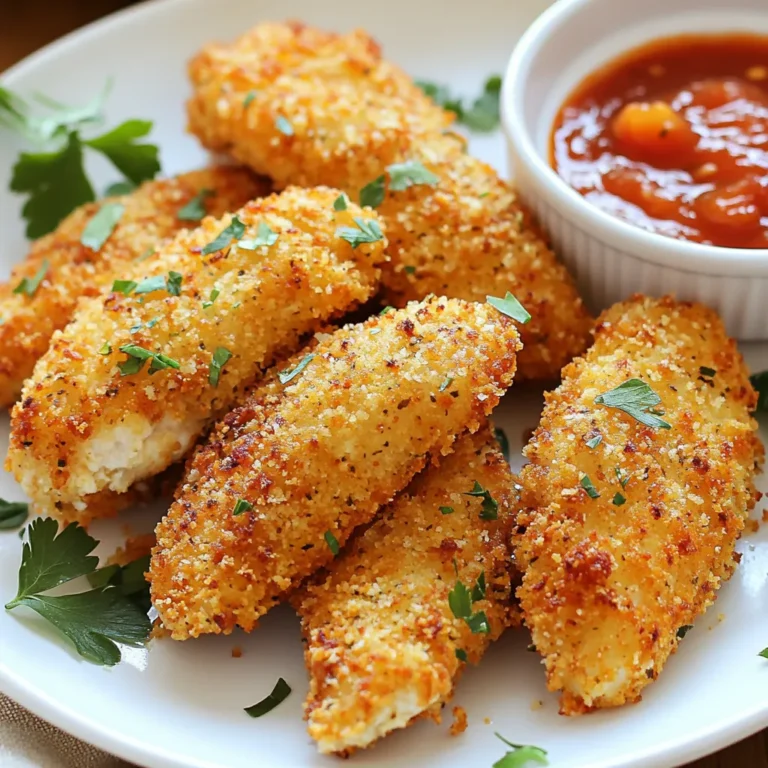
Parmesan Crusted Chicken Tenders Crispy and Delicious
Garlic Herb Turkey Meatballs Savory and Easy Recipe
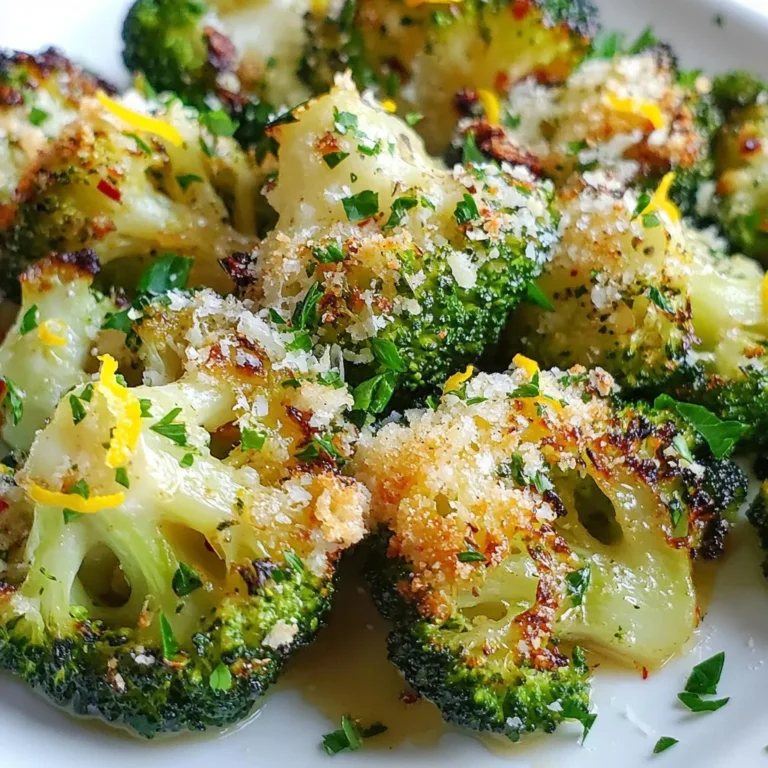
Roasted Garlic Parmesan Broccoli Savory Side Dish
Avocado Black Bean Salad Fresh and Flavorful Recipe
Garlic Butter Steak Bites Flavorful and Easy Recipe
Page navigation
Previous Page
Previous
1
…
19
20
21
22
23
Next Page
Next
Home
Dinner
Appetizer
Desserts
Drinks
About
Contact
Privacy Policy
Toggle Menu Close
Search for:
Search