Skip to content
About
Contact
Cookie Policy
Copyright Policy
Disclaimer
Search
Home
Dinner
Appetizer
Desserts
Drinks
About
Contact
Privacy Policy
Toggle Menu
Home
/
Appetizer
- Page 22
Appetizer
Roasted Red Pepper Hummus Flavorful and Easy Recipe
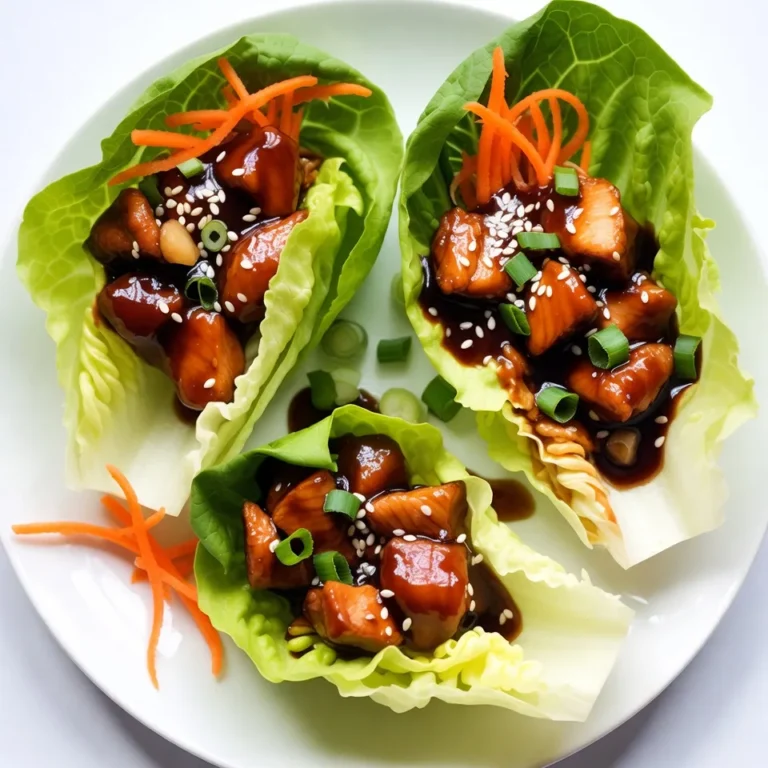
Teriyaki Chicken Lettuce Cups Flavorful and Fresh Snack
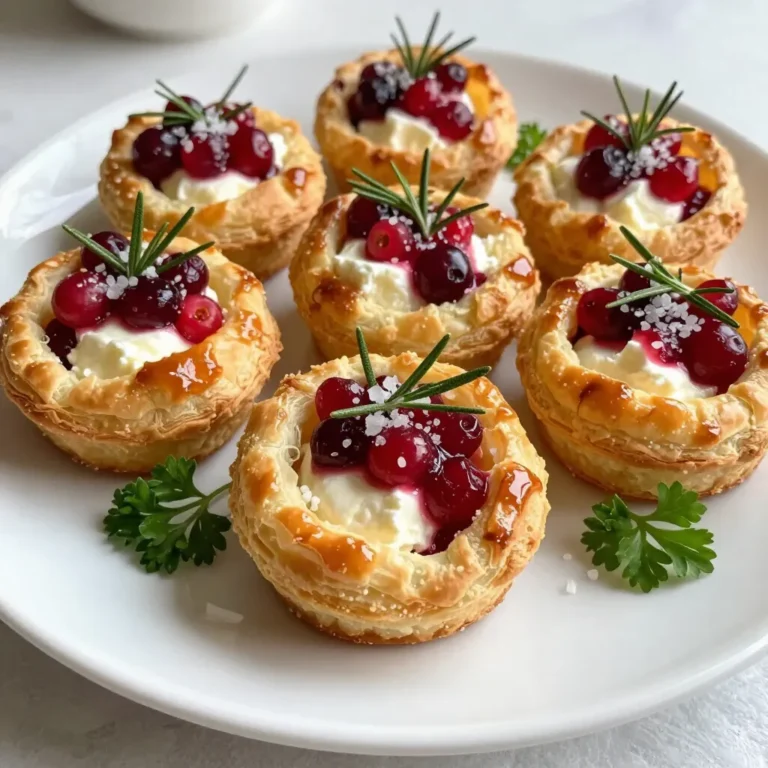
Cranberry Brie Puff Pastry Bites Tasty Appetizer Idea
Chipotle Lime Shrimp Skewers Tasty and Easy Recipe
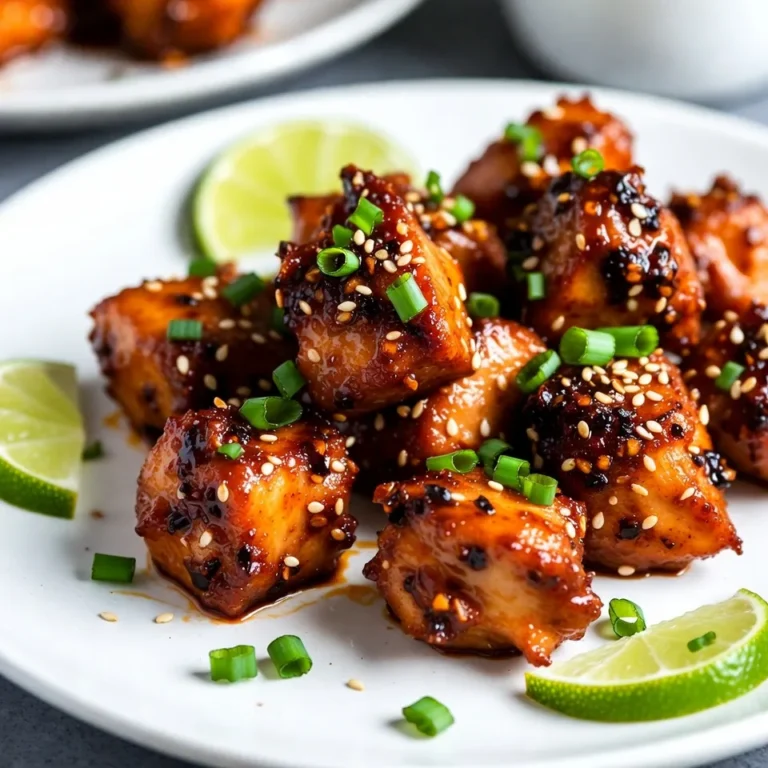
Thai Sweet Chili Chicken Bites Crispy and Flavorful
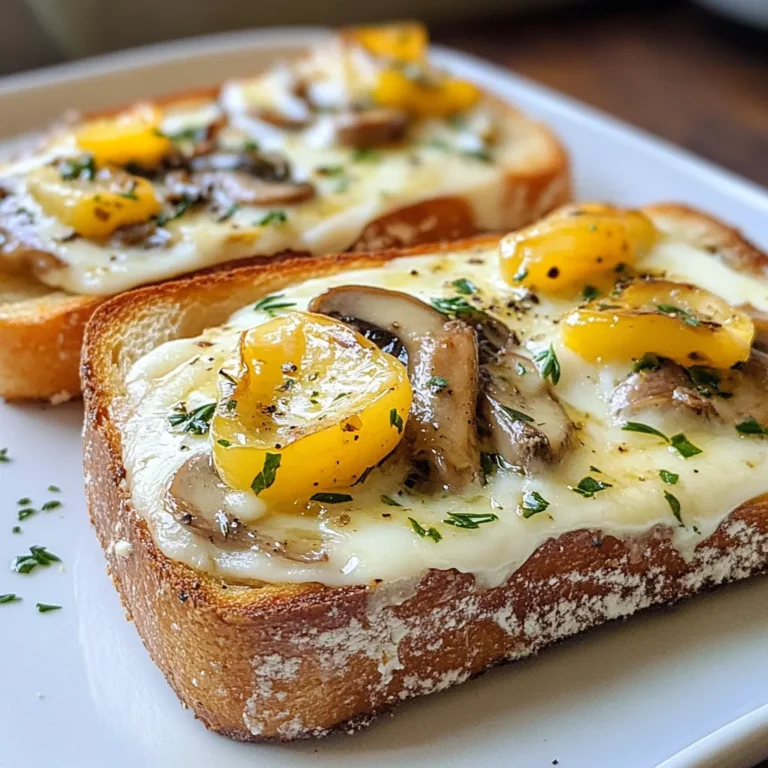
Cheesy Mushroom Garlic Toast Flavorful and Easy Snack
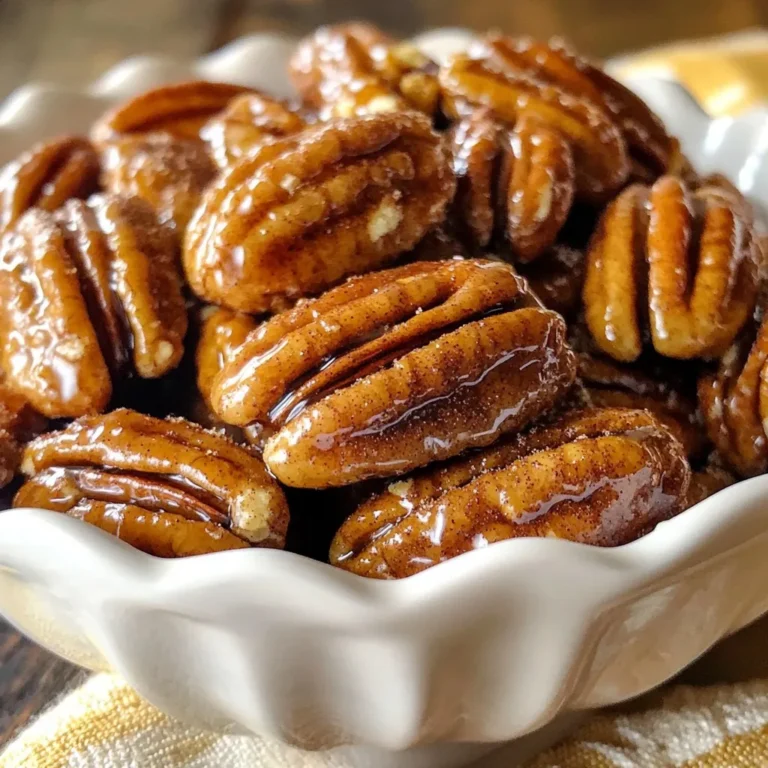
Maple Cinnamon Roasted Pecans Irresistible Snack Idea
Garlic Parmesan Hasselback Potatoes Irresistible Treat
Spicy Peanut Noodle Salad Zesty and Flavorful Delight
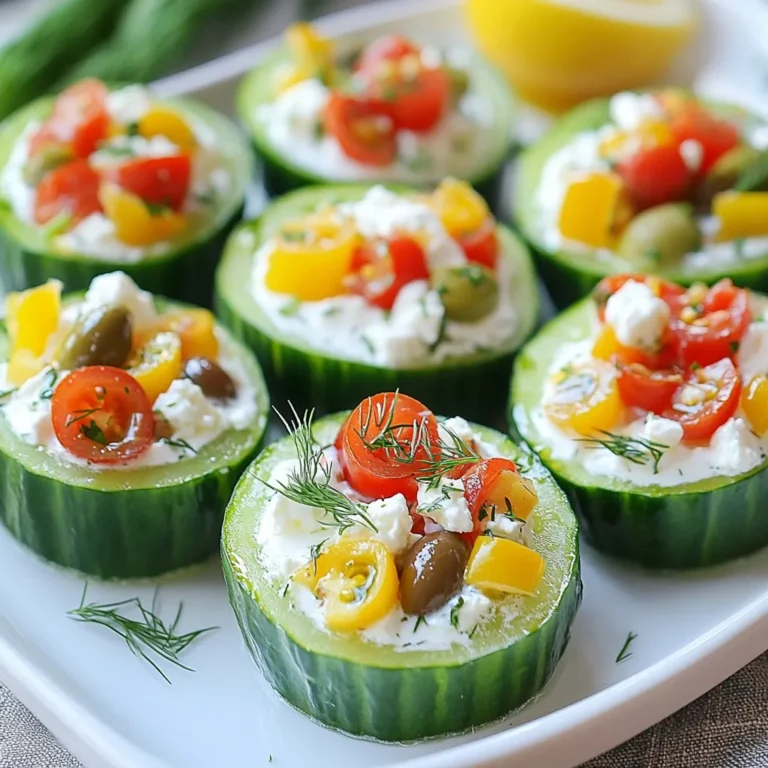
Greek Stuffed Cucumber Bites Fresh and Flavorful Appetizer
Page navigation
Previous Page
Previous
1
…
20
21
22
23
Next Page
Next
Home
Dinner
Appetizer
Desserts
Drinks
About
Contact
Privacy Policy
Toggle Menu Close
Search for:
Search