Skip to content
About
Contact
Cookie Policy
Copyright Policy
Disclaimer
Search
Home
Dinner
Appetizer
Desserts
Drinks
About
Contact
Privacy Policy
Toggle Menu
Home
/
Appetizer
- Page 23
Appetizer
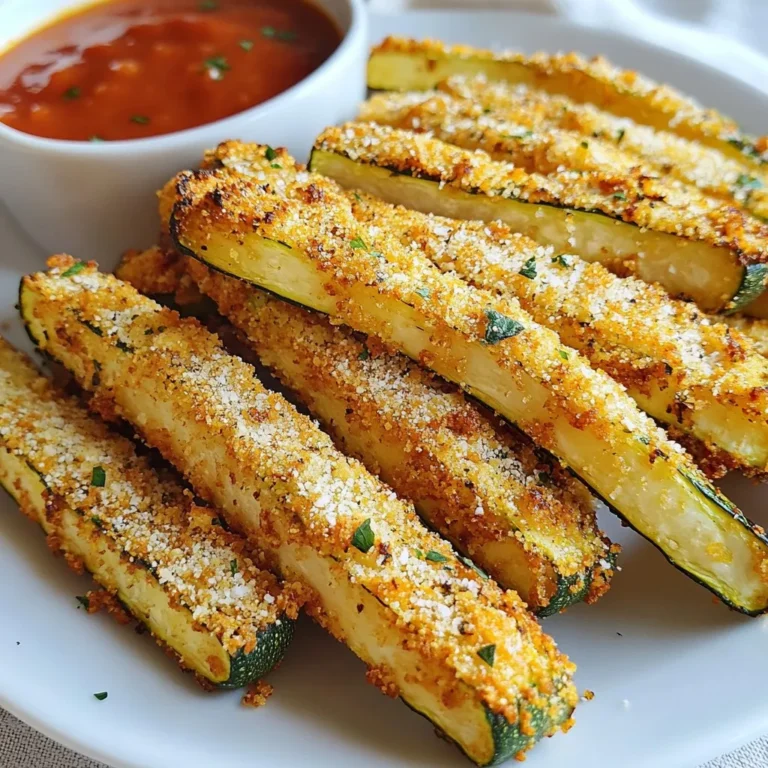
Air Fryer Parmesan Zucchini Fries Crispy Delight
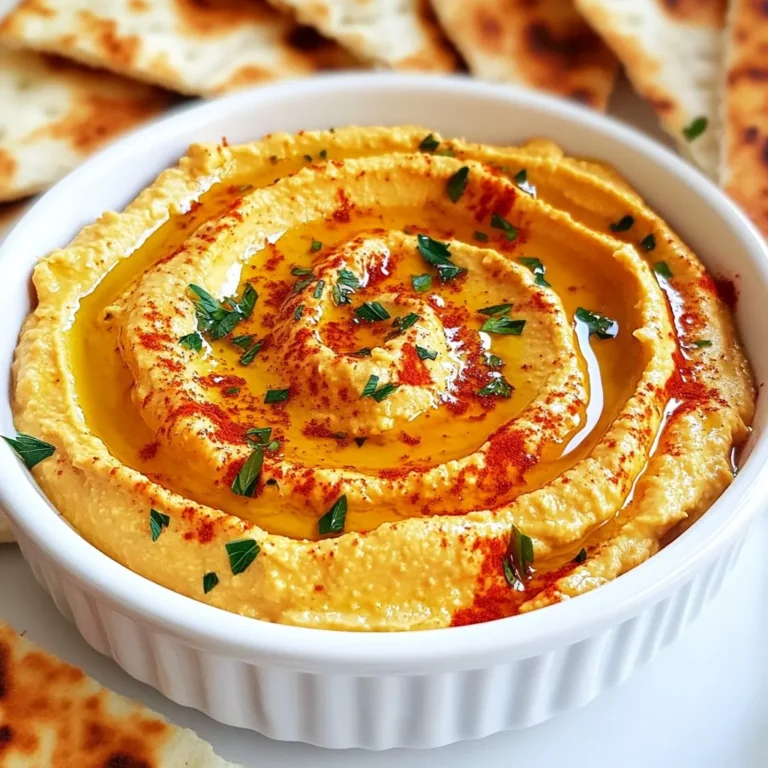
Roasted Red Pepper Hummus Flavorful and Easy Recipe
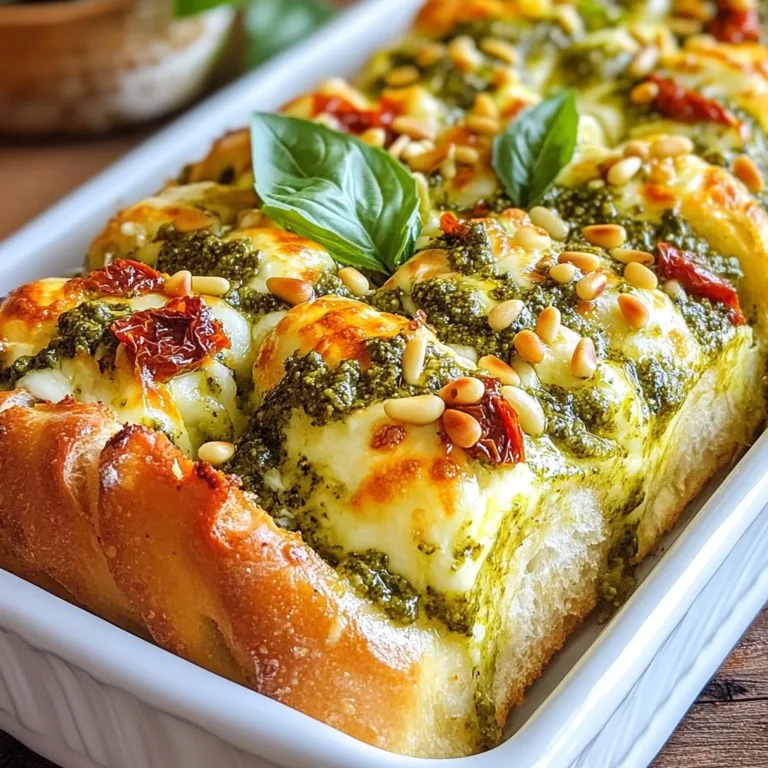
Pesto Mozzarella Stuffed Bread Simple and Tasty Treat
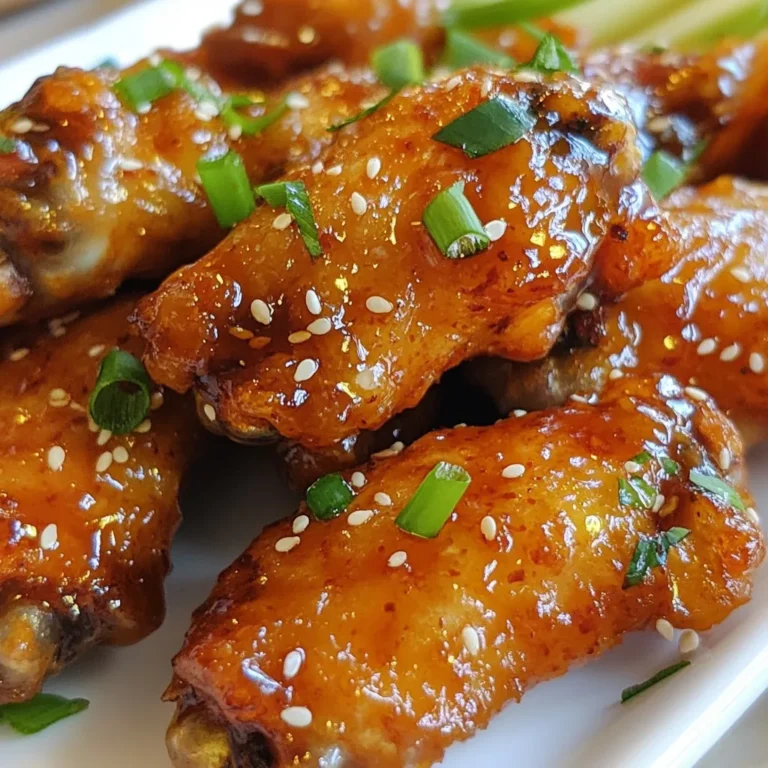
Honey Sriracha Chicken Wings Bold and Flavorful Recipe
Garlic Rosemary Focaccia Bread Easy and Flavorful Recipe
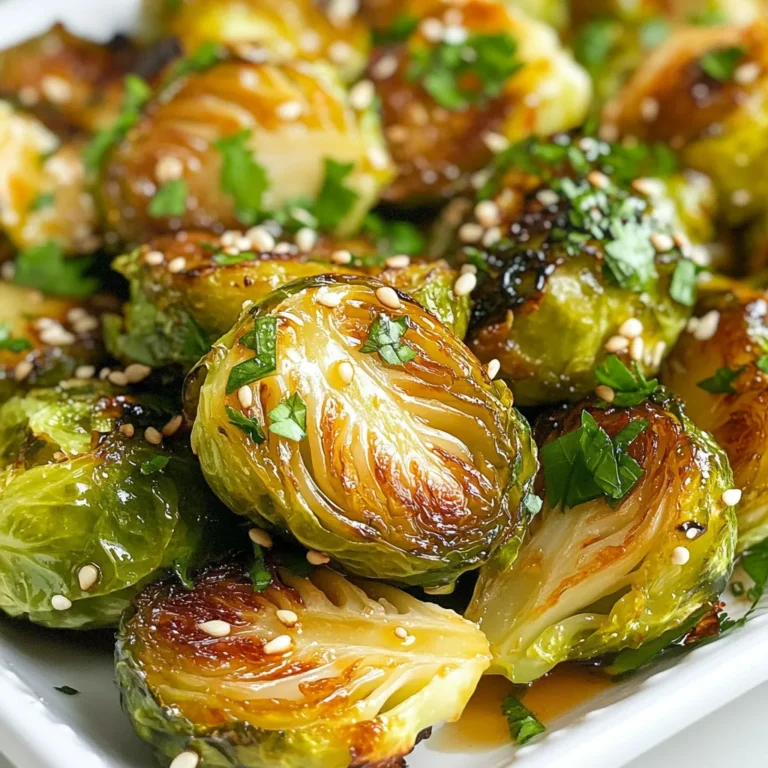
Crispy Honey Garlic Brussels Sprouts Simple Recipe
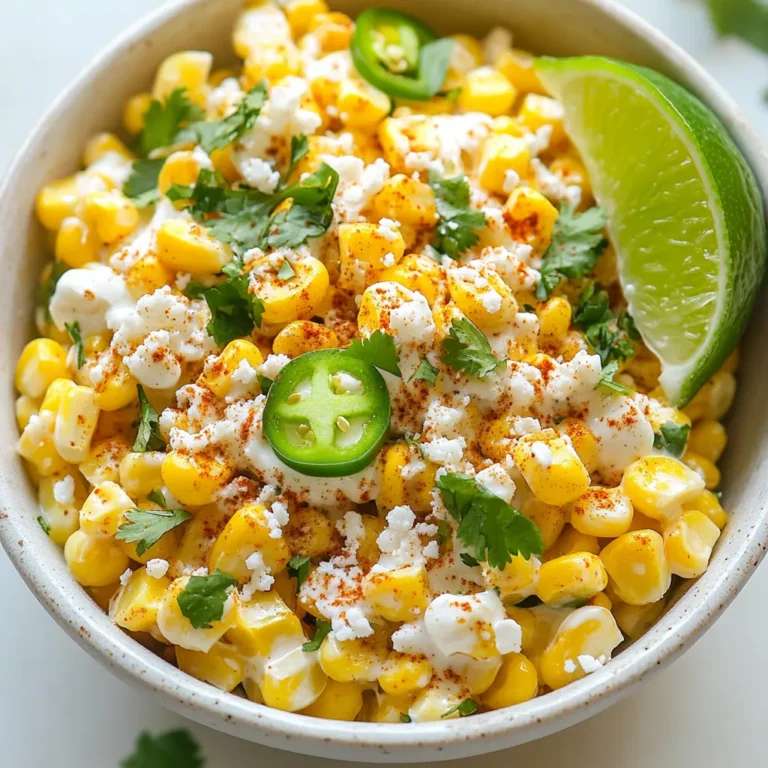
Mexican Street Corn Dip Flavorful and Easy Recipe
Page navigation
Previous Page
Previous
1
…
21
22
23
Home
Dinner
Appetizer
Desserts
Drinks
About
Contact
Privacy Policy
Toggle Menu Close
Search for:
Search