Skip to content
About
Contact
Cookie Policy
Copyright Policy
Disclaimer
Search
Home
Dinner
Appetizer
Desserts
Drinks
About
Contact
Privacy Policy
Toggle Menu
Home
/
Appetizer
- Page 4
Appetizer
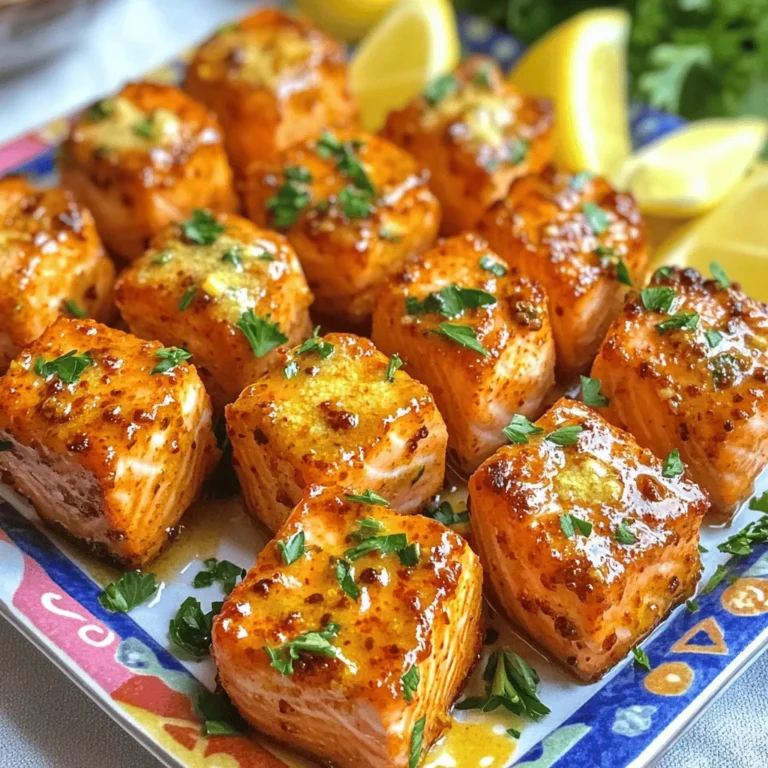
Air Fryer Spicy Garlic Butter Salmon Bites Delight
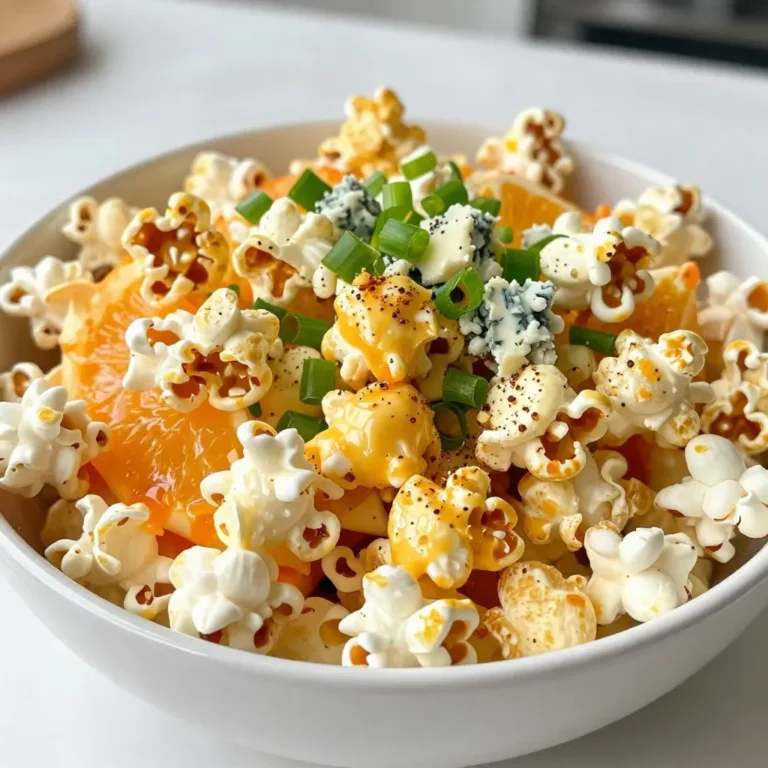
Buffalo Ranch Popcorn Bold and Flavorful Snack Idea
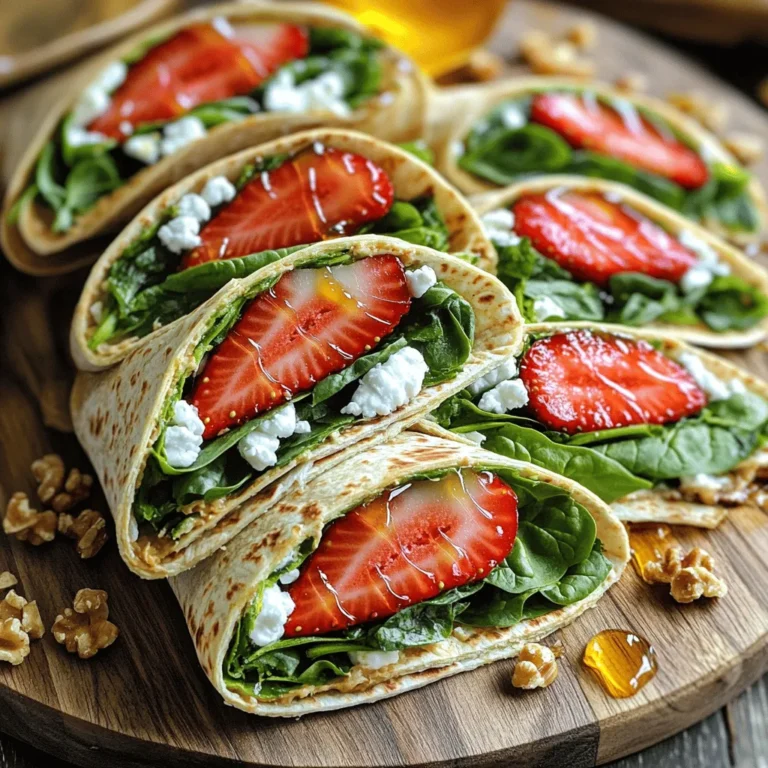
Strawberry Goat Cheese Spinach Wraps Easy and Delicious
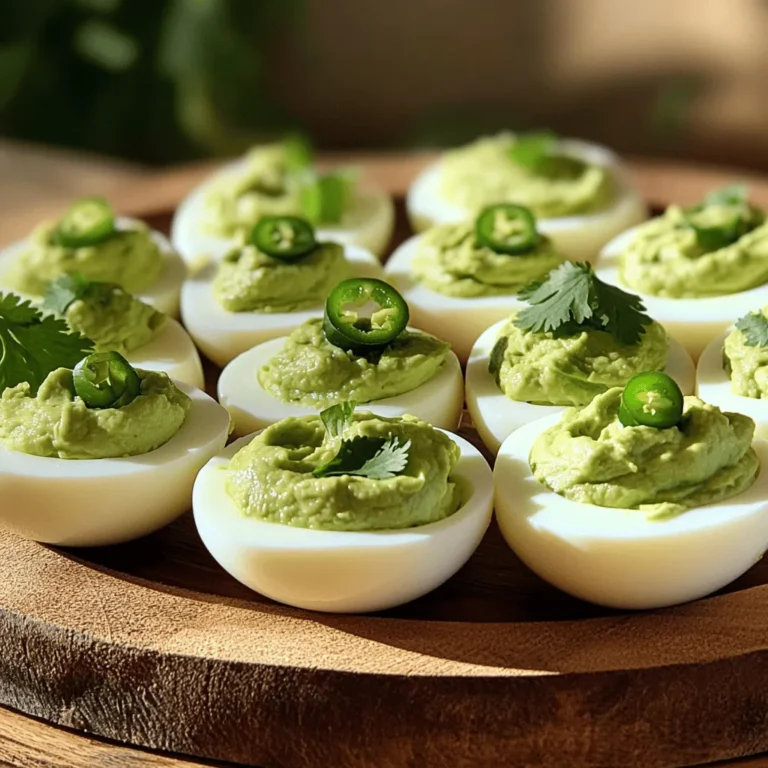
Avocado Deviled Eggs Flavorful and Easy Recipe
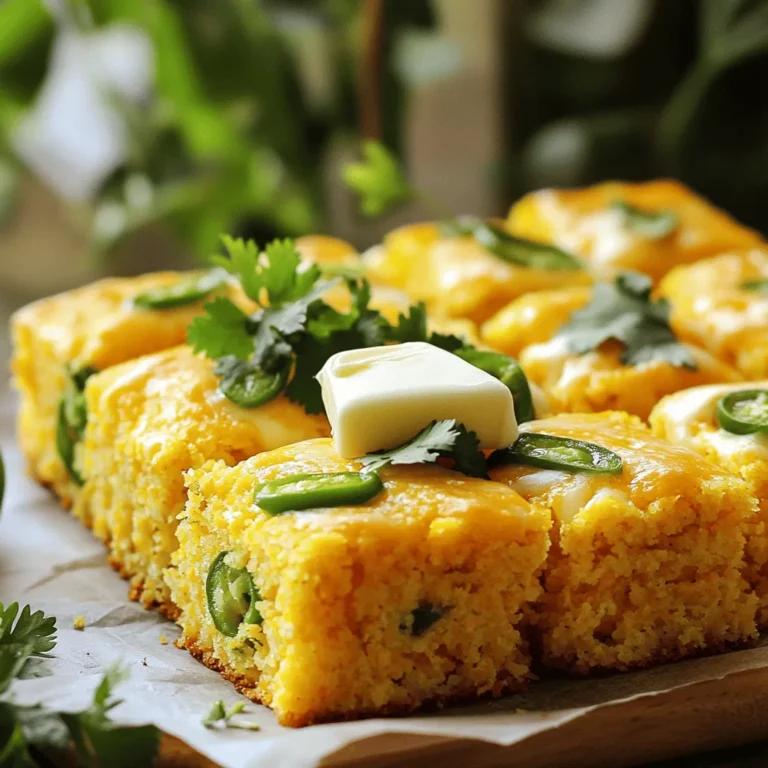
Jalapeño Cheddar Cornbread Tasty and Simple Recipe
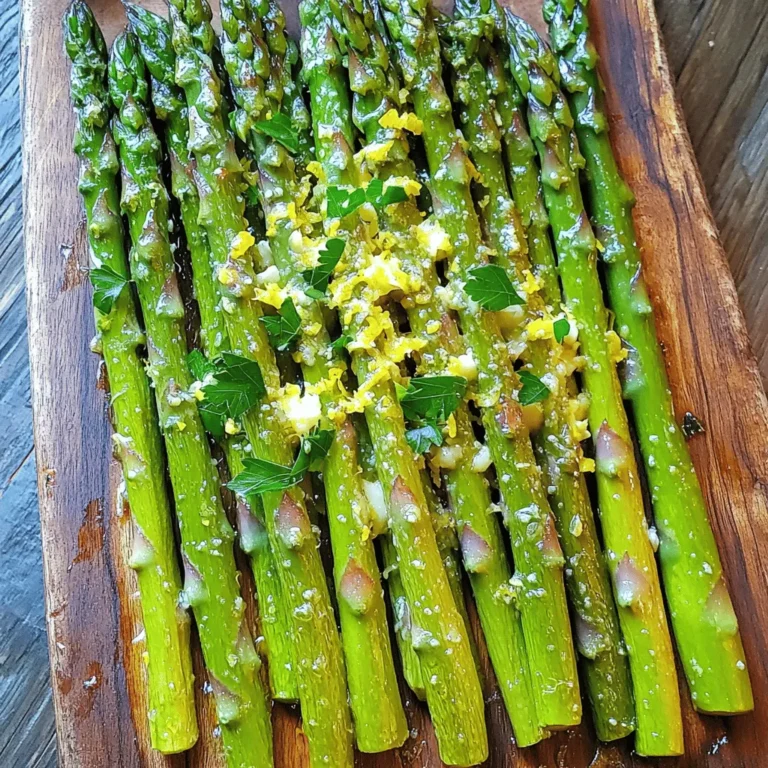
Lemon Garlic Roasted Asparagus Flavorful Side Dish
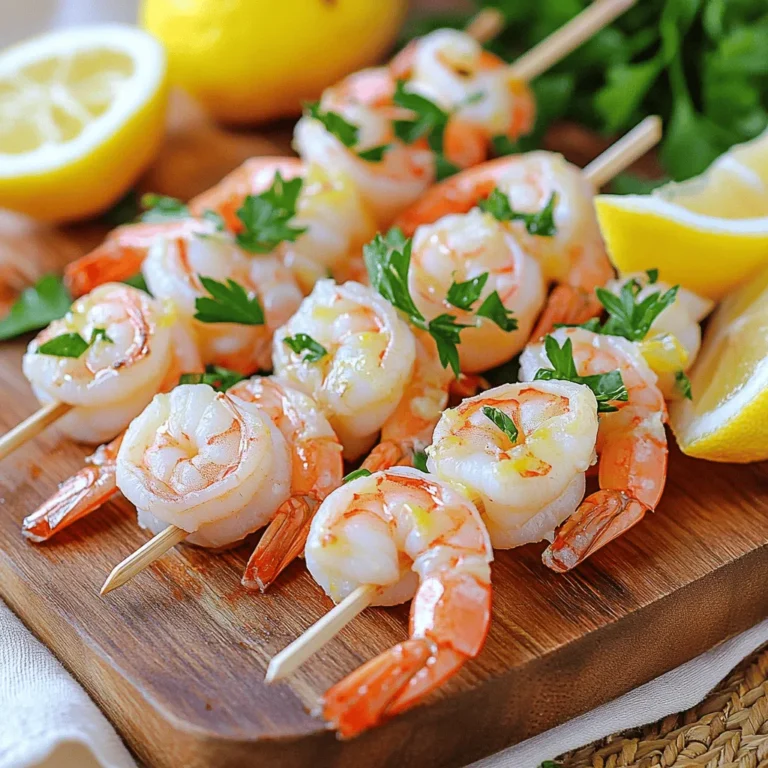
Lemon Garlic Shrimp Skewers Easy and Flavorful Recipe
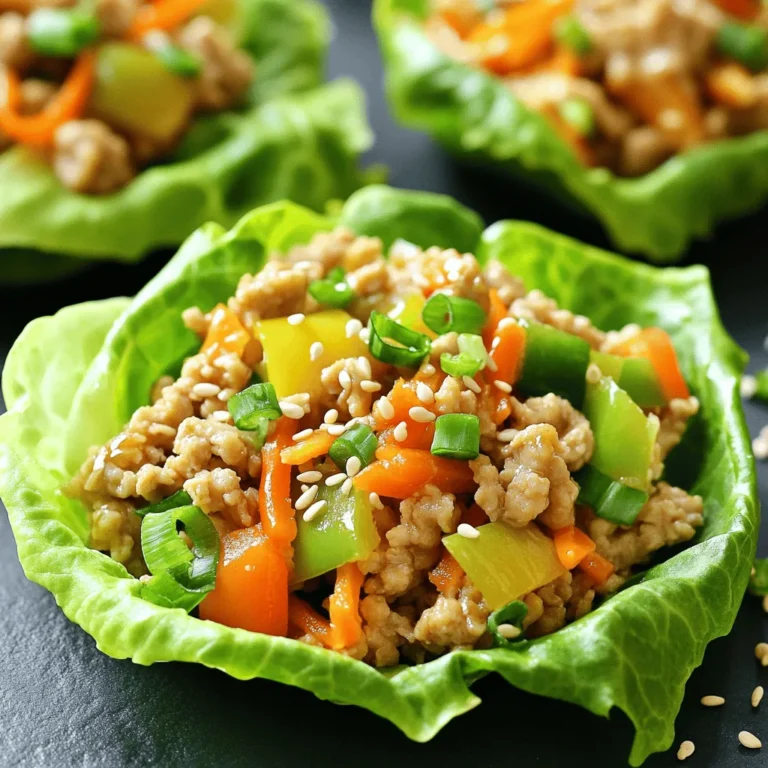
Savory Sesame Ginger Chicken Lettuce Cups Recipe
Roasted Garlic Parmesan Cauliflower Savory Delight
Tropical Peach Mango Salsa Fresh and Flavorful Delight
Page navigation
Previous Page
Previous
1
2
3
4
5
6
…
23
Next Page
Next
Home
Dinner
Appetizer
Desserts
Drinks
About
Contact
Privacy Policy
Toggle Menu Close
Search for:
Search