Skip to content
About
Contact
Cookie Policy
Copyright Policy
Disclaimer
Search
Home
Dinner
Appetizer
Desserts
Drinks
About
Contact
Privacy Policy
Toggle Menu
Home
/
Appetizer
- Page 6
Appetizer
Air Fryer Mozzarella Sticks Crispy and Delicious Snack
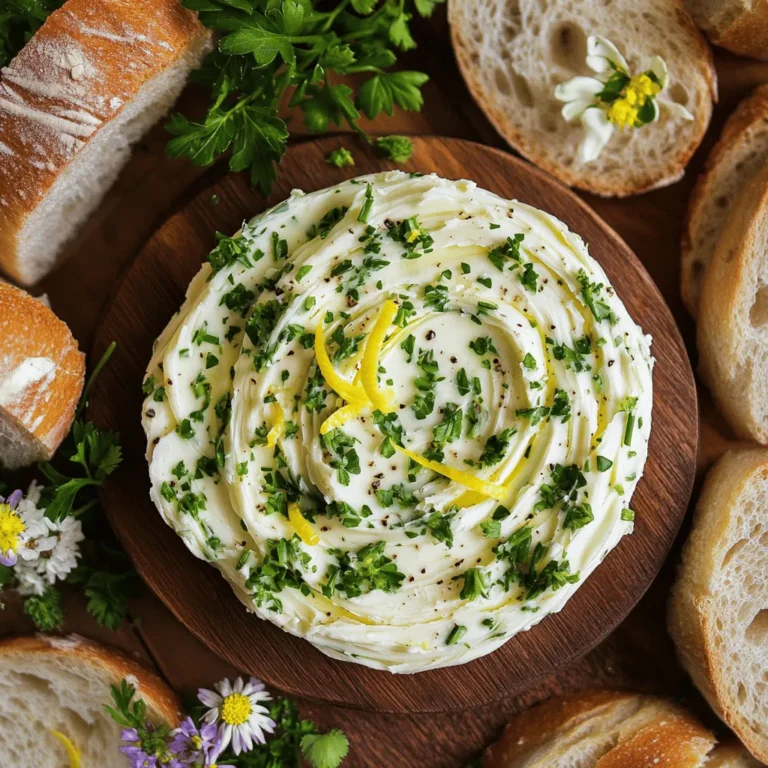
Garlic Herb Butter Board Savory and Simple Delight
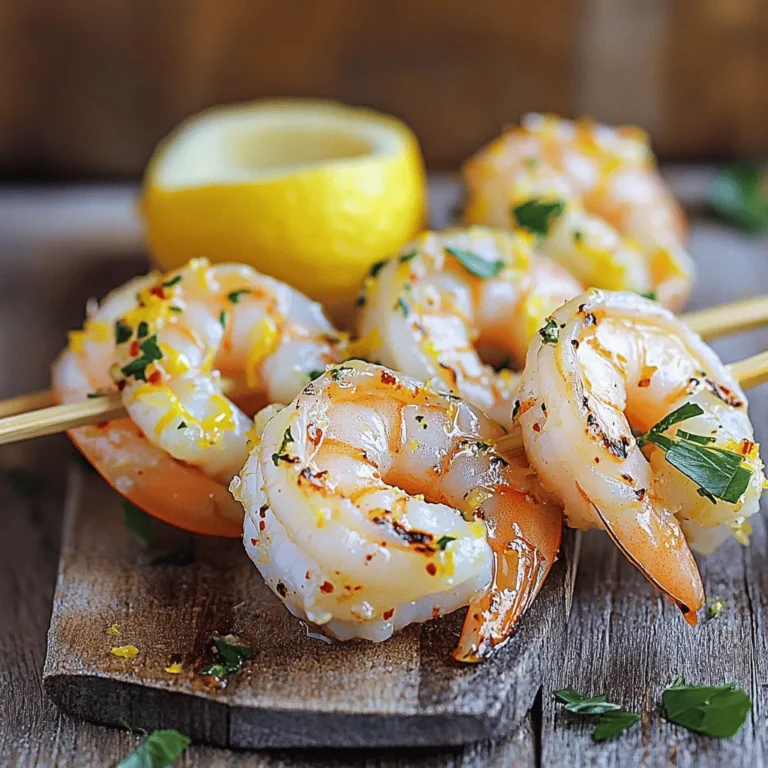
Lemon Garlic Shrimp Skewers Flavorful and Simple Recipe
Pepperoni Pizza Quesadillas Easy and Delicious Meal
Sticky Honey Garlic Wings Irresistibly Tasty Recipe
Minute Avocado Toast Trio Quick and Tasty Recipe
Air Fryer Sweet Potato Chips Crunchy and Healthy Snack
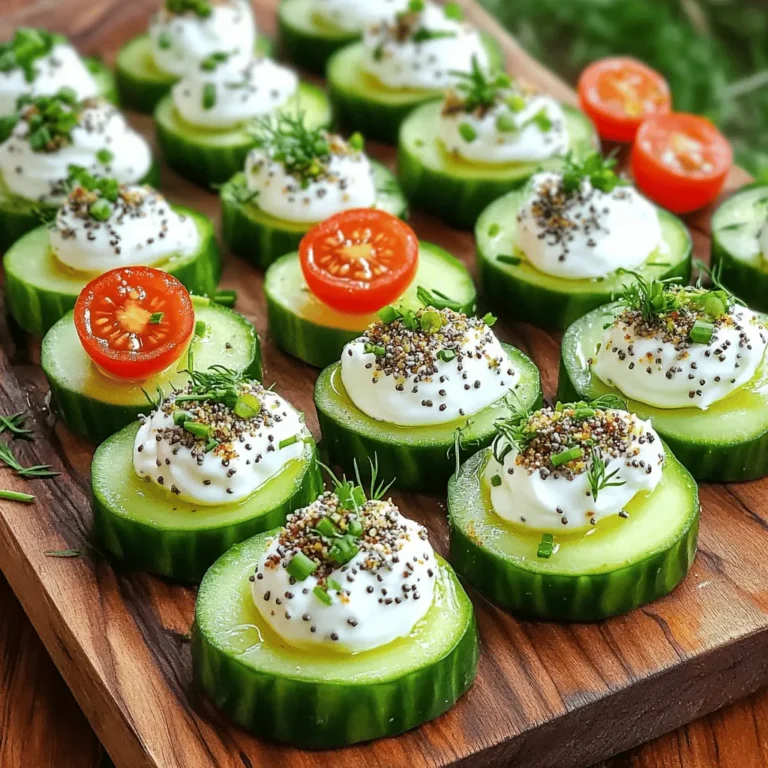
Everything Bagel Cucumber Bites Tasty Party Snack
Easy Air Fryer Veggie Egg Rolls Fresh and Crispy Treat
Cheesy Garlic Pull Apart Bread Irresistibly Tasty Treat
Page navigation
Previous Page
Previous
1
…
4
5
6
7
8
…
23
Next Page
Next
Home
Dinner
Appetizer
Desserts
Drinks
About
Contact
Privacy Policy
Toggle Menu Close
Search for:
Search

![- 12 string cheese sticks - 1 cup all-purpose flour - 2 large eggs, beaten - 1 cup breadcrumbs (preferably panko for extra crunch) - 1 teaspoon garlic powder - 1 teaspoon Italian seasoning - ½ teaspoon salt - ½ teaspoon black pepper - Cooking spray - Marinara sauce for dipping (optional) Gather these ingredients to make your air fryer mozzarella sticks. The string cheese is the star here. It melts perfectly and tastes great. The flour helps the cheese stick to the coating. The eggs help bind everything together. Using panko breadcrumbs gives your sticks that extra crunch. The seasoning adds flavor and makes each bite tasty. Don't forget the marinara sauce! It makes a great dip. You can find the full recipe for air fryer mozzarella sticks in the article. Prepping the Cheese First, freeze the cheese sticks for at least 1 hour. This helps the cheese stay firm. If you skip this step, the cheese may melt too fast. Setting Up the Breading Station Next, set up your breading station. Use three shallow dishes. In the first dish, add flour. In the second, place beaten eggs. In the third, mix breadcrumbs with garlic powder, Italian seasoning, salt, and black pepper. This mix gives great flavor. Coating the Mozzarella Sticks Take the frozen cheese sticks. Roll each stick in flour first. Make sure it is fully coated. Next, dip it in the beaten eggs. Let the extra egg drip off. Finally, roll it in the breadcrumb mix. Press gently to cover every inch. Air Fryer Preparation Now, preheat your air fryer to 390°F (200°C). This takes about 5 minutes. While it heats, spray the air fryer basket with cooking spray. This keeps the sticks from sticking. Cooking Mozzarella Sticks Place the breaded sticks in a single layer in the basket. Do not overcrowd them. If needed, cook in two batches. Air fry for 6 to 8 minutes, flipping halfway through. They should be golden brown when done. Final Steps Once cooked, take the sticks out and let them cool for a couple of minutes. This makes them easier to eat. Serve them hot with marinara sauce for dipping if you like. For the full recipe, you can check out the earlier sections. To get that perfect crunch, I always use panko breadcrumbs. They add the best texture. A light spray of cooking spray on the mozzarella sticks gives them a nice, crispy finish. This step is key when air frying. Before you coat the sticks, make sure to let any excess egg drip off. This helps the breadcrumbs stick better. A good coating means more crunch and flavor in each bite. Do not overcrowd the air fryer. If you pile the sticks on top of each other, they won't cook evenly. I always cook in batches. This way, each mozzarella stick gets the heat it needs to crisp up perfectly. For the full recipe, you can check out the details above. {{image_4}} To make your air fryer mozzarella sticks even better, try adding some spice. You can add cayenne pepper to the breadcrumb mixture for a nice kick. Just a pinch goes a long way. You can also mix in dried herbs like oregano or basil. This adds great flavor and aroma. Feel free to get creative with spices you enjoy. While string cheese is the classic choice, you can experiment with different types of cheese sticks. Try using cheddar, pepper jack, or even a blend of cheeses. Each type brings a unique taste and melts differently. Just ensure they are similar in size to string cheese for even cooking. Pair your mozzarella sticks with more than just marinara sauce. You can try ranch dressing, spicy aioli, or even a sweet chili sauce. Each dip adds a new layer of flavor. For extra fun, set up a dip station with a few options, so everyone can choose their favorite. To store leftover mozzarella sticks, let them cool first. Place them in an airtight container. Keep the container in the refrigerator. They will stay fresh for up to three days. Make sure to keep them in a single layer to avoid sticking. To reheat mozzarella sticks, use your air fryer again. Preheat it to 350°F (175°C). Place the sticks in the basket, leaving space between them. Heat for about 3 to 5 minutes. This method keeps them crispy. You can also use an oven if you prefer. To freeze uncooked mozzarella sticks, prepare them as usual. After coating them, place the sticks on a baking sheet. Make sure they are not touching each other. Freeze them for about an hour. Then, transfer them to a freezer bag. Label the bag with the date. They can stay frozen for up to three months. When ready to cook, you can air fry them straight from the freezer. Check the [Full Recipe] for detailed cooking times. To stop the cheese from leaking, freeze the sticks first. Place the string cheese in the freezer for at least one hour. This keeps the cheese solid. Next, use a good coating. Make sure to coat the sticks in flour, egg, and breadcrumbs. Each layer should cover the cheese well. This helps seal in the cheese while it cooks. Yes, you can use different types of breading. For a gluten-free option, try almond flour or crushed gluten-free crackers. You can also use cornmeal for a different crunch. Experimenting with different flavors can be fun. Just make sure the coating is thick enough to hold the cheese. Mozzarella sticks pair well with many sides and dips. Marinara sauce is a classic choice. You can also serve them with ranch dressing or a spicy aioli. For sides, think about fresh veggies or a simple salad. These options balance the rich flavors of the cheese. Cooked mozzarella sticks last about 3 to 4 days in the fridge. Store them in an airtight container. Uncooked sticks can last up to 1 month in the freezer. Just make sure they are well wrapped to prevent freezer burn. In this post, I shared how to make delicious mozzarella sticks in an air fryer. We covered the main ingredients, simple steps, and useful tips for a perfect batch. Remember, using panko breadcrumbs gives extra crunch. You can also try different cheeses and sauces for fun variations. Store any extras properly to keep them fresh. With these tips, you can enjoy homemade mozzarella sticks that are crispy and flavorful. Dive in and impress everyone with your tasty snacks!](https://blissfulmeal.com/wp-content/uploads/2025/07/a186f190-e6f2-4244-9d03-78a1c9bed7c1-768x768.webp)

![When you make sticky honey garlic wings, you need fresh and simple ingredients. Here’s what you’ll need: - 2 pounds chicken wings - 1/2 cup honey - 1/4 cup soy sauce - 4 cloves garlic, minced - 1 tablespoon fresh ginger, finely grated - 1 tablespoon rice vinegar - 1 teaspoon sesame oil - 1 teaspoon chili flakes (optional, for added heat) - Salt and pepper to taste - 1 tablespoon sesame seeds for garnish - 2 green onions, finely chopped for garnish These ingredients create a sweet and savory flavor. The honey gives a nice stickiness. The soy sauce adds depth. Garlic and ginger bring warmth and aroma. Rice vinegar balances the sweetness. Sesame oil adds a nutty touch. You can adjust the chili flakes for heat. With these items ready, you’ll be set to make a dish that impresses. For the full recipe, check out the link provided. Enjoy the process of cooking this delightful dish! To start, combine the marinade ingredients in a bowl. You will need honey, soy sauce, minced garlic, grated ginger, rice vinegar, sesame oil, and chili flakes if you want some heat. Mix them well. I find that using a whisk works best. It helps blend all the flavors smoothly. Make sure the honey dissolves completely for a tasty marinade. Once your marinade is ready, it's time to marinate the wings. Place the chicken wings into a large resealable bag or a shallow dish. Pour the marinade over the wings. Ensure every wing is well-coated. Seal the bag or cover the dish tightly. For the best taste, let the wings marinate for at least one hour. If you have time, marinating overnight is even better. Store them in the fridge while they soak up all that flavor. Now, let’s get cooking! Preheat your oven to 400°F (200°C). This step is key for crispy wings. Line a baking sheet with aluminum foil for easy cleanup. Place a wire rack on top of the sheet. The wire rack allows air to circulate around the wings. This helps them cook evenly and get crispy. After marinating, remove the wings from the bag. Let any extra marinade drip off. Arrange the wings in a single layer on the wire rack. Make sure there’s space between each wing. Bake them in the preheated oven for about 40 to 45 minutes. Halfway through, turn the wings for even cooking. In the last 10 minutes, brush some of the reserved marinade over the wings. This creates a sticky glaze that makes them irresistible. Once the wings are done, take them out and let them rest for a few minutes. This helps them stay crispy. Transfer the wings to a serving platter. For a special touch, sprinkle sesame seeds and chopped green onions on top. They add a nice flavor and color. You can also serve them with fresh lettuce or parsley for an extra pop. For a dipping sauce, simmer any leftover marinade until it thickens and serve alongside the wings. For the full recipe, check out the [Full Recipe]. Enjoy making these tasty wings! To get crispy wings, start by patting them dry with paper towels. Removing excess moisture helps them crisp up better. Another tip is to bake them on a wire rack. This allows heat to circulate all around the wings. After marinating, you need to drain the excess marinade. This step is key. Too much marinade can lead to soggy wings. Let them sit in a colander for a few minutes to ensure proper drainage. You can easily change the flavor of these wings. If you like them sweeter, add more honey. For a tangy taste, increase the rice vinegar. If you want a kick, add more chili flakes. For spice levels, consider your guests. If you serve kids, keep it mild. You can always add hot sauce on the side for those who want more heat. You can cook these wings in different ways. Baking is the easiest and healthiest method. It requires less oil and gives a nice crisp. However, frying can give you wings that are extra crispy. Grilling is also a great option. It adds a smoky flavor that many love. The downside is that it can be tricky to get the right temperature. Each method has its perks and drawbacks, so choose what fits your taste. {{image_4}} Want to add some heat? You can make spicy honey garlic wings. Start by mixing in a teaspoon of chili powder or cayenne pepper. You can also use fresh jalapeños for a zesty kick. For a unique blend of spices, try combining sriracha with your marinade. This adds depth and flavor that warms your taste buds. If you love barbecue, try honey barbecue wings. Simply add your favorite barbecue sauce to the marinade. Mix it well with the honey and soy sauce. This will give your wings a smoky flavor. Balance the sweetness by adjusting the honey. A little extra vinegar can help cut through the richness, making it perfect for your taste. For a twist, create Asian-inspired wings. Add soy sauce, sesame oil, and a splash of rice vinegar. You can also toss in some five-spice powder for a fragrant touch. Garnish your wings with green onions and sesame seeds. These toppings brighten the dish and enhance the flavors. Each bite will take you on a culinary journey through Asia. For the full recipe, check out my Sticky Honey Garlic Wings recipe to get started on these delicious variations! To keep your sticky honey garlic wings fresh, store them properly. Place the cooled wings in an airtight container. This keeps them from drying out. You can also wrap them tightly in plastic wrap. Store them in the fridge for up to four days. If you need to keep them longer, freeze the wings. They can last in the freezer for up to three months. Just remember to label your container with the date. Reheating wings can be tricky. You want to keep them crispy and tasty. The best way is to use an oven. Preheat your oven to 350°F (175°C). Place the wings on a baking sheet lined with foil. Heat them for about 10 to 15 minutes. This will help restore their crispiness. You can also use an air fryer if you have one. Heat the air fryer to 350°F (175°C) and cook the wings for about 5 to 7 minutes. This method keeps the wings crispy and delicious. Avoid using a microwave, as it can make them soggy and unappetizing. Enjoy your wings just as good as when they were fresh! Yes, you can use frozen wings! First, thaw them in the fridge overnight. If you need them quick, place them in a sealed bag and submerge in cold water for about an hour. Once thawed, pat them dry with paper towels. This step helps achieve extra crispiness. Follow the same marinating and baking steps as fresh wings for great results. To make the wings healthier, consider these tips: - Use skinless wings to cut down on fat. - Swap honey for a sugar-free alternative. - Use low-sodium soy sauce to reduce salt. - Add more garlic and ginger for flavor without calories. - Serve with fresh veggies instead of fries for a nutritious side. These swaps keep the flavor while lowering calories. Sticky Honey Garlic Wings pair well with various sides: - Vegetable sticks: Carrot, celery, and cucumber sticks add crunch. - Coleslaw: A tangy slaw balances the sweetness of the wings. - Rice: Steamed rice soaks up the extra sauce nicely. - Potato wedges: Crispy wedges provide a hearty side. For drinks, consider these options: - Light beer: It complements the sweetness. - Lemonade: Its tartness balances the rich flavors. - Iced tea: A refreshing choice that cleanses the palate. Check out the [Full Recipe](#) for Sticky Honey Garlic Wings. Sticky Honey Garlic Wings are delicious and fun to make. We've covered all the key ingredients, like chicken wings, honey, soy sauce, and fresh garlic. You learned how to prepare the marinade and cook the wings to get them crispy and tasty. Remember, you can adjust flavors and try different cooking methods. Feel free to experiment with spicy or barbecue variations. Follow the storage tips to keep leftovers fresh. Now, it’s time to gather your ingredients and enjoy creating this tasty dish. Happy cooking!](https://blissfulmeal.com/wp-content/uploads/2025/07/3c6c8d52-38cf-4b4a-8fca-8f7ad1b2427f-768x768.webp)


![- 1 loaf of crusty sourdough bread - 1/2 cup unsalted butter, melted - 4 cloves garlic, finely minced - 1 teaspoon Italian seasoning blend - 1 cup shredded mozzarella cheese - 1/2 cup freshly grated Parmesan cheese - 1/4 cup fresh parsley, finely chopped - Salt and freshly ground black pepper to taste You might not have sourdough on hand. You can use a French or Italian bread instead. For a vegan option, try using coconut oil or a vegan butter substitute. If you want to change the cheese, you could use cheddar or gouda for a rich taste. To pick the best sourdough, look for a crust that is hard and golden. The inside should look soft and airy. Fresh herbs make a big difference. Always use parsley that is bright green and fragrant. These small details help your pull-apart bread taste its best. For the full recipe, check the provided details. 1. Start by preheating your oven to 375°F (190°C). This heat will help the bread rise and cook well. 2. In a medium bowl, mix melted butter, minced garlic, Italian seasoning, salt, and pepper. This garlic butter will add rich flavor. - To cut the bread, use a sharp knife. Make deep cuts in a grid pattern. Space the cuts about 1 inch apart. Be careful not to slice through the bottom. - Pull apart the bread gently to create openings. This step is key for adding the tasty filling. - Drizzle the garlic butter into each cut. Use a pastry brush or small spoon for best results. Make sure the butter seeps into the bread. - Now, stuff shredded mozzarella and grated Parmesan cheese into each cut. Try to fill every piece with cheese. This ensures maximum cheesy goodness. For the full recipe, follow the steps as written. Enjoy the process and the tasty treat! Wrapping the bread in foil is key. This helps the bread steam while baking. It keeps the inside soft and moist. If you skip this step, the bread may dry out. To check if your cheesy garlic pull-apart bread is done, look for a golden crust. You can also gently pull apart a piece to see if the cheese is melted. If it's not gooey and bubbly, give it a few more minutes in the oven. For the best experience, serve cheesy garlic pull-apart bread with a side of marinara sauce. It adds a nice dip for each piece. You can also pair it with a fresh salad for a complete meal. To impress your guests, place the bread on a rustic wooden board. Add small plates, napkins, and toothpicks for easy sharing. This makes it fun and interactive! You can add extra flavors to your bread. Try adding crushed red pepper flakes for a kick. A sprinkle of smoked paprika can also add depth. If you want more garlic flavor, consider using roasted garlic. It has a sweet and rich taste. You can mix it into the garlic butter for an extra punch. Enjoy the layers of flavor with every cheesy pull! {{image_4}} You can easily switch up the cheese in your cheesy garlic pull-apart bread. Here are some fun ideas: - Cheddar: A sharp cheddar adds a bold flavor. - Gouda: This cheese brings a smoky taste. - Cream cheese: For a rich and creamy texture. - Feta: Crumbled feta can add a tangy twist. You can also add herbs or spices to make it personal. Try these: - Chopped rosemary: It gives a fresh taste. - Dried oregano: This adds a warm flavor. - Crushed red pepper: For a spicy kick. If you need gluten-free options, use gluten-free bread. Many brands offer great choices. For vegan alternatives, try these swaps: - Vegan butter: It works well in place of regular butter. - Nutritional yeast: This can replace cheese for a cheesy flavor. - Plant-based cheese: There are many tasty options on the market. You can also explore sweet and savory flavors. Adding a bit of honey can balance the garlic. For extra fillings, consider: - Sun-dried tomatoes: They add a rich, sweet flavor. - Jalapeños: These bring in heat and a nice crunch. These variations will help you create a dish that fits your taste. For details on making the base recipe, see the Full Recipe. To store leftover cheesy garlic pull-apart bread, wrap it tightly in plastic wrap. This helps keep it fresh for a short time. You can also place it in an airtight container. This method keeps the bread soft and tasty. Try to eat it within two days for the best flavor. If you want to keep it longer, freezing is the way to go. First, slice the bread into sections. Then, wrap each piece in foil or plastic wrap. Place these wrapped pieces in a freezer bag. Make sure to squeeze out any air. To reheat, thaw the bread in the fridge overnight. Then, pop it in the oven at 350°F (175°C) for about 10-15 minutes. This will bring back its crispy crust and gooey cheese. In the fridge, your bread will last about three days. If you freeze it, it can stay good for up to three months. Always check for signs of spoilage. Look for mold or a strange smell. If you see these, it's best to toss the bread. Enjoy your cheesy garlic pull-apart bread fresh for the best taste! For the full recipe, check it out [Full Recipe]. How do I make my cheesy garlic pull-apart bread more garlicky? To boost the garlic flavor, add more minced garlic to the butter mix. Try using 6 cloves instead of 4. You can also roast garlic for a milder, sweeter taste. Can I use other types of bread for this recipe? Yes, you can use other breads like French or Italian. Just make sure they are crusty and can hold the cheese and butter well. What should I do if my bread is getting too browned during baking? If your bread starts to brown too much, cover it with foil. This will prevent burning while the inside bakes and the cheese melts. Can I freeze leftovers and how should I do it? Yes, you can freeze leftovers! Wrap the bread tightly in plastic wrap and then in foil. This helps to keep it fresh. How do I reheat frozen pull-apart bread? To reheat, thaw the bread in the fridge overnight. Then, wrap it in foil and bake at 350°F (175°C) for about 15-20 minutes. What can I use instead of mozzarella cheese? You can use other cheese types, like cheddar or gouda. These will change the flavor but still create a yummy bread. Is there a non-dairy alternative for the butter? Yes, try using vegan butter or olive oil instead of regular butter. It will still taste great in this recipe. In this blog post, we explored how to create cheesy garlic pull-apart bread. We covered essential ingredients, including sourdough bread and various cheeses. I shared tips for preparation, cutting techniques, and filling methods. You learned variations and how to store leftovers. Remember, freshness matters, and feel free to experiment with flavors. Use the tips shared to impress your friends and family with this delicious bread. Make it your own by trying different cheeses or herbs. Enjoy every cheesy bite!](https://blissfulmeal.com/wp-content/uploads/2025/07/8a08e540-5f51-4da3-8290-aa8931d8d530-768x768.webp)