Skip to content
About
Contact
Cookie Policy
Copyright Policy
Disclaimer
Search
Home
Dinner
Appetizer
Desserts
Drinks
About
Contact
Privacy Policy
Toggle Menu
Home
/
Desserts
Desserts
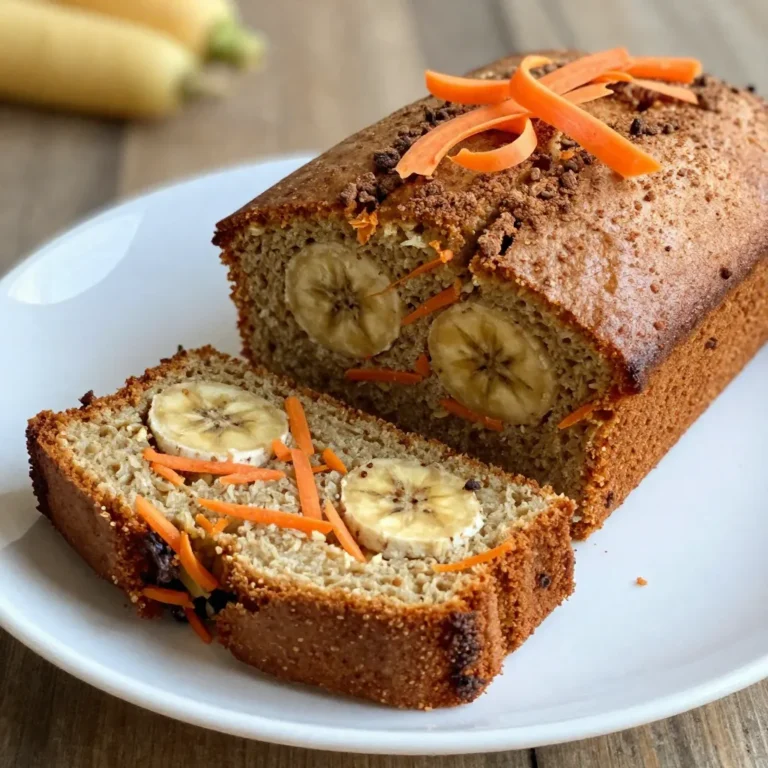
Carrot Cake Banana Bread Delightful and Flavorful Recipe
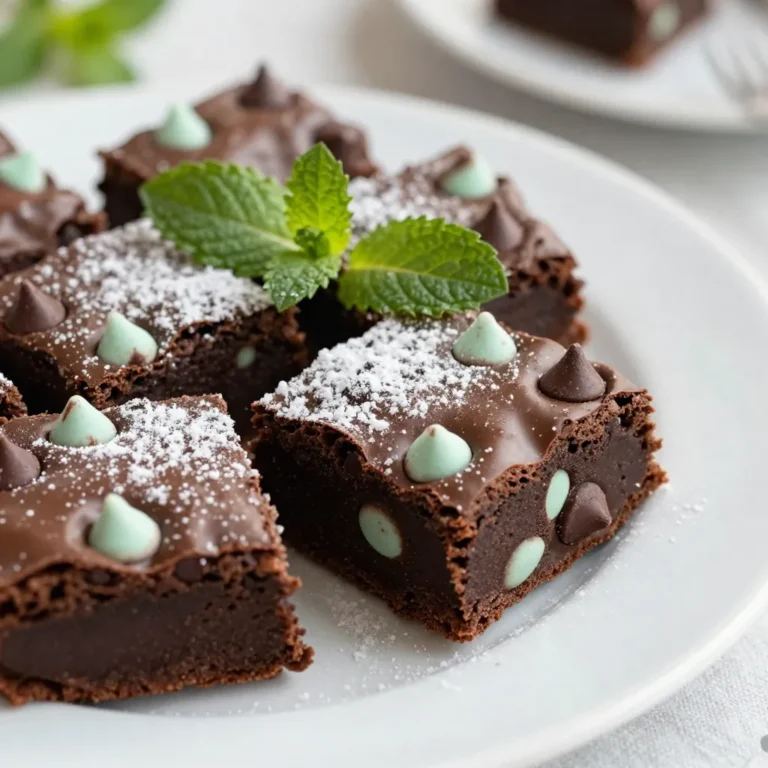
Fudgy Mint Chocolate Brownies Irresistibly Rich Treat
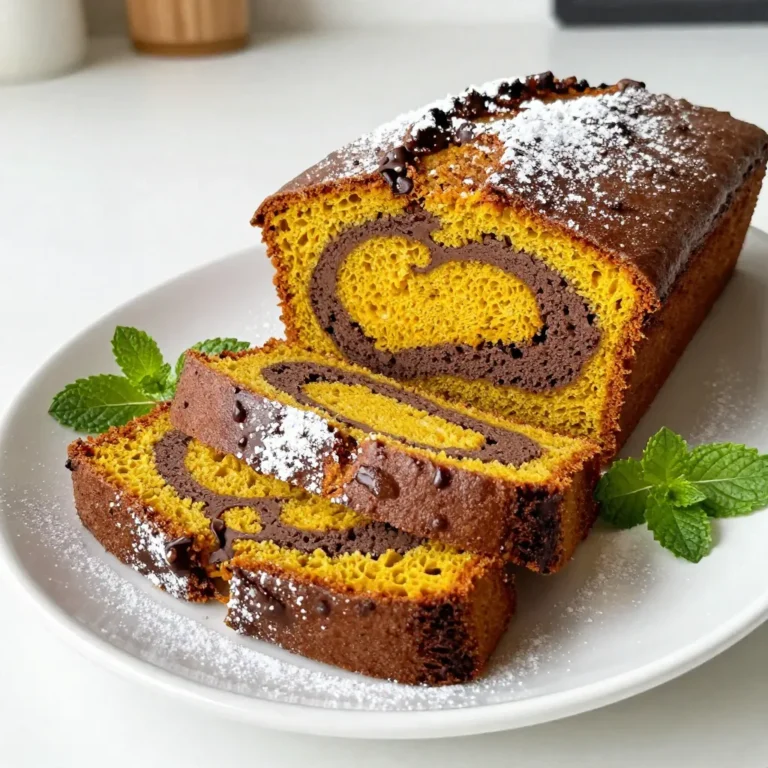
Chocolate Swirl Pumpkin Bread Cozy Fall Recipe
Orange Glazed Cranberry Scones Delightfully Tasty Treat
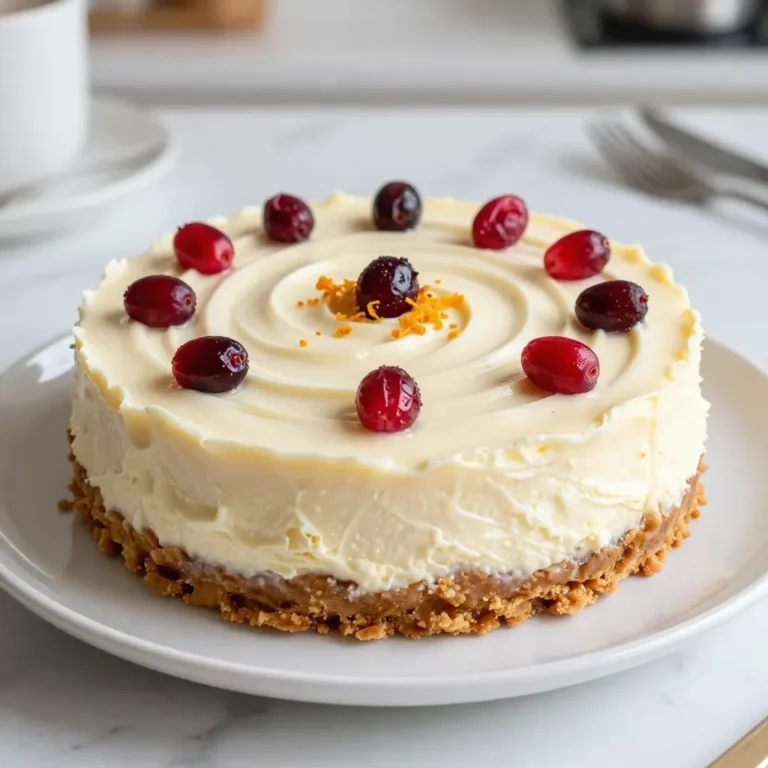
Cranberry Bliss Cheesecake Rich and Flavorful Delight
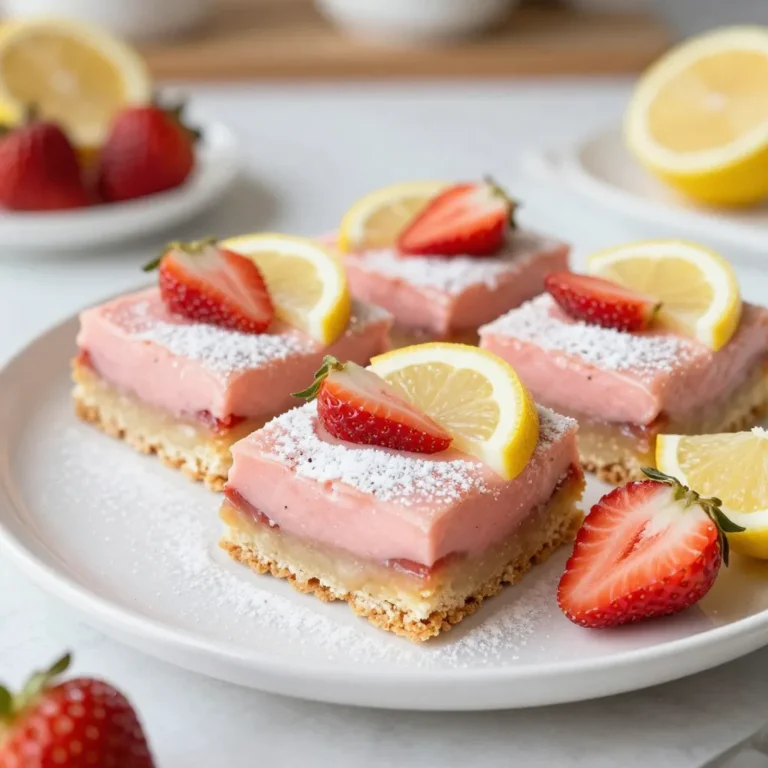
Strawberry Lemonade Bars Refreshing Summer Treat
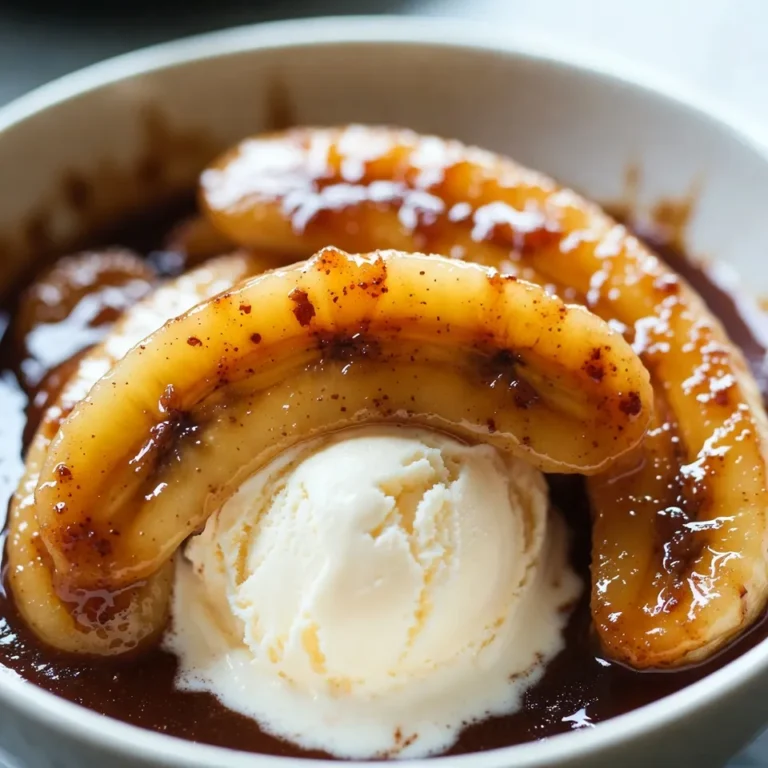
Classic Bananas Foster Irresistible Dessert Guide
Peanut Butter Oatmeal Breakfast Cookies Crunchy Delight
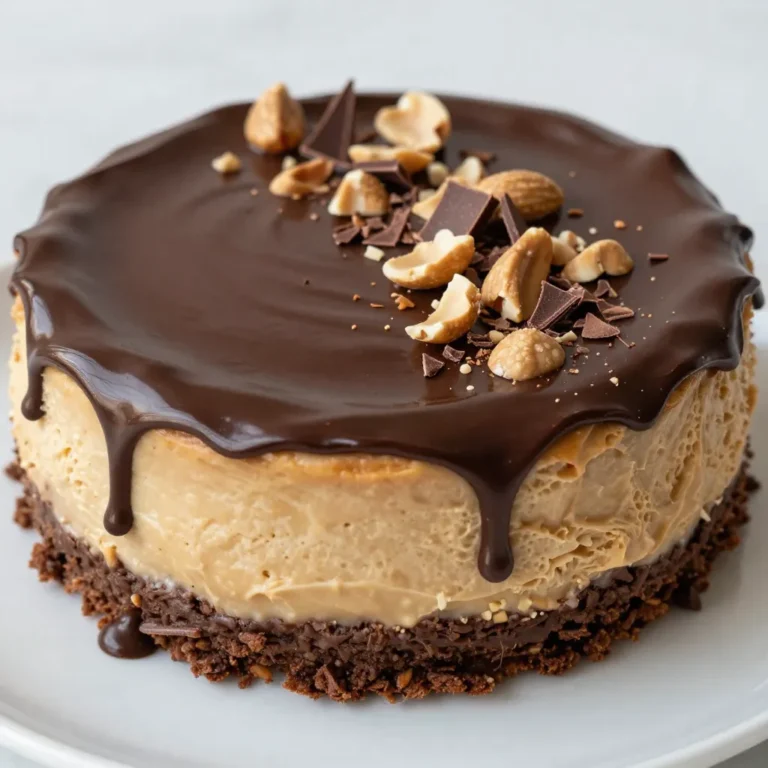
Indulgent Peanut Butter Chocolate Cheesecake Recipe
Key Lime Cheesecake Dip Simple and Tasty Delight
Page navigation
1
2
3
…
27
Next Page
Next
Home
Dinner
Appetizer
Desserts
Drinks
About
Contact
Privacy Policy
Toggle Menu Close
Search for:
Search