Skip to content
About
Contact
Cookie Policy
Copyright Policy
Disclaimer
Search
Home
Dinner
Appetizer
Desserts
Drinks
About
Contact
Privacy Policy
Toggle Menu
Home
/
Desserts
- Page 10
Desserts
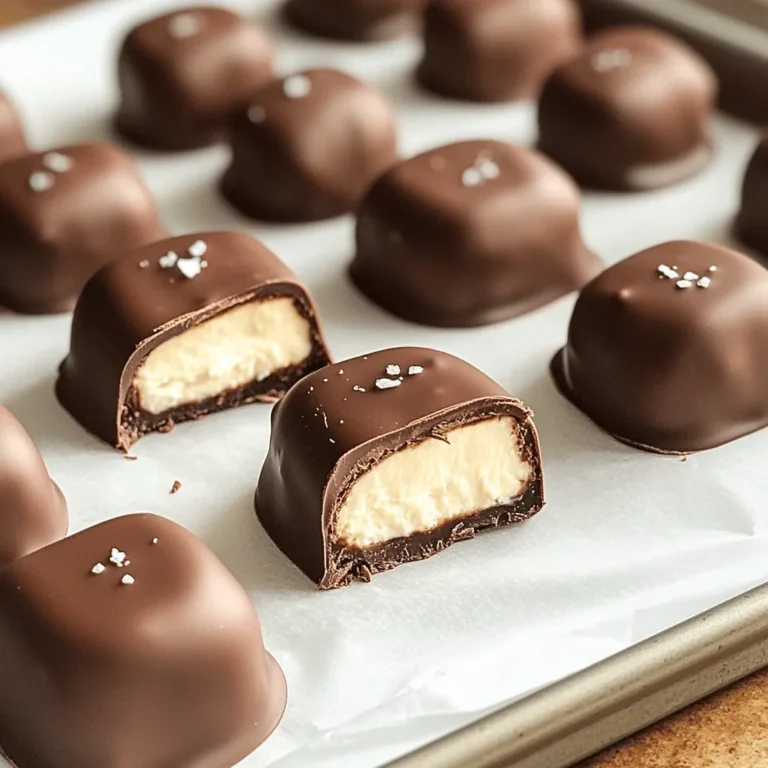
Chocolate Covered Cheesecake Bites Irresistible Dessert
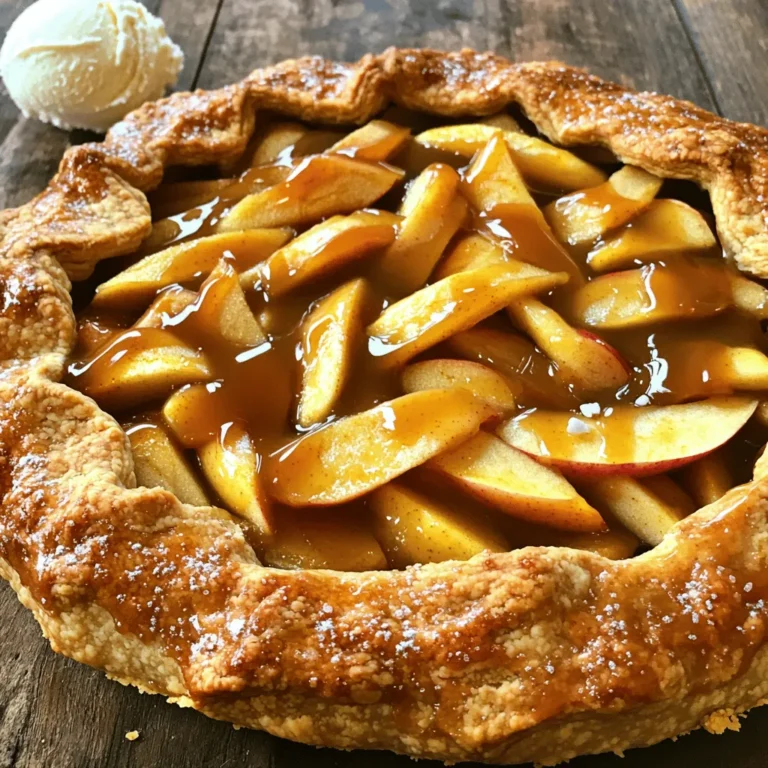
Salted Caramel Apple Galette Irresistible Dessert Delight
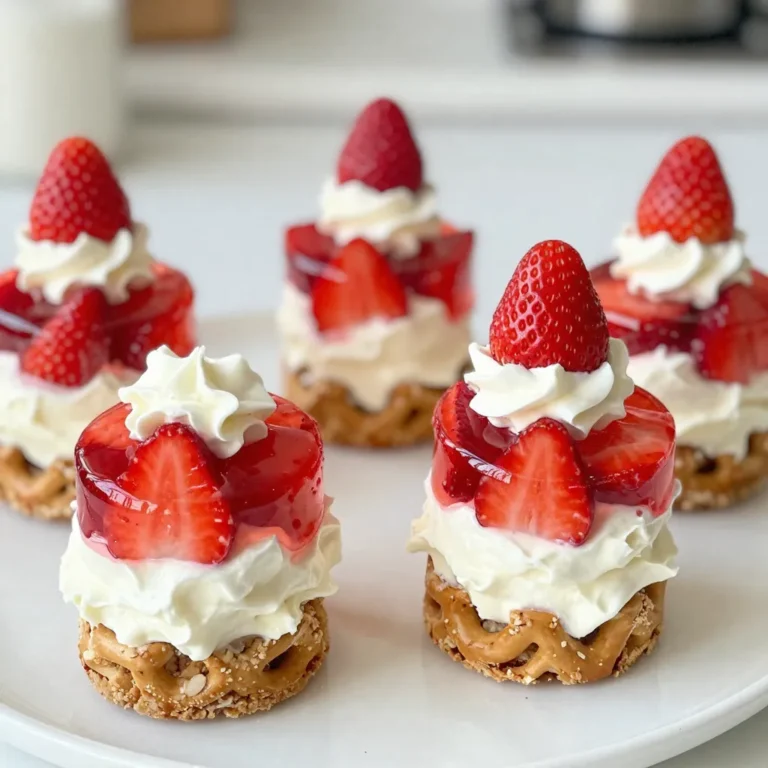
Strawberry Pretzel Salad Cups Delightful Dessert Treat
Cherry Pie Thumbprint Cookies Delightful and Easy Recipe
Classic Cream Cheese Frosted Carrot Cake Delight
Cherry Pie Thumbprint Cookies Irresistible Treats
Classic Cream Cheese Frosted Carrot Cake Delight
Strawberry Banana Bread Irresistible and Simple Recipe
Butterscotch Pretzel Cookies Sweet and Salty Delight
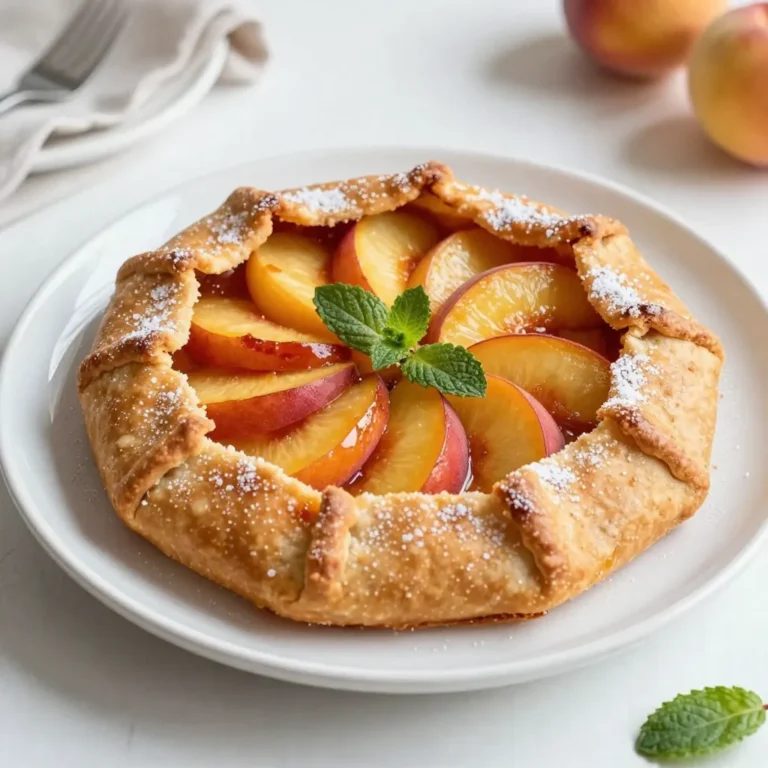
Rustic Peach Galette Delightful and Easy Recipe
Page navigation
Previous Page
Previous
1
…
8
9
10
11
12
…
27
Next Page
Next
Home
Dinner
Appetizer
Desserts
Drinks
About
Contact
Privacy Policy
Toggle Menu Close
Search for:
Search

![When making Butterscotch Pretzel Cookies, you need just the right ingredients. Each one adds to the sweet and salty delight. Here’s what you’ll need: - 1 cup unsalted butter, softened to room temperature - 3/4 cup packed brown sugar - 1/2 cup granulated sugar - 2 large eggs - 1 teaspoon pure vanilla extract - 2 1/4 cups all-purpose flour - 1 teaspoon baking soda - 1/2 teaspoon fine sea salt - 1 cup butterscotch chips - 1 cup crushed pretzels (plus extra for topping) - Coarse sea salt for sprinkling These ingredients work together to create a cookie that is both chewy and crunchy. The butter and sugars blend for a rich taste. The butterscotch chips melt slightly, adding sweetness, while the pretzels give that perfect crunch. Don't forget to check the [Full Recipe] for more details on how to put it all together. Start by preheating your oven to 350°F (175°C). This step is vital for even baking. While the oven heats, grab two baking sheets. Line them with parchment paper. This will help the cookies from sticking to the sheets. In a large mixing bowl, add 1 cup of softened unsalted butter. Then, pour in 3/4 cup of packed brown sugar and 1/2 cup of granulated sugar. Use an electric mixer to beat these together. Mix until the mixture is light and fluffy. This usually takes about 2 to 3 minutes. Now, add 2 large eggs one by one. Make sure to mix each egg in completely before adding the next. After the last egg, stir in 1 teaspoon of pure vanilla extract. This gives a nice flavor boost to the cookies. In a separate bowl, whisk together 2 1/4 cups of all-purpose flour, 1 teaspoon of baking soda, and 1/2 teaspoon of fine sea salt. This step ensures that the dry ingredients mix well. Gradually add this mix to the wet ingredients. Mix on low speed until just combined. Avoid overmixing; the dough should still be soft and slightly sticky. Next, gently fold in 1 cup of butterscotch chips and 1 cup of crushed pretzels. This will add both sweetness and crunch to each cookie. Make sure the chips and pretzels are evenly mixed into the dough. Using a cookie scoop or a tablespoon, drop rounded portions of the dough onto the prepared baking sheets. Space them about 2 inches apart. For added texture, press a few extra crushed pretzels onto the top of each cookie. Finish by sprinkling a pinch of coarse sea salt on top of each. Place the baking sheets in the oven and bake for 10 to 12 minutes. Look for the edges to turn golden brown. Once baked, let them cool on the baking sheets for about 5 minutes. Then, move the cookies to a wire rack to cool completely. For the full recipe, check out the detailed instructions. Enjoy these sweet and salty treats! To get a great texture, focus on your butter. Use softened unsalted butter. This helps create a creamy base. Mix your butter and sugars well. Aim for light and fluffy. Overmixing can lead to tough cookies. When adding flour, mix just until combined. This keeps the dough soft and slightly sticky. You can swap some ingredients if needed. For a dairy-free version, use vegan butter. You can also replace butterscotch chips with chocolate chips. If you want a crunch, try nuts instead of pretzels. Omit the sea salt if you prefer less saltiness. Make sure to adjust the amount based on your taste. To bake evenly, space your dough balls correctly. Keep about two inches between them on the baking sheet. This allows heat to circulate. Use parchment paper to prevent sticking. Keep an eye on the baking time. Everyone’s oven is different. You want golden edges but soft centers. Rotate your baking sheets halfway through for even results. Check out the Full Recipe for step-by-step details! {{image_4}} You can switch up your cookies by adding chocolate chips. Mixing butterscotch and chocolate gives a rich flavor. Just replace half the butterscotch chips with chocolate chips. This adds a deep, sweet taste that many love. You can use dark or milk chocolate, depending on your preference. This twist makes them even more decadent! Nuts can add crunch and flavor to your cookies. Try adding chopped pecans or walnuts. They mix well with butterscotch and pretzels. If you like dried fruit, add some raisins or cranberries. This gives a burst of sweetness. You can even use coconut flakes for a tropical vibe. Just be careful not to add too much, or the dough may become too dry. You can make these cookies gluten-free with simple swaps. Use gluten-free flour instead of all-purpose flour. For vegan cookies, replace the butter with coconut oil or vegan butter. You can use flax eggs instead of regular eggs. Just mix one tablespoon of ground flaxseed with two and a half tablespoons of water, then let it sit. This will create a great egg substitute! These options let everyone enjoy the sweet and salty delight of butterscotch pretzel cookies. For the full recipe, check out the complete guide. To keep your butterscotch pretzel cookies fresh, store them in an airtight container. Place parchment paper between layers to prevent sticking. Keep them at room temperature for up to one week. If you want to enjoy them later, consider freezing some. This way, you can savor that sweet and salty delight anytime. Freezing cookies is easy. First, let them cool completely. Then, place them in a single layer on a baking sheet. Freeze until solid, then transfer them to a freezer-safe bag. Remove excess air to avoid freezer burn. You can freeze these cookies for up to three months. When you’re ready, just thaw them overnight in the fridge or at room temperature. To bring back the warm, gooey texture, reheat your cookies. Preheat the oven to 350°F (175°C). Place the cookies on a baking sheet and warm them for about 5-7 minutes. This will make them soft and delicious again. Enjoy them fresh, just like they came out of the oven! For the full recipe, check out the detailed instructions above. To make Butterscotch Pretzel Cookies, start with soft butter and sugars. Cream them together in a bowl. Then, add eggs and vanilla. Mix flour, baking soda, and salt in another bowl. Combine the dry mix with the wet mix. Finally, fold in butterscotch chips and crushed pretzels. Scoop dough onto baking sheets, press in extra pretzels, and sprinkle sea salt on top. Bake at 350°F for 10-12 minutes. For the full recipe, check above. Yes, you can make these cookies ahead of time! You can prepare the dough and chill it in the fridge for up to 3 days. This helps the flavors develop even more. When you're ready, scoop and bake as usual. You can also bake them and store them in an airtight container for up to a week. To prevent cookies from spreading, make sure your butter is not too warm. Use cold eggs and chill the dough for about 30 minutes before baking. Also, keep enough space between each cookie on the tray. A good rule is to leave 2 inches apart. Finally, use parchment paper to help maintain their shape while baking. In this post, we explored making Butterscotch Pretzel Cookies. We covered the right ingredients, step-by-step instructions, and tips for perfect cookies. Variations like adding nuts or making gluten-free options were also discussed. For best results, store your cookies properly to keep them fresh. Remember to have fun and experiment with flavors as you bake. Happy cooking!](https://blissfulmeal.com/wp-content/uploads/2025/07/eddfa83e-bdca-458a-b4cd-a6341ad0b6ee-768x768.webp)