Skip to content
About
Contact
Cookie Policy
Copyright Policy
Disclaimer
Search
Home
Dinner
Appetizer
Desserts
Drinks
About
Contact
Privacy Policy
Toggle Menu
Home
/
Desserts
- Page 13
Desserts
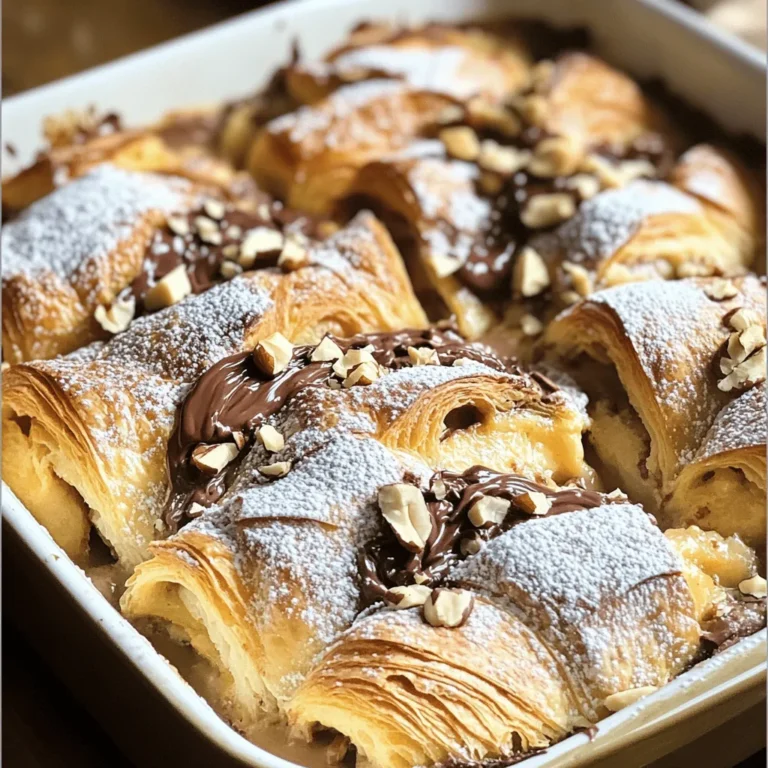
Chocolate Hazelnut Croissant Bake Joyful Breakfast Treat
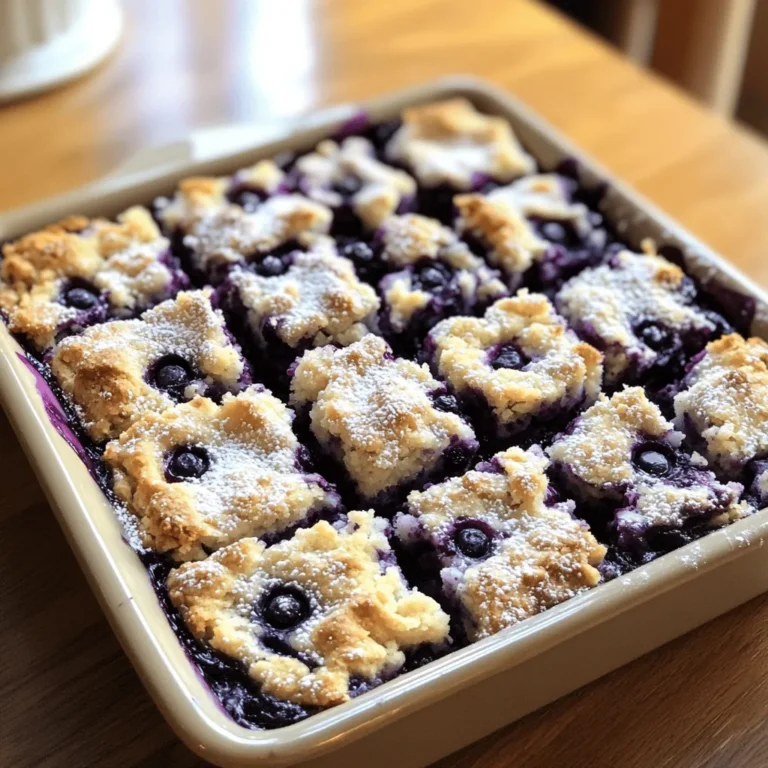
Blueberry Crumble Bars Simple and Tasty Recipe
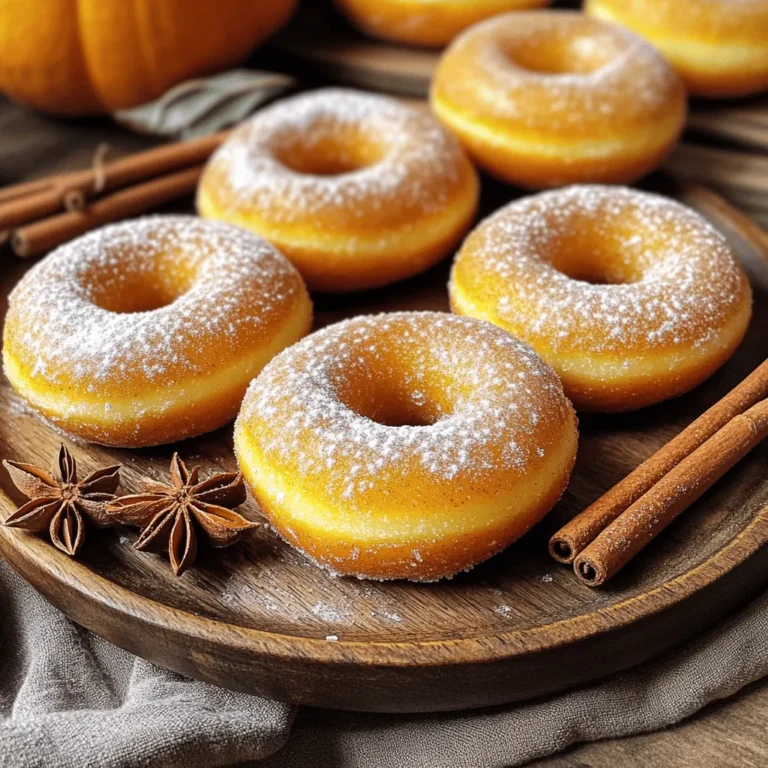
Baked Pumpkin Spice Donuts Irresistible Fall Treat
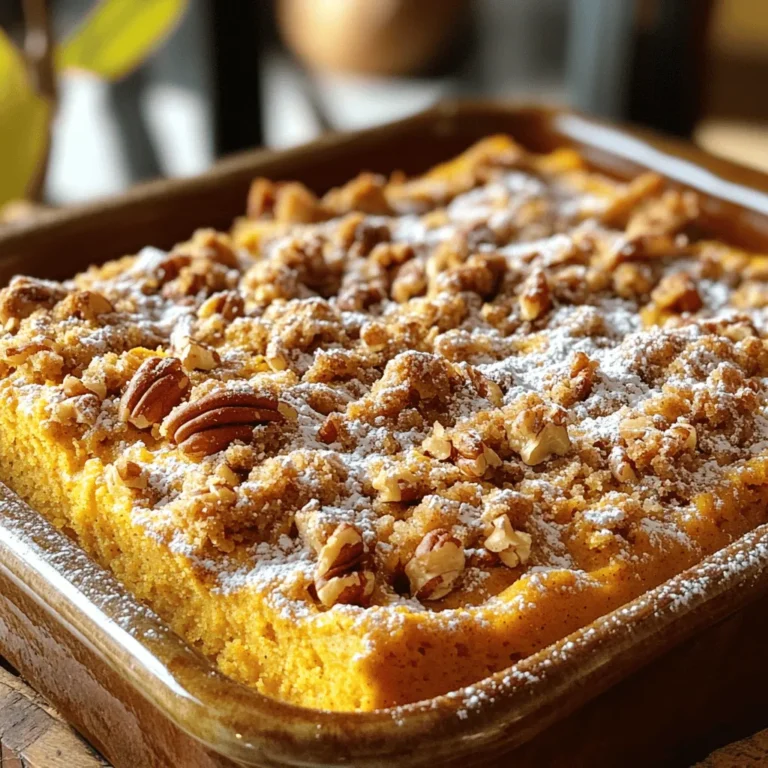
Pumpkin Pecan Streusel Coffee Cake Delightful Recipe
Baked Pumpkin Spice Donuts Fresh and Flavorful Treat
Pumpkin Pecan Streusel Coffee Cake Delightful Treat
Cherry Coconut Macaroons Delightfully Sweet Treat
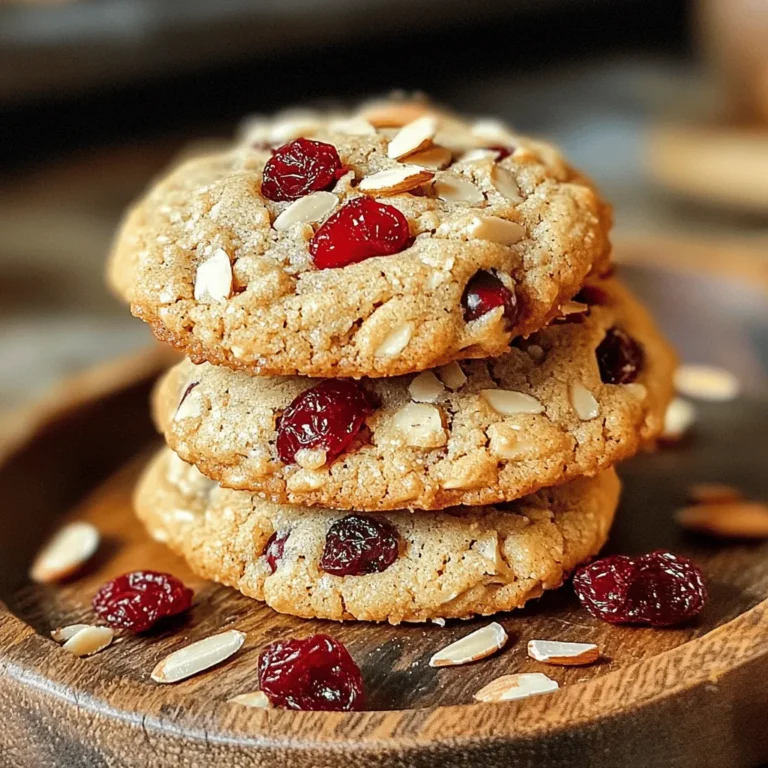
Cherry Almond Protein Cookies Healthy and Simple Treat
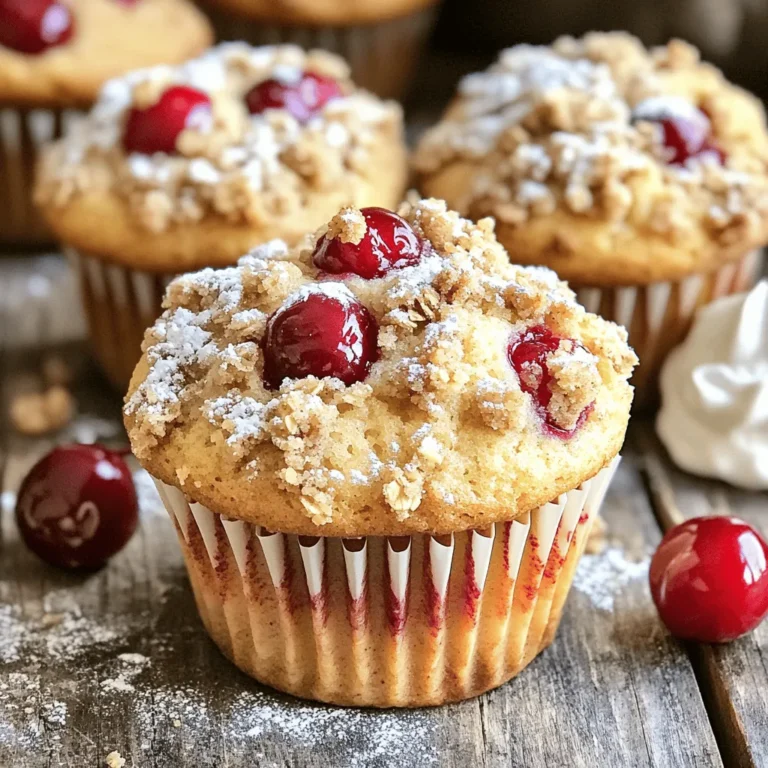
Cherry Streusel Muffins Perfectly Moist Recipe
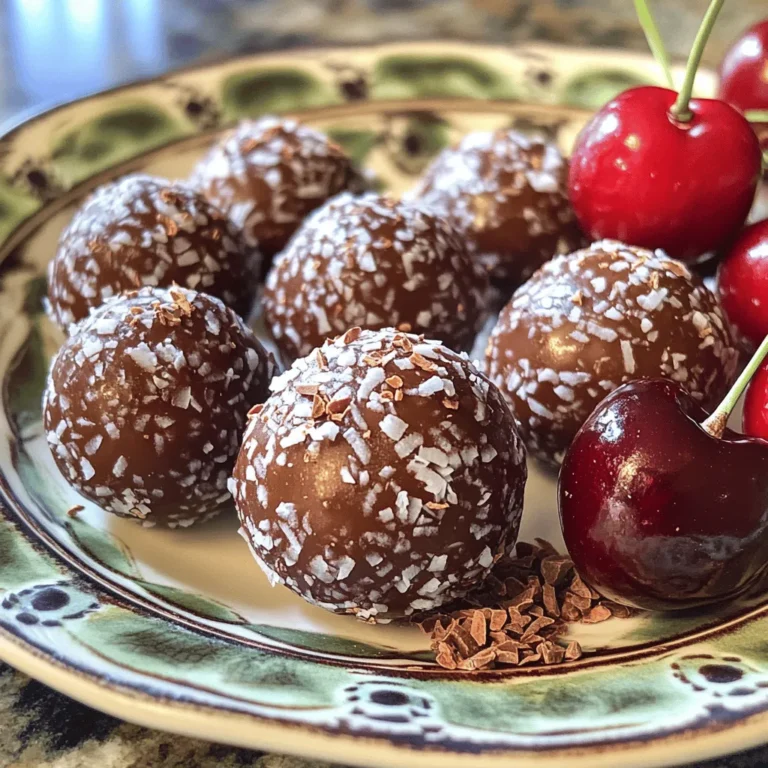
Cherry Chocolate Bliss Balls Delightful and Easy Recipe
Page navigation
Previous Page
Previous
1
…
11
12
13
14
15
…
27
Next Page
Next
Home
Dinner
Appetizer
Desserts
Drinks
About
Contact
Privacy Policy
Toggle Menu Close
Search for:
Search

![- 1 cup pumpkin puree (either canned or freshly made) - 2 cups all-purpose flour - 1/2 cup granulated sugar - 1/2 cup packed brown sugar - 2 teaspoons baking powder - 1 teaspoon baking soda - 1 teaspoon ground cinnamon - 1/2 teaspoon ground nutmeg - 1/2 teaspoon ground ginger - 1/4 teaspoon ground cloves - 1/2 teaspoon salt - 2 large eggs - 1/4 cup vegetable oil - 1/4 cup milk - 1 teaspoon vanilla extract For gluten-free options, swap the all-purpose flour with a gluten-free blend. This mix works well and keeps the donuts light. You can also use coconut oil instead of vegetable oil for a different flavor profile. If you need a dairy-free option, replace milk with almond or oat milk. Each donut contains about 150 calories. Here’s the breakdown: - Carbs: 24g - Fats: 5g - Protein: 3g These donuts are a tasty treat that won't spoil your diet. They balance flavors and nutrition, making them perfect for fall. To start, gather all your ingredients. This recipe uses pumpkin puree, flour, sugars, and spices. First, mix the wet ingredients in one bowl. Combine the pumpkin puree, eggs, oil, milk, and vanilla. Whisk these until they are smooth. In another bowl, mix the dry ingredients. Whisk the flour, sugars, baking powder, baking soda, and spices together well. This step is key for even flavors. Next, gently pour the wet mixture into the dry bowl. Stir it together just until combined. You want to avoid overmixing. A few lumps are okay and will help keep the donuts fluffy. Preheat your oven to 350°F (175°C). This ensures your donuts bake evenly. While the oven heats, prepare your donut pan. Lightly grease it with cooking spray or oil. This helps the donuts release easily after baking. Now, for filling the donut pan, you can use a piping bag. If you don’t have one, a plastic bag with a snipped corner works too. Fill each cavity about two-thirds full. This gives the donuts room to rise without spilling over. After baking for 12-15 minutes, it’s time to check for doneness. Insert a toothpick into the center of a donut. If it comes out clean, your donuts are done. If it has batter on it, give them a few more minutes. Look for a golden-brown color on the tops. They should look fluffy and slightly spring back when touched. Once baked, let them cool in the pan for about 5 minutes. Then, transfer them to a wire rack to cool completely. This step helps keep them from getting soggy. Enjoy your delicious Baked Pumpkin Spice Donuts! For the full recipe, check the earlier section. One big error is overmixing the batter. This can make your donuts tough. Mix just enough to combine the wet and dry ingredients. A few lumps are fine. They help keep the donuts light and fluffy. Baking times can vary by oven type. If your oven runs hot, check the donuts a bit early. If it’s cooler, they may need more time. Always use a toothpick to test for doneness. It should come out clean when done. Adding toppings is an easy way to boost flavor. A simple glaze can add sweetness. Sprinkles add a fun touch. You could also try drizzling chocolate over the top. For a twist, mix in nuts or chocolate chips. Chopped walnuts or pecans add crunch. Chocolate chips melt and create a sweet surprise in each bite. These donuts pair well with hot drinks. Enjoy them with coffee or tea. The warm spices match perfectly with your favorite brew. For a festive look, serve your donuts on a pretty platter. Add small pumpkins or colorful leaves around them. This creates a cozy fall vibe. You can find the full recipe for Baked Pumpkin Spice Donuts to make these delicious treats. {{image_4}} You can mix up the flavors in your baked pumpkin spice donuts. Try using different spices. Add more nutmeg, or cinnamon for a richer taste. If you want a unique twist, consider using pumpkin spice extract. This adds a lovely aroma and flavor without extra work. You can also switch up the puree. Sweet potato or butternut squash works well too. Each option gives a different taste and texture to your donuts. Want a healthier version of these tasty treats? Start by reducing sugar. You can use natural sweeteners like honey or maple syrup. These options add sweetness without refined sugar. You can also swap out oils. Instead of vegetable oil, try unsweetened applesauce or yogurt. This change cuts fat and adds moisture. Both methods help you enjoy a guilt-free snack that still tastes great! To keep your baked pumpkin spice donuts fresh, store them at room temperature. Place them in an airtight container. This method prevents them from getting dry or stale. You can also wrap them in plastic wrap for added protection. Enjoy them within three days for the best taste. If you want to save some for later, freezing is a great option. Here’s how: 1. Cool the donuts completely. This step is key to keep them from getting soggy. 2. Wrap each donut in plastic wrap. Make sure to do this well to keep air out. 3. Place the wrapped donuts in a freezer bag. Squeeze out as much air as you can before sealing. When you are ready to eat them, thaw the donuts at room temperature. For the best texture, you can warm them in the oven for a few minutes. This brings back their fluffy goodness. Following these steps ensures that your donuts taste fresh even after freezing. For the full recipe, check out [Full Recipe]. Yes, you can make these donuts up to two days in advance. Just store them in an airtight container. This keeps them fresh and tasty. You can also freeze them for up to a month. Just wrap each donut in plastic wrap. Place them in a freezer bag for best results. If you don’t have pumpkin puree, you can use mashed banana or applesauce. Both will add moisture and sweetness. However, they will change the flavor slightly. You can also try using butternut squash puree. It tastes great and has a similar texture. To check if your donuts are done, look for a few signs. They should be golden brown. The edges should pull away from the pan. You can also press lightly on the top; it should spring back. If you want, you can use a toothpick. It should come out clean when inserted into the center. Yes, you can use a mini donut pan or a muffin pan. If you use a muffin pan, keep in mind that you may need to adjust the baking time. Mini donuts will bake faster than standard-sized ones. Donut holes are a fun option too! Just fill the pan about halfway to allow room for rising. This blog post covers how to make delicious baked donuts from scratch. We explored ingredients and measurements, plus healthy swaps. I provided step-by-step instructions for mixing and baking. You learned common mistakes to avoid and tips for flavor enhancement. Remember, you can store these donuts easily or try fun variations. Baking should be fun and creative. Enjoy baking your perfect batch!](https://blissfulmeal.com/wp-content/uploads/2025/07/d8567a0a-1a48-4980-b407-0b687591d4ca-768x768.webp)