Skip to content
About
Contact
Cookie Policy
Copyright Policy
Disclaimer
Search
Home
Dinner
Appetizer
Desserts
Drinks
About
Contact
Privacy Policy
Toggle Menu
Home
/
Desserts
- Page 15
Desserts
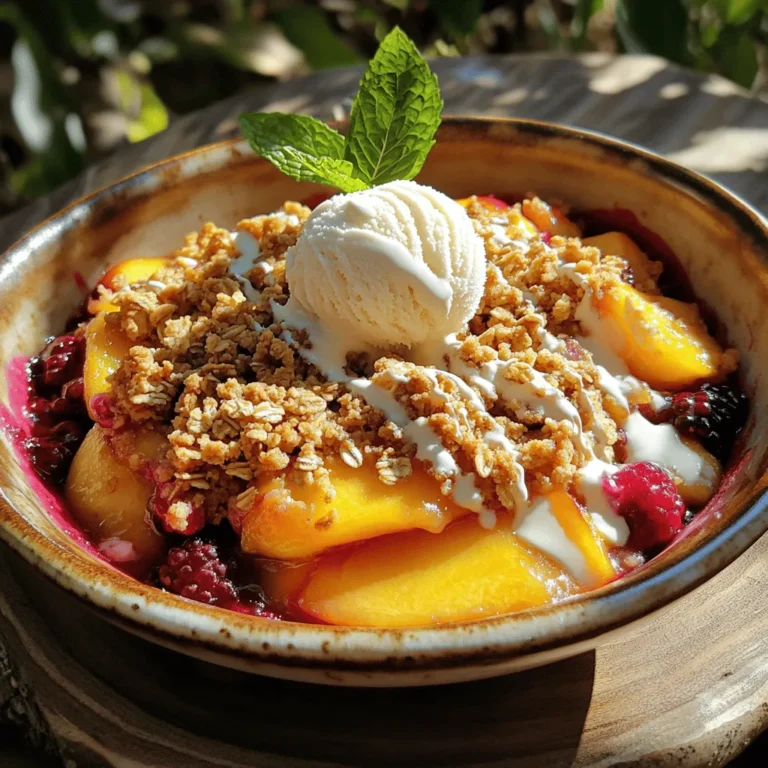
Peach and Berry Crisp Deliciously Easy Dessert Recipe
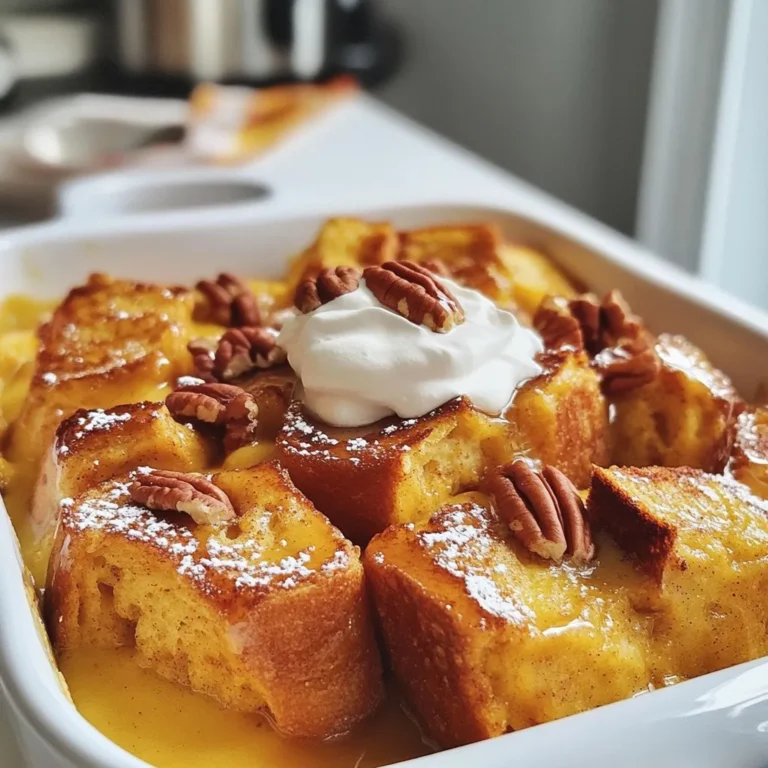
Pumpkin Spice French Toast Casserole Delight Recipe
Mexican Chocolate Snickerdoodles Flavorful and Fun Treat
Healthy Peanut Butter Granola Bars for Nutritious Snacking
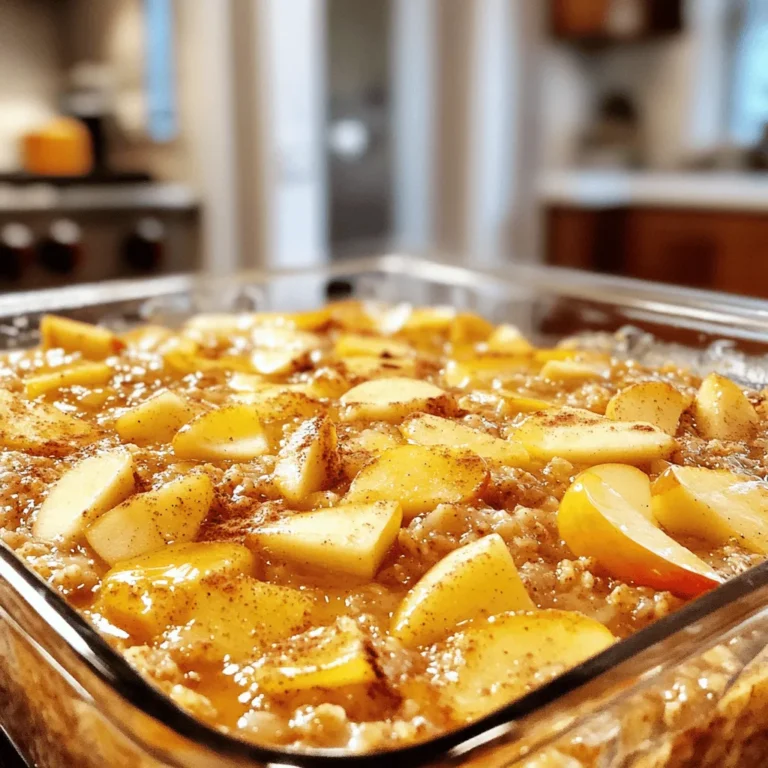
Apple Cinnamon Oatmeal Bake Easy and Healthy Recipe
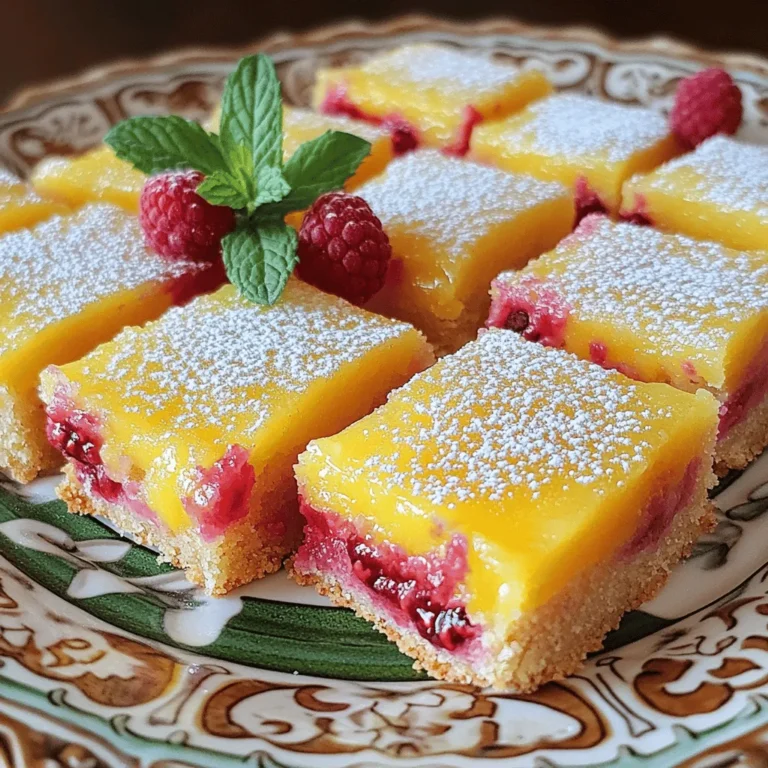
Raspberry Lemon Bars Delightful and Easy Recipe
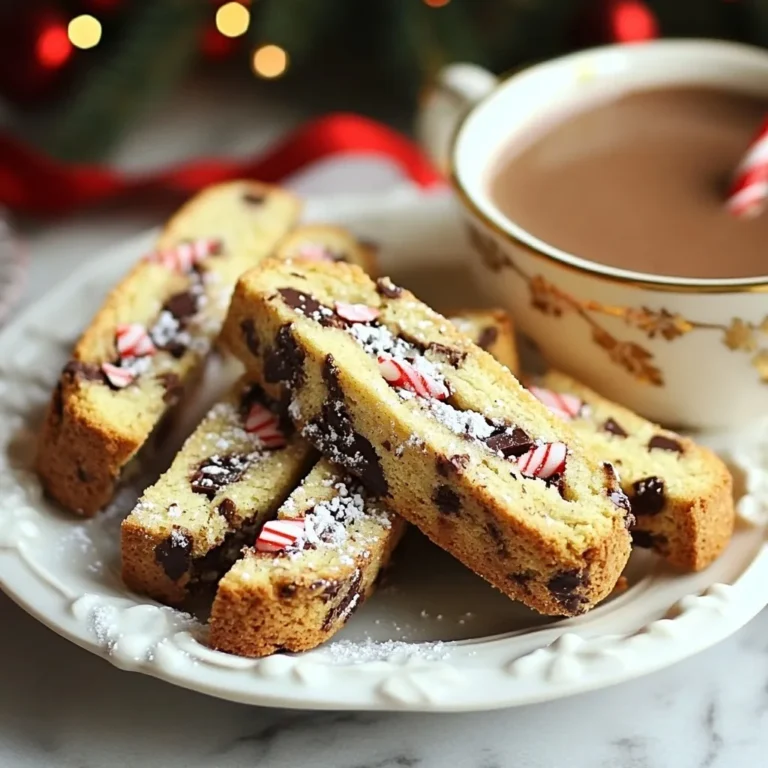
Peppermint Chocolate Chip Biscotti Irresistible Treat
No-Bake Cookie Dough Bites Tasty and Easy Snack
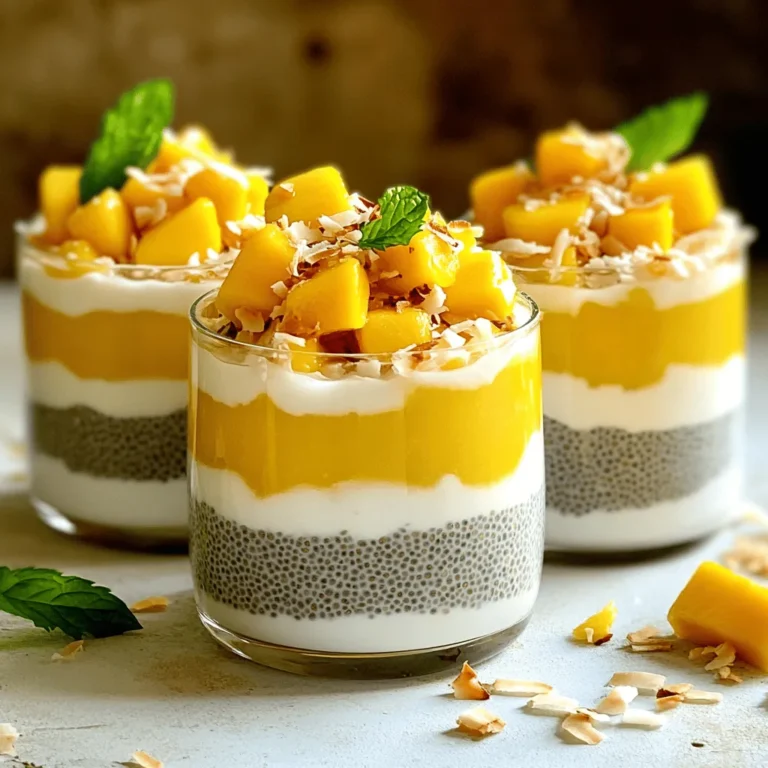
Mango Coconut Chia Pudding Delightful and Nutritious
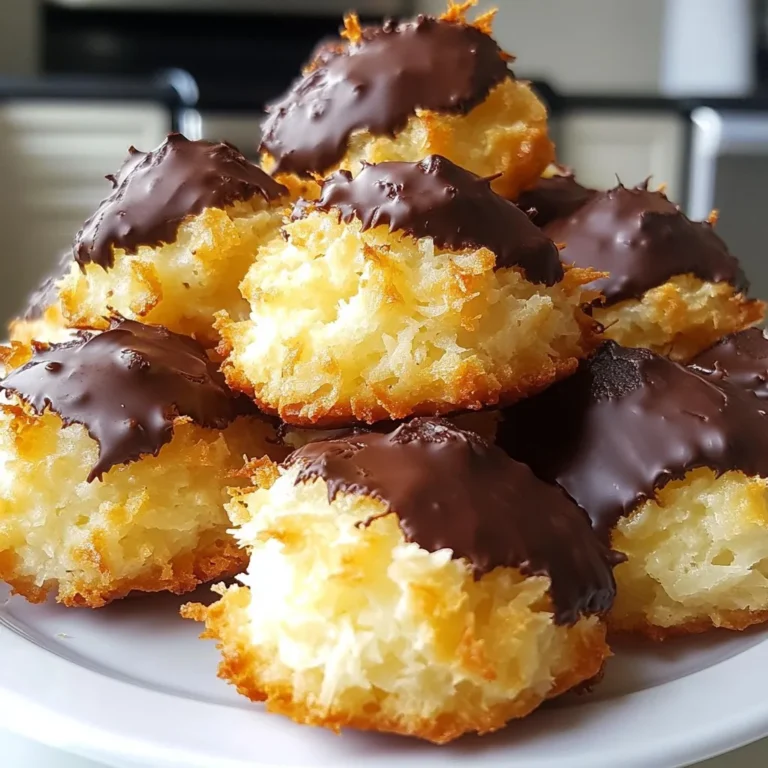
Chocolate Coconut Macaroons Simple and Sweet Treat
Page navigation
Previous Page
Previous
1
…
13
14
15
16
17
…
27
Next Page
Next
Home
Dinner
Appetizer
Desserts
Drinks
About
Contact
Privacy Policy
Toggle Menu Close
Search for:
Search


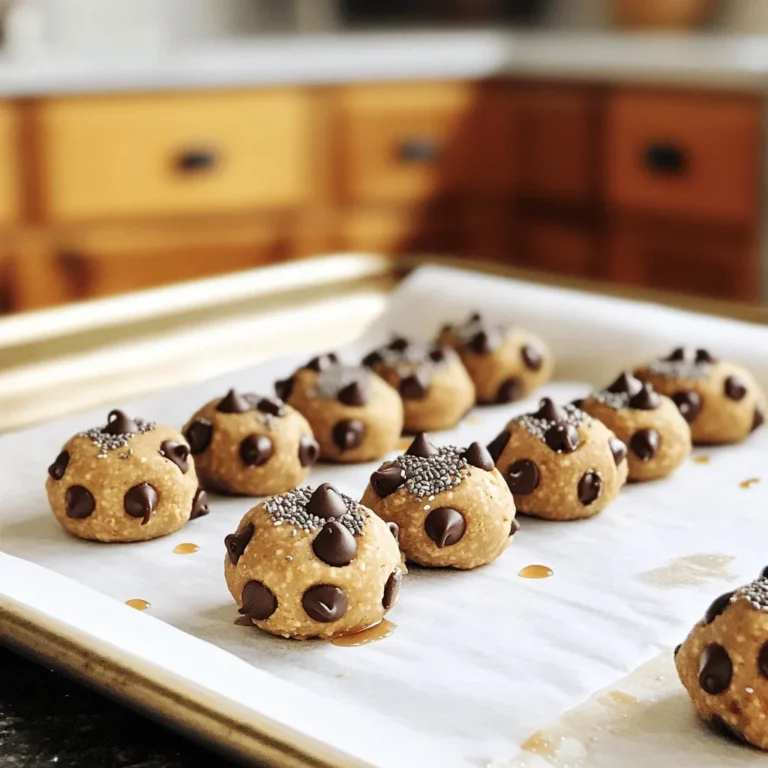
![- 1 ½ cups rolled oats - ½ cup natural peanut butter - ¼ cup honey or maple syrup - ½ cup mixed nuts (such as almonds, walnuts, and pecans), finely chopped - ¼ cup mini dark chocolate chips (optional) - ¼ cup dried fruits (like raisins, cranberries, or apricots) - 1 teaspoon pure vanilla extract - ½ teaspoon ground cinnamon - ¼ teaspoon fine sea salt Using these ingredients, you can craft a tasty and healthy snack. The rolled oats form the base. They provide fiber, which helps with digestion. Natural peanut butter adds protein and healthy fats. Honey or maple syrup gives a natural sweetness. Mixed nuts add crunch and extra vitamins. You can choose your favorite nuts to keep it fun. Mini dark chocolate chips are a nice touch, but they are optional. Dried fruits give a burst of flavor and nutrients. Rolled oats offer many health benefits. They are high in fiber and can lower cholesterol. This helps keep your heart healthy. They also provide energy, making them great for a snack. Natural peanut butter has advantages too. It contains protein, which helps build muscles. It also has healthy fats that keep you full longer. Nuts and dried fruits are important in a balanced diet. Nuts provide good fats, vitamins, and minerals. Dried fruits add natural sweetness and antioxidants. Together, these ingredients make the granola bars a nutritious choice for any time of day. For the full recipe, check out the Nutty Delight Peanut Butter Granola Bars. 1. Preheat your oven to 350°F (175°C). 2. Line an 8x8 inch baking pan with parchment paper. Leave some edges hanging for easy removal. 3. In a large mixing bowl, add: - 1 ½ cups rolled oats - ½ cup mixed nuts, finely chopped - ¼ cup mini dark chocolate chips (optional) - ¼ cup dried fruits (like raisins, cranberries, or apricots) - ½ teaspoon ground cinnamon - ¼ teaspoon fine sea salt 4. Stir the dry ingredients well to mix them evenly. 1. In another bowl, combine: - ½ cup natural peanut butter - ¼ cup honey or maple syrup - 1 teaspoon pure vanilla extract 2. Whisk these wet ingredients until smooth and creamy. 3. Pour this creamy mixture over the dry ingredients. 4. Stir with a spatula until everything is coated well. 1. Transfer the mixture into your prepared baking pan. 2. Press it down firmly to create an even layer. 3. Bake in the preheated oven for 20-25 minutes, until the edges turn golden brown. 4. After baking, let it cool in the pan for about 10 minutes. 5. Lift the granola out using the parchment paper edges. 6. Cool completely on a wire rack for at least 30 minutes before slicing into bars. Now, you have a tasty and healthy snack ready to enjoy! For the complete recipe, refer to the earlier section. To make the best granola bars, focus on texture. You want them chewy but not too soft. If they are too dry, they may crumble. If too wet, they will not hold together. For pressing the mixture in the pan, use a spatula. Press firmly and evenly to create a compact layer. This step helps your bars stay together after baking. If you want to switch from peanut butter, try almond or sunflower seed butter. These options provide a similar taste and texture. For sweetening, maple syrup works well if you do not have honey. Agave syrup is another good choice. Instead of using honey or syrup, you can mash bananas for sweetness and binding. Add a sprinkle of nutmeg or ginger for extra warmth. You can also mix in some chia seeds for a health kick. For fun mix-ins, consider adding coconut flakes or pumpkin seeds. Dried fruits like apricots and figs offer a unique taste and chewiness. Explore the [Full Recipe] for more ideas! {{image_4}} You can have fun with flavors in your granola bars. Here are two tasty ideas: - Chocolate and coconut granola bars: Add 1/4 cup of shredded coconut and swap chocolate chips for cocoa powder. This combination gives a sweet and tropical taste. - Fruit and nut medley granola bars: Mix 1/4 cup of your favorite dried fruits, like apricots or blueberries, with a variety of nuts. This adds a burst of fruity flavor and crunch. Making your bars fit your diet is easy. Here are some options: - Gluten-free options: Use gluten-free oats instead of regular oats. This way, everyone can enjoy them without worry. - Vegan adaptations: Replace honey with maple syrup. This simple swap makes the bars vegan-friendly while keeping them sweet. How you serve these bars can make them even more delightful. Here are some ideas: - Pairing options: Serve your bars with yogurt for a creamy contrast or fresh fruit for a juicy bite. - Creative ways to enjoy granola bars: Crumble the bars over ice cream or mix them into your morning oatmeal. This adds texture and flavor to your meal. For the complete recipe, check out the [Full Recipe]. Enjoy your nutritious snacking! To keep your granola bars fresh, store them in an airtight container. This helps maintain their crunch. You can also wrap them individually in plastic wrap. Label the container with the date you made them. This way, you will know when to eat them. These granola bars last about one week at room temperature. You can store them in the fridge for up to two weeks. Watch for signs of spoilage. If you see any mold or if they smell off, toss them out. Freezing granola bars is simple. Wrap them tightly in plastic wrap and place them in a freezer bag. They can stay frozen for up to three months. When you want to eat one, take it out and let it thaw at room temperature. You can also microwave it for a few seconds to warm it up. Enjoy your healthy treat! To make healthy peanut butter granola bars, follow these key steps: 1. Preheat your oven to 350°F (175°C). 2. Line an 8x8 inch baking pan with parchment paper. 3. In a bowl, mix rolled oats, chopped nuts, chocolate chips, dried fruits, cinnamon, and salt. 4. In another bowl, whisk together peanut butter, honey, and vanilla until smooth. 5. Pour the peanut butter mix over the dry ingredients and stir until coated. 6. Press the mixture into the baking pan evenly. 7. Bake for 20-25 minutes until golden brown. 8. Cool for 10 minutes, then lift out and cool fully before slicing. For the full recipe, check out the Full Recipe section. Yes, you can use different nut butters! Almond butter, cashew butter, or sunflower butter work well. Each adds a unique flavor and nutrition. Just ensure the nut butter you choose is natural and unsweetened. This keeps your granola bars healthy. Granola bars can be healthy for kids! They offer good energy and nutrients. With oats, nuts, and dried fruits, they provide fiber, protein, and vitamins. However, watch for added sugars in store-bought bars. Homemade versions allow you to control the ingredients, making them a smart choice. You can easily customize granola bar ingredients! Here are some tips: - Swap mixed nuts for seeds like pumpkin or sunflower. - Change dried fruits based on your favorite flavors. - Add spices like nutmeg or ginger for extra taste. - Use different sweeteners like agave syrup or brown sugar. Experiment with these options to find your perfect blend! You now have the essentials to make healthy peanut butter granola bars. We covered the key ingredients, their benefits, and easy steps for preparing them. You learned how to tweak the recipe to match your taste and dietary needs. Remember, storing the bars properly keeps them fresh longer. Enjoy experimenting with flavors and share these simple snacks with friends and family. Making these granola bars is fun and rewarding, showing you how delicious health can be.](https://blissfulmeal.com/wp-content/uploads/2025/07/11c6f5e3-9122-4a5f-aace-4cdd01ab5835-768x768.webp)