Skip to content
About
Contact
Cookie Policy
Copyright Policy
Disclaimer
Search
Home
Dinner
Appetizer
Desserts
Drinks
About
Contact
Privacy Policy
Toggle Menu
Home
/
Desserts
- Page 17
Desserts
Chocolate Dipped Pretzel Rods Delightful Snack Idea
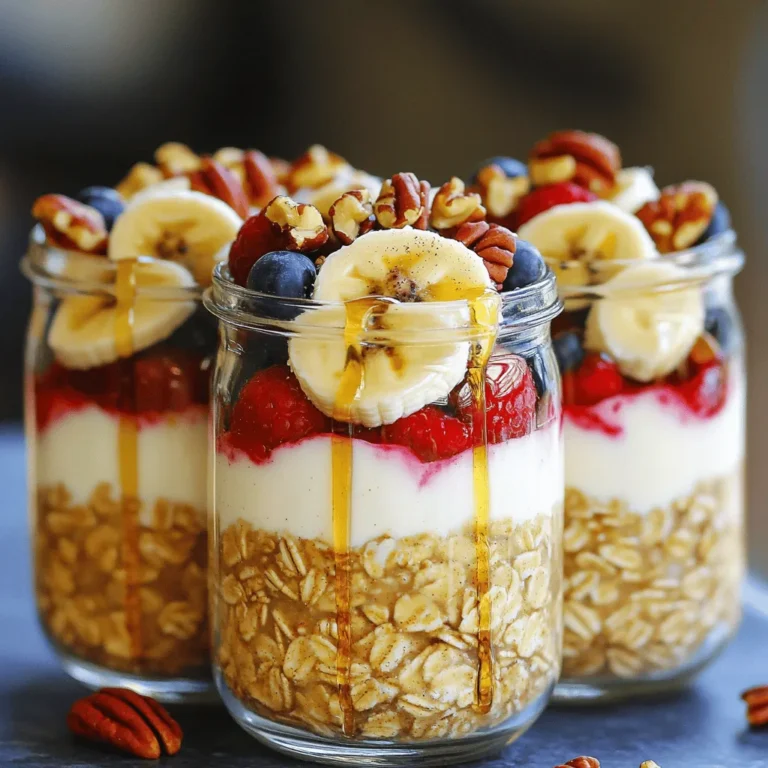
Maple Pecan Overnight Oats Simple and Delicious Recipe
Lemon Poppy Seed Muffins Simple and Flavorful Recipe
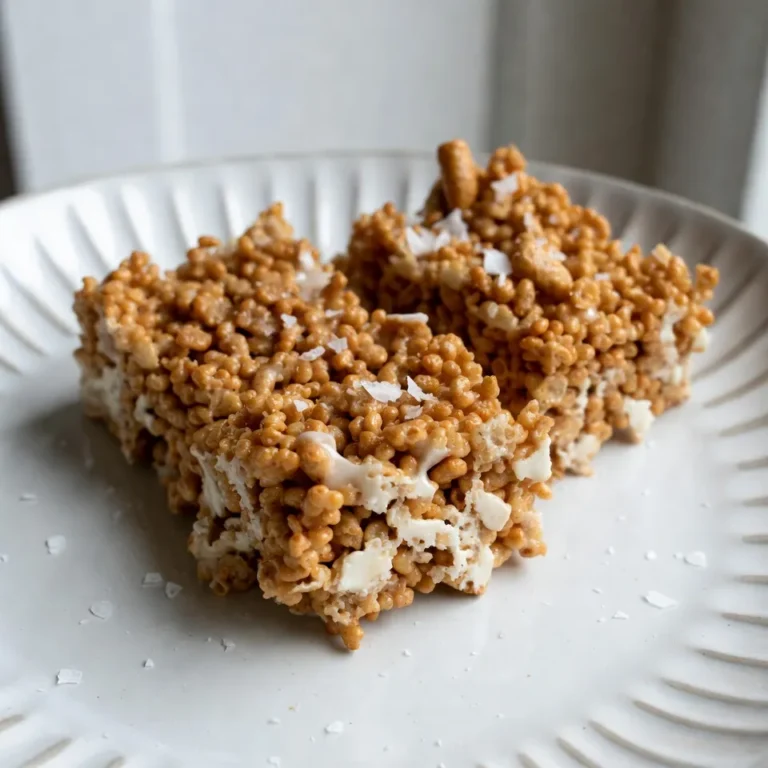
Brown Butter Rice Krispie Treats Simple and Sweet Snack
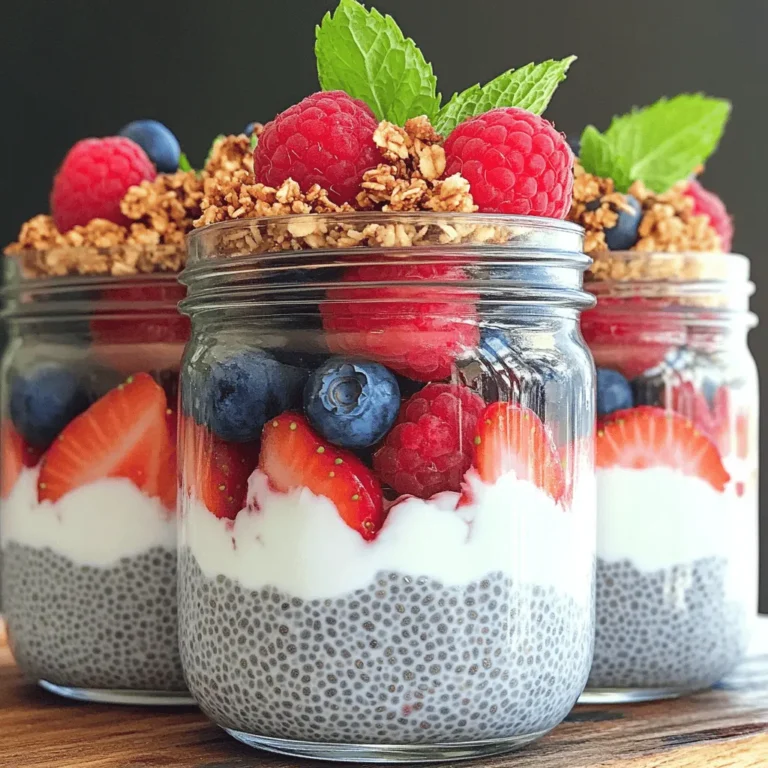
Berry Coconut Chia Parfait Simple and Fresh Delight
Lemon Glazed Pound Cake Delightfully Simple Recipe
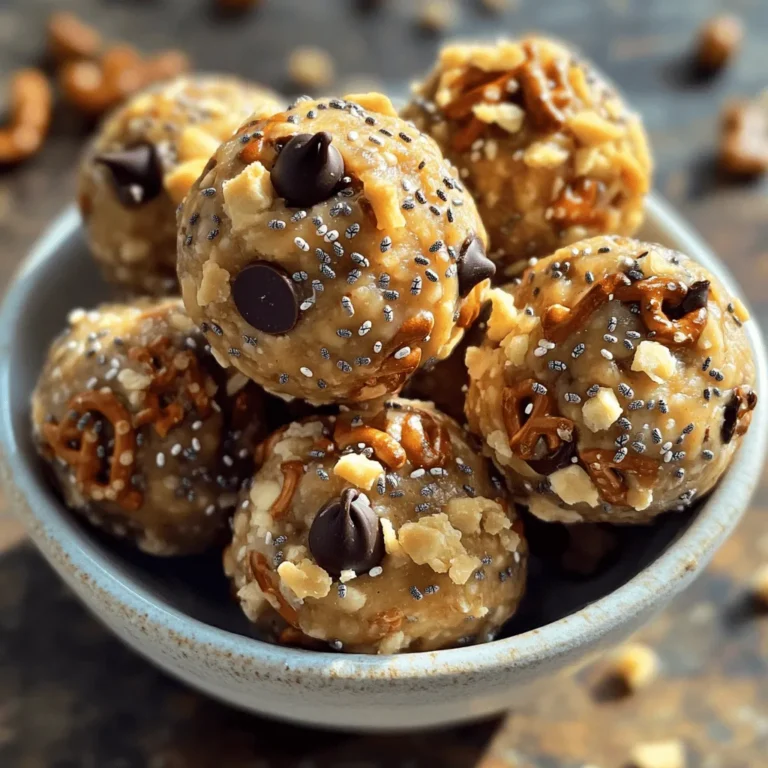
Peanut Butter Pretzel Energy Balls Simple Snack Delight
Vegan Avocado Chocolate Pudding Rich and Creamy Treat
Pumpkin Chocolate Chip Pancakes Irresistible Morning Treat
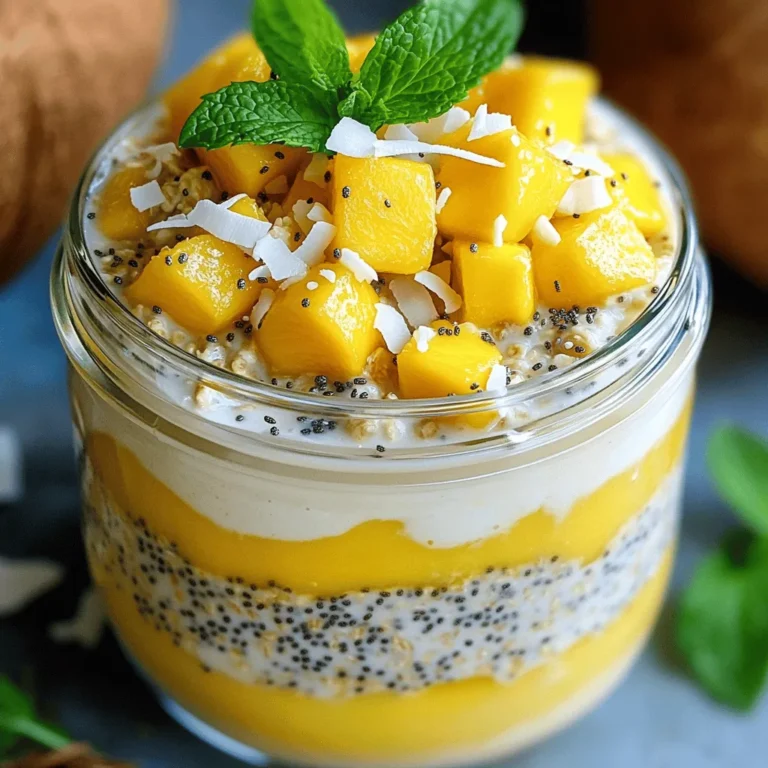
Coconut Mango Overnight Oats Nourishing Breakfast Delight
Page navigation
Previous Page
Previous
1
…
15
16
17
18
19
…
27
Next Page
Next
Home
Dinner
Appetizer
Desserts
Drinks
About
Contact
Privacy Policy
Toggle Menu Close
Search for:
Search


![To make these tasty lemon poppy seed muffins, gather the following: - 1 ½ cups all-purpose flour - ½ cup granulated sugar - 2 teaspoons baking powder - ¼ teaspoon baking soda - ¼ teaspoon salt - 1 tablespoon poppy seeds - ½ cup unsalted butter, melted - 2 large eggs, at room temperature - ½ cup buttermilk, at room temperature - Zest of 1 large lemon - 2 tablespoons freshly squeezed lemon juice - 1 teaspoon pure vanilla extract You can swap some ingredients for different flavors or diets: - Use whole wheat flour for a nuttier taste. - Substitute coconut sugar for granulated sugar for a deeper flavor. - Try almond milk or oat milk instead of buttermilk for a dairy-free option. - Replace poppy seeds with chia seeds for a similar texture. Fresh ingredients make your muffins shine. Here are my best tips: - Buy lemons that feel heavy for their size. This means they are juicy. - Check eggs for freshness by placing them in water. Fresh eggs sink; old ones float. - Use butter at room temperature for a smooth mix. This helps the batter blend well. - For buttermilk, you can make your own by mixing milk with a splash of vinegar. By using fresh ingredients, you’ll enhance the taste of your lemon poppy seed muffins. Enjoy the process and the delightful aroma in your kitchen! For the full recipe, refer to the [Full Recipe]. To make lemon poppy seed muffins, you start with mixing dry and wet ingredients. Then, you combine them gently. This method keeps the muffins light and fluffy. Finally, you bake and cool them before serving. 1. Preheat the Oven: Set your oven to 350°F (175°C). Prepare a muffin tin by lining it with paper liners or greasing it lightly. 2. Mix Dry Ingredients: In a large bowl, whisk together these dry items: - 1 ½ cups all-purpose flour - ½ cup granulated sugar - 2 teaspoons baking powder - ¼ teaspoon baking soda - ¼ teaspoon salt - 1 tablespoon poppy seeds 3. Combine Wet Ingredients: In a separate bowl, mix: - ½ cup unsalted butter, melted - 2 large eggs, at room temperature - ½ cup buttermilk, at room temperature - Zest of 1 large lemon - 2 tablespoons freshly squeezed lemon juice - 1 teaspoon pure vanilla extract Whisk until smooth. 4. Combine Wet and Dry Mixes: Gently pour the wet mix into the dry mix. Use a spatula to fold them together. Stop mixing when just combined; lumps are okay. 5. Fill Muffin Cups: Use a spoon or ice cream scoop to fill each muffin cup about ¾ full. 6. Bake to Perfection: Place the muffin tin in the oven. Bake for 18-20 minutes. Check if done by inserting a toothpick in the center. If it comes out clean, they're ready. 7. Cool and Remove: After baking, let the muffins cool in the tin for 5 minutes. Then transfer them to a wire rack. Bake your muffins at 350°F (175°C) for 18-20 minutes. This temperature helps them rise nicely. Enjoy the warm, zesty aroma as they bake! To get the best texture in your lemon poppy seed muffins, follow a few tips. First, use room temperature ingredients. This helps them mix well and rise better. When combining wet and dry mixes, fold gently. You want to keep some lumps for fluffiness. Overmixing will make your muffins dense. Lastly, let your muffins cool in the tin for a bit before moving them. This helps them set and stay moist. Many bakers make the same mistakes. One big issue is measuring flour incorrectly. Always spoon the flour into the cup and level it off. Avoid packing it down. Another mistake is not preheating the oven. Your muffins need the right heat to rise. Also, don’t skip the buttermilk. It adds moisture and flavor. Lastly, resist the urge to open the oven door too early. This can cause the muffins to sink. Using the right tools makes baking simpler. Start with a good mixing bowl and a whisk. A rubber spatula is great for folding the batter. An ice cream scoop helps with portioning the batter evenly. Muffin tins with liners make cleanup easy. Finally, a cooling rack is key for letting your muffins breathe after baking. For a full recipe, check out my Lemon Poppy Seed Muffins . {{image_4}} You can make Lemon Poppy Seed Muffins healthier by using whole wheat flour instead of all-purpose flour. This change adds more fiber and nutrients. You can also swap out the granulated sugar for honey or maple syrup. This switch will give a nice flavor and cut down on refined sugar. Another option is to use Greek yogurt in place of buttermilk to boost protein. These changes keep your muffins tasty while making them a bit better for you. To add more flavor to your muffins, think about mixing in fruits or herbs. Fresh berries like blueberries or raspberries can bring a burst of sweetness. If you want a unique twist, try adding chopped fresh herbs like basil or mint. These herbs can enhance the lemon flavor in a surprising way. You can also toss in some chopped nuts for crunch. Experimenting with these additions makes each batch of muffins feel special. If you need vegan options, replace the eggs with flax eggs or applesauce. For the buttermilk, use plant-based milk with a splash of lemon juice. This keeps the muffins moist and flavorful. For gluten-free muffins, use a gluten-free flour blend. Make sure the blend contains xanthan gum to help with texture. These substitutions allow everyone to enjoy Lemon Poppy Seed Muffins without missing out on taste. For the full recipe, check out the details provided earlier. To keep your muffins fresh, store them in an airtight container. Place them at room temperature for up to three days. If you want them to last longer, consider the fridge. However, be careful, as this can make them dry. Always let them cool completely before storing. This helps avoid extra moisture inside the container. Freezing is a great way to save lemon poppy seed muffins for later. Wrap each muffin in plastic wrap. Then, place them in a freezer bag or container. This keeps them fresh for up to three months. When you’re ready to enjoy, just take out the muffins and let them thaw. You can also warm them in the microwave for a quick treat. Reheating your muffins is easy and makes them taste fresh. You can use the microwave or the oven. For the microwave, heat each muffin for about 15-20 seconds. If you prefer the oven, preheat it to 350°F. Place the muffins on a baking sheet and heat for about 5-10 minutes. This brings back their soft texture and flavor. Enjoy them warm for the best taste! Lemon poppy seed muffins stay fresh for about 2 to 3 days at room temperature. Store them in an airtight container to keep them soft. If you need more time, you can freeze them. They last up to 3 months in the freezer. Simply wrap each muffin tightly in plastic wrap and place them in a freezer bag. Yes, you can use fresh lemons instead of zest. However, use the zest for a stronger lemon flavor. The zest contains oils that boost the taste. If you only have fresh lemons, add a bit more juice to enhance the flavor. Use about 1 tablespoon of fresh juice for every teaspoon of zest you replace. Lemon poppy seed muffins pair well with many items. Here are a few ideas: - Fresh fruit like berries or sliced bananas - A spread of cream cheese or mascarpone - A light drizzle of honey or maple syrup - A cup of tea or coffee for a cozy treat These options add to the flavor and make your muffin experience even better. For the full recipe, check out the details above and get baking! This blog post covers everything you need for perfect lemon poppy seed muffins. We explored the key ingredients and shared fresh options to try. I laid out a clear step-by-step guide for baking. You also learned helpful tips for great texture and common errors to avoid. Remember, you can customize this recipe with variations for different diets. Proper storage extends freshness and keeps your muffins tasty. With these insights, you can bake better and enjoy delicious muffins every time.](https://blissfulmeal.com/wp-content/uploads/2025/06/e8d609c7-3249-46a1-9d42-17c9469fcbdc-768x768.webp)