Skip to content
About
Contact
Cookie Policy
Copyright Policy
Disclaimer
Search
Home
Dinner
Appetizer
Desserts
Drinks
About
Contact
Privacy Policy
Toggle Menu
Home
/
Desserts
- Page 18
Desserts
Chocolate Covered Strawberry Bites Delicious Treats
Lemon Blueberry Scones Flavorful Fresh Bake Recipe
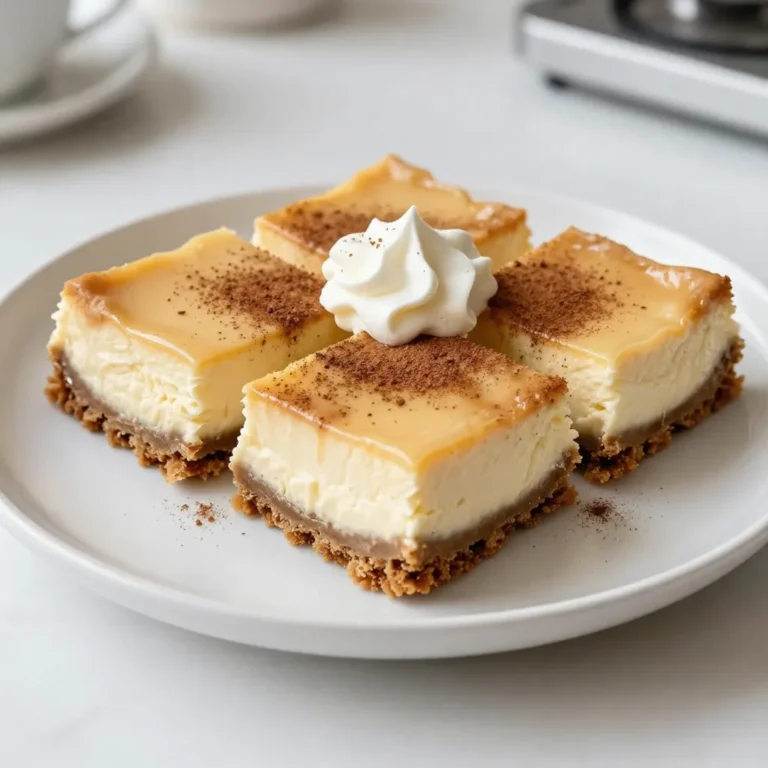
Gingerbread Cheesecake Bars Delightful Holiday Treat
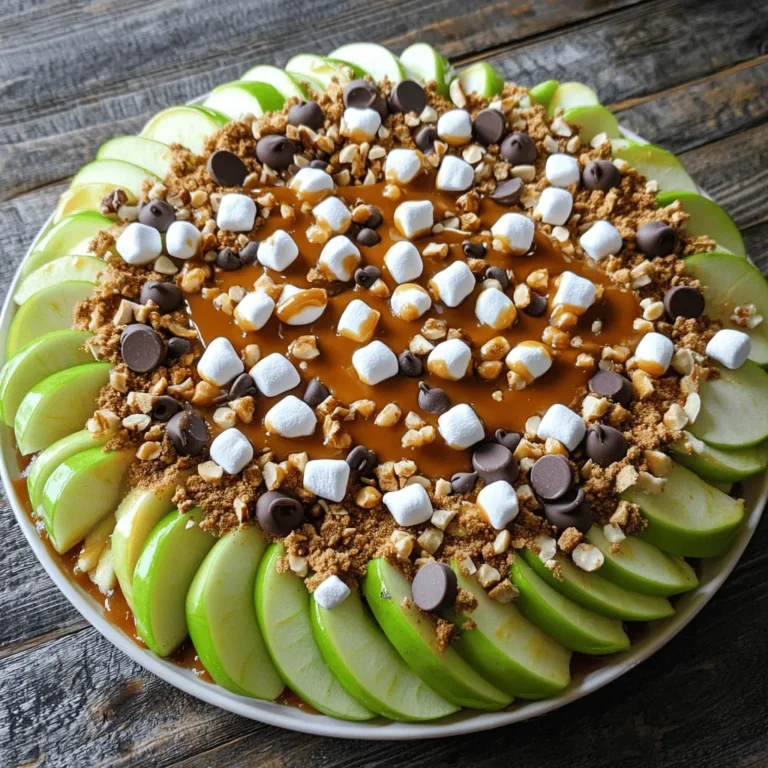
Caramel Apple Nachos Delightful Topping Ideas
Chocolate Covered Strawberry Bites Delightful Treats
Rainbow Fruit Salad Colorful and Healthy Delight
Healthy Blueberry Muffins Simple and Tasty Recipe
Chocolate Lava Mug Cake Simple and Quick Recipe
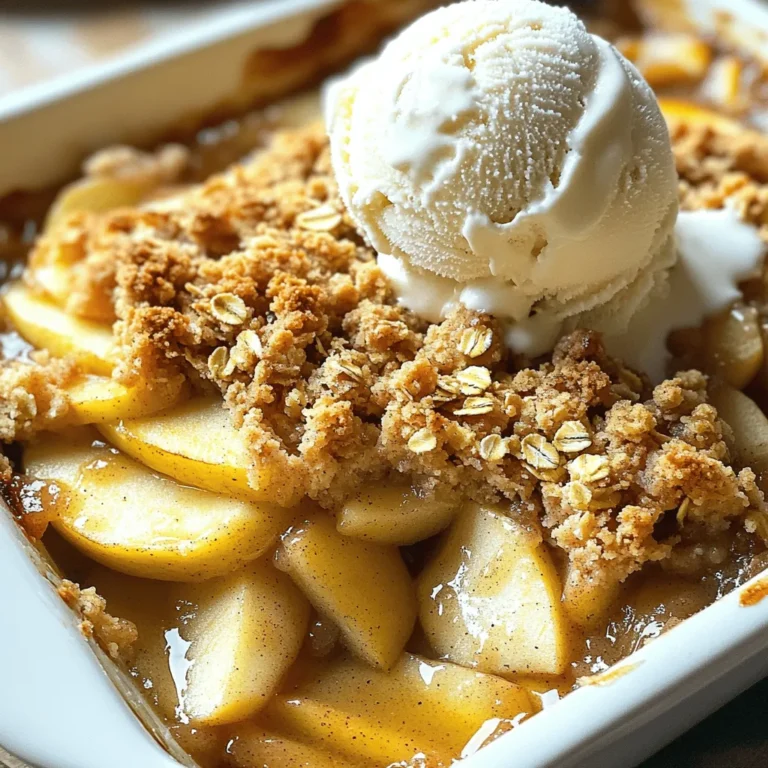
Easy Apple Crisp Deliciously Simple and Quick Recipe
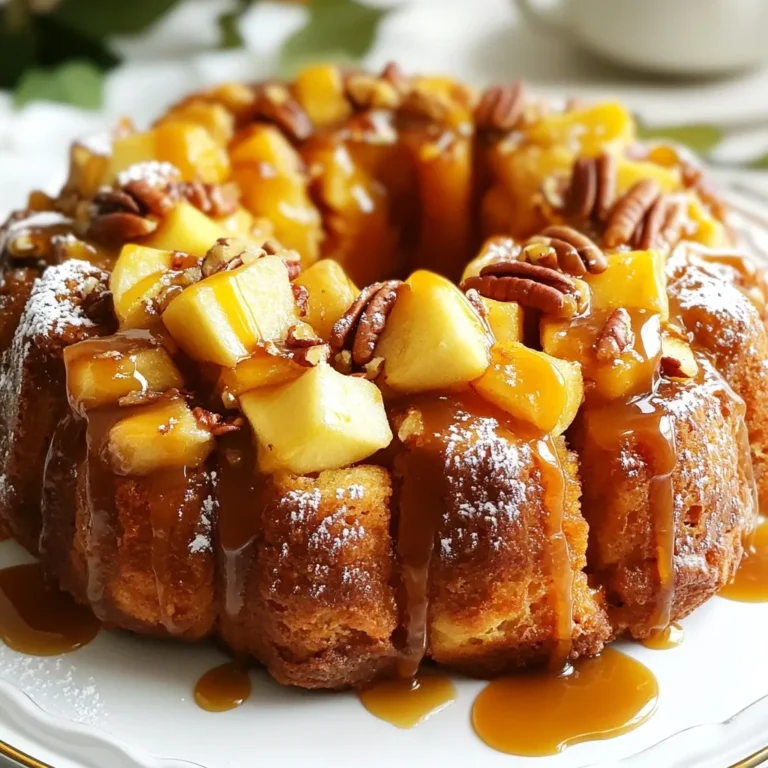
Caramel Apple Monkey Bread Easy and Flavorful Treat
Page navigation
Previous Page
Previous
1
…
16
17
18
19
20
…
27
Next Page
Next
Home
Dinner
Appetizer
Desserts
Drinks
About
Contact
Privacy Policy
Toggle Menu Close
Search for:
Search


![- 2 cups all-purpose flour - 3/4 cup granulated sugar - 1 tablespoon baking powder - 1/2 teaspoon salt - 1/2 cup unsalted butter, cold and cubed - 1 cup fresh blueberries - Zest of 1 lemon - 1/2 cup heavy cream - 1 large egg - 1 teaspoon vanilla extract - 1 tablespoon lemon juice - 1/2 cup powdered sugar (for icing) - 2 teaspoons lemon juice (for icing) When making lemon blueberry scones, choosing the right blueberries is key. Look for small, firm berries. They should be plump and free of blemishes. Fresh blueberries give the best flavor, but frozen ones work too. If using frozen, do not thaw them. For special diets, you can swap some ingredients. If you need gluten-free scones, use a gluten-free flour blend. For a dairy-free option, replace butter with coconut oil and use almond milk instead of heavy cream. You can also use a flax egg as a vegan substitute for the large egg. This recipe is flexible to fit your needs. Just make sure to keep the balance of wet and dry ingredients the same. With these tips, you can create perfect lemon blueberry scones every time. For the full recipe, check out the detailed steps above. 1. Prepping the oven and baking sheet: First, set your oven to 400°F (200°C). This helps the scones bake evenly. Next, line a baking sheet with parchment paper. This prevents the scones from sticking. 2. Mixing dry and wet ingredients: In a large bowl, mix together the dry ingredients. Combine 2 cups of all-purpose flour, 3/4 cup of granulated sugar, 1 tablespoon of baking powder, and 1/2 teaspoon of salt. Make sure to whisk until no lumps remain. In another bowl, whisk together 1/2 cup of heavy cream, 1 large egg, 1 teaspoon of vanilla extract, and 1 tablespoon of lemon juice. This ensures a smooth mix. 3. Forming and shaping the dough: Add cold, cubed unsalted butter to the dry mixture. Work it in until the mix looks like coarse crumbs. Then, fold in 1 cup of fresh blueberries and the zest of 1 lemon. Pour the wet mix into the dry ingredients. Stir gently until just combined. Turn the dough onto a floured surface and knead it for about 30 seconds. Shape it into a circle, about 1 inch thick. Cut the circle into 8 wedges or use a biscuit cutter for round scones. - Recommended oven temperature: Keep your oven at 400°F (200°C) for the best rise and texture. This high heat gives the scones a light and fluffy inside. - Baking duration for perfect scones: Bake the scones for 15 to 20 minutes. Look for a light golden color on the edges. A toothpick should come out clean when inserted. - Importance of cooling time: Let the scones cool for a few minutes on the baking sheet. This helps them firm up and makes them easier to handle. After cooling, drizzle with icing for a tasty finish. For the complete recipe, check out the [Full Recipe]. Enjoy your baking! To achieve flaky scones, use cold butter. Cut it into the flour until it looks like coarse crumbs. This keeps the butter from melting and helps the scones rise. Avoid common mistakes like overmixing the dough. Mix wet and dry ingredients just until combined. Overworking can lead to tough scones. When mixing, use a gentle folding method. This helps keep the blueberries intact and keeps the scones light. Pair your scones with tea or coffee. They taste great with a dollop of clotted cream or a smear of jam. For gatherings, arrange the scones on a pretty plate. Garnish with fresh blueberries for a pop of color. A dusting of powdered sugar adds a lovely finish. Try variations for festive times. Add nuts or seasonal fruits to change things up. Lemon blueberry scones are perfect for spring or summer brunches. Enjoy these flavors as you celebrate! For the full recipe, check out the details above. {{image_4}} You can easily change the flavors of your lemon blueberry scones. Adding nuts like walnuts or pecans gives a nice crunch. You can also toss in other fruits, like raspberries or strawberries, for a new twist. If you want a different citrus taste, try lime or orange instead of lemon. Each fruit brings its own unique flavor. Switching sweeteners also impacts the taste. For example, using honey or maple syrup instead of sugar can add depth. These changes keep every batch exciting! If you need gluten-free scones, swap the all-purpose flour for a gluten-free blend. Many options work well and still taste great. For those who want a vegan version, replace the butter with coconut oil and use a flax egg instead of a regular egg. Looking for low-sugar options? You can cut the sugar in half or use a natural sweetener like stevia. These adjustments let everyone enjoy delicious scones, no matter their diet. Check out the Full Recipe for all the details to make these tasty treats! To keep your lemon blueberry scones fresh, store them in an airtight container. This helps maintain their moisture and prevents them from drying out. You can layer parchment paper between the scones to avoid sticking. For long-term storage, you can freeze these scones. Wrap each scone in plastic wrap and then place them in a freezer bag. Label the bag with the date. They can last up to three months in the freezer. When you want to enjoy a scone, take it out and reheat it. The best way to do this is in the oven. Preheat your oven to 350°F (175°C). Place the scone on a baking sheet for about 10 minutes. This method keeps the texture light and fluffy. Fresh lemon blueberry scones taste best within two days of baking. After that, they may start to lose their flavor and texture. If you store them correctly, they can last up to a week at room temperature. Look for signs of spoilage. If the scones feel hard or dry, it’s time to toss them. Also, check for any mold or an off smell. Fresh scones should smell bright and citrusy, like the lemon they contain. For the full recipe, check back in the article to ensure you bake the perfect batch! What is the best way to prevent sogginess? To avoid sogginess, make sure your butter is cold when mixing. Also, do not overmix the dough. This keeps your scones light and airy. Bake them right after forming to keep moisture in check. Can I use frozen blueberries? Yes, you can use frozen blueberries. However, they may tint the dough blue. If using frozen, add them directly from the freezer to the dough. This helps keep them from breaking apart too much. How do I know when the scones are done? Scones are done when they turn a light golden brown. Insert a toothpick into the center; it should come out clean. This means the batter has cooked through and is ready to enjoy. Can I make the dough ahead of time? Yes, you can prepare the dough ahead of time. Shape it into a circle, wrap it in plastic, and refrigerate. Bake it fresh the next day for warm scones at breakfast. How to add a personal twist to the recipe Get creative! Try adding nuts like almonds or walnuts for extra crunch. You could also experiment with different citrus zest, such as orange or lime, for a fun twist. Substitutes for heavy cream in the recipe If you need a substitute for heavy cream, use whole milk mixed with a bit of melted butter. You can also try coconut cream for a dairy-free option. These will still give you a nice texture in your scones. For the full recipe, check out the Lemon Blueberry Bliss Scones. You now have a complete guide to making the perfect scones. We covered the key ingredients, preparation, and baking steps. Plus, we explored tips for better results and variations to fit your needs. Remember, choosing quality ingredients is vital for flavor and texture. Don't shy away from mixing things up with different flavors. With proper storage, your scones will stay fresh longer. Enjoy making these delicious treats and sharing them with friends!](https://blissfulmeal.com/wp-content/uploads/2025/06/6a36920f-0fdb-41d0-96cc-5d9a6b70d060-768x768.webp)