Skip to content
About
Contact
Cookie Policy
Copyright Policy
Disclaimer
Search
Home
Dinner
Appetizer
Desserts
Drinks
About
Contact
Privacy Policy
Toggle Menu
Home
/
Desserts
- Page 2
Desserts
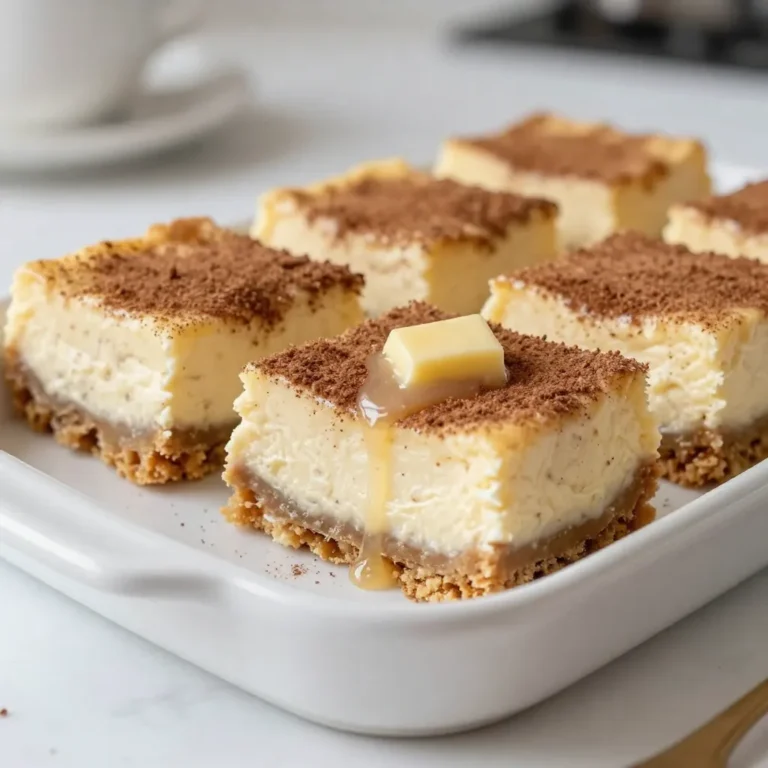
Churro Cheesecake Bars Irresistible and Easy Recipe
Tiramisu Overnight Oats Delightful Breakfast Treat
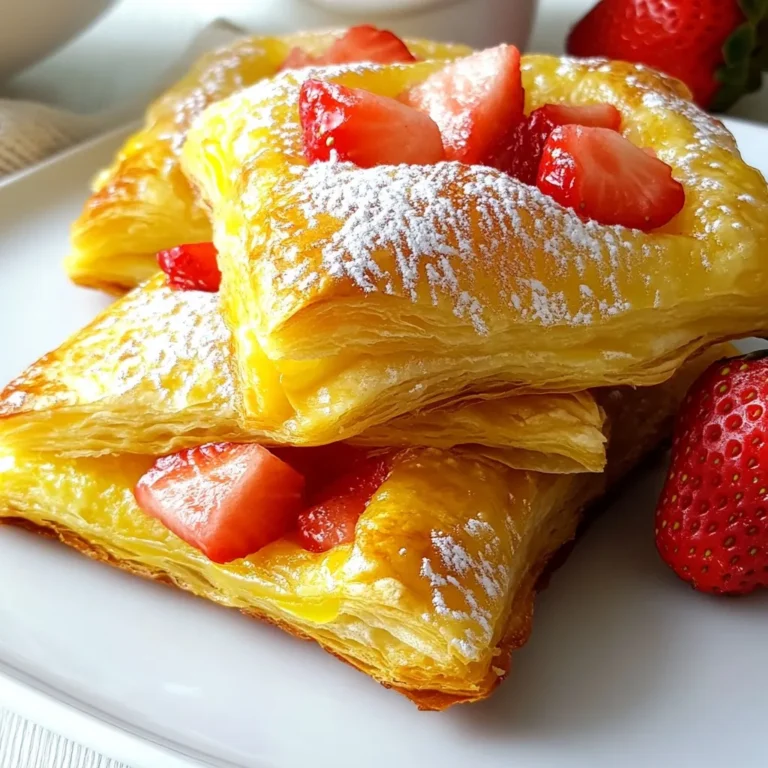
Strawberry Cream Cheese Danishes Delightful and Easy Recipe
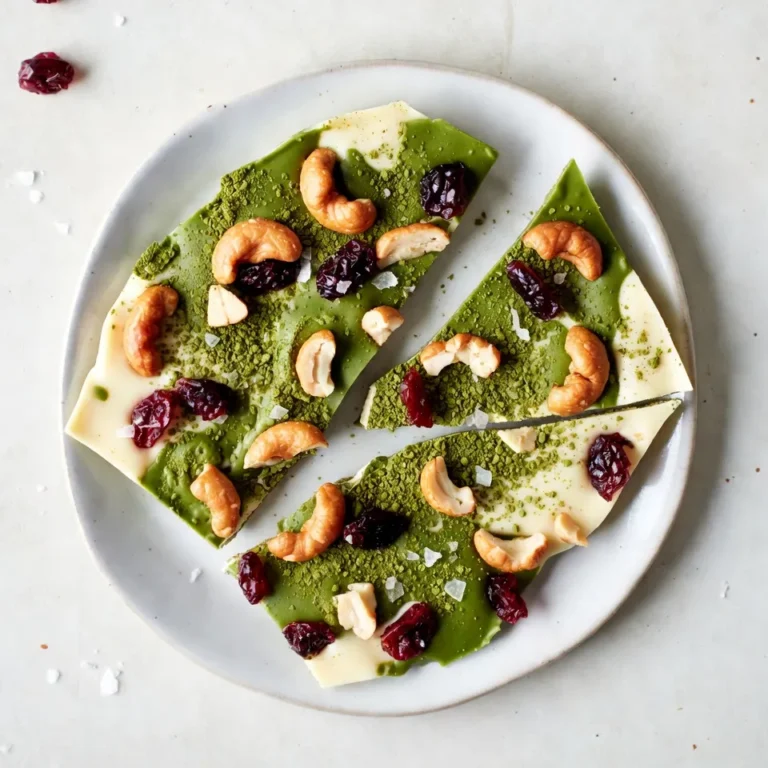
White Chocolate Matcha Bark Delicious and Easy Treat
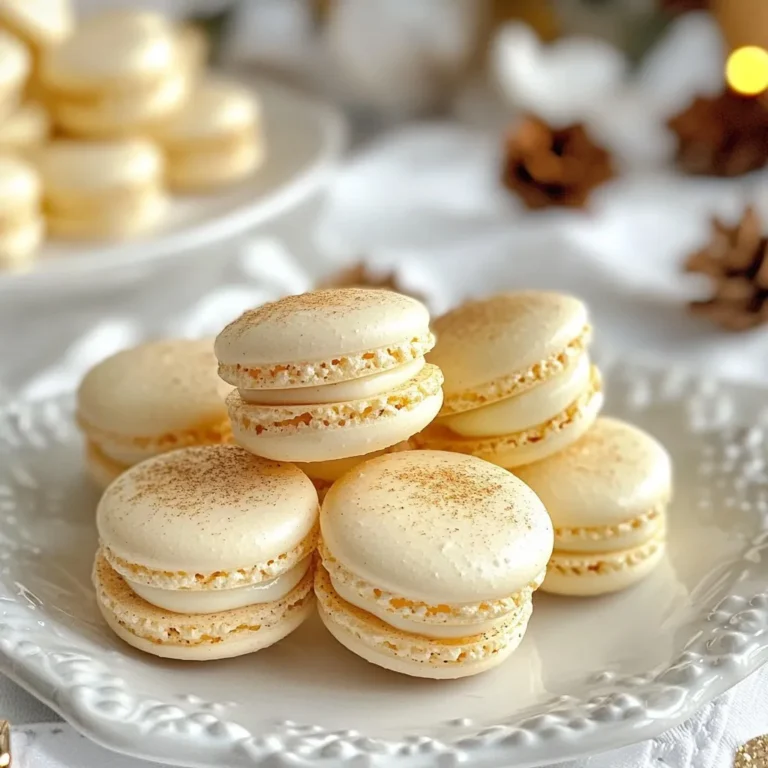
Eggnog Macarons Delightful Holiday Treat Recipe
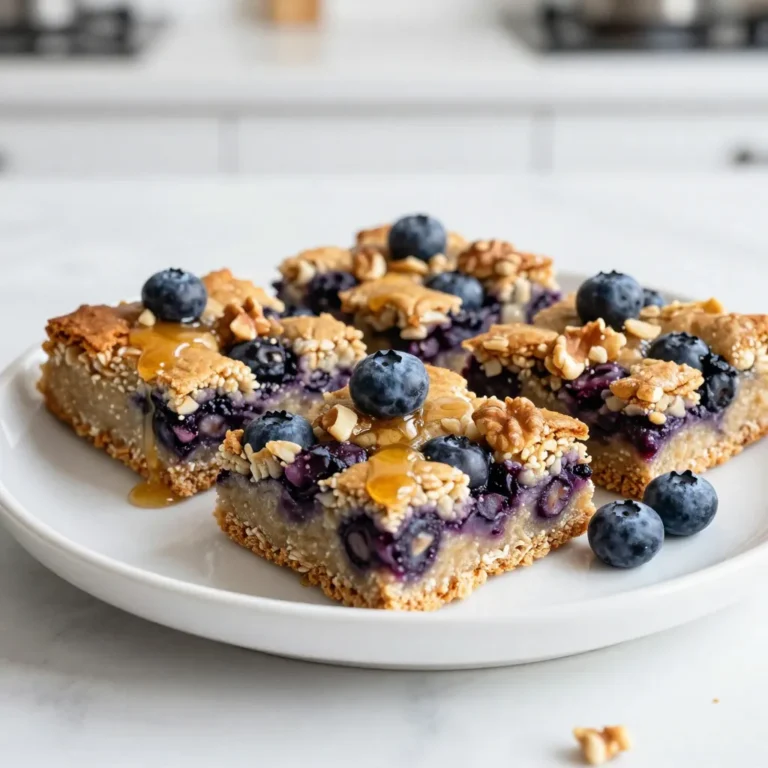
Blueberry Oat Breakfast Bars Easy and Nutritious Recipe
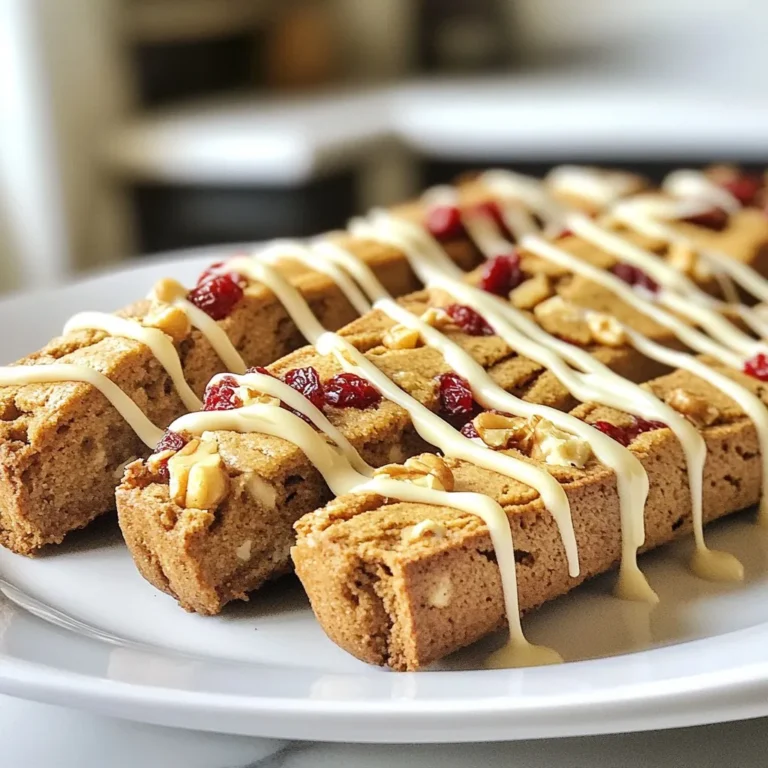
Gingerbread Biscotti with White Chocolate Drizzle Delight
Cranberry Apple Crumble Delightful and Simple Treat
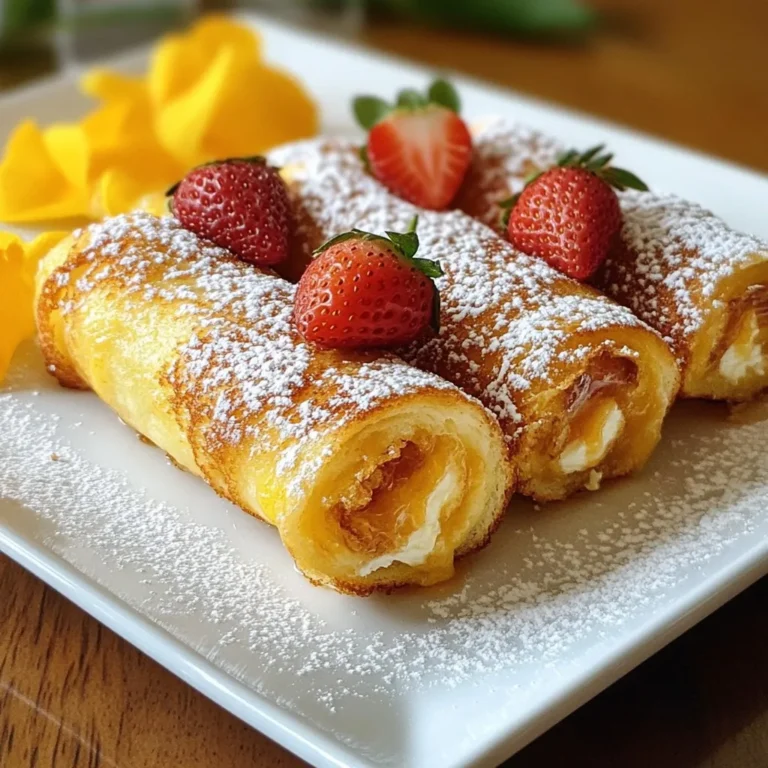
Stuffed French Toast Roll-Ups Easy Breakfast Delight
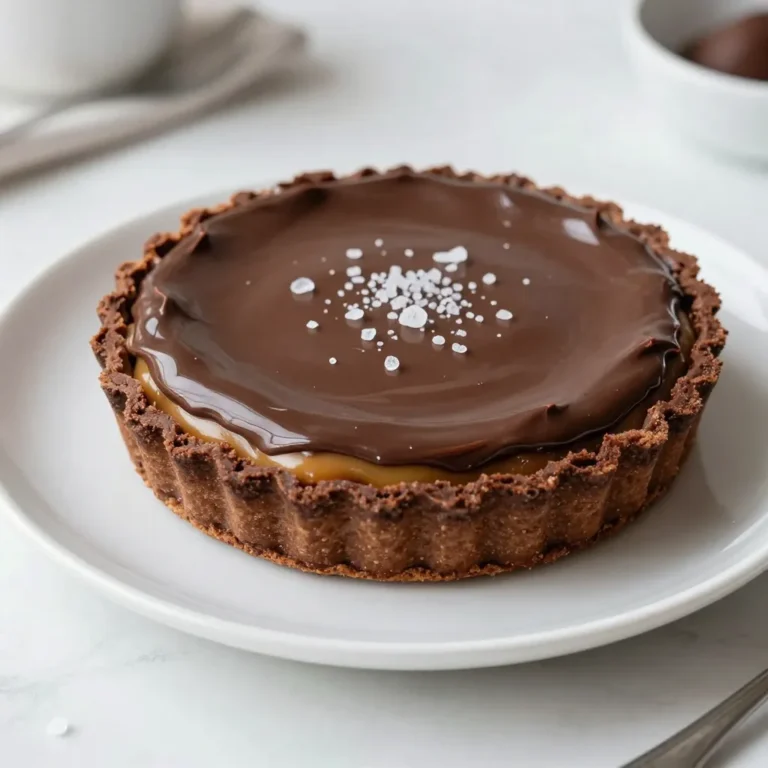
Chocolate Salted Caramel Tart Rich and Decadent Delight
Page navigation
Previous Page
Previous
1
2
3
4
…
27
Next Page
Next
Home
Dinner
Appetizer
Desserts
Drinks
About
Contact
Privacy Policy
Toggle Menu Close
Search for:
Search