Skip to content
About
Contact
Cookie Policy
Copyright Policy
Disclaimer
Search
Home
Dinner
Appetizer
Desserts
Drinks
About
Contact
Privacy Policy
Toggle Menu
Home
/
Desserts
- Page 22
Desserts
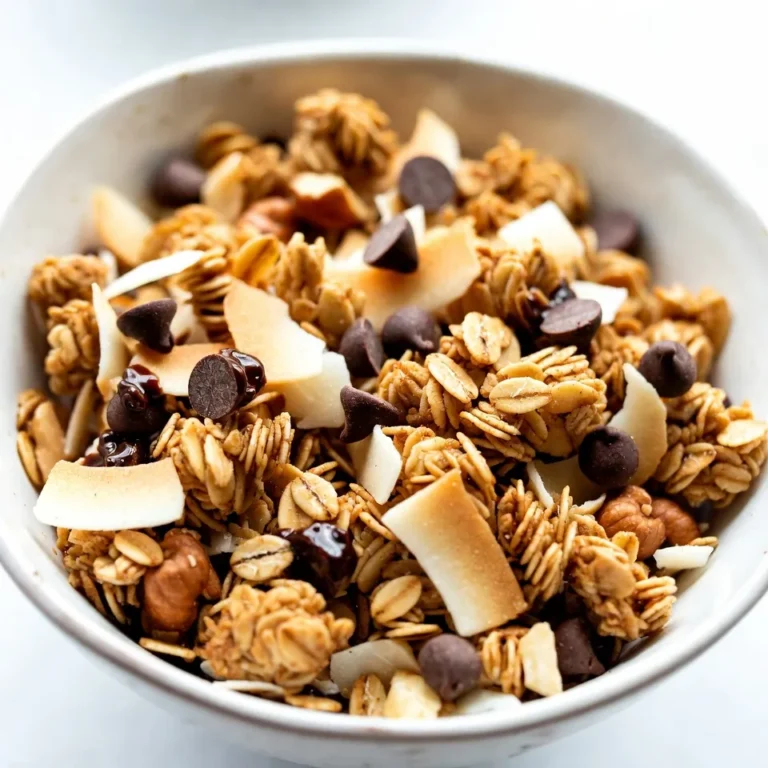
Coconut Chocolate Chip Granola Healthy Snack Treat
Mocha Meringue Cookies Sweet and Simple Treat
Mocha Meringue Cookies Sweet and Simple Treat
Black Velvet Halloween Cake Deliciously Spooky Treat
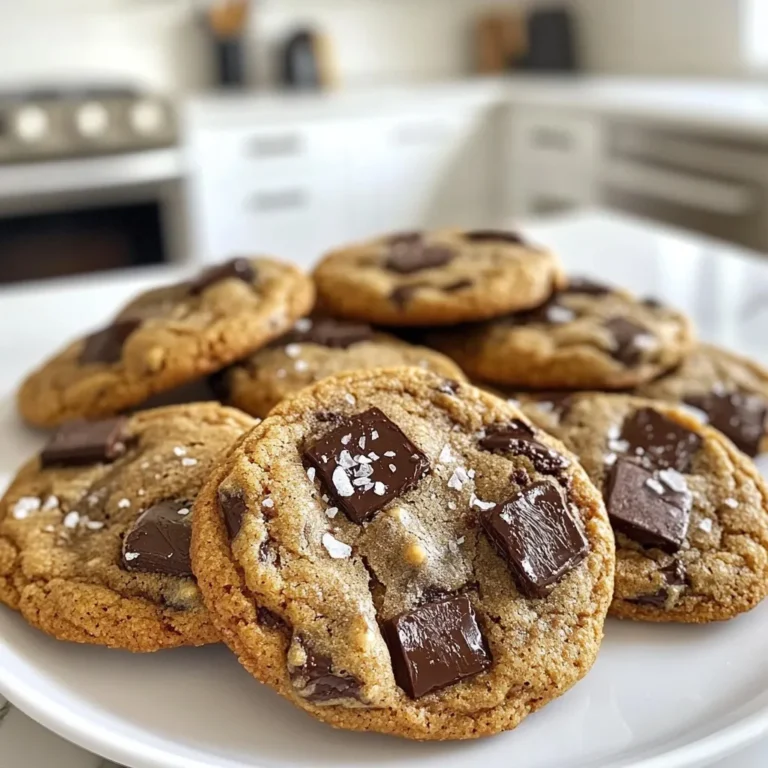
Espresso Chocolate Chip Cookies Deliciously Simple Treat
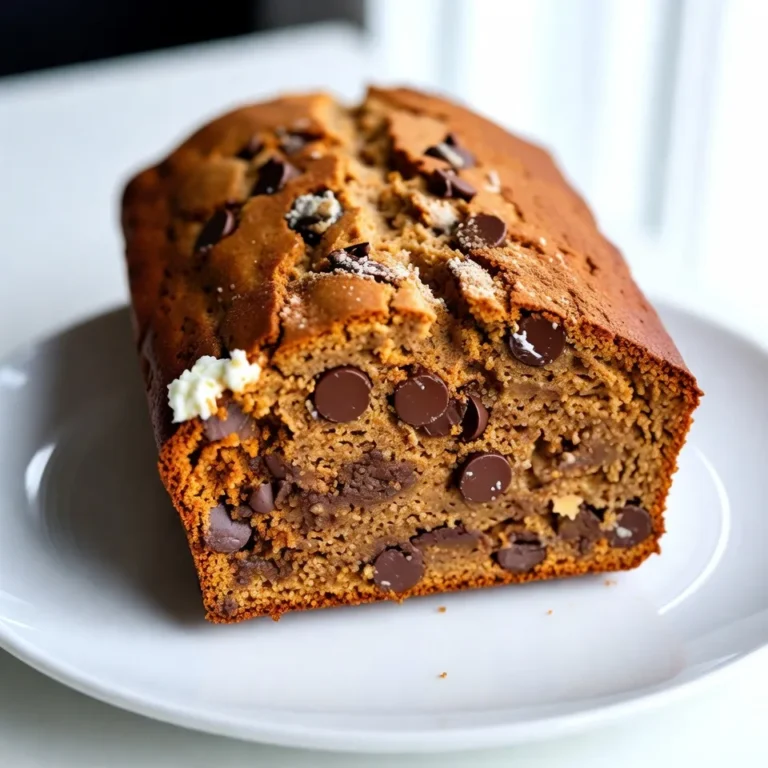
Chocolate Chip Pumpkin Bread Moist and Flavorful Treat
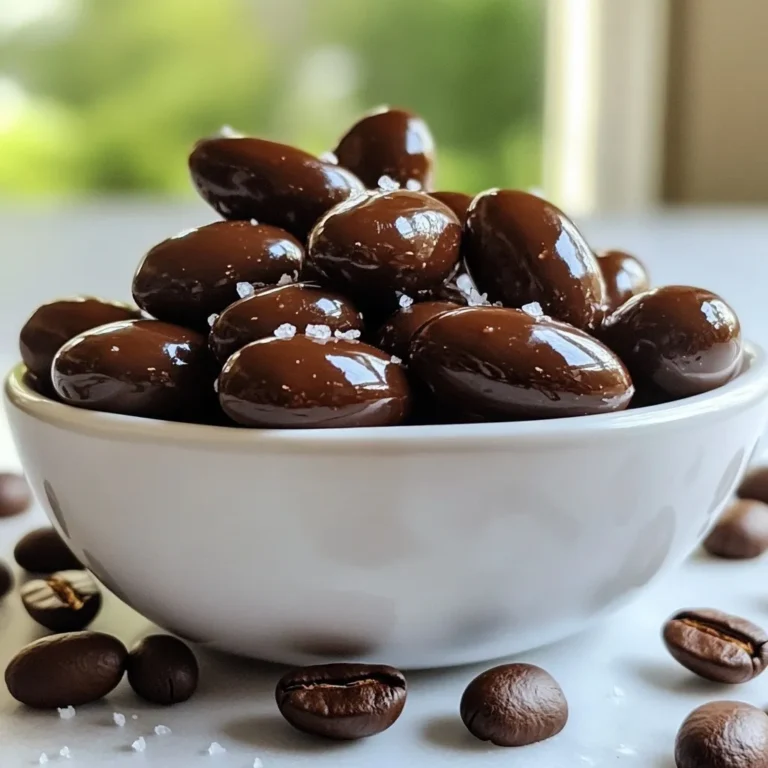
Chocolate Covered Espresso Beans Savory Snack Delight
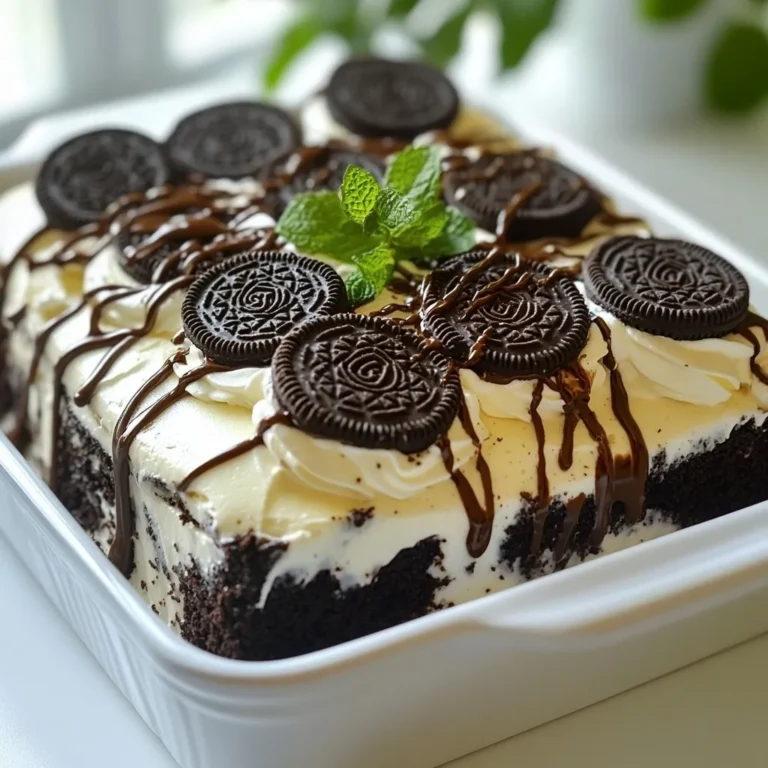
Chocolate Oreo Icebox Cake Delightful No-Bake Treat
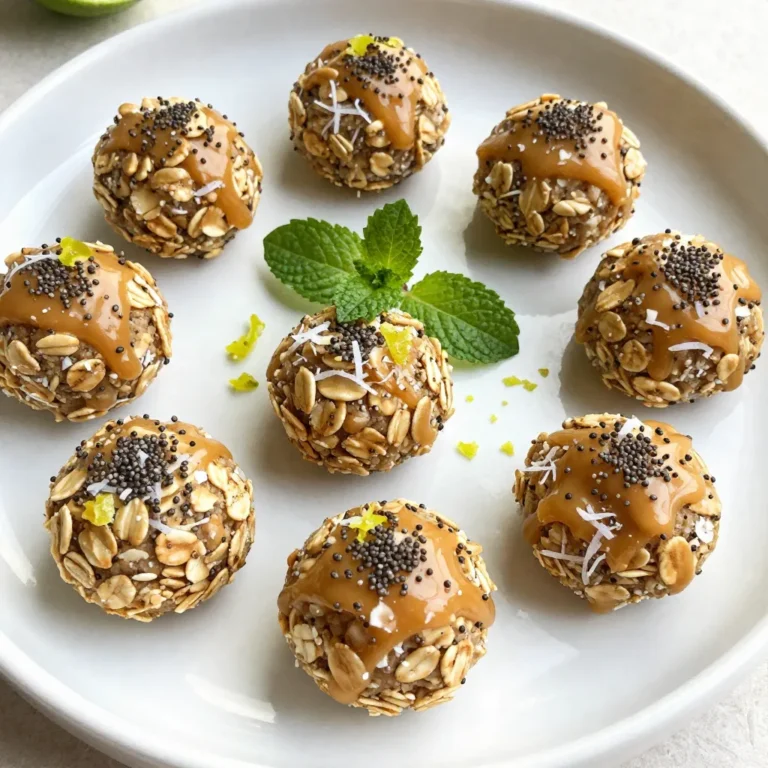
Coconut Lime Energy Bites Refreshing and Easy Snack
Copycat Starbucks Lemon Loaf Tasty and Simple Recipe
Page navigation
Previous Page
Previous
1
…
20
21
22
23
24
…
27
Next Page
Next
Home
Dinner
Appetizer
Desserts
Drinks
About
Contact
Privacy Policy
Toggle Menu Close
Search for:
Search