Skip to content
About
Contact
Cookie Policy
Copyright Policy
Disclaimer
Search
Home
Dinner
Appetizer
Desserts
Drinks
About
Contact
Privacy Policy
Toggle Menu
Home
/
Desserts
- Page 23
Desserts
Raspberry Lemonade Cupcakes Refreshing and Tasty Treat
Cranberry Orange Energy Bites Powerful Snack Recipe
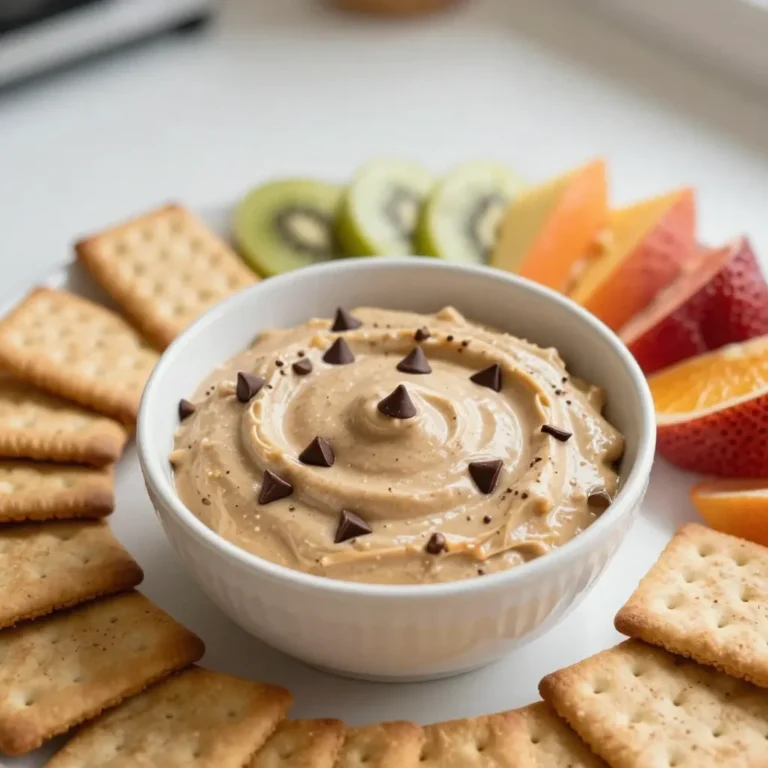
Chocolate Chip Cookie Dough Dip Easy and Tasty Treat
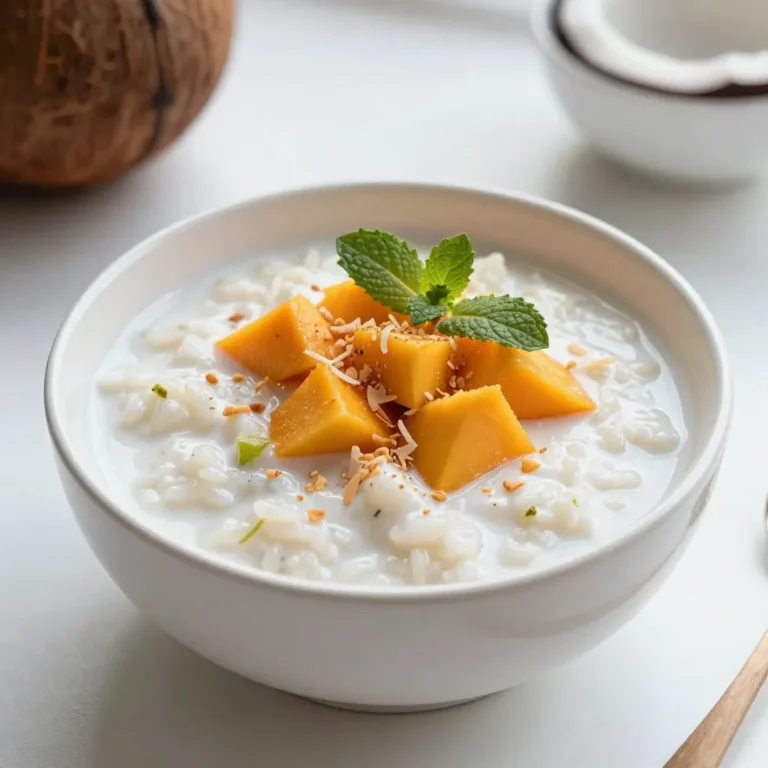
Coconut Mango Rice Pudding Delightful Dessert Recipe
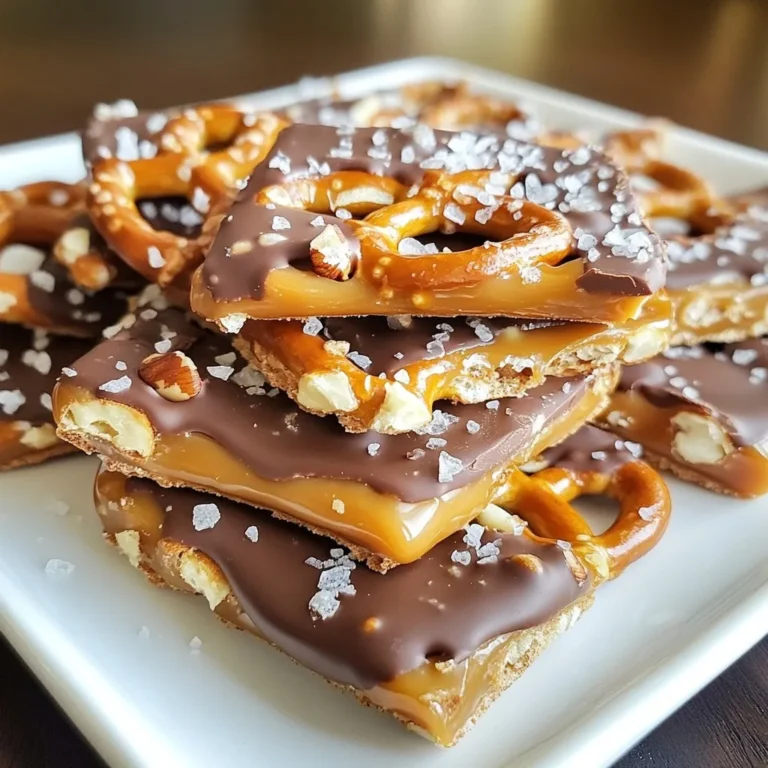
Salted Caramel Pretzel Bark Crunchy Sweet Delight
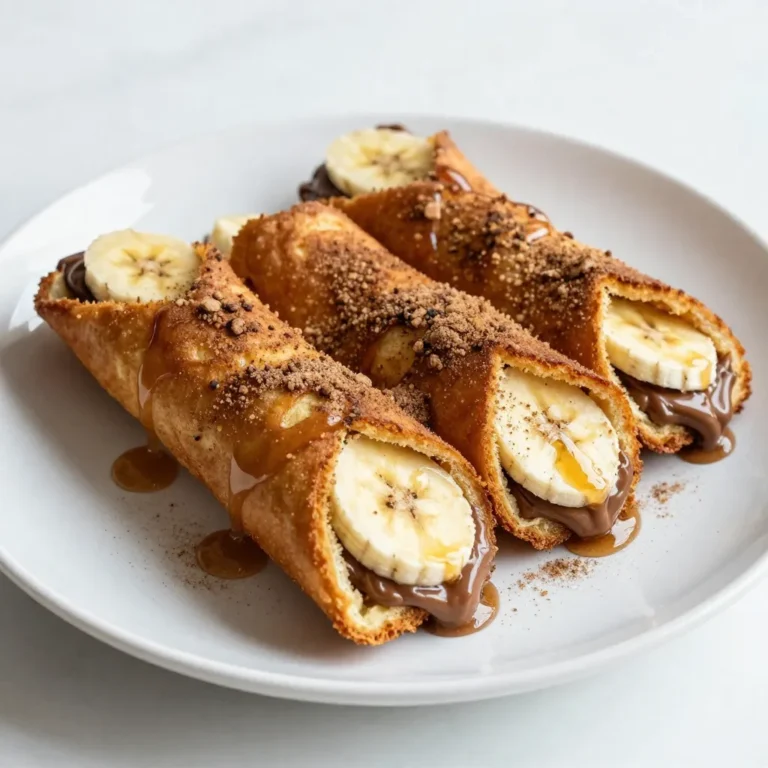
Banana Nutella French Toast Roll Ups Easy and Tasty
Apple Cinnamon Baked Oatmeal Flavorful and Simple Dish
Chocolate Covered Espresso Beans Savory Snack Delight
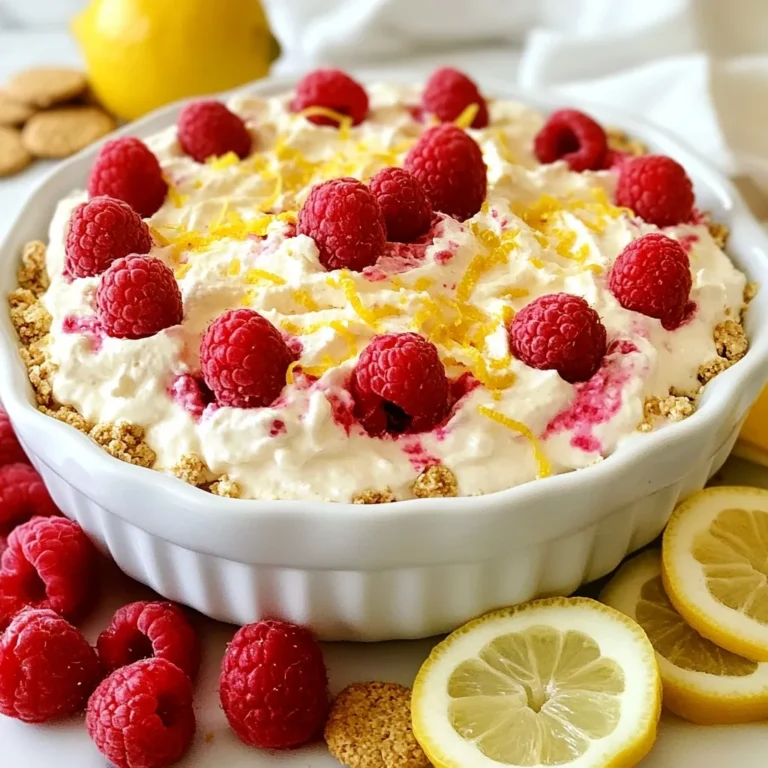
Raspberry Lemon Cheesecake Dip Delightful Dessert Treat
Strawberry Pretzel Salad Delicious Summer Delight
Page navigation
Previous Page
Previous
1
…
21
22
23
24
25
…
27
Next Page
Next
Home
Dinner
Appetizer
Desserts
Drinks
About
Contact
Privacy Policy
Toggle Menu Close
Search for:
Search