Skip to content
About
Contact
Cookie Policy
Copyright Policy
Disclaimer
Search
Home
Dinner
Appetizer
Desserts
Drinks
About
Contact
Privacy Policy
Toggle Menu
Home
/
Desserts
- Page 24
Desserts
Chocolate Covered Peanut Butter Pretzels Delight
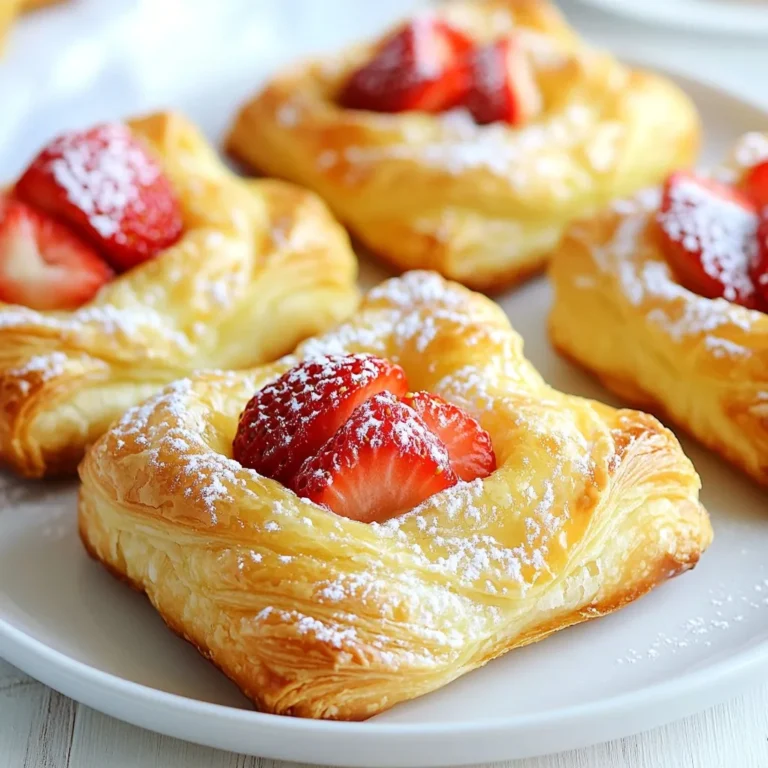
Strawberry Cream Cheese Danishes Tasty and Simple Recipe
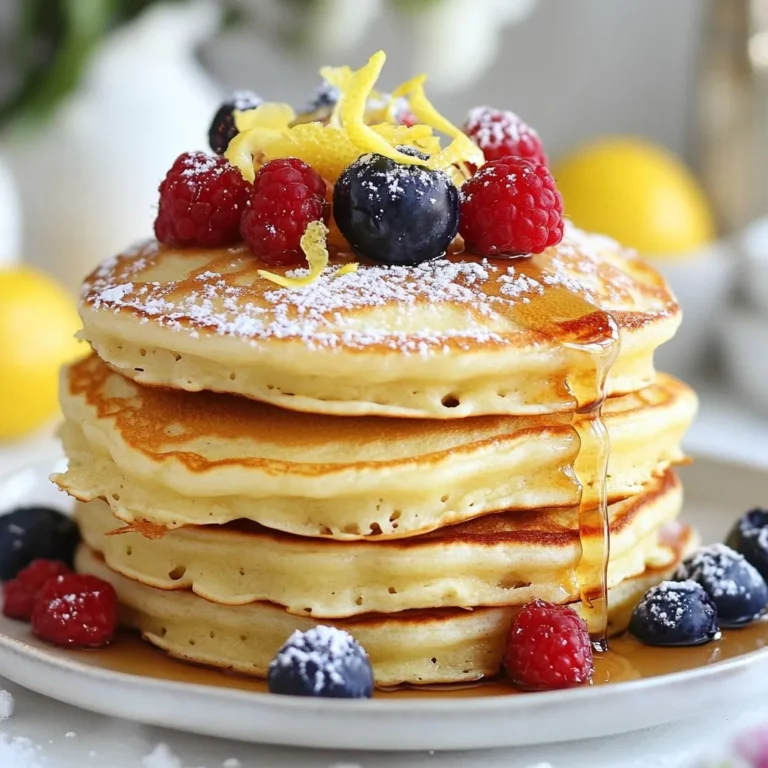
Lemon Ricotta Pancakes Fresh and Fluffy Delight
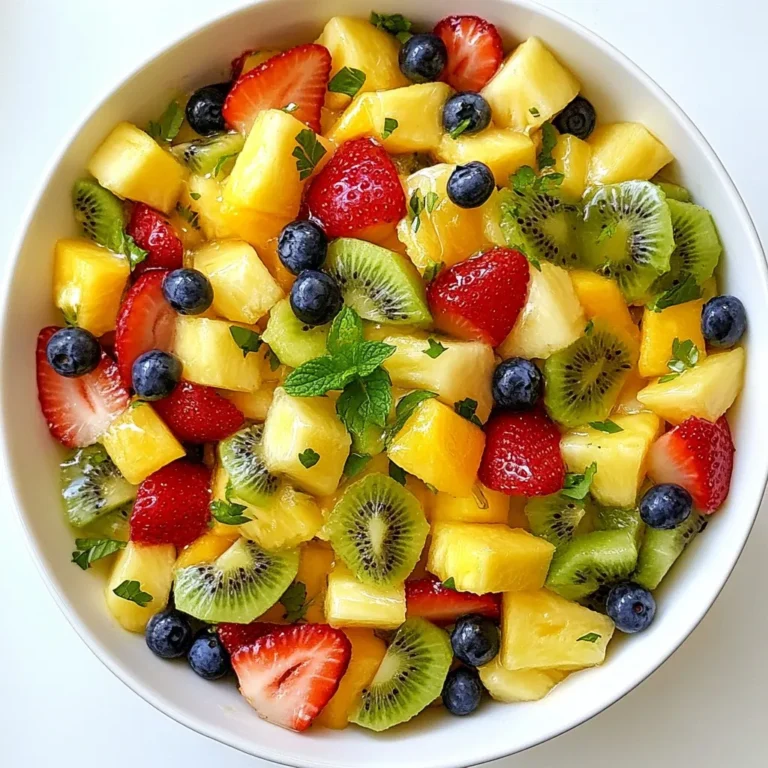
Honey Lime Fruit Salad Refreshing and Simple Recipe
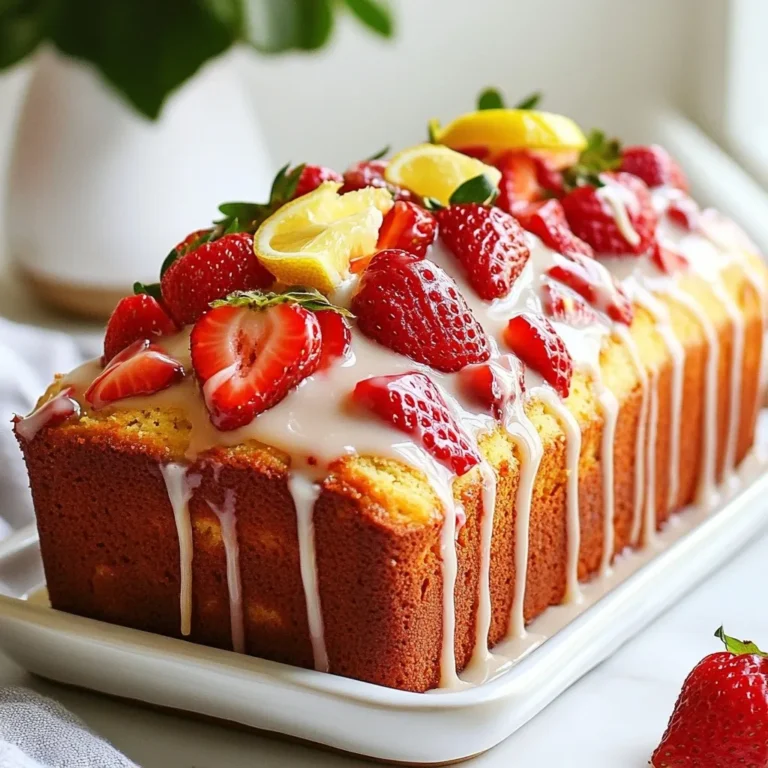
Strawberry Lemon Yogurt Loaf Fresh and Zesty Recipe
Raspberry Almond Thumbprint Cookies Delicious Treat
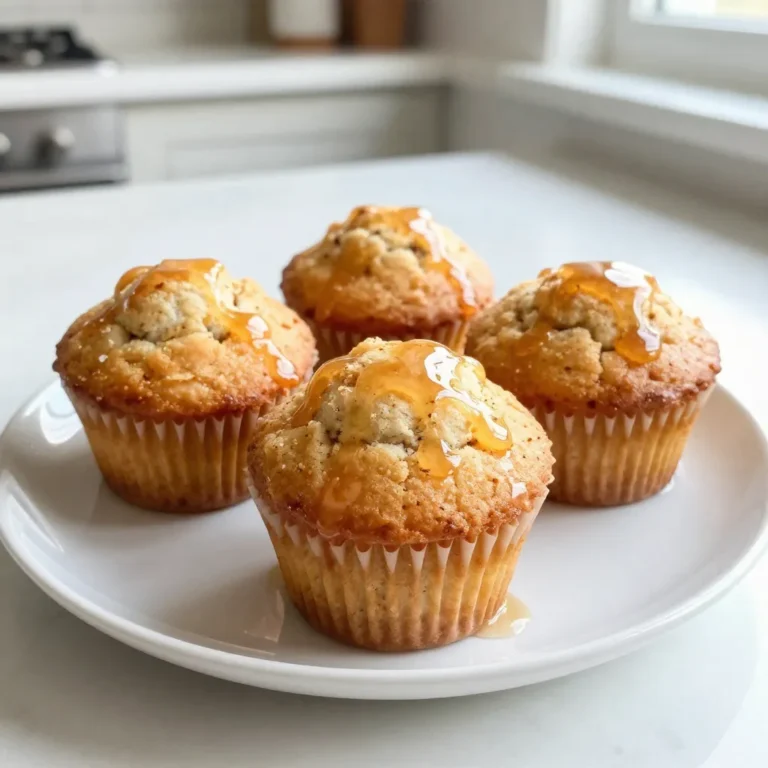
Maple Glazed Donut Muffins Simple and Tasty Recipe
Chocolate Covered Pretzel Bark Delightful and Easy Treat
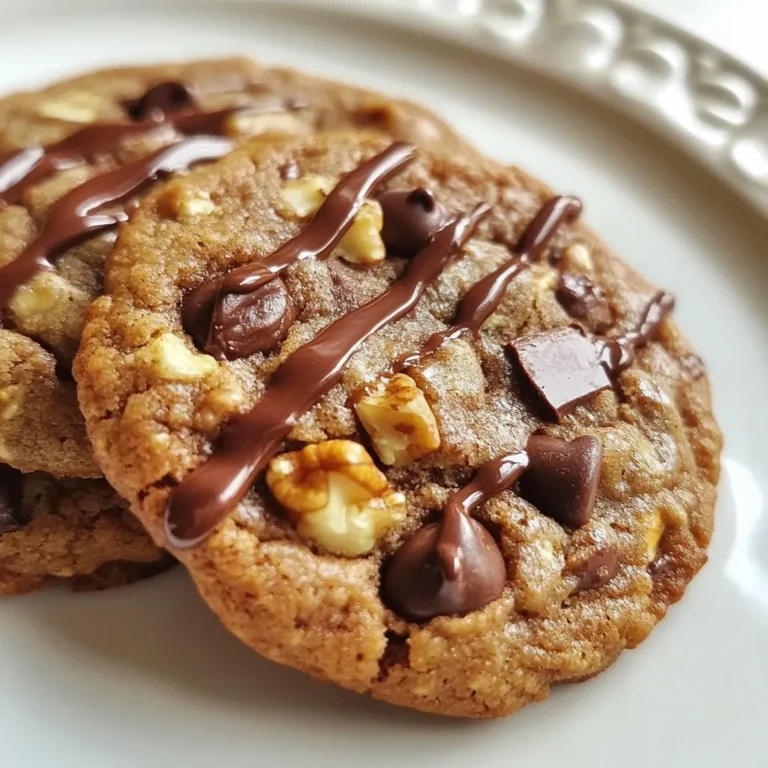
Avocado Chocolate Chip Cookies Simple and Tasty Treat
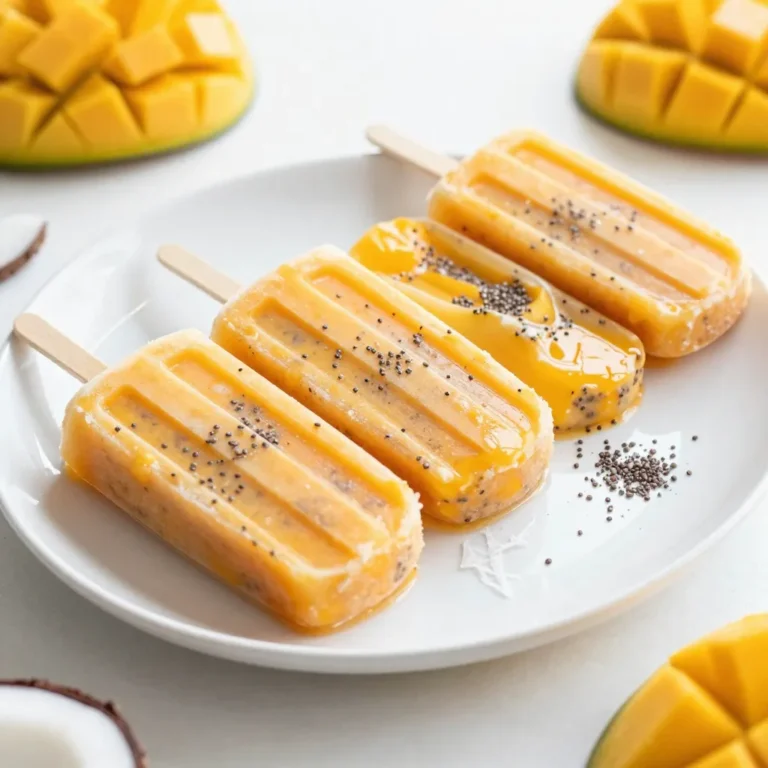
Mango Coconut Chia Popsicles Refreshing Summer Treat
Page navigation
Previous Page
Previous
1
…
22
23
24
25
26
27
Next Page
Next
Home
Dinner
Appetizer
Desserts
Drinks
About
Contact
Privacy Policy
Toggle Menu Close
Search for:
Search