Skip to content
About
Contact
Cookie Policy
Copyright Policy
Disclaimer
Search
Home
Dinner
Appetizer
Desserts
Drinks
About
Contact
Privacy Policy
Toggle Menu
Home
/
Desserts
- Page 25
Desserts
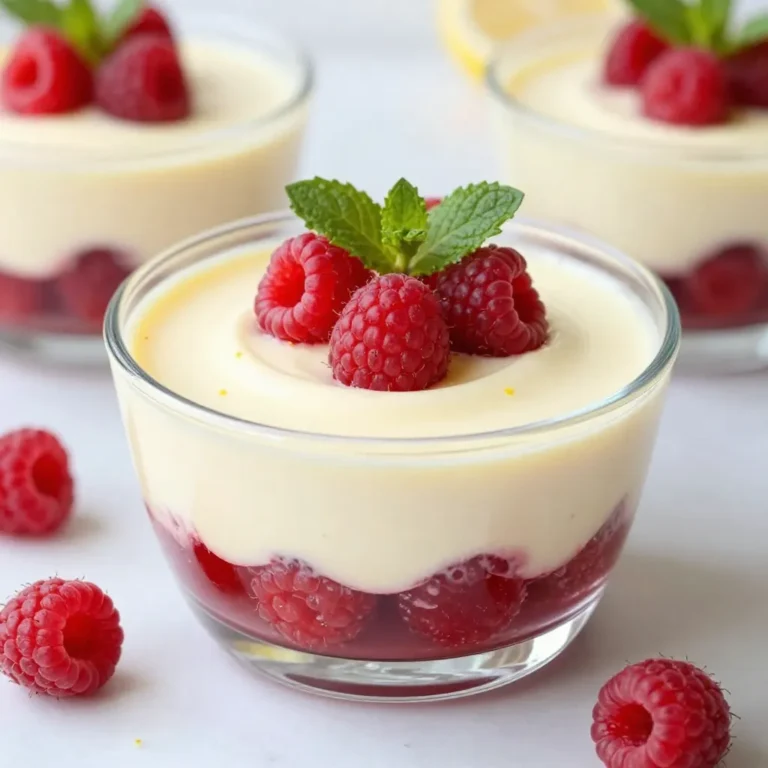
Raspberry Lemon Cheesecake Mousse Delightful Layered Treat
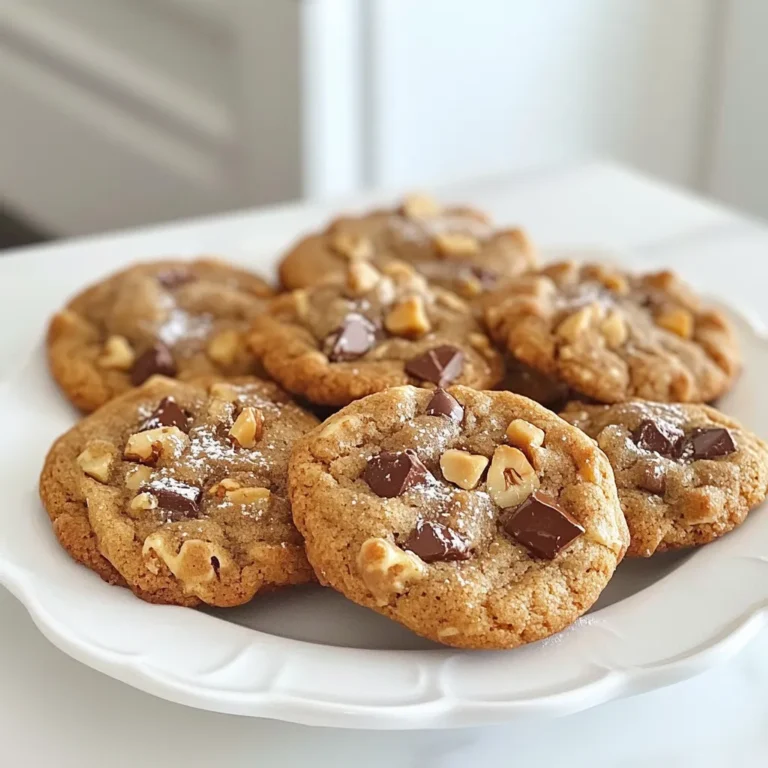
Vegan Chocolate Chip Cookies Simple and Tasty Treat
Blueberry Oat Breakfast Bars Healthy and Simple Recipe
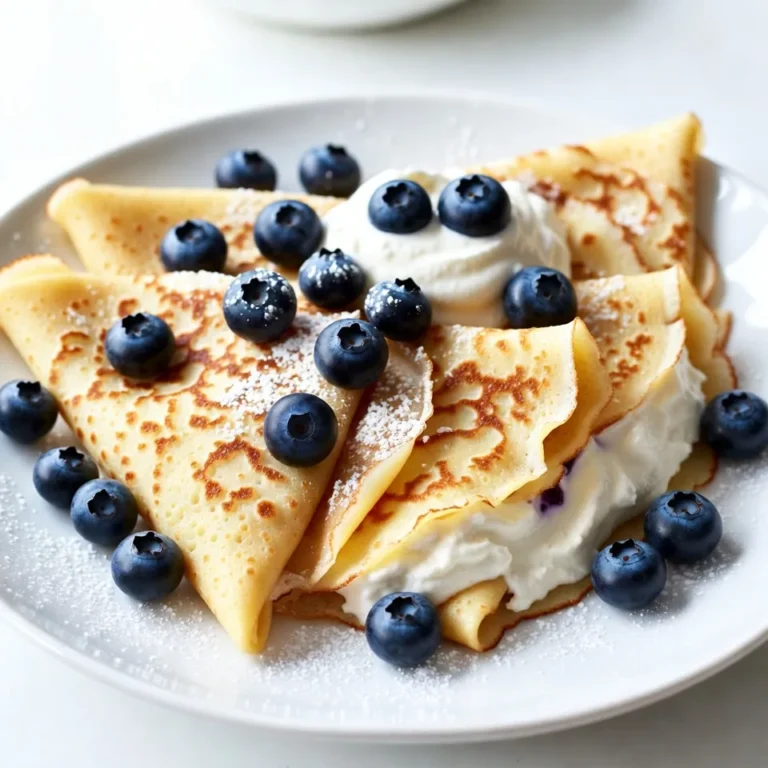
Blueberry Cheesecake Crepes Delicious and Easy Recipe
Mango Coconut Ice Pops Refreshing Summer Treats
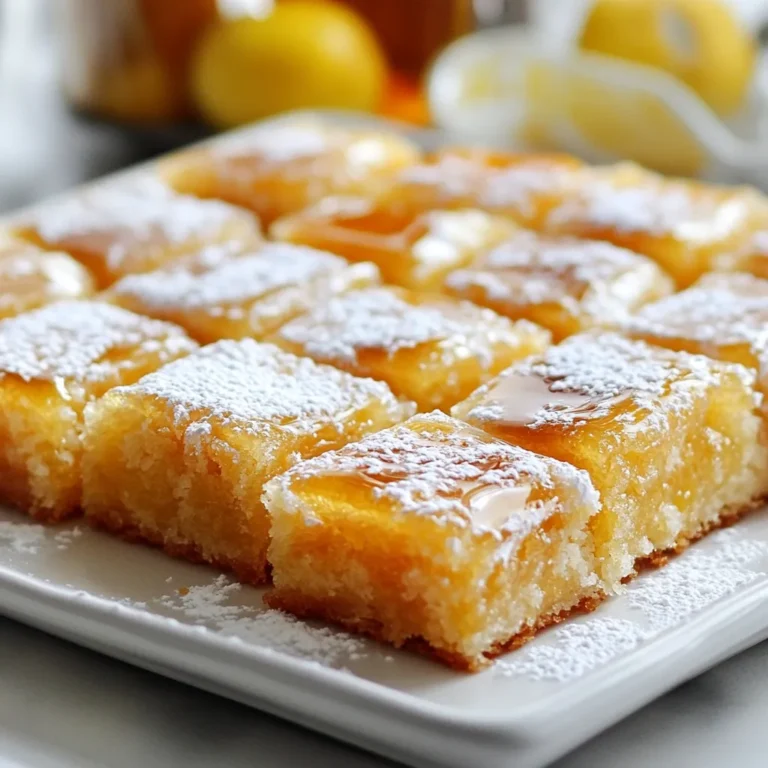
Soft Baked Maple Donut Bars Delicious and Easy Recipe
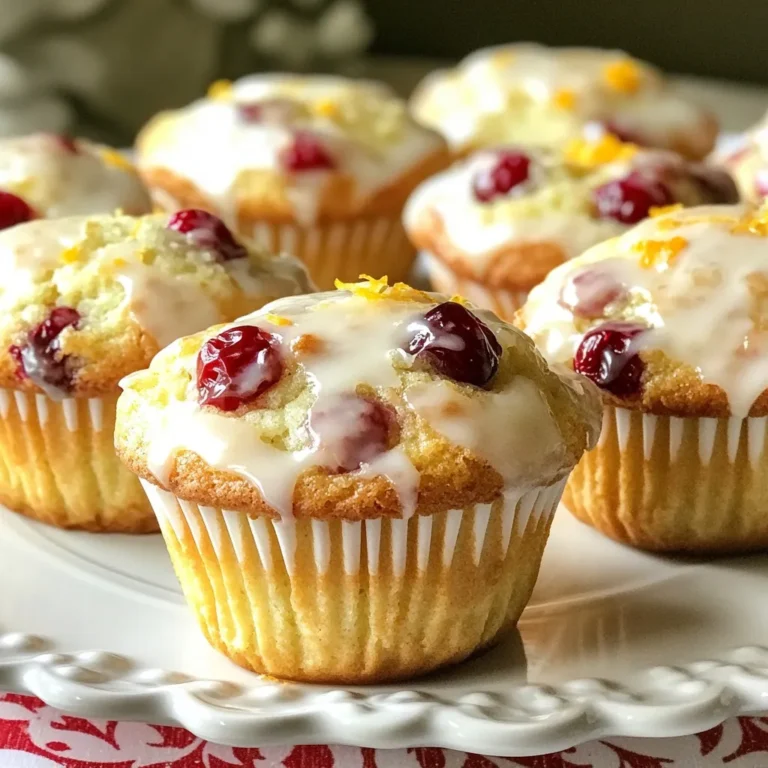
Cranberry Orange Muffins Perfect for Any Occasion
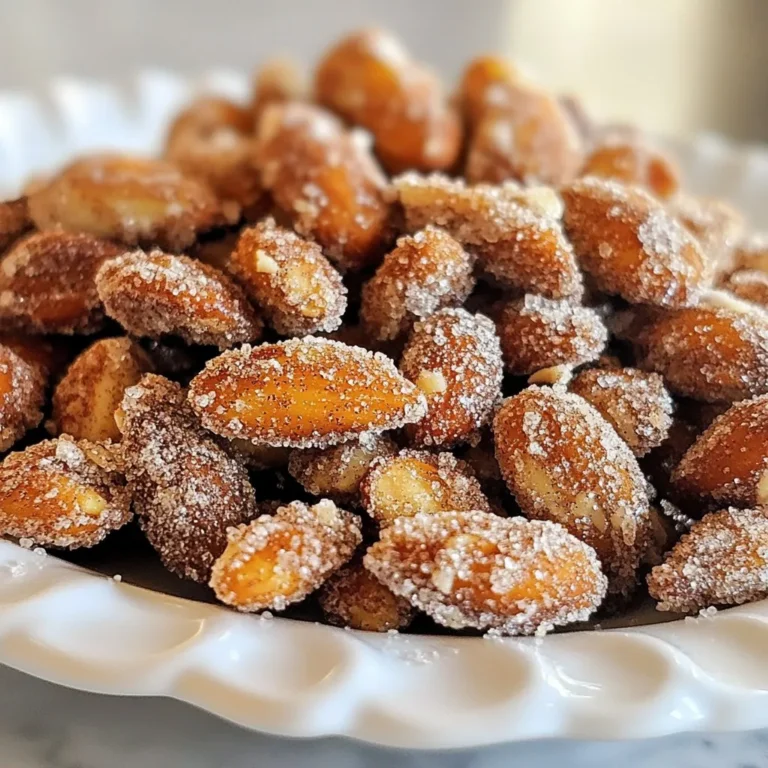
Cinnamon Sugar Roasted Almonds Tasty Snack Idea
Raspberry Lemonade Cupcakes Delightful and Fresh Treat
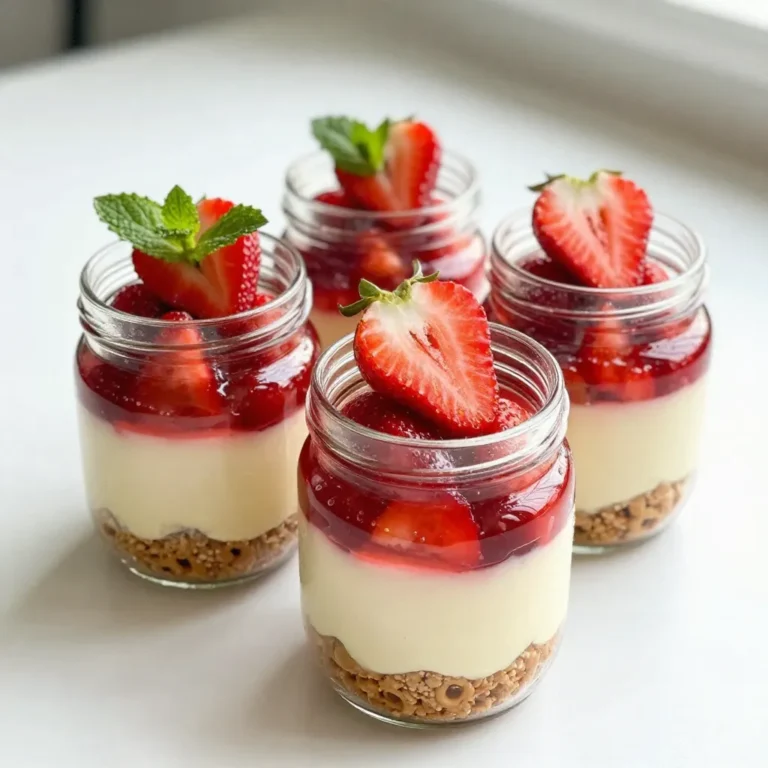
Strawberry Pretzel Salad Jars Refreshing Summer Treat
Page navigation
Previous Page
Previous
1
…
23
24
25
26
27
Next Page
Next
Home
Dinner
Appetizer
Desserts
Drinks
About
Contact
Privacy Policy
Toggle Menu Close
Search for:
Search