Skip to content
About
Contact
Cookie Policy
Copyright Policy
Disclaimer
Search
Home
Dinner
Appetizer
Desserts
Drinks
About
Contact
Privacy Policy
Toggle Menu
Home
/
Desserts
- Page 26
Desserts
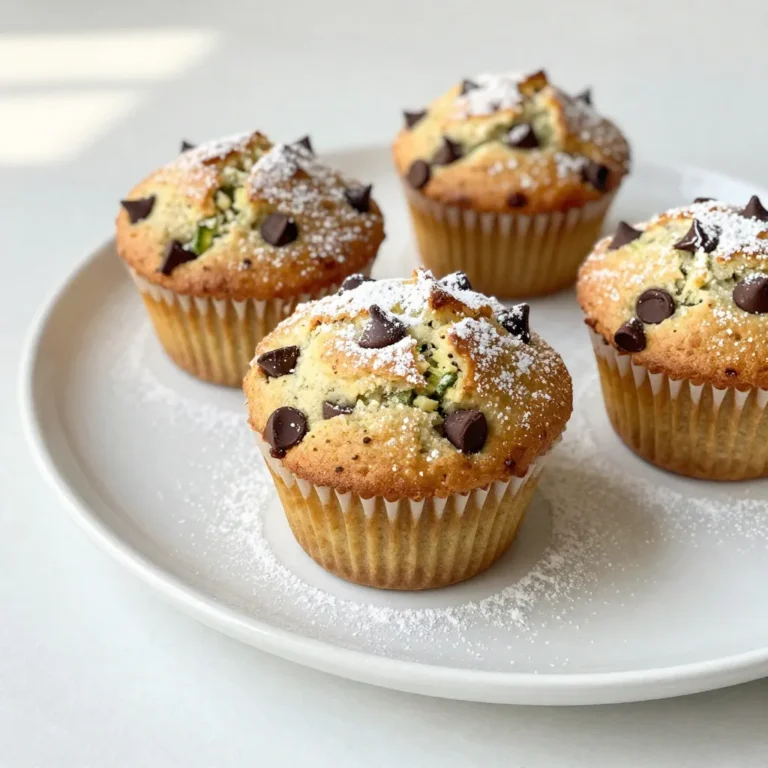
Chocolate Chip Zucchini Muffins Perfect for Snacking
Chocolate Covered Espresso Beans Savory Snack Delight
Cinnamon Apple Crumb Muffins Easy and Tasty Recipe
Pumpkin Pie French Toast Delightful Fall Breakfast
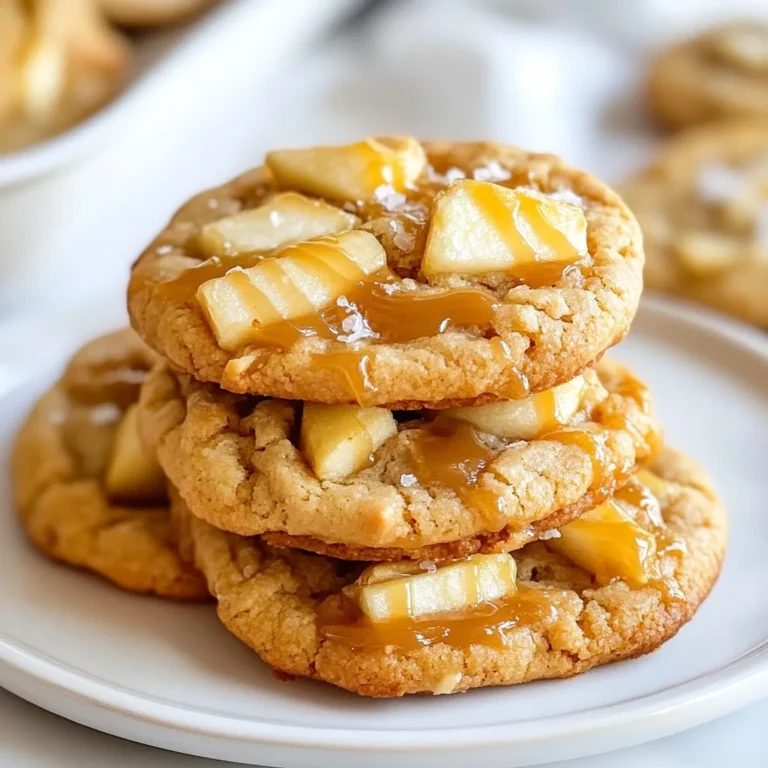
Salted Caramel Apple Pie Cookies Irresistible Treat
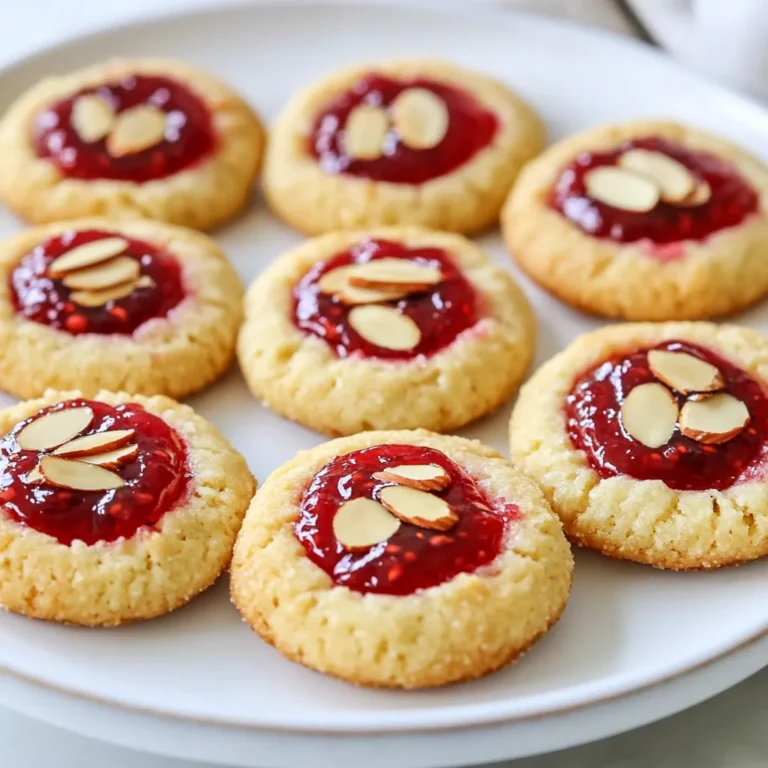
Raspberry Almond Thumbprint Cookies Delightful Treat
Chocolate Covered Espresso Beans Savory Snack Delight
Vegan Chocolate Avocado Mousse Rich and Creamy Delight
Snickerdoodle Cheesecake Bars Irresistible Sweet Treat
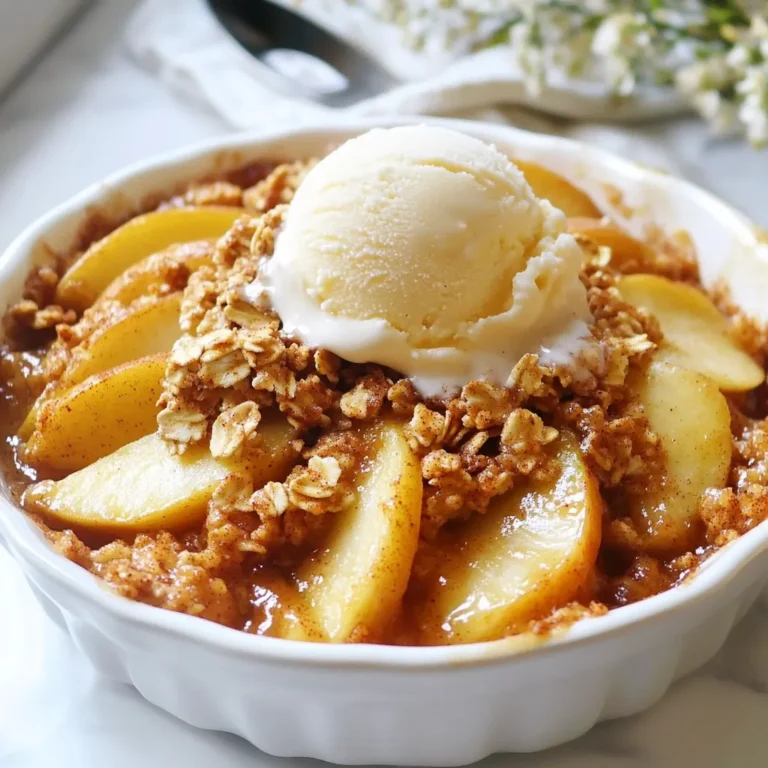
Cinnamon Apple Crisp Delightful and Easy Dessert Recipe
Page navigation
Previous Page
Previous
1
…
24
25
26
27
Next Page
Next
Home
Dinner
Appetizer
Desserts
Drinks
About
Contact
Privacy Policy
Toggle Menu Close
Search for:
Search