Skip to content
About
Contact
Cookie Policy
Copyright Policy
Disclaimer
Search
Home
Dinner
Appetizer
Desserts
Drinks
About
Contact
Privacy Policy
Toggle Menu
Home
/
Desserts
- Page 3
Desserts
Chocolate Lava Mug Cake Quick and Easy Delight
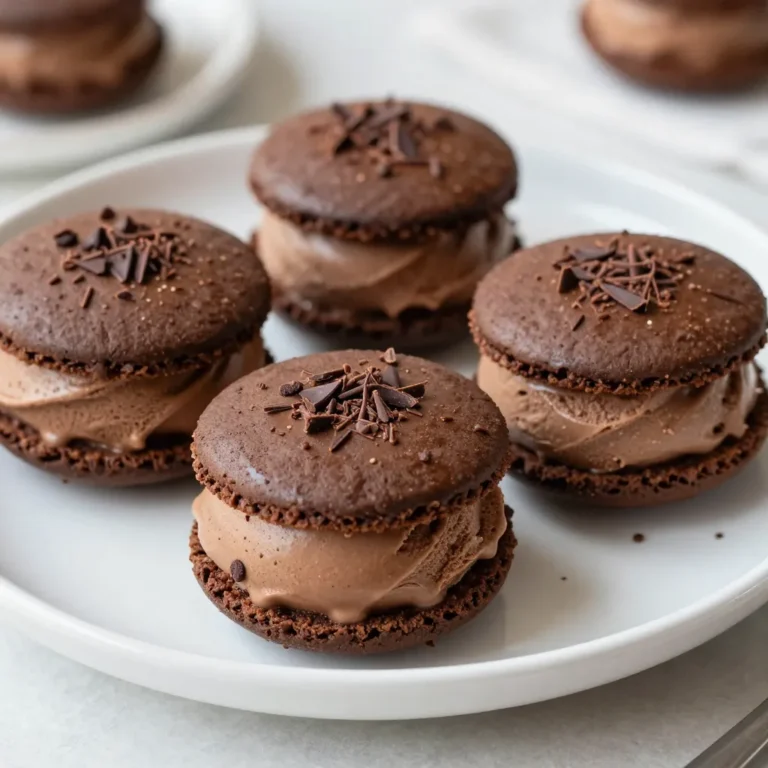
Mocha Ice Cream Sandwiches Delightful Homemade Treat
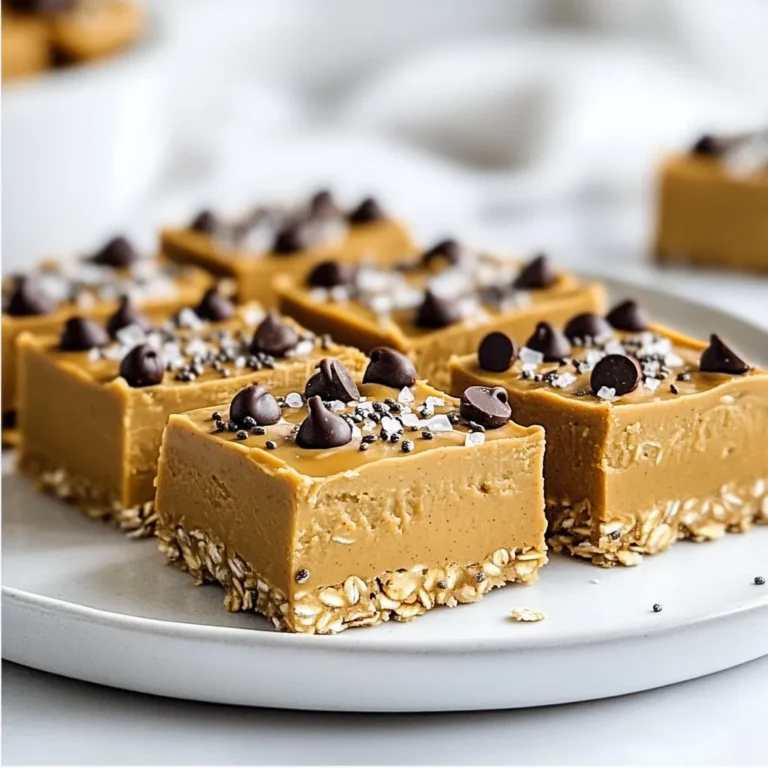
No Bake Peanut Butter Bars Tasty and Easy Recipe
Chocolate Coconut Macaroons Simple and Tasty Recipe
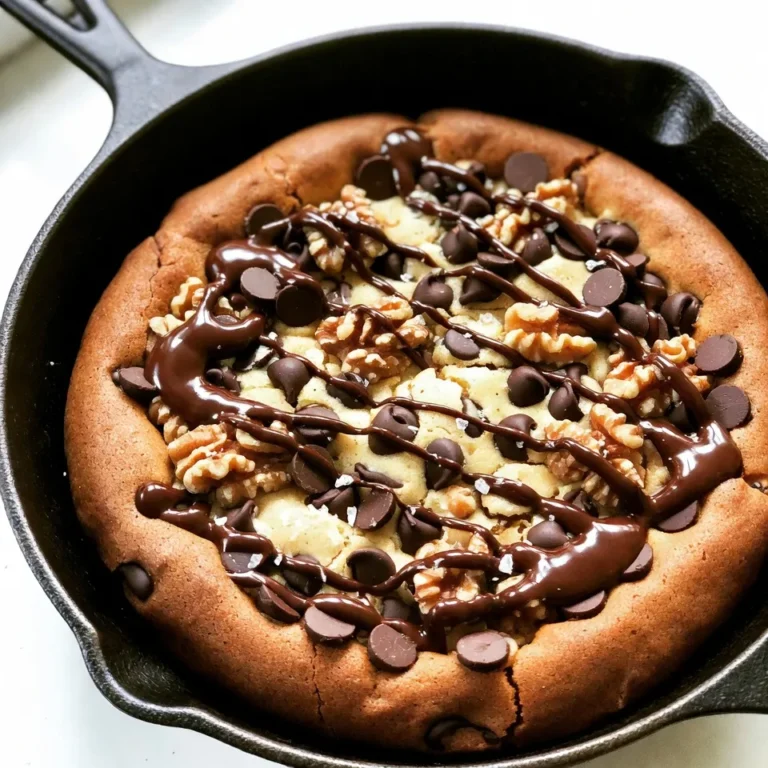
Chocolate Chip Cookie Skillet Warm and Comforting Treat
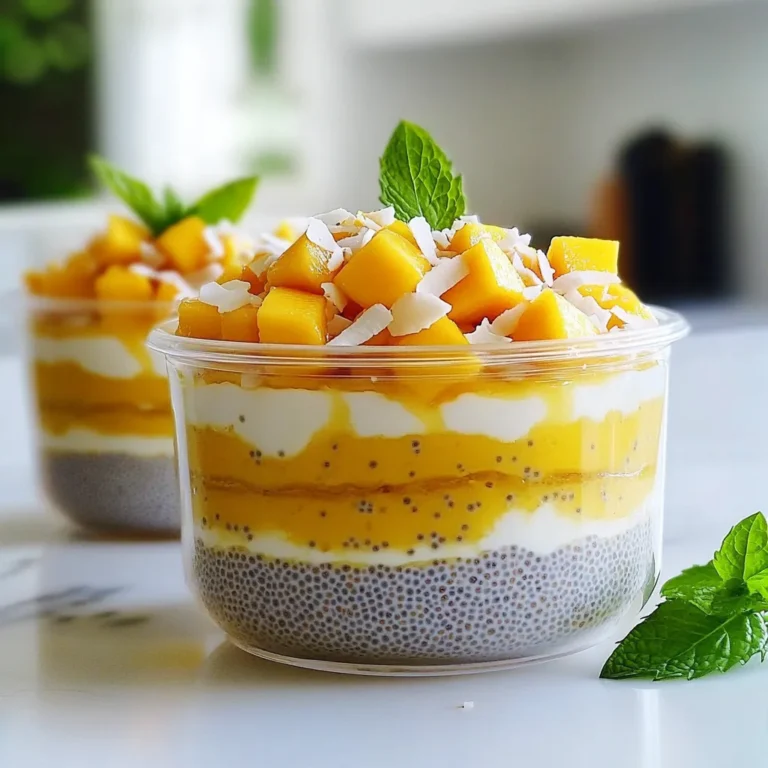
Mango Coconut Chia Pudding Delightfully Healthy Recipe
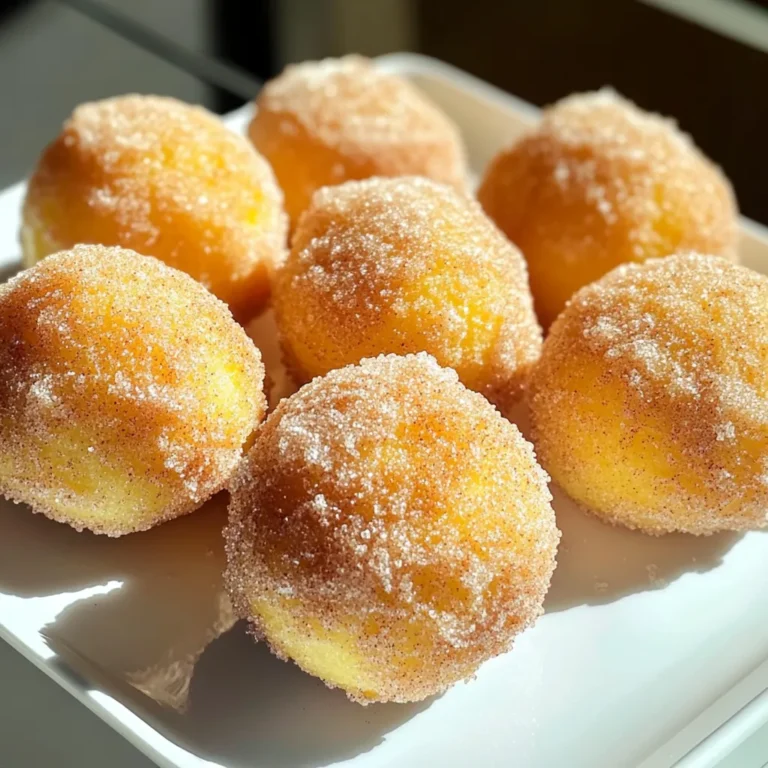
Air Fryer Cinnamon Sugar Donut Holes Delightful Treat
White Chocolate Peppermint Pretzel Rods Delightful Treat
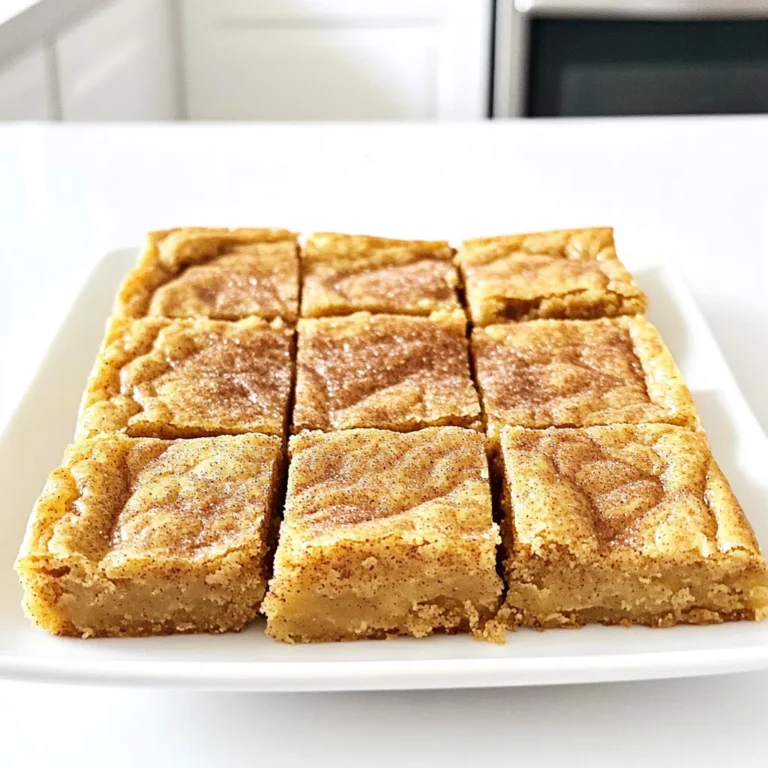
Brown Butter Snickerdoodle Blondies Irresistible Treat
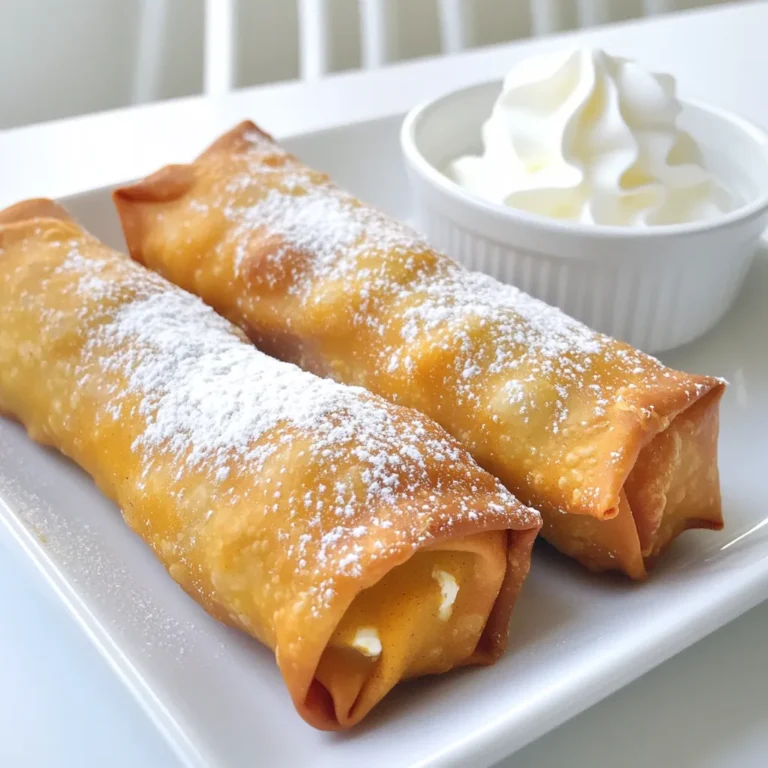
Pumpkin Pie Egg Rolls Air Fryer Crispy Delight
Page navigation
Previous Page
Previous
1
2
3
4
5
…
27
Next Page
Next
Home
Dinner
Appetizer
Desserts
Drinks
About
Contact
Privacy Policy
Toggle Menu Close
Search for:
Search