Skip to content
About
Contact
Cookie Policy
Copyright Policy
Disclaimer
Search
Home
Dinner
Appetizer
Desserts
Drinks
About
Contact
Privacy Policy
Toggle Menu
Home
/
Desserts
- Page 4
Desserts
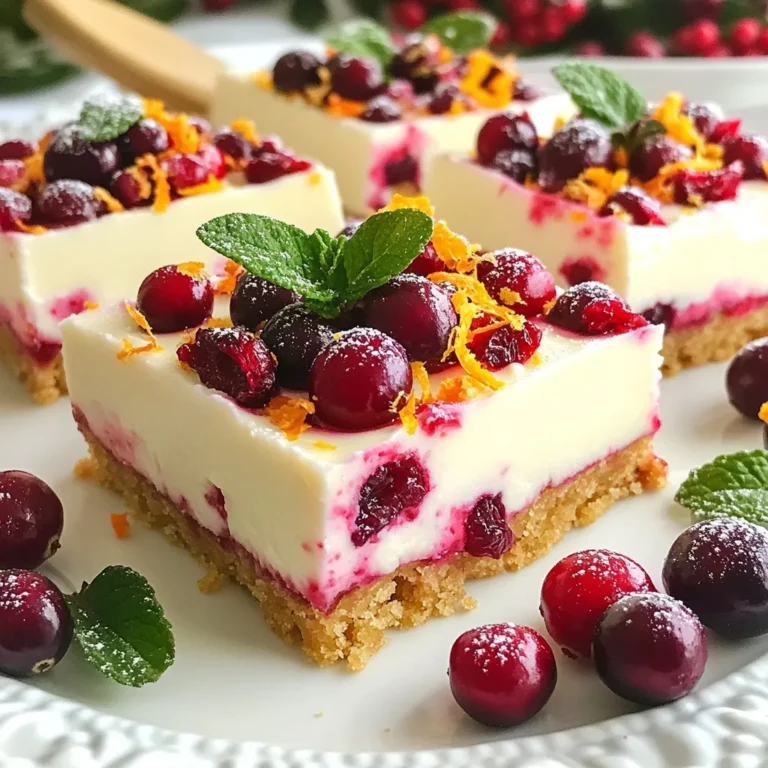
Cranberry Cheesecake Bars Simple and Flavorful Treat
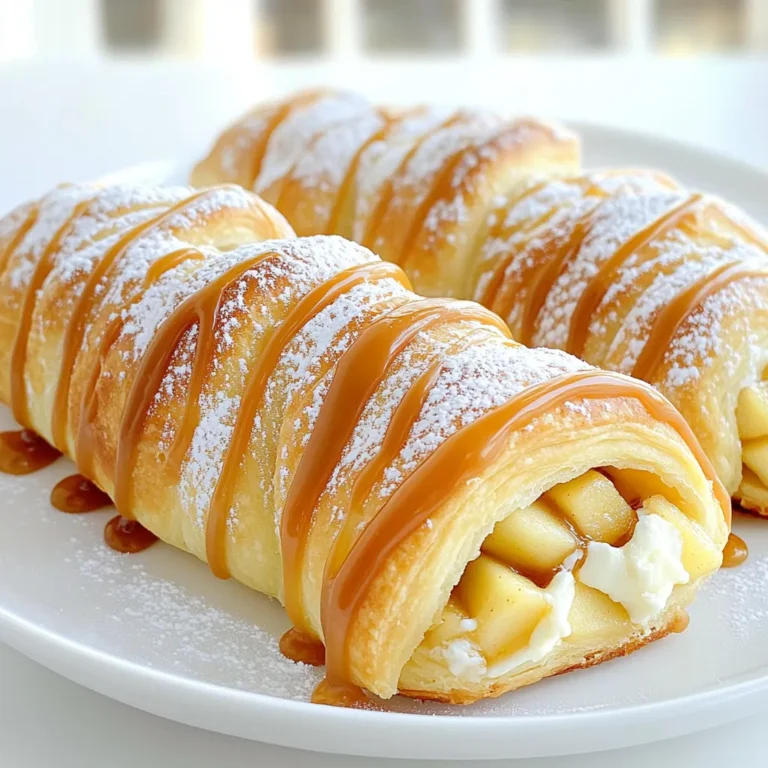
Caramel Apple Cheesecake Crescent Rolls Delight
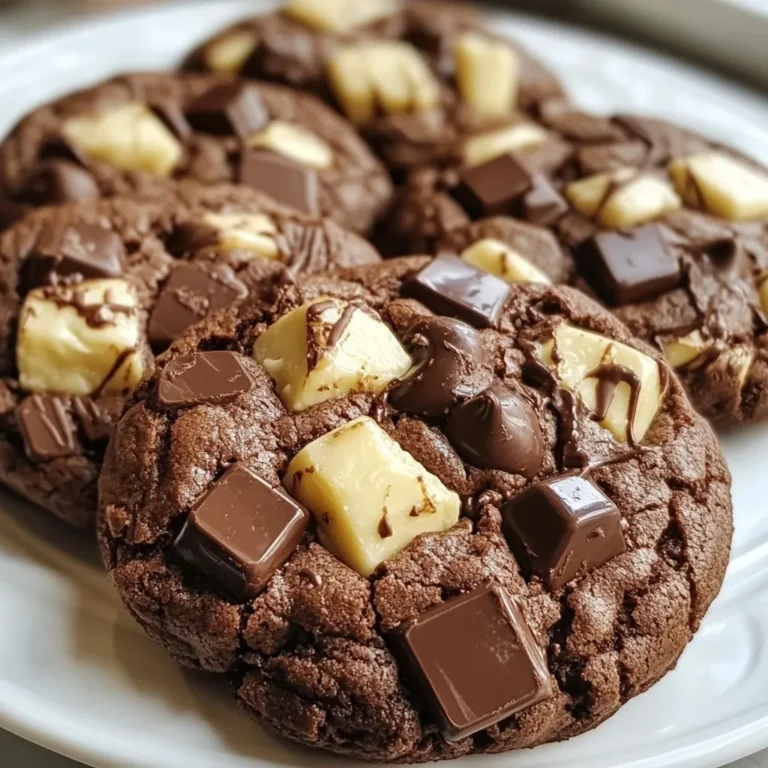
Triple Chocolate Brownie Cookies Rich and Chewy Treat
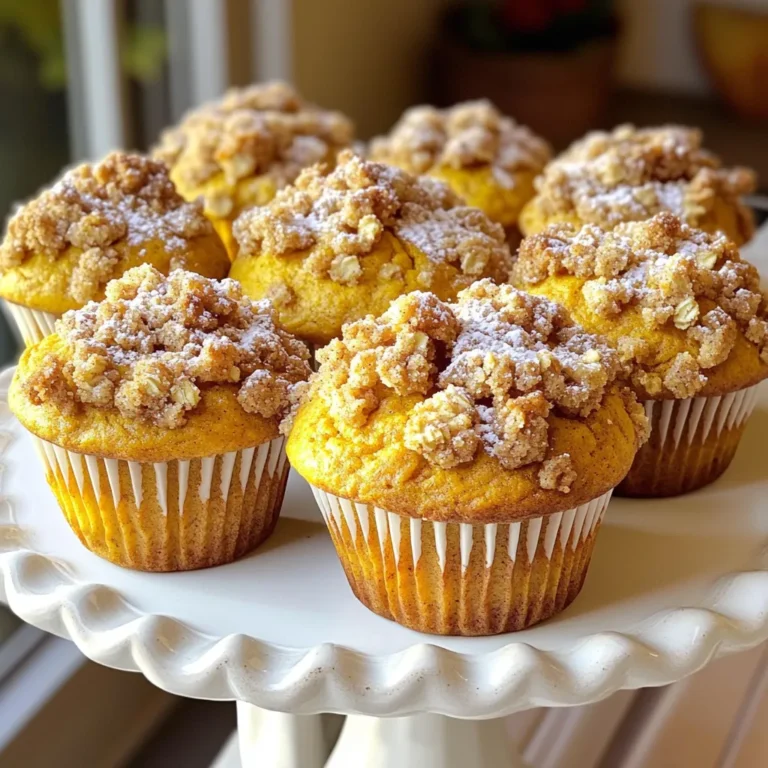
Pumpkin Streusel Muffins Bakery Style Tasty and Fluffy
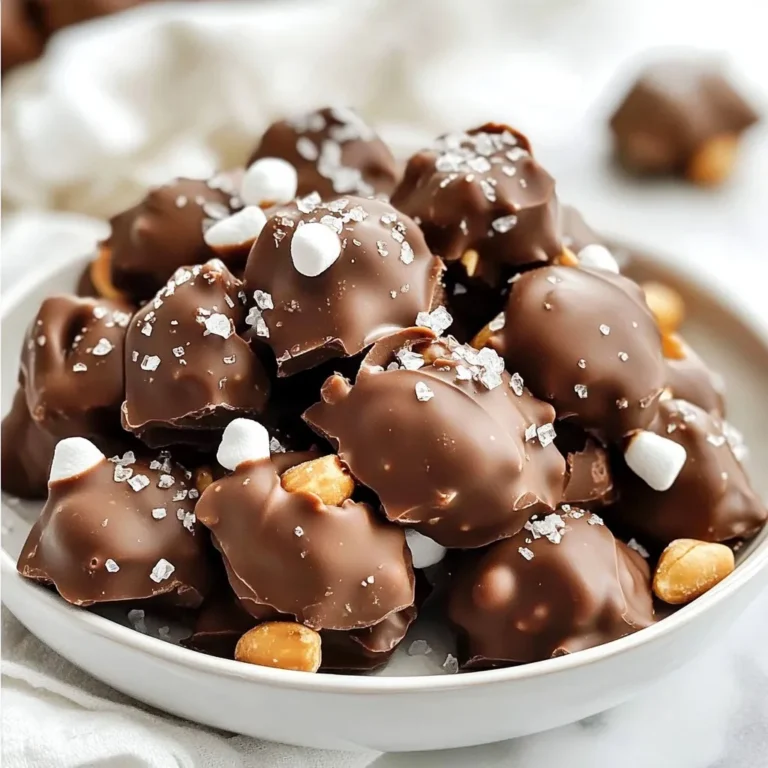
Crockpot Chocolate Peanut Clusters Easy and Delicious Treat
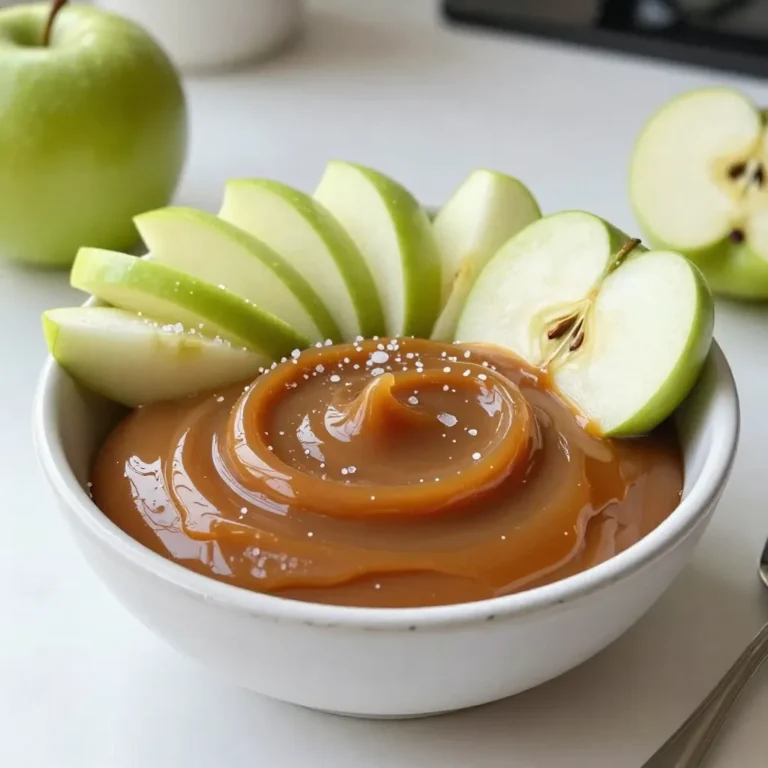
Salted Caramel Apple Dip Flavorful and Easy Recipe
Salted Caramel Cheesecake Cups Irresistible Treats
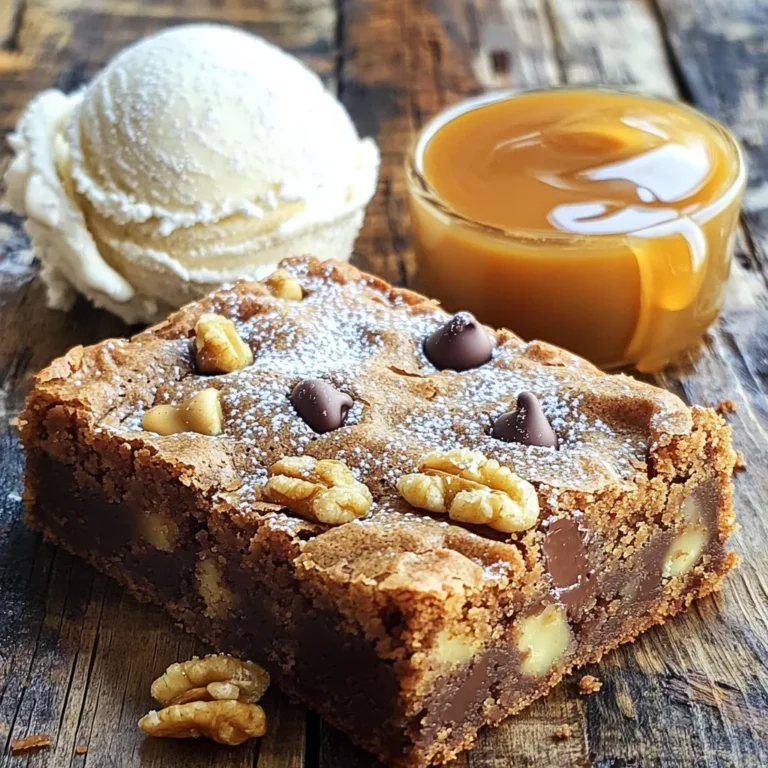
Brown Sugar Blondies Soft and Chewy Dessert Recipe
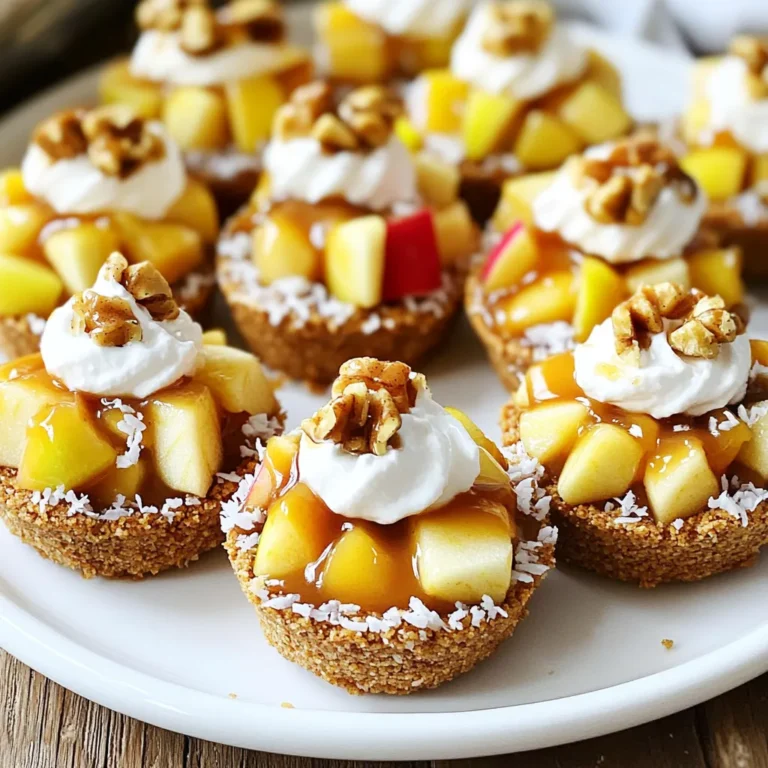
No-Bake Caramel Apple Pie Bites Simple and Tasty Treat
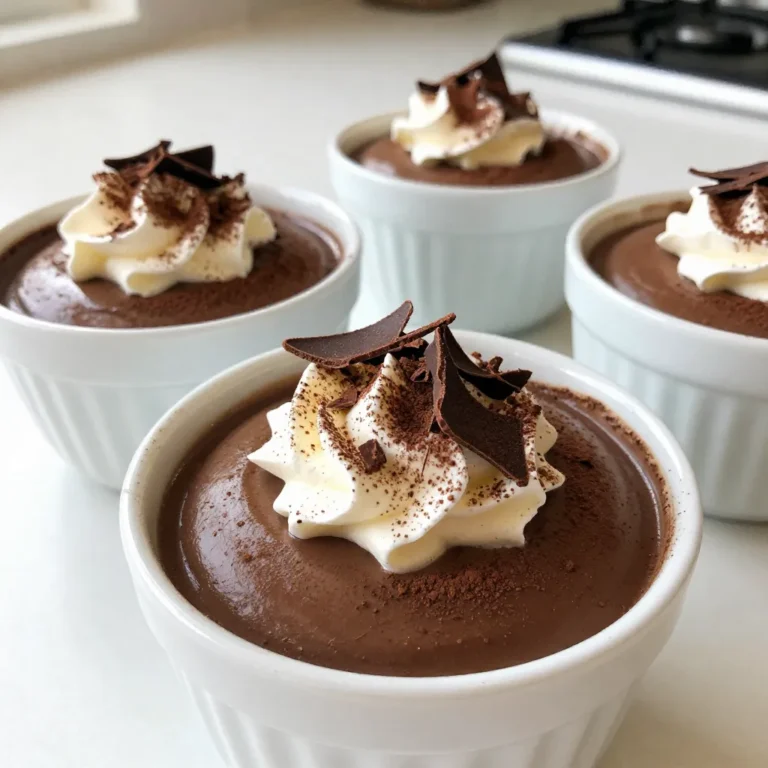
Chocolate Espresso Mousse Rich and Indulgent Delight
Page navigation
Previous Page
Previous
1
2
3
4
5
6
…
27
Next Page
Next
Home
Dinner
Appetizer
Desserts
Drinks
About
Contact
Privacy Policy
Toggle Menu Close
Search for:
Search