Skip to content
About
Contact
Cookie Policy
Copyright Policy
Disclaimer
Search
Home
Dinner
Appetizer
Desserts
Drinks
About
Contact
Privacy Policy
Toggle Menu
Home
/
Desserts
- Page 5
Desserts
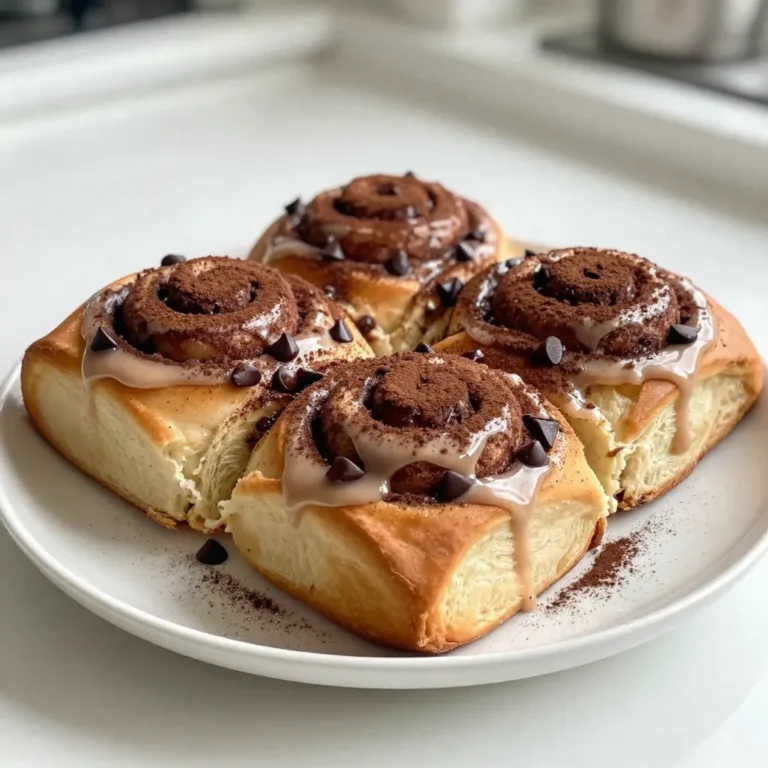
Mocha Cinnamon Rolls Delightful and Easy Recipe
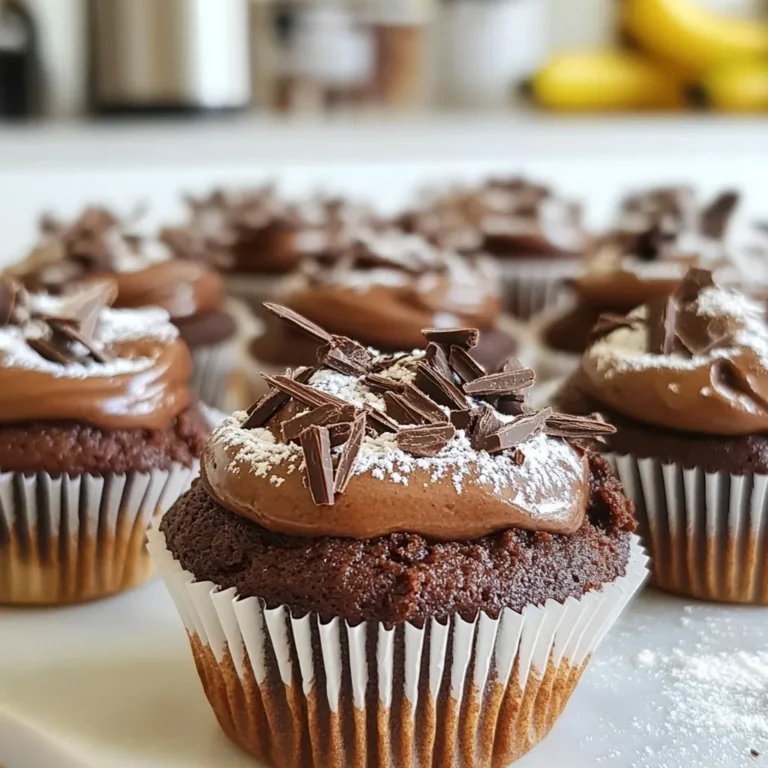
Vegan Chocolate Cupcakes Delicious and Easy Recipe
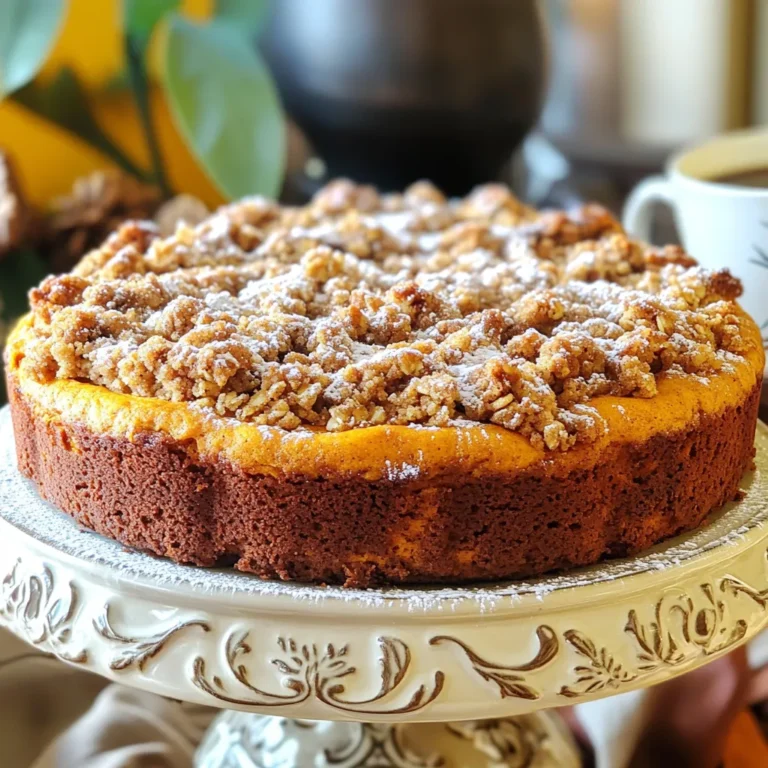
Pumpkin Streusel Coffee Cake Easy and Delicious Recipe
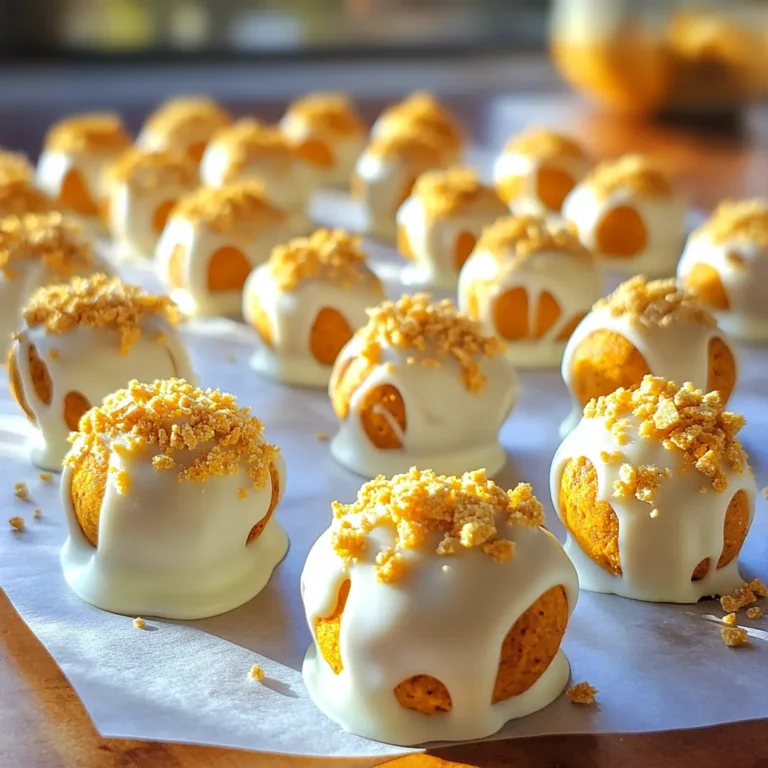
No-Bake Pumpkin Oreo Truffles Simple Treat Recipe
Pumpkin Streusel Coffee Cake Bakery Style Delight
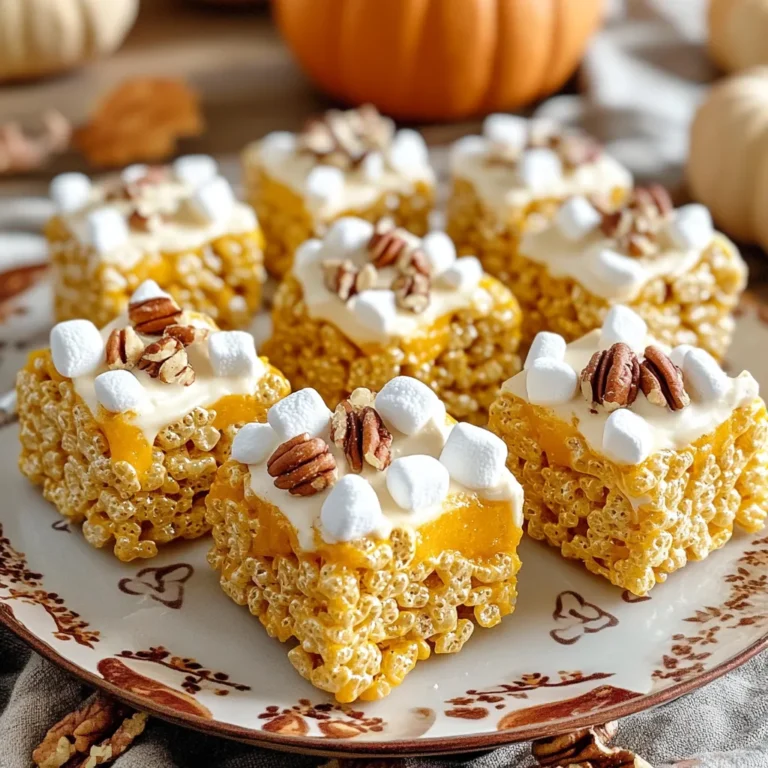
Pumpkin Spice Rice Krispie Treats Delightful and Easy
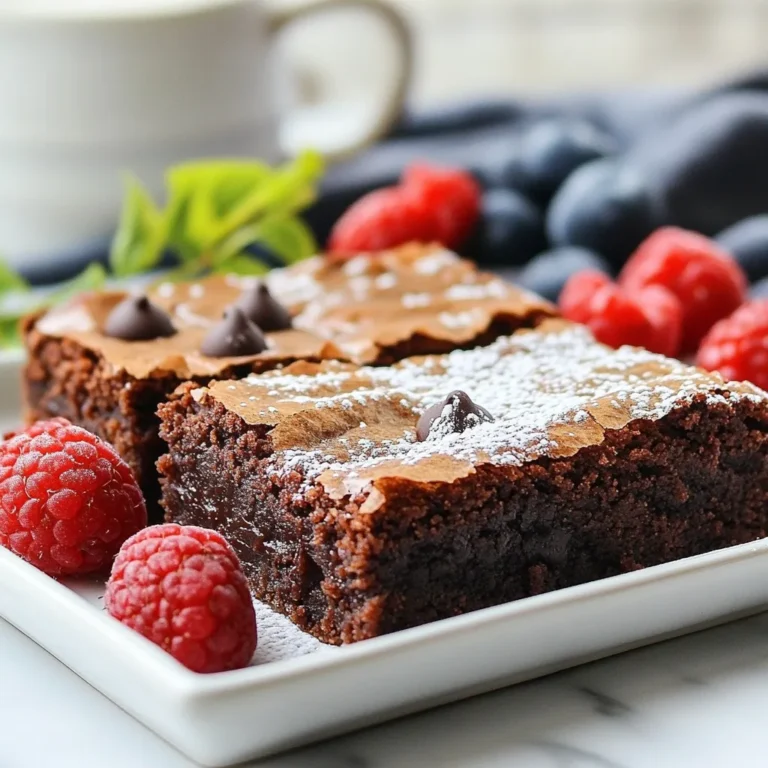
Mochi Brownies Delightful Chewy Treat Recipe
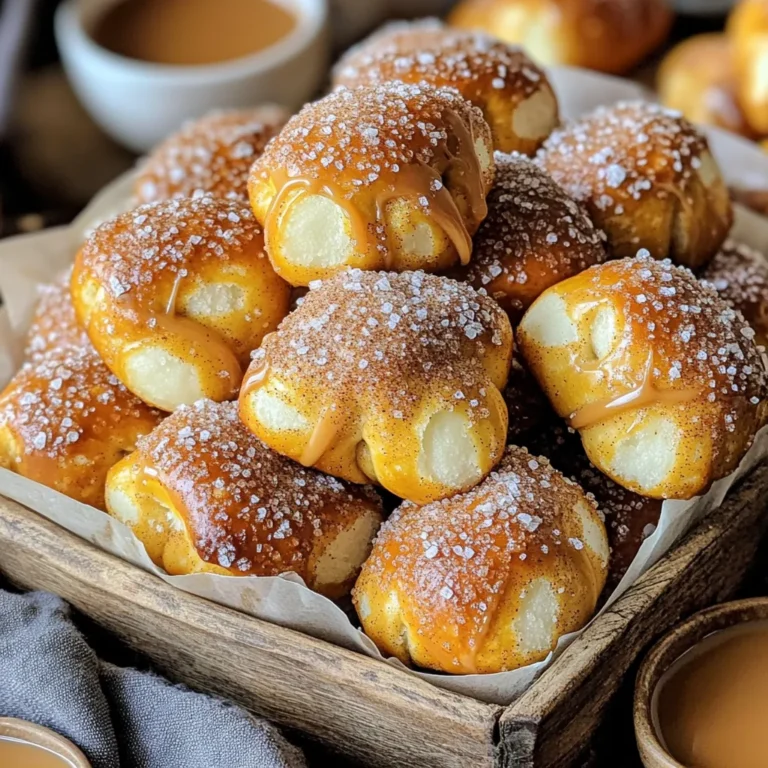
Cinnamon Sugar Soft Pretzel Bites Easy and Tasty Snack
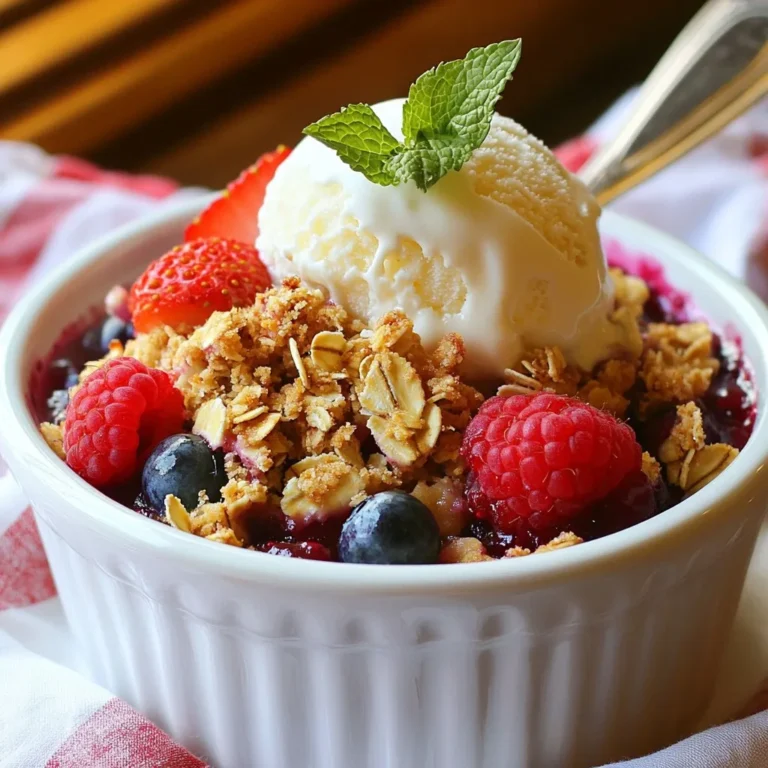
Triple Berry Crisp Delicious Dessert for Everyone
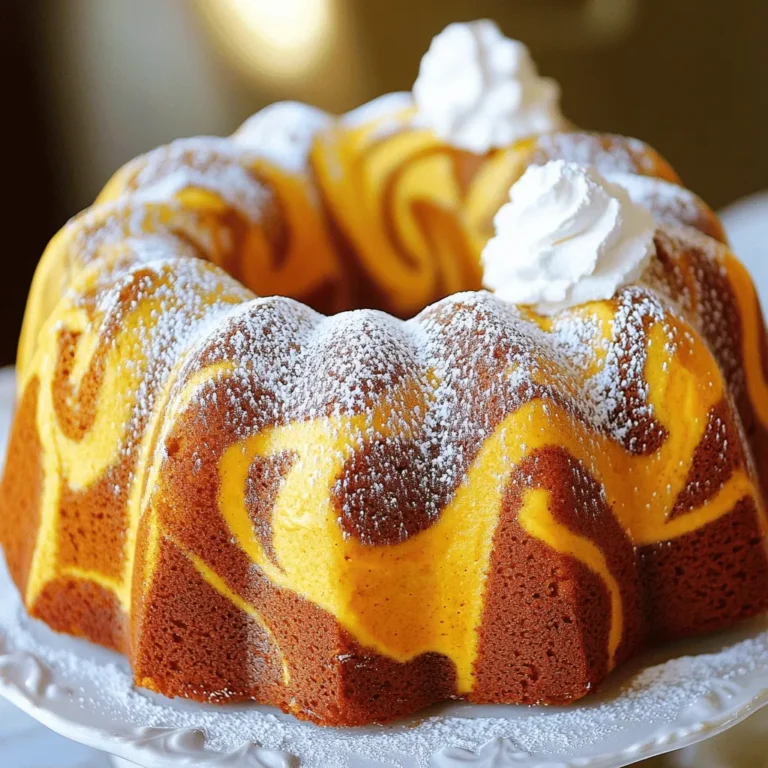
Pumpkin Cream Cheese Bundt Cake Irresistible Delight
Page navigation
Previous Page
Previous
1
…
3
4
5
6
7
…
27
Next Page
Next
Home
Dinner
Appetizer
Desserts
Drinks
About
Contact
Privacy Policy
Toggle Menu Close
Search for:
Search