Skip to content
About
Contact
Cookie Policy
Copyright Policy
Disclaimer
Search
Home
Dinner
Appetizer
Desserts
Drinks
About
Contact
Privacy Policy
Toggle Menu
Home
/
Desserts
- Page 6
Desserts
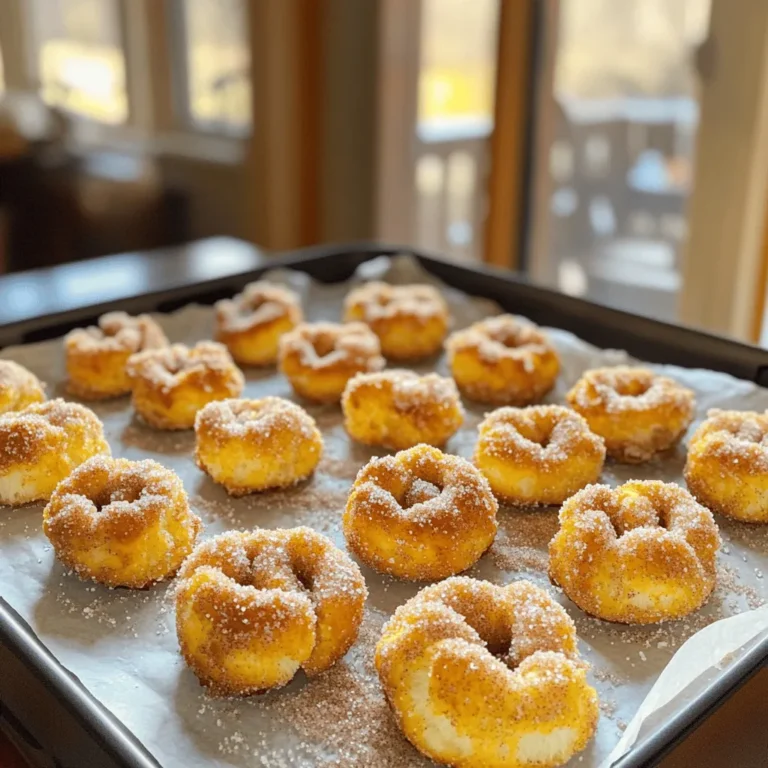
Air Fryer Cinnamon Sugar Pretzel Bites Easy Recipe
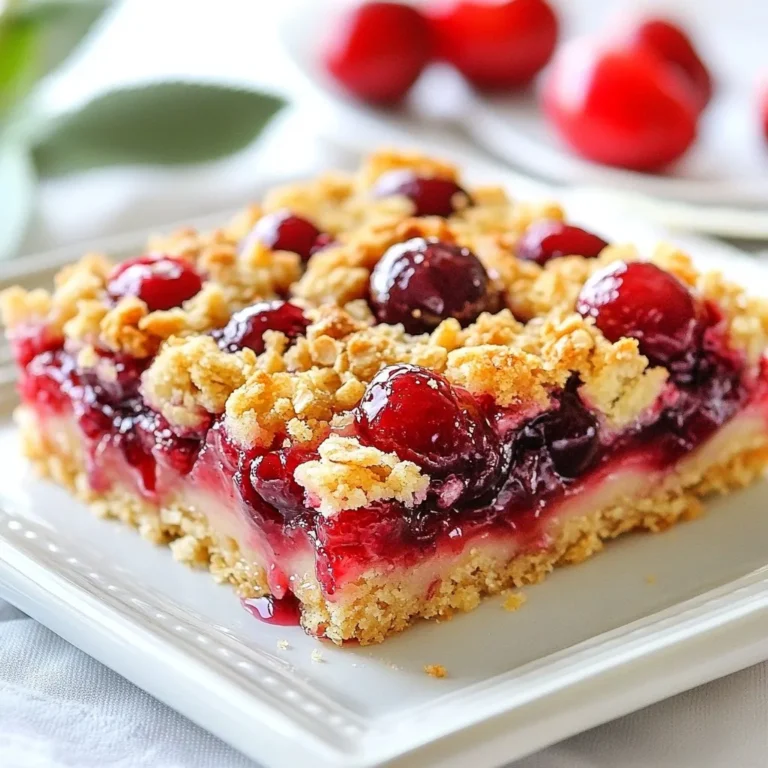
Cherry Almond Crumble Bars Perfectly Baked Delight
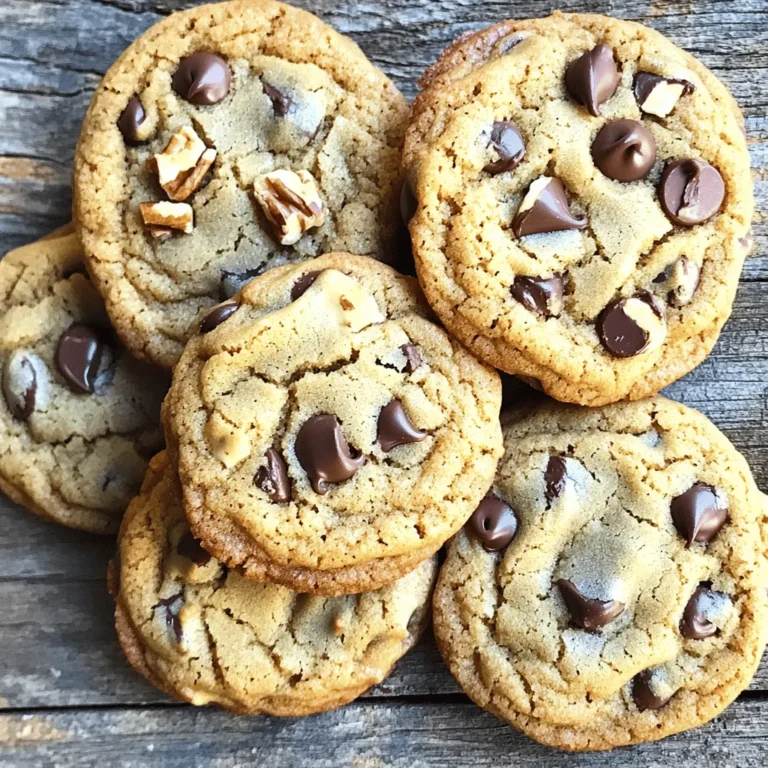
Brown Butter Chocolate Chip Cookies Irresistible Treat
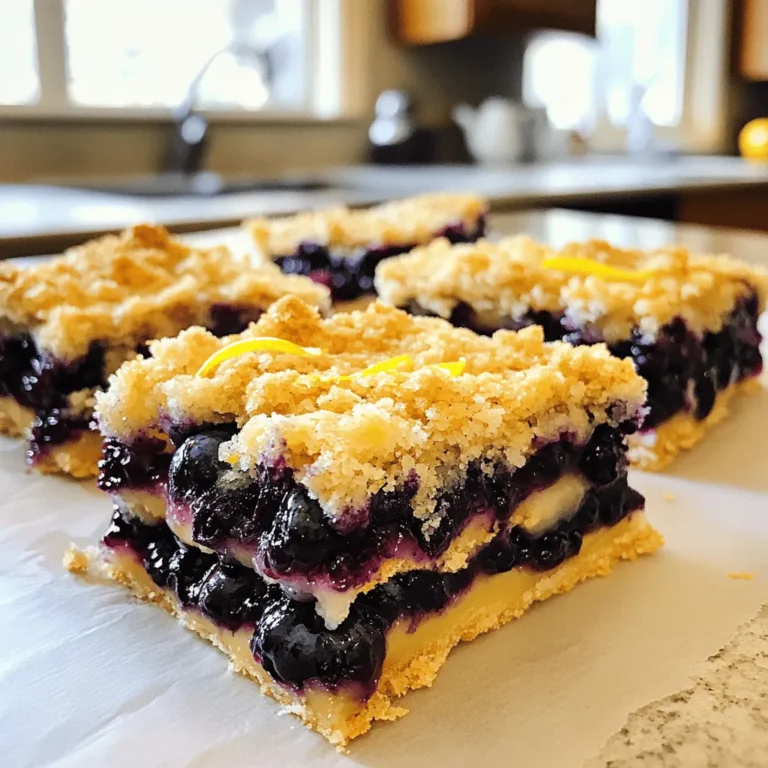
Blueberry Lemon Crumble Bars Tasty and Easy Recipe
Raspberry Lemonade Cupcakes Irresistible Treat Recipe
Salted Caramel Pretzel Brownies Irresistible Treat
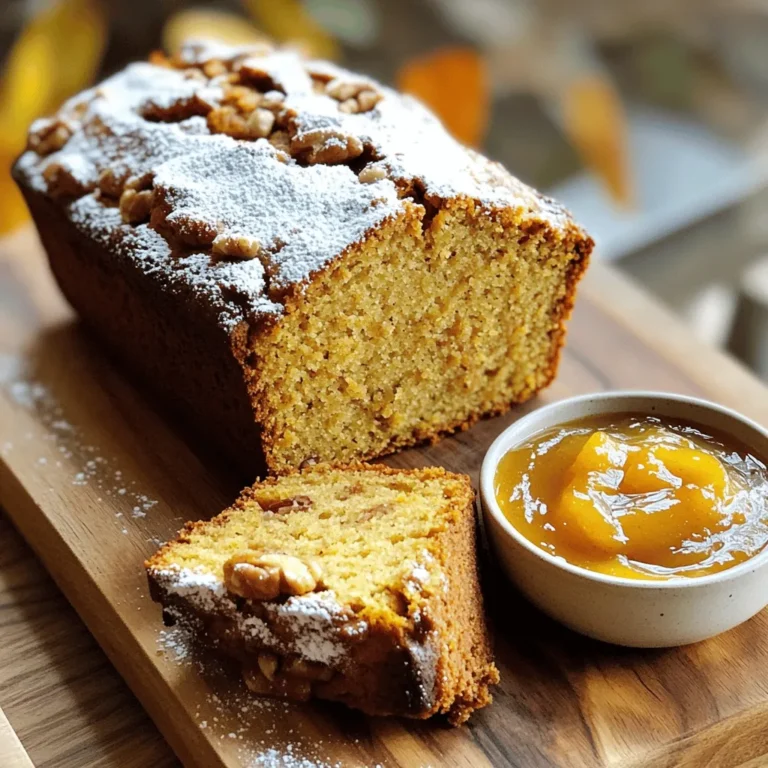
Savory Apple Cider Pumpkin Loaf Easy Baking Recipe
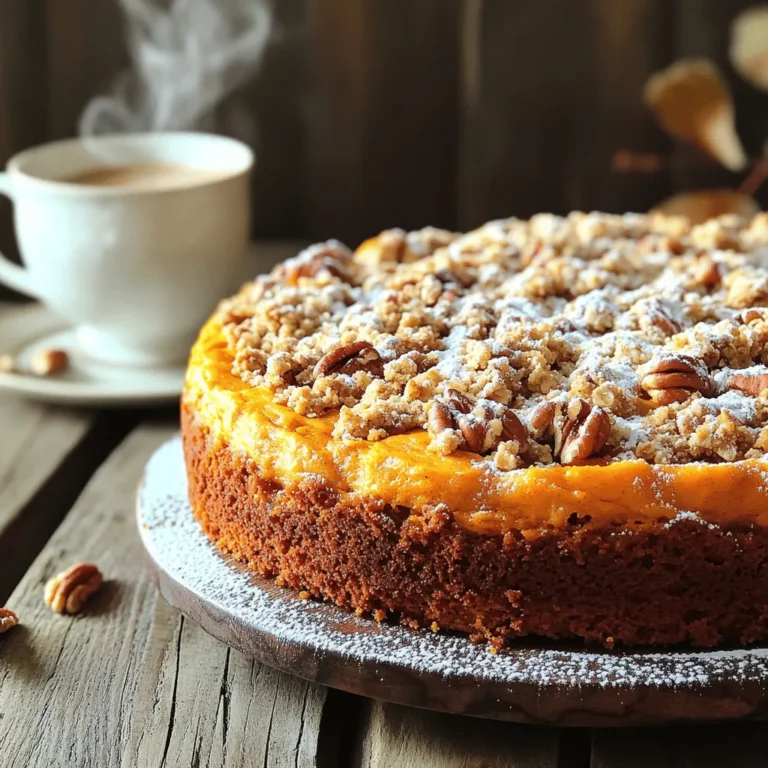
Pumpkin Streusel Coffee Cake Comforting and Cozy Treat
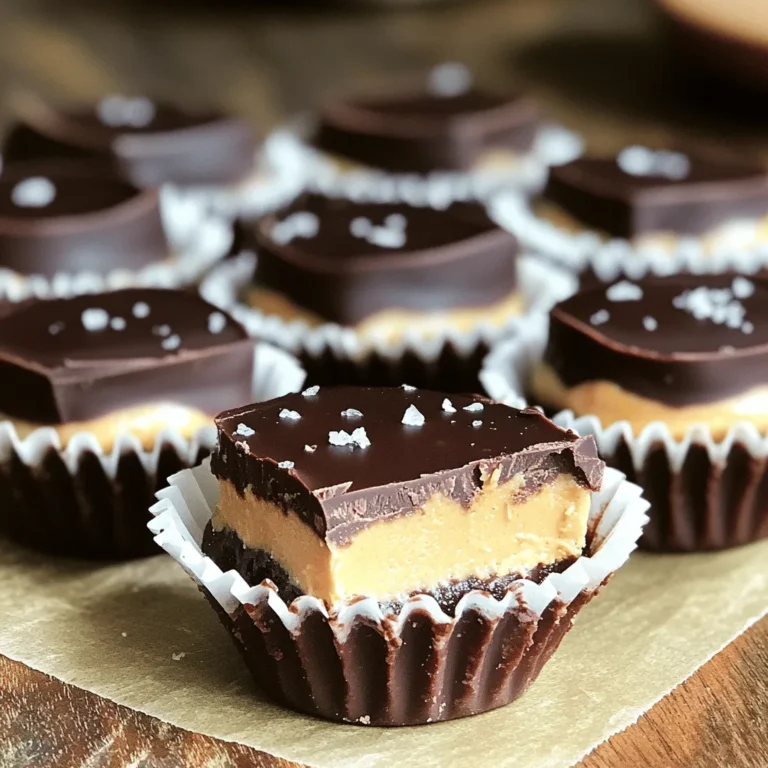
Peanut Butter Chocolate Fudge Cups Irresistible Treat
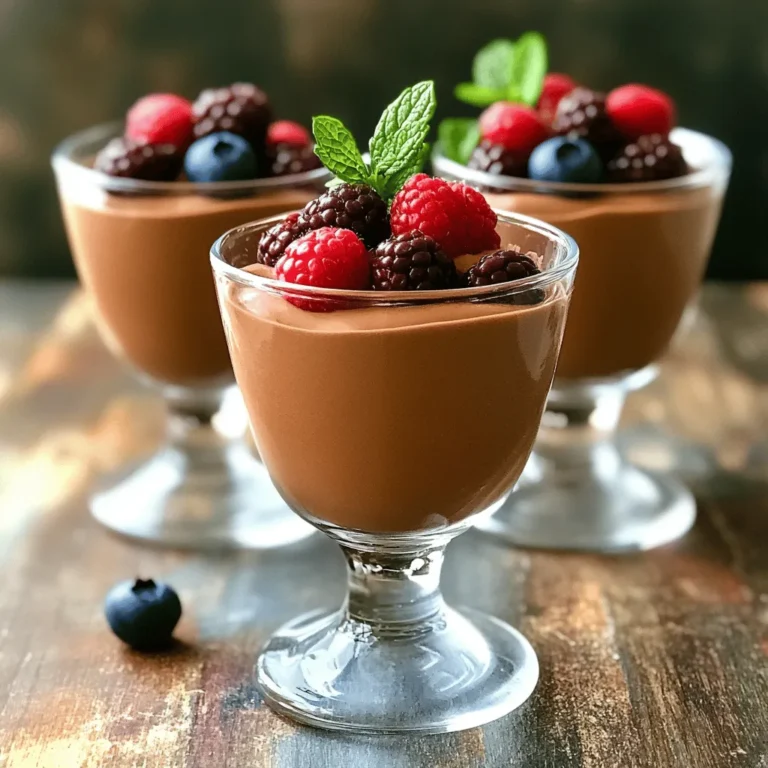
Cottage Cheese Chocolate Mousse Protein Delight
Page navigation
Previous Page
Previous
1
…
4
5
6
7
8
…
27
Next Page
Next
Home
Dinner
Appetizer
Desserts
Drinks
About
Contact
Privacy Policy
Toggle Menu Close
Search for:
Search