Skip to content
About
Contact
Cookie Policy
Copyright Policy
Disclaimer
Search
Home
Dinner
Appetizer
Desserts
Drinks
About
Contact
Privacy Policy
Toggle Menu
Home
/
Desserts
- Page 9
Desserts
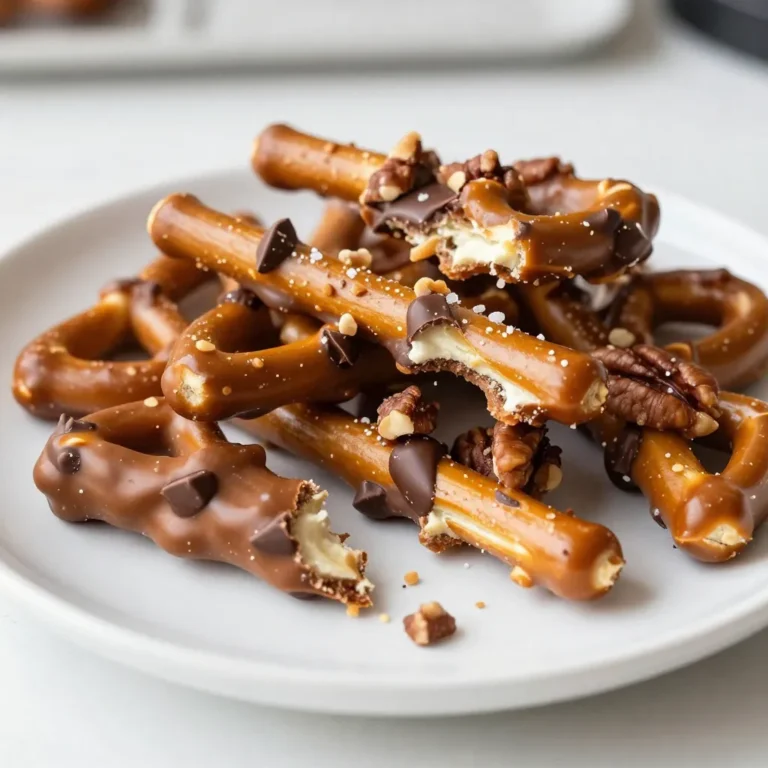
Butterscotch Pretzel Bark Irresistible Sweet Delight
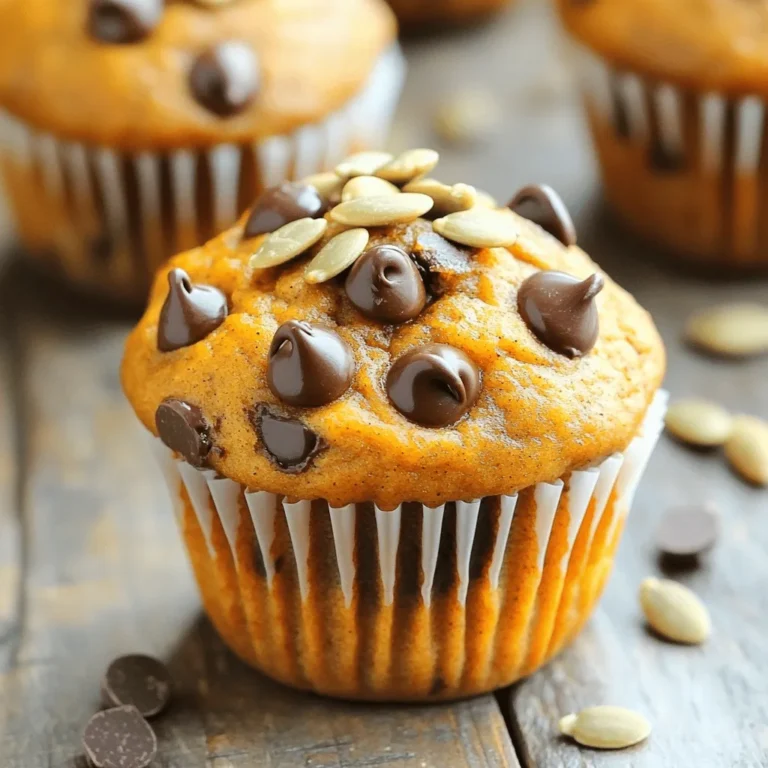
Chocolate Chip Pumpkin Muffins Flavorful Fall Treat
Strawberry Lemonade Cupcakes Fresh and Tasty Delight
Funfetti Cake Batter Cookies Easy and Tasty Treat
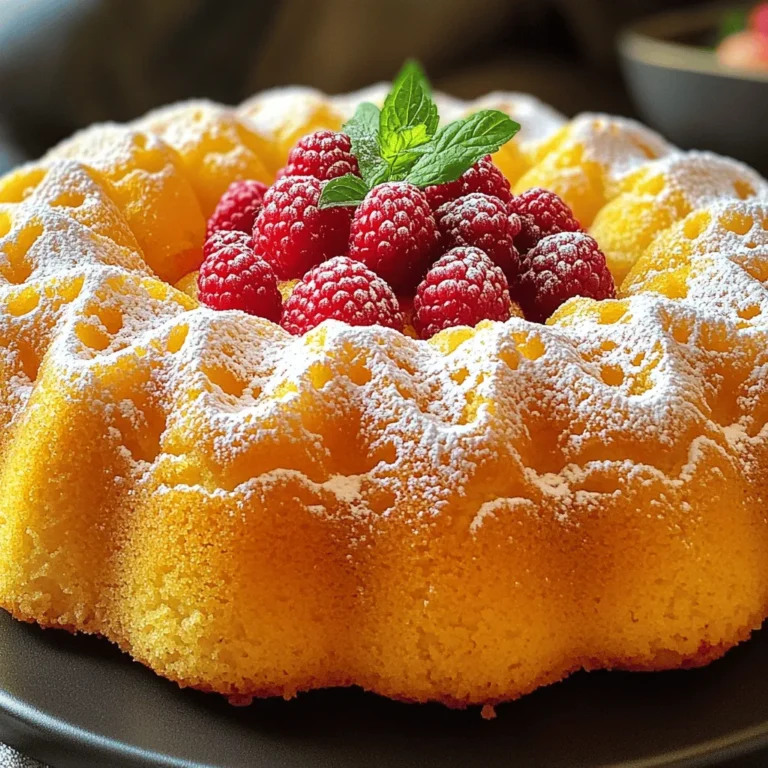
Lemon Raspberry Bundt Cake Delightful and Simple Recipe
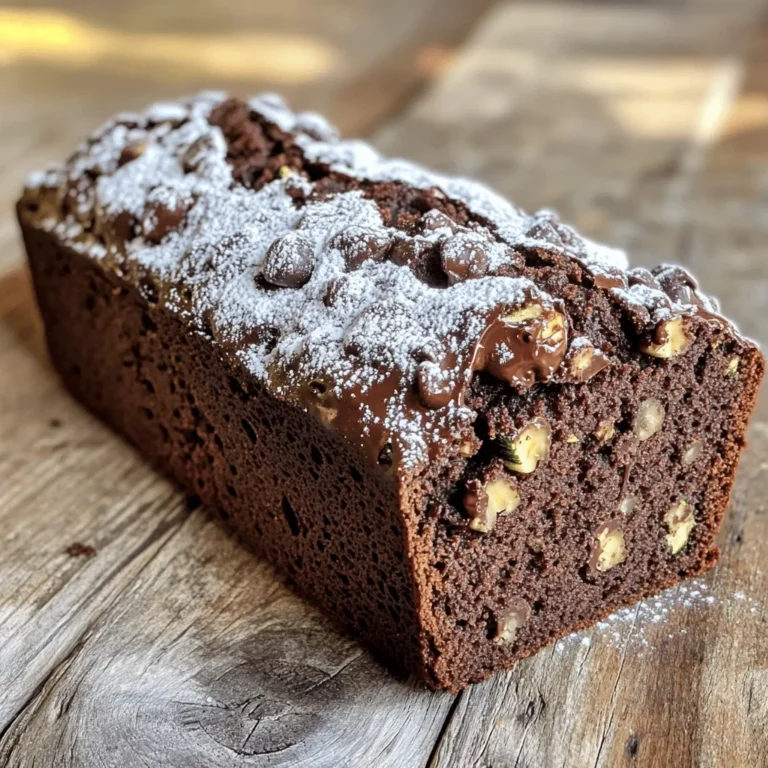
Chocolate Zucchini Bread Irresistible and Moist Recipe
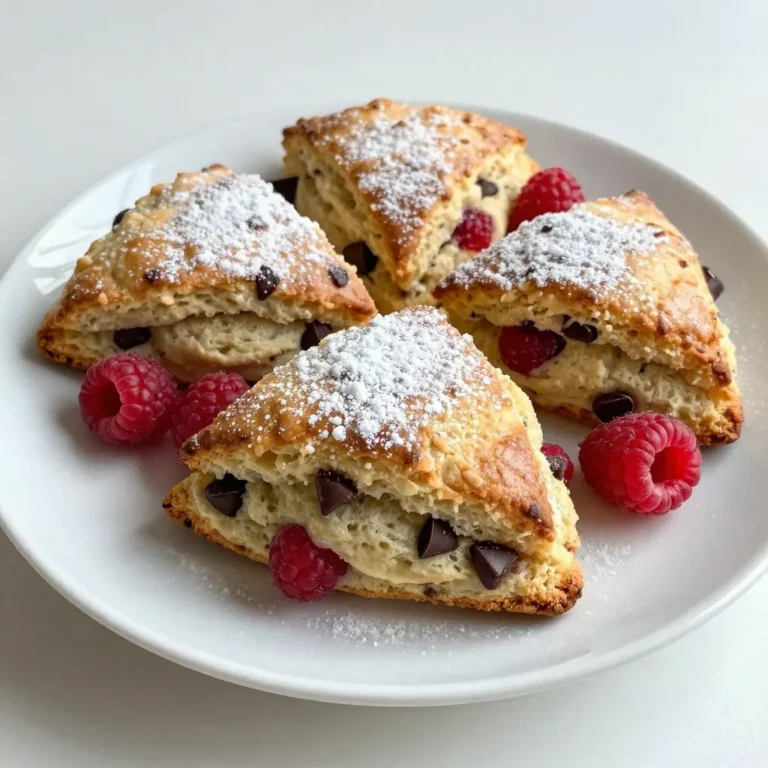
Raspberry Chocolate Chip Scones Delightful Baking Treat
Lemon Posset Recipe Easy and Refreshing Delight
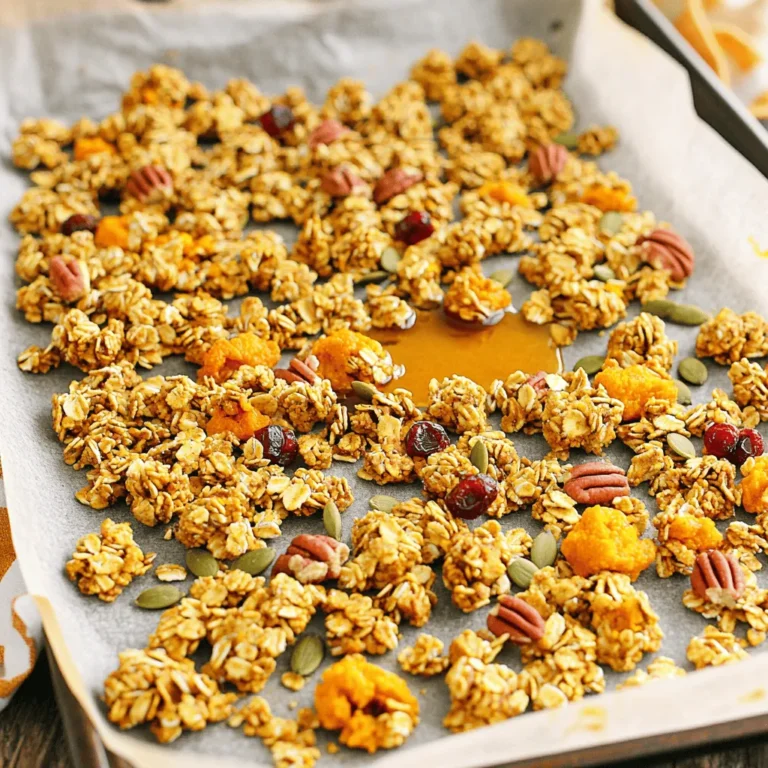
Pumpkin Spice Granola Crunchy and Flavorful Recipe
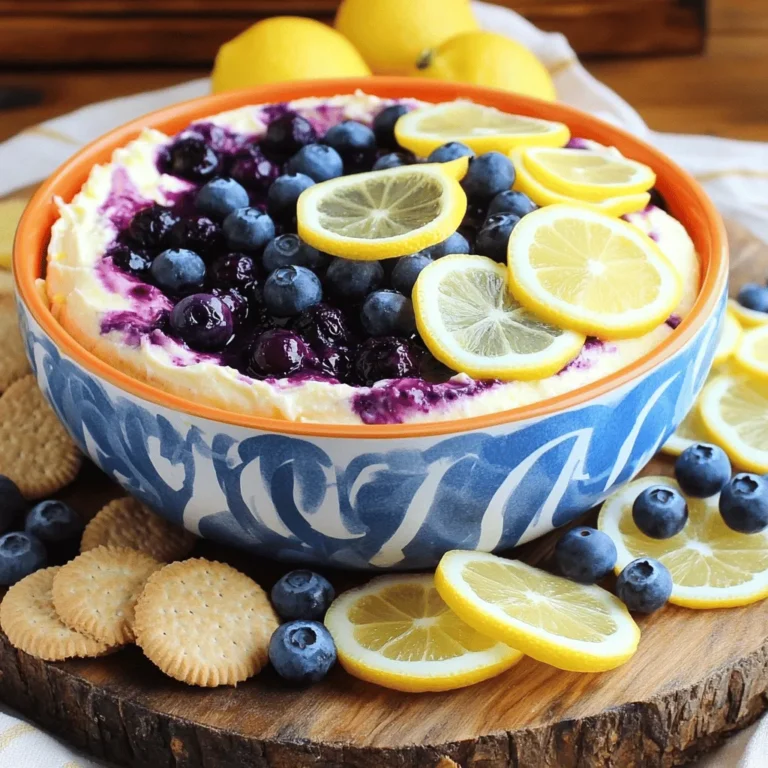
Lemon Blueberry Cheesecake Dip Tasty and Easy Treat
Page navigation
Previous Page
Previous
1
…
7
8
9
10
11
…
27
Next Page
Next
Home
Dinner
Appetizer
Desserts
Drinks
About
Contact
Privacy Policy
Toggle Menu Close
Search for:
Search