Skip to content
About
Contact
Cookie Policy
Copyright Policy
Disclaimer
Search
Home
Dinner
Appetizer
Desserts
Drinks
About
Contact
Privacy Policy
Toggle Menu
Home
/
Dinner
Dinner
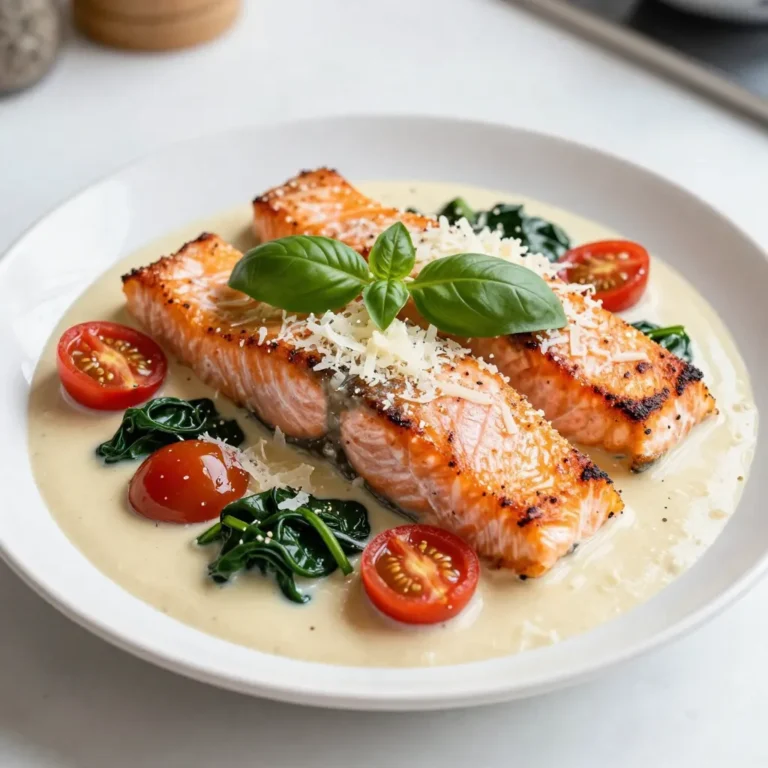
Creamy Tuscan Salmon Flavorful Dinner Recipe Guide
Baked Parmesan Zoodle Casserole Flavorful and Easy
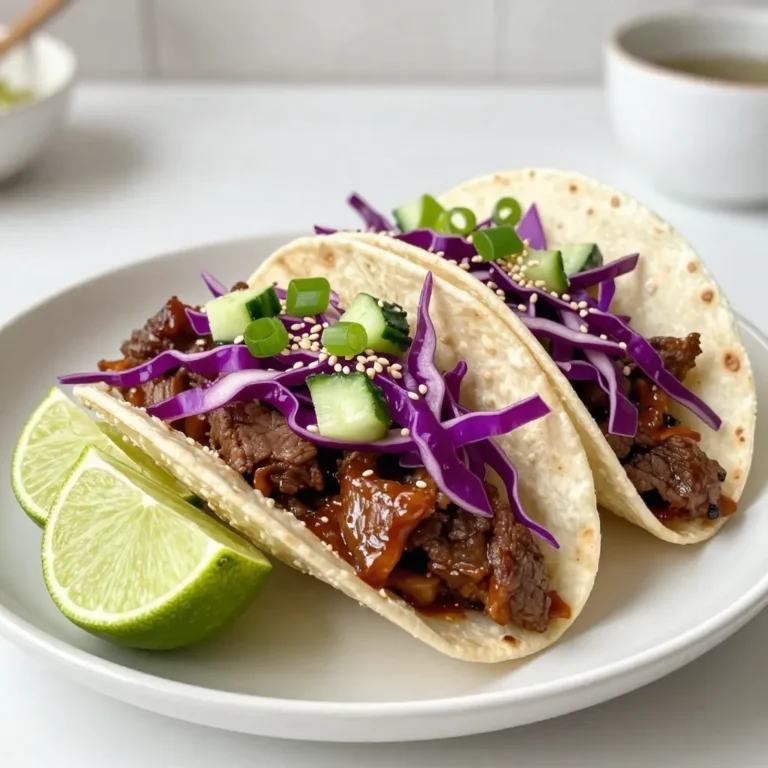
Korean Beef Bulgogi Tacos Flavorful and Easy Delight
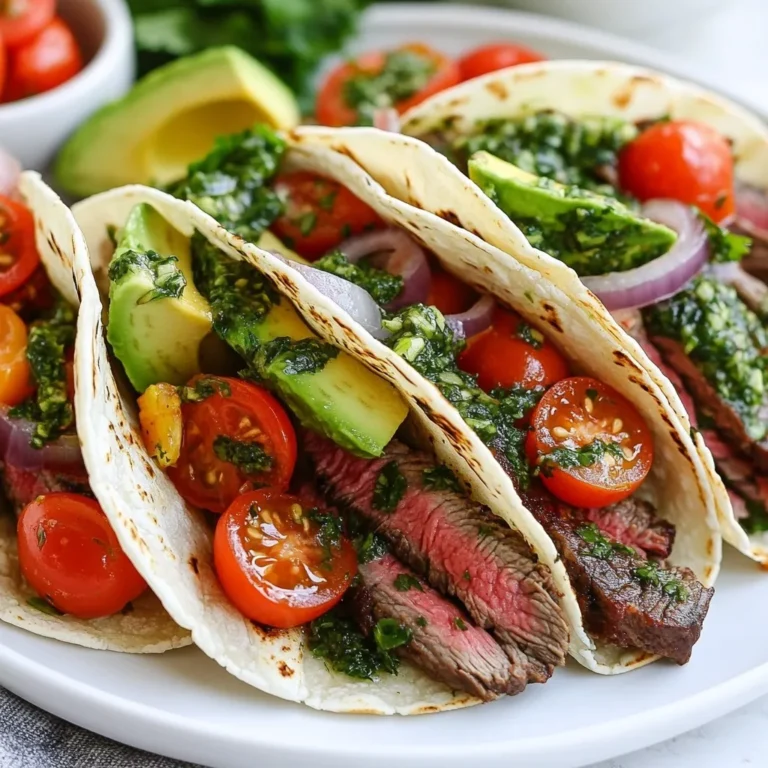
Chimichurri Steak Tacos Flavorful and Fresh Meal
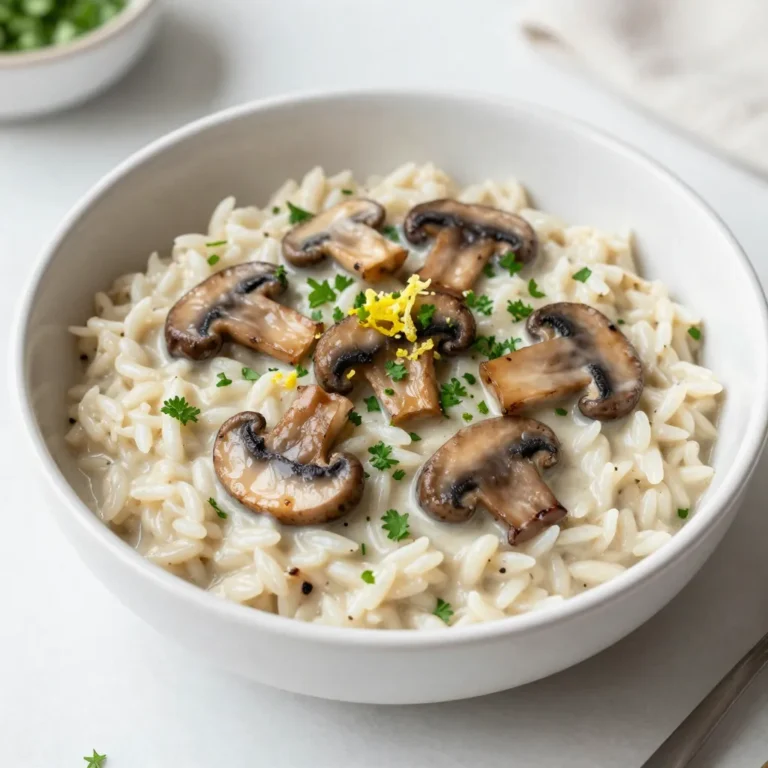
Creamy Mushroom Risotto Comforting and Easy Recipe
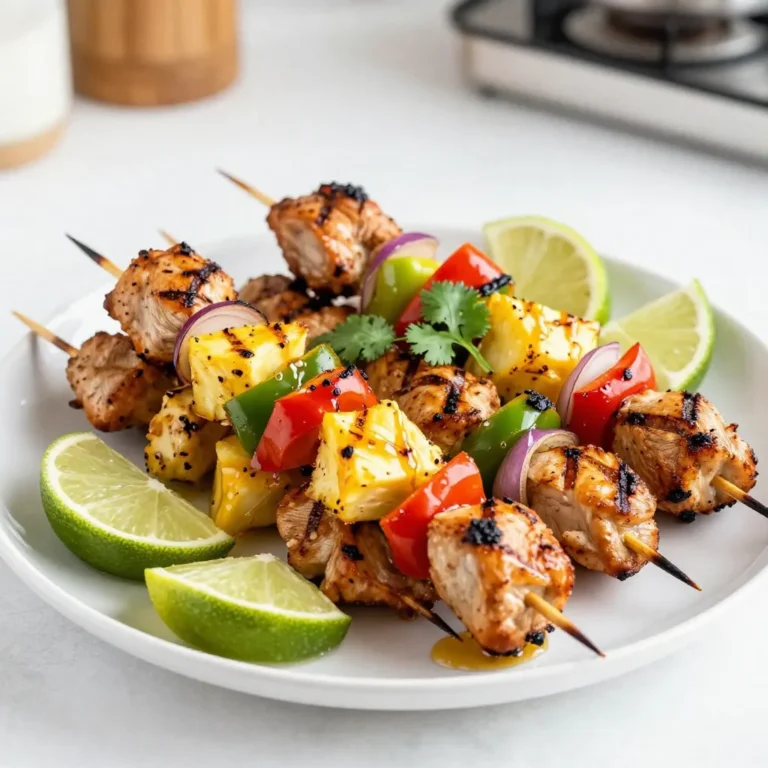
Hawaiian Chicken Kabobs Savory and Simple Recipe
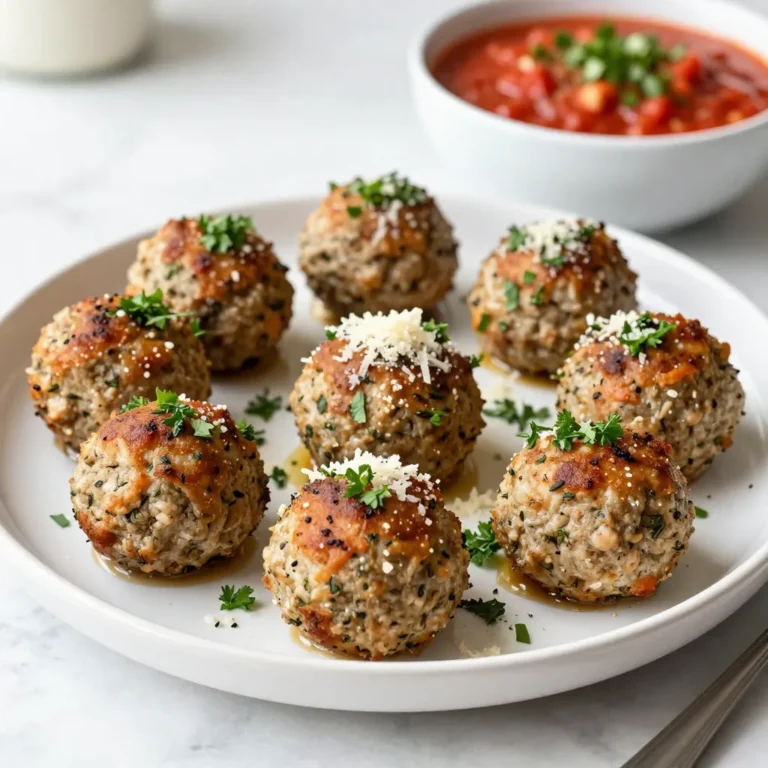
Garlic Herb Turkey Meatballs Flavorful and Easy Recipe
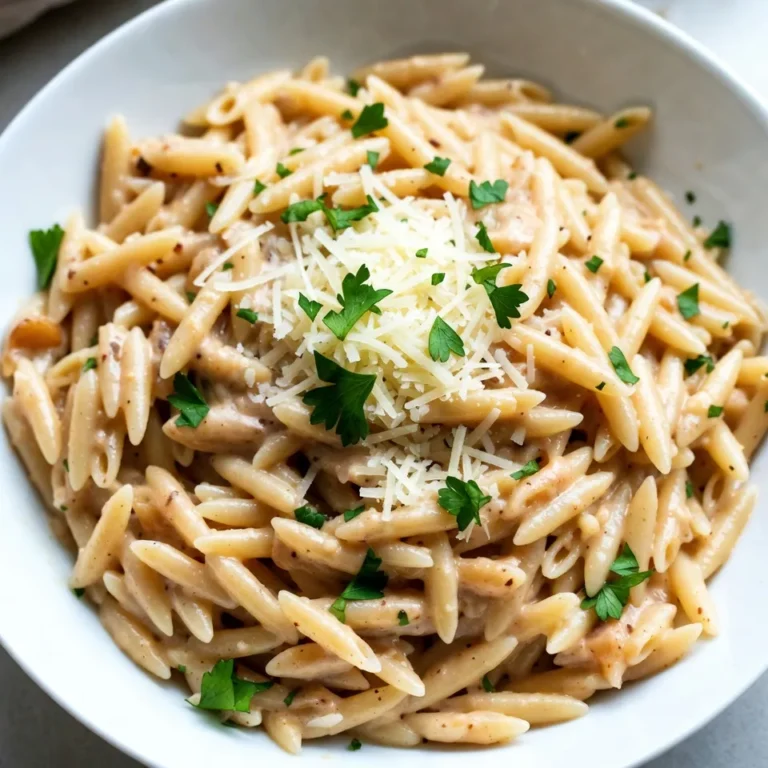
Creamy Garlic Parmesan Orzo Delightful Dinner Dish
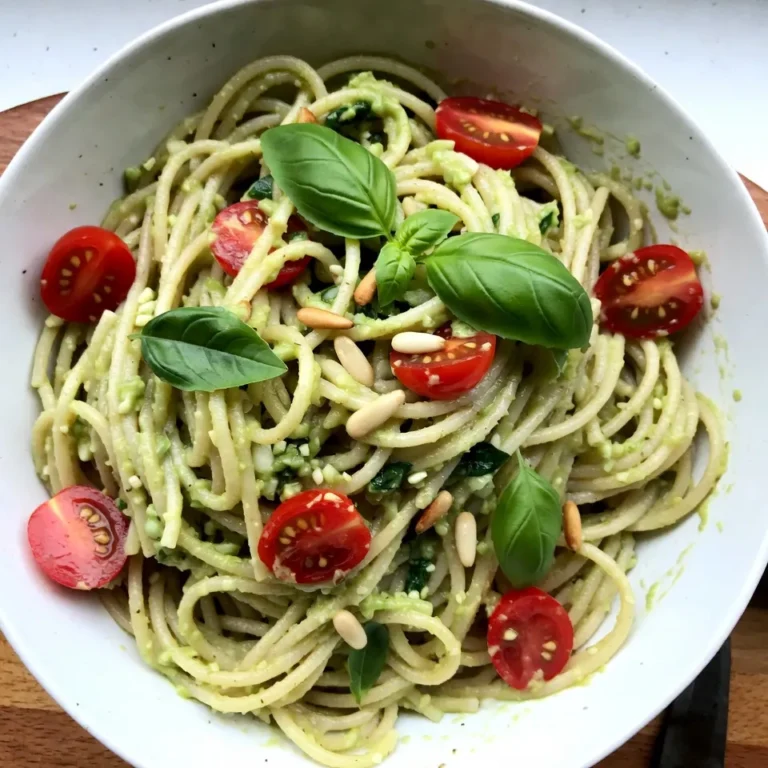
Creamy Avocado Pasta Simple and Delicious Recipe
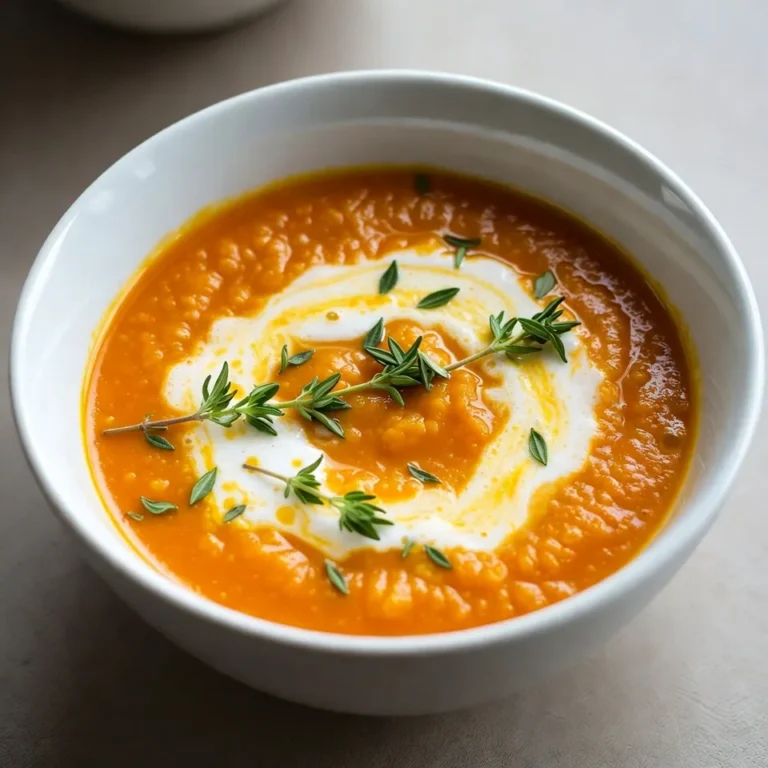
Roasted Butternut Squash Soup Delightful and Creamy
Page navigation
1
2
3
…
38
Next Page
Next
Home
Dinner
Appetizer
Desserts
Drinks
About
Contact
Privacy Policy
Toggle Menu Close
Search for:
Search