Skip to content
About
Contact
Cookie Policy
Copyright Policy
Disclaimer
Search
Home
Dinner
Appetizer
Desserts
Drinks
About
Contact
Privacy Policy
Toggle Menu
Home
/
Dinner
- Page 10
Dinner
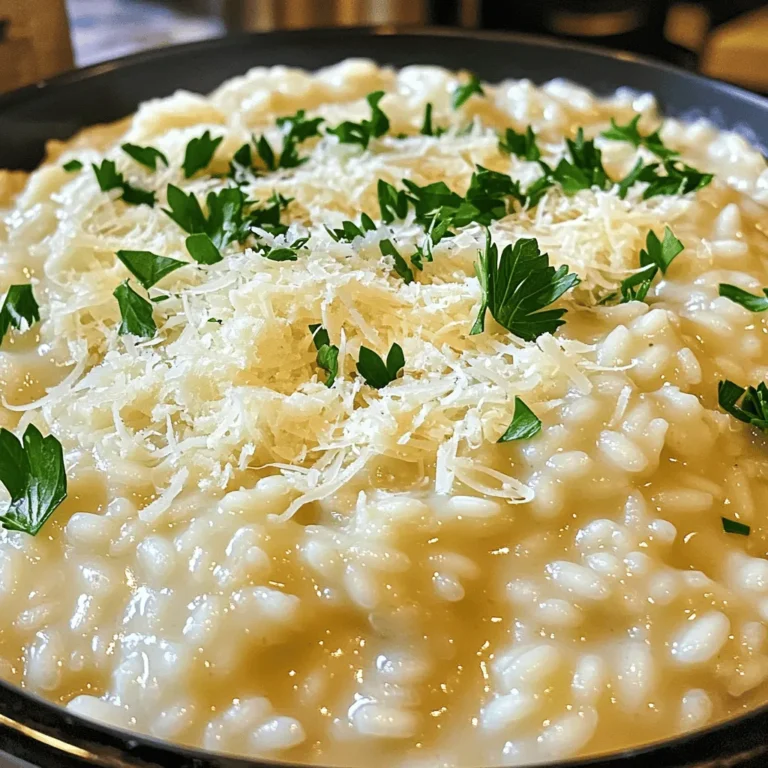
Creamy Garlic Parmesan Risotto Irresistible Flavor Dish
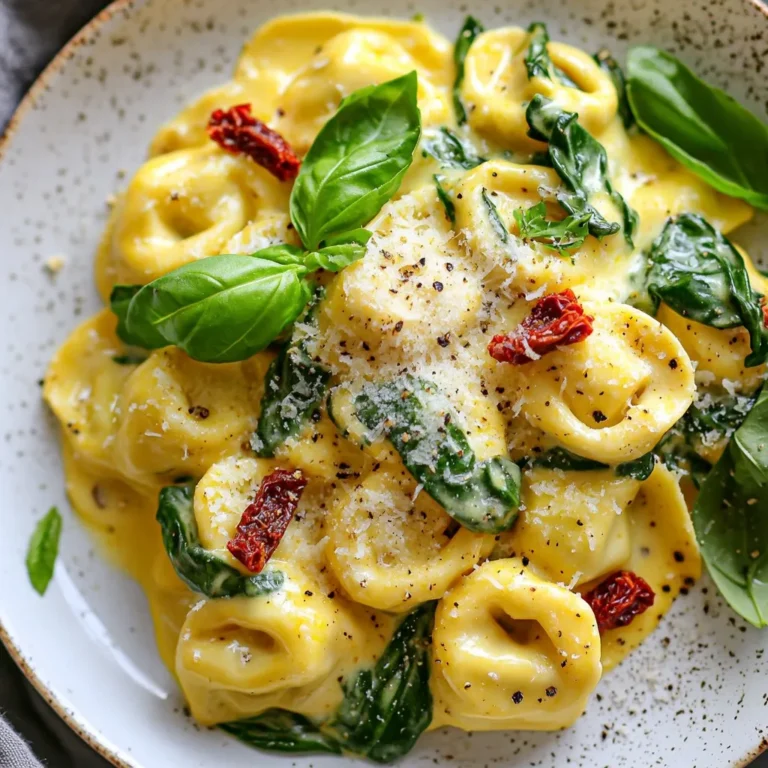
Creamy Spinach Tortellini Skillet Delight Recipe
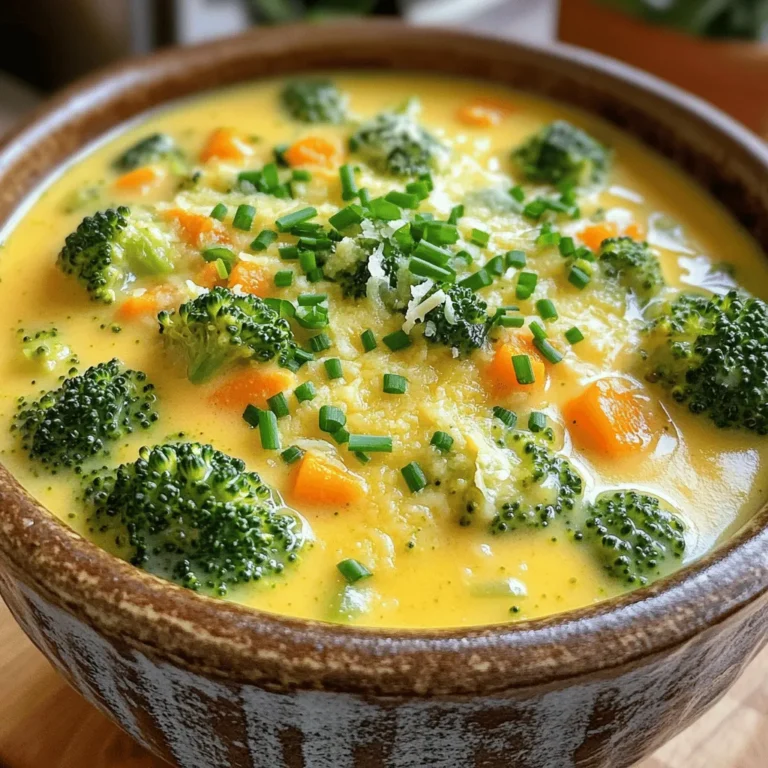
Creamy Broccoli Cheddar Soup Rich and Flavorful Dish
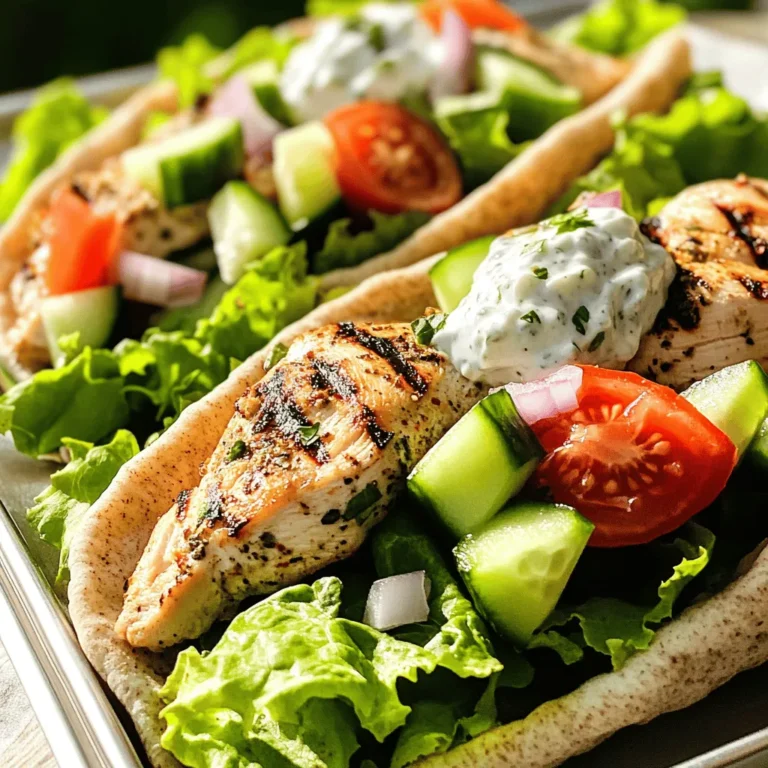
Greek Chicken Gyro Pitas Flavorful and Easy Recipe
Teriyaki Chicken Pineapple Skewers Flavorful Delight
Pasta Primavera Fresh and Colorful Vegetable Dish
Cheeseburger Pasta Skillet Flavorful One-Pan Meal
Glazed Orange Chicken Flavorful Dinner Delight
Chicken Parmesan Stuffed Peppers Flavorful and Easy Meal
Garlic Parmesan Mashed Potatoes Creamy Comfort Dish
Page navigation
Previous Page
Previous
1
…
8
9
10
11
12
…
38
Next Page
Next
Home
Dinner
Appetizer
Desserts
Drinks
About
Contact
Privacy Policy
Toggle Menu Close
Search for:
Search


![To make garlic Parmesan mashed potatoes, you need a few simple ingredients. Here’s what you will need: - 2 pounds russet potatoes, peeled and cut into 1-inch chunks - 4 cloves garlic, finely minced - ½ cup unsalted butter (1 stick) - 1 cup heavy cream, warmed - 1 cup freshly grated Parmesan cheese - Salt and freshly cracked pepper, to taste - 2 tablespoons fresh parsley, finely chopped (for garnish) - Optional: ½ teaspoon garlic powder for an extra layer of flavor Each ingredient plays a key role in creating that creamy, dreamy texture. Russet potatoes give a fluffy base. The butter brings richness, while the heavy cream adds smoothness. Fresh garlic offers a punch of flavor, and Parmesan gives a salty bite. Don’t forget the salt and pepper; they balance the dish perfectly. For a touch of color and freshness, sprinkle chopped parsley on top. If you want more garlic flavor, add the optional garlic powder. These ingredients come together to create a comfort dish that feels special. For the full recipe, check out the details above! Cooking the Potatoes: Start with two pounds of russet potatoes. Peel them and cut them into one-inch chunks. Place the potatoes in a large pot. Cover them with cold water and add a pinch of salt. Bring the water to a boil over medium-high heat. Once boiling, reduce the heat to medium-low. Let the potatoes simmer for about 15 to 20 minutes, or until they are fork-tender. This is key for creamy mashed potatoes. Creating Garlic Butter: While the potatoes cook, melt half a cup of unsalted butter in a small saucepan over medium heat. After the butter melts, add four cloves of finely minced garlic. Sauté the garlic for one to two minutes. Stir constantly and watch closely to avoid burning. The garlic should be fragrant but not brown. Once ready, remove the saucepan from heat. Mashing Potatoes: After draining the cooked potatoes, return them to the pot. Pour the garlic-infused butter over the potatoes. Add one cup of warmed heavy cream and one cup of freshly grated Parmesan cheese. For texture, you can use a potato masher for a rustic feel or an electric mixer for a smooth finish. Mash until you reach your desired consistency. If you want a chunkier texture, mash for a shorter time. Taste and season with salt and freshly cracked pepper. For extra flavor, consider adding half a teaspoon of garlic powder. Mix it well. Now, you’re ready to enjoy a delightful bowl of garlic Parmesan mashed potatoes. For the full recipe, check out the details above! Tips for Choosing Potatoes: For the best mashed potatoes, I recommend using russet potatoes. They are starchy and fluffy, perfect for mashing. Yukon gold potatoes work too, giving a creamy feel. Avoid waxy potatoes, as they can turn mushy. Warm Liquid Basis: Heating cream and butter is key. Warm liquids blend better, making the potatoes creamy. Cold liquids can cool down the mix, leading to lumpy potatoes. Heat the cream gently, so it’s warm but not boiling. How to Avoid Gluey Mashed Potatoes: To keep your potatoes light, don't over-mash them. Use a potato masher or mixer briefly. Overworking the potatoes releases too much starch, creating a gluey texture. Mix just until smooth, and you'll have fluffy mashed potatoes. For the full recipe, check out the Garlic Bliss Parmesan Mashed Potatoes. {{image_4}} You can easily change the flavor of your garlic Parmesan mashed potatoes. Let’s explore some fun ways to do this. Herb Variations: Adding herbs can make a big difference. You can mix in fresh rosemary or thyme. Just chop a tablespoon of each and stir them into the potatoes. This gives a fresh taste and a nice aroma. Cheese Alternatives: If you want to try something new, swap out the Parmesan cheese. Cheddar works well for a sharper taste. You can also use cream cheese for a richer, creamier texture. Just mix in a cup of your choice until it melts in. Vegan Options: For a vegan version, you can use non-dairy alternatives. Substitute the butter with vegan butter or olive oil. Use almond milk or coconut cream instead of heavy cream. These swaps keep the dish creamy without dairy. Looking for the full recipe? Check out the [Full Recipe] for all the details! To keep your Garlic Parmesan Mashed Potatoes fresh, store them in an airtight container. Place the container in the fridge. They can stay good for about 3 to 5 days. When freezing, ensure the mashed potatoes are cool. Use freezer-safe bags or containers. Squeeze out extra air to prevent freezer burn. They can last up to 2 months in the freezer. To reheat, first, thaw them in the fridge overnight. You can also use the microwave. Add a splash of cream to keep them creamy. Stir well as you heat them to avoid hot spots. For the stove, warm over low heat in a pan. Stir often and add a bit of butter if needed. For more details on making this dish, check the Full Recipe. To make Garlic Parmesan Mashed Potatoes, start with two pounds of russet potatoes. Peel them and cut them into one-inch chunks. Boil the potatoes in salted water until fork-tender, about 15-20 minutes. While cooking, melt half a cup of unsalted butter and sauté four minced garlic cloves until fragrant. Drain the potatoes, then mix in the garlic butter, one cup of warmed heavy cream, and one cup of grated Parmesan cheese. Mash to your desired smoothness, season with salt and pepper, and garnish with chopped parsley. Yes, you can make garlic Parmesan mashed potatoes ahead of time. Prepare them as directed, then cool them down completely. Store in an airtight container in the fridge for up to three days. When you’re ready to serve, reheat them gently on the stove or in the microwave. Add a splash of cream or milk to restore creaminess. Garlic Parmesan mashed potatoes pair perfectly with many dishes. They complement roasted chicken, grilled steak, or baked salmon beautifully. You can also serve them with vegetable dishes, like sautéed green beans or roasted Brussels sprouts. For a comforting meal, add a rich gravy or mushroom sauce on top. Enjoy experimenting with flavors! You can create delicious Garlic Parmesan Mashed Potatoes using simple steps. Start with fresh russet potatoes and add rich garlic and cream. Follow the tips to get the perfect texture and avoid gelatinous mash. Feel free to add herbs or try vegan swaps for fun variations. Don't forget storage tips to ensure your leftovers taste great. Enjoy this creamy dish with your favorite sides and make it your own with unique twists. Embrace the joy of cooking and impress everyone at the table.](https://blissfulmeal.com/wp-content/uploads/2025/07/3c2995e6-5799-40b7-b9d4-7c047cc9890b-768x768.webp)