Skip to content
About
Contact
Cookie Policy
Copyright Policy
Disclaimer
Search
Home
Dinner
Appetizer
Desserts
Drinks
About
Contact
Privacy Policy
Toggle Menu
Home
/
Dinner
- Page 13
Dinner
Balsamic Roasted Veggie Bowls Flavorful and Nutritious
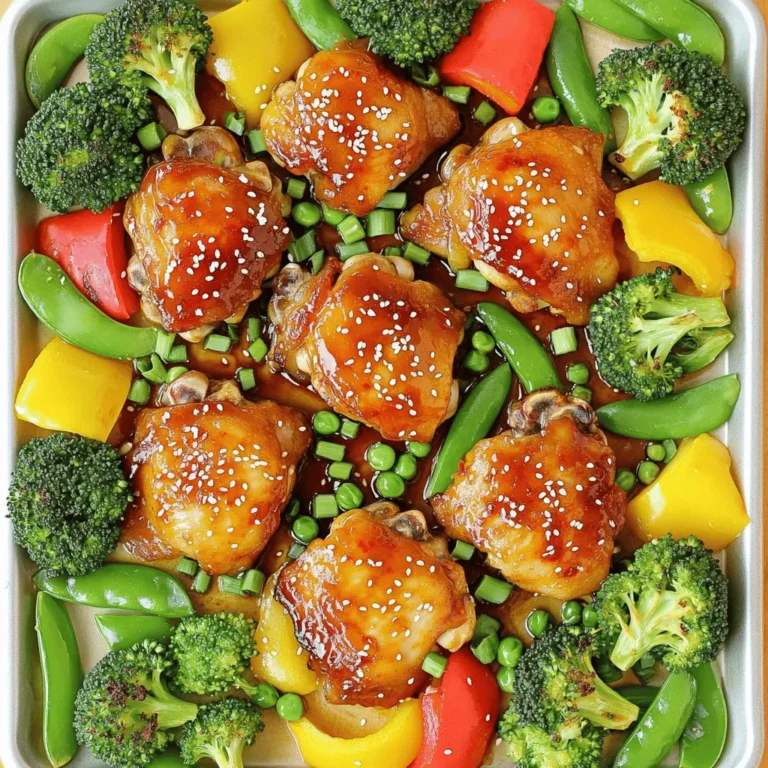
Sheet Pan Sweet Chili Chicken Flavorful Dinner Idea
Vegan Buffalo Chickpea Wraps Flavorful and Simple Meal
Loaded Sheet Pan Quesadilla Quick and Tasty Recipe
Sweet Chili Shrimp Stir-Fry Quick and Tasty Meal
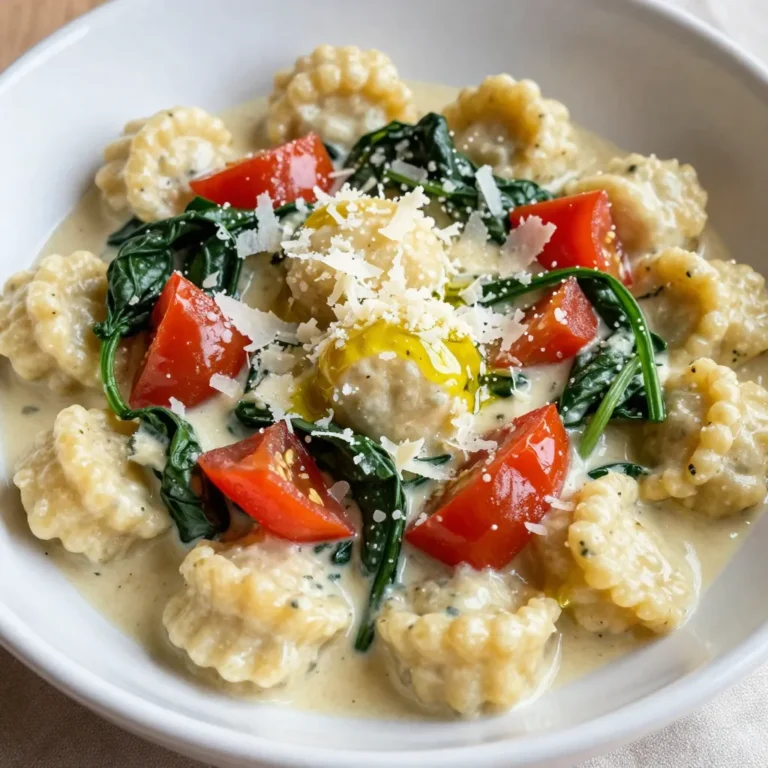
Creamy Tomato Spinach Gnocchi Easy Weeknight Meal
Savory One Pot Chicken Orzo Simple and Tasty Dish
Balsamic Roasted Veggie Bowls Tasty and Simple Recipe
Sheet Pan Sweet Chili Chicken Flavorful Dinner Delight
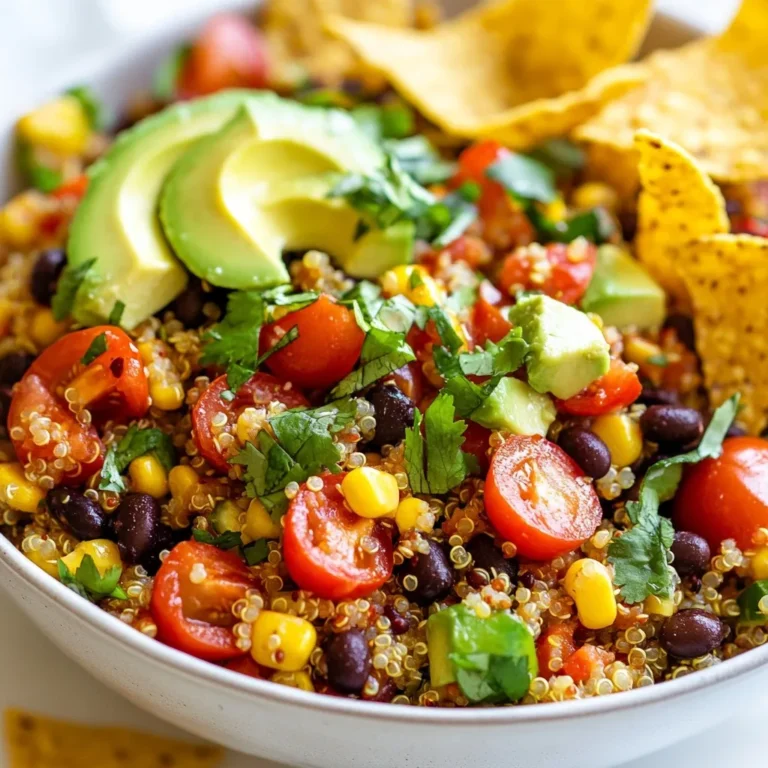
Zesty Quinoa Taco Salad Bright and Flavorful Dish
Page navigation
Previous Page
Previous
1
…
11
12
13
14
15
…
38
Next Page
Next
Home
Dinner
Appetizer
Desserts
Drinks
About
Contact
Privacy Policy
Toggle Menu Close
Search for:
Search

![Gathering the right veggies is key. Here’s what you need: - Red bell pepper - Zucchini - Yellow squash - Red onion - Brussels sprouts Each vegetable adds its own flair. The red bell pepper gives a sweet crunch. Zucchini and yellow squash bring a soft texture. Red onion offers a mild bite, while Brussels sprouts add a hearty feel. The dressing makes this dish shine. Use these simple ingredients: - Balsamic vinegar - Olive oil - Garlic - Dried oregano - Thyme - Salt and pepper Mixing balsamic vinegar and olive oil creates a rich flavor. Garlic adds warmth, while herbs like oregano and thyme bring freshness. Don’t forget salt and pepper; they enhance every bite. Want to elevate your bowls? Try these toppings: - Cooked quinoa - Feta cheese - Fresh parsley Quinoa adds protein and makes the meal filling. Feta cheese gives a creamy touch. Fresh parsley adds a pop of color and brightness. You can mix and match these to fit your taste. For the full recipe, refer to the detailed steps provided above. Enjoy crafting your Balsamic Roasted Veggie Bowls! First, preheat your oven to 425°F (220°C). This step is key for even cooking. While the oven heats, prepare your vegetables. Take a large mixing bowl and toss together the diced red bell pepper, sliced zucchini, yellow squash, chopped red onion, and halved Brussels sprouts. Mix them well so they combine nicely. Now, let’s make the balsamic dressing. In a small bowl, combine 3 tablespoons of balsamic vinegar, 2 tablespoons of olive oil, 2 cloves of minced garlic, 1 teaspoon of dried oregano, and 1 teaspoon of thyme. Add salt and pepper to taste. Whisk everything together until it blends smoothly. Next, pour the balsamic dressing over your mixed veggies. Use a spatula to toss them gently, coating each piece well. Transfer the seasoned vegetables to a baking sheet lined with parchment paper. Spread them out in a single layer. This helps them roast evenly. Place the baking sheet in the preheated oven. Roast for 20-25 minutes, stirring halfway through. The veggies should turn tender and slightly brown. While the veggies roast, prepare the quinoa. Use 1 cup of quinoa and cook it according to the package instructions. After cooking, fluff it with a fork. This makes the quinoa light and fluffy, perfect for your bowls. Once the quinoa and veggies are ready, it’s time to assemble the bowls. Start by placing a generous scoop of quinoa at the bottom of each bowl. Then, heap the roasted veggies on top. This layering creates a beautiful and tasty dish. To enhance the visual appeal, consider drizzling extra balsamic vinegar over the assembled bowls. You can also add a sprinkle of chili flakes for a spicy kick. This dish not only tastes great but also looks stunning on the table. For the best results, preheat your oven to 425°F (220°C). This high temperature helps caramelize the veggies, bringing out their natural sweetness. Spread the veggies in a single layer on the baking sheet. This ensures even cooking and prevents steaming. Stir the veggies halfway through cooking. This simple step makes sure they roast evenly and achieve that lovely golden color. You can save time by preparing your veggies ahead of time. Chop the red bell pepper, zucchini, yellow squash, red onion, and Brussels sprouts the night before. Store them in an airtight container in the fridge. You can also mix the balsamic dressing early. Just whisk together the balsamic vinegar, olive oil, garlic, oregano, thyme, salt, and pepper. This way, when you’re ready to cook, everything is ready to go. These bowls are great for meal prep. After roasting, let the veggies cool. Then, store them in airtight containers in the fridge. They will last for about four days. When you’re ready to eat, just reheat them in the microwave or oven. If you want to keep the quinoa fresh, store it separately. This keeps everything tasting great! Just mix them together when serving for a warm, tasty meal. {{image_4}} You can jazz up your Balsamic Roasted Veggie Bowls by adding more veggies. Consider using: - Carrots, sliced - Sweet potatoes, cubed - Broccoli, chopped - Cauliflower, florets - Asparagus, cut into pieces Feel free to mix and match based on what you have at home. Each veggie brings its own flavor and texture! For a heartier meal, you can add protein to your bowls. Here are some tasty options: - Grilled chicken, sliced - Chickpeas, roasted - Tofu, cubed and baked - Lentils, cooked - Shrimp, sautéed Adding protein makes the dish more filling and satisfying. Choose what you enjoy most! If you need vegan or gluten-free options, it’s simple to adapt. Use these substitutions: - Swap feta cheese for avocado or a vegan cheese alternative. - Use quinoa or brown rice for a gluten-free grain. - Ensure all dressings and sauces are gluten-free. These changes keep your meal delicious while meeting dietary needs. Enjoy the freedom to customize! To keep your Balsamic Roasted Veggie Bowls fresh, let them cool first. Place them in airtight containers. This helps prevent moisture loss and keeps flavors intact. Store them in the fridge for up to four days. If you want to enjoy them later, separate the quinoa and veggies. This keeps everything fresh. You can freeze the roasted veggies for longer storage. Place cooled veggies in freezer-safe bags. Make sure to remove as much air as possible before sealing. Use them within three months for the best taste. To thaw, simply place them in the fridge overnight. Reheat in the oven or microwave until hot. When stored properly, the Balsamic Roasted Veggie Bowls last in the fridge for about four days. If frozen, they can last up to three months. Always check for any signs of spoilage before eating. Trust your senses; if it looks or smells off, it’s best to toss it out. Enjoy your delicious bowl while it's fresh! Yes, you can use many veggies! Some great options are: - Carrots - Sweet potatoes - Asparagus - Broccoli - Cauliflower Feel free to mix and match. Each vegetable brings a unique flavor. Try what you love! Balsamic Roasted Veggie Bowls are healthy and packed with nutrients. Here’s a quick overview: - Calories: About 300 per serving - Fiber: High in fiber from veggies and quinoa - Vitamins: Rich in vitamins A, C, and K - Minerals: Good source of potassium and magnesium These bowls nourish your body while delighting your taste buds. To make it vegan, simply leave out the feta cheese. You can also add more protein. Here are a few ideas: - Chickpeas - Tofu - Tempeh These additions keep the meal filling and tasty. These bowls pair well with many dishes. Try serving with: - A side salad - Garlic bread - Grilled chicken or fish You can also add a dollop of hummus for extra flavor. Making these bowls ahead is easy. Follow these steps: 1. Roast the veggies and cook the quinoa as per the recipe. 2. Store them separately in the fridge. 3. When ready to eat, reheat the veggies and quinoa together. This way, you can enjoy a quick meal anytime! For the complete guide, check the [Full Recipe]. It has all the details you need to create this delicious dish. Balsamic Roasted Veggie Bowls are simple yet full of flavor. We covered the veggies, balsamic dressing, and optional toppings. You learned how to roast veggies, cook quinoa, and layer your bowls. Tips for storage and meal prep help keep things easy. You can adapt this dish to fit your tastes and needs. With these steps, you can enjoy healthy meals that are delicious and fun. Try mixing in your favorite flavors, and have fun with it!](https://blissfulmeal.com/wp-content/uploads/2025/07/a77565ea-dd22-488e-a79e-85927a02d725-768x768.webp)


![- 1 red bell pepper, sliced into thin strips - 1 yellow bell pepper, sliced into thin strips - 1 medium zucchini, diced into bite-sized pieces - 1 large red onion, cut into wedges - 1 cup Brussels sprouts, halved - 2 cups fresh baby spinach, washed and dried - 3 tablespoons balsamic vinegar - 2 tablespoons extra virgin olive oil - 1 teaspoon garlic powder - 1 teaspoon dried oregano - Salt and freshly cracked black pepper, to taste - ½ cup feta cheese, crumbled (optional) - ¼ cup walnuts, roughly chopped (for added crunch) - Cooked quinoa or brown rice, for serving (about 1 cup per bowl) These ingredients mix together to create a flavorful dish. The bell peppers add sweetness. The Brussels sprouts bring a nice bite. Zucchini adds moisture and balance. The spinach gives freshness. Balsamic vinegar adds a tangy depth. Olive oil helps everything roast nicely. Garlic powder and oregano enhance the taste. You can also add feta cheese for a creamy touch. Walnuts give a nice crunch. Using quinoa or brown rice as a base makes this meal filling. You can swap any veggies you like. Just remember to keep the flavors balanced. This list of ingredients is all you need for a tasty meal. Check out the Full Recipe for more details on how to bring these items together! First, preheat your oven to 425°F (220°C). This step is key for a good roast. Next, take a large baking sheet and line it with parchment paper. This will make cleanup a breeze. In a big mixing bowl, combine the sliced red and yellow bell peppers, diced zucchini, onion wedges, and halved Brussels sprouts. Pour in the olive oil and balsamic vinegar. Add the garlic powder, dried oregano, salt, and pepper. Use your hands or a spoon to mix everything well. You want each veggie to be coated nicely. Spread the veggie mix evenly on the baking sheet. Make sure they are in a single layer. This helps them roast evenly. Roast them for 20-25 minutes. Stir the veggies halfway through to ensure they cook well. They should be golden brown and soft when done. While the veggies roast, cook your quinoa or brown rice. Follow the package instructions for best results. This will give you a fluffy base for your bowls. Once your veggies are roasted, take them out of the oven. Let them cool for a few minutes. Now, it’s time to build your bowls! Start with a scoop of quinoa or brown rice at the bottom. Top it with the roasted veggies and a handful of fresh spinach. If you like, add crumbled feta cheese and chopped walnuts for some extra crunch. For a nice finish, drizzle a bit more balsamic vinegar over the top before serving. Enjoy this colorful and healthy meal! For the complete recipe, check out the Full Recipe section. To get the best flavor, coat your veggies well. Start by mixing them in a bowl with olive oil and balsamic vinegar. This ensures each piece is flavorful. When you roast, stir the veggies halfway through. This step helps them cook evenly and develop a nice texture. You can switch up the veggies based on what you like. Try using carrots, sweet potatoes, or even cauliflower. If you want to keep it vegan, skip the feta cheese and walnuts. Use dairy-free cheese or leave it out completely. For crunch, add seeds instead of nuts. Want more protein? Chickpeas or grilled chicken make great additions. They will keep you full longer. You can also add grains like farro or barley. These grains boost nutrition and add a nice chew to your bowls. Enjoy customizing your meal with these tips! For a full recipe, check out the [Full Recipe]. {{image_4}} You can switch up your veggies based on what's fresh. Seasonal produce adds flavor and color. In spring, try asparagus and snap peas. Summer is great for eggplant and cherry tomatoes. Fall brings squash and carrots. Winter can feature root veggies like parsnips and sweet potatoes. Using seasonal veggies makes your dish tasty and supports local farmers. Adding spices and herbs can change the whole dish. For warmth, try cumin or smoked paprika. If you want a fresh taste, add thyme or rosemary. You can also use red pepper flakes for some heat. Mix and match spices to find your favorite flavor combination. These small changes can make your veggie bowls exciting every time. Make your bowls your own by adding toppings. You can sprinkle on some toasted seeds or nuts for crunch. A dollop of hummus or yogurt can add creaminess. Drizzle with tahini or extra balsamic for more taste. You can also add fresh herbs like cilantro or parsley for a pop of color. The options are endless, so get creative and enjoy! For the full recipe, check the reference section. To store leftovers, let the bowls cool to room temperature. Place them in airtight containers. They can stay fresh in the fridge for about 3 to 5 days. This keeps the flavors intact and prevents spoilage. Make sure to separate any toppings like cheese or nuts. This way, they stay crunchy. You can freeze roasted vegetables too! Just let them cool completely first. Then, place them in freezer-safe bags. Remove as much air as possible before sealing. They can last up to 3 months in the freezer. When you're ready to eat, thaw them in the fridge overnight. This helps retain their taste and texture. Reheating is easy! For the best results, use the oven. Preheat it to 350°F (175°C). Spread the veggies on a baking sheet and heat for about 10-15 minutes. This way, they stay crisp. You can also use the microwave. Heat in short bursts, stirring in between. This helps keep the veggies from getting soggy. Enjoy your delicious leftovers! Yes, you can easily make these bowls vegan. Instead of feta cheese, use a vegan cheese or skip it altogether. For added flavor, try using avocado or a sprinkle of nutritional yeast. You can also top with seeds, like pumpkin or sunflower seeds, for extra crunch. The best vegetables for roasting include: - Red bell peppers - Yellow bell peppers - Zucchini - Red onions - Brussels sprouts - Carrots - Cauliflower - Sweet potatoes These veggies caramelize well and become very tasty when roasted. Balsamic roasted veggie bowls can last about 3-4 days in the fridge. Make sure to store them in an airtight container. Check for any signs of spoilage before eating leftovers. Yes, you can prep this dish ahead. Roast the veggies and cook the quinoa or rice in advance. Store the roasted vegetables and grains in separate containers. This way, you can assemble your bowls fresh when ready to eat. This blog post covered how to make Balsamic Roasted Veggie Bowls. We explored the key ingredients, step-by-step instructions, and helpful tips for perfecting this dish. I shared ideas for variations and storage options to fit your needs. In summary, you can easily customize this recipe to suit your taste. Enjoy experimenting with different veggies, grains, and toppings. These bowls are a delicious way to eat healthy and use seasonal produce. Happy cooking!](https://blissfulmeal.com/wp-content/uploads/2025/07/d49d0788-46c6-45f4-93da-228084eed2ab-768x768.webp)