Skip to content
About
Contact
Cookie Policy
Copyright Policy
Disclaimer
Search
Home
Dinner
Appetizer
Desserts
Drinks
About
Contact
Privacy Policy
Toggle Menu
Home
/
Dinner
- Page 17
Dinner
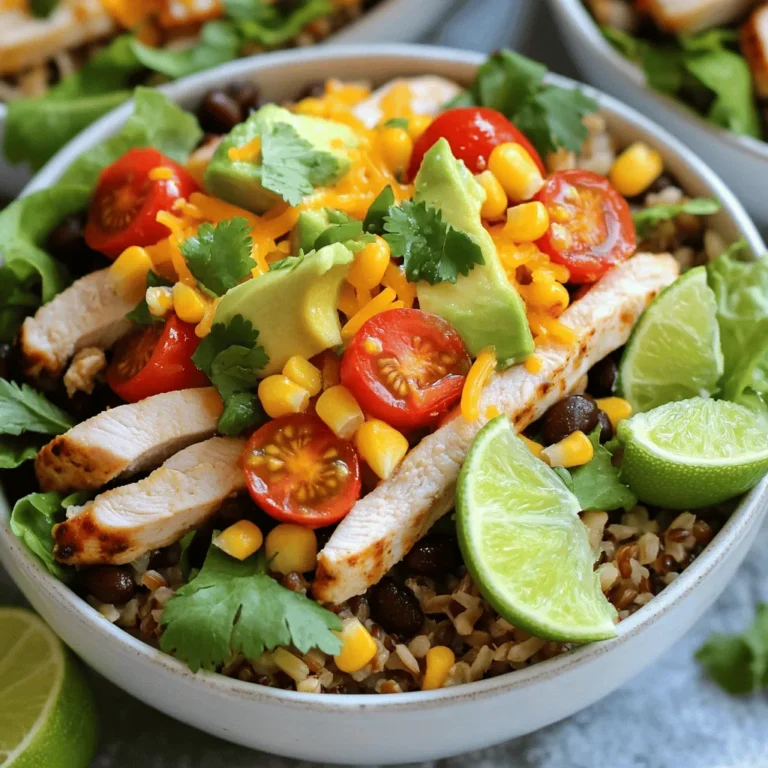
Chicken Burrito Bowls Flavorful and Easy Meal Prep
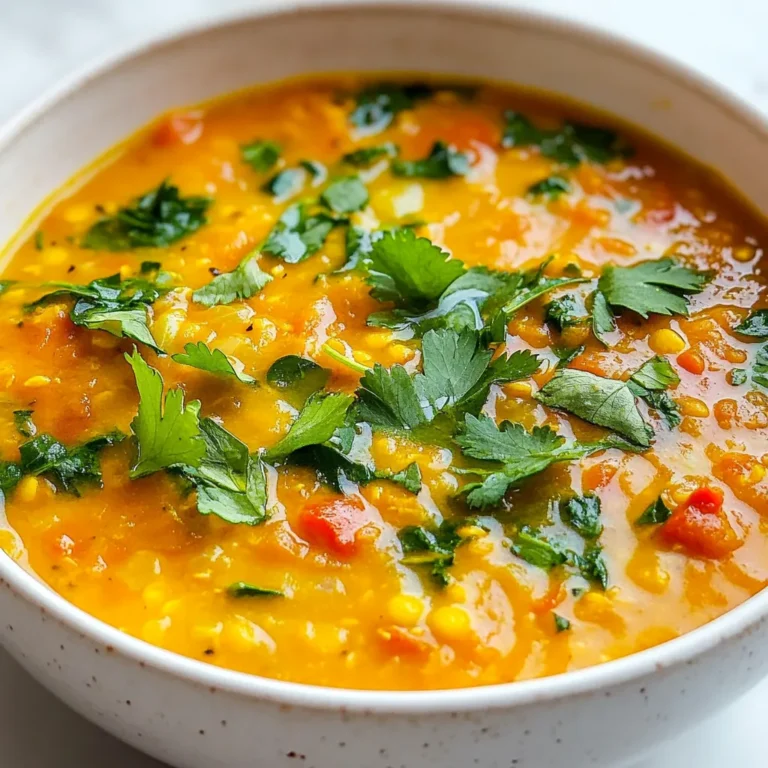
Red Lentil Detox Soup Healthy and Nourishing Recipe
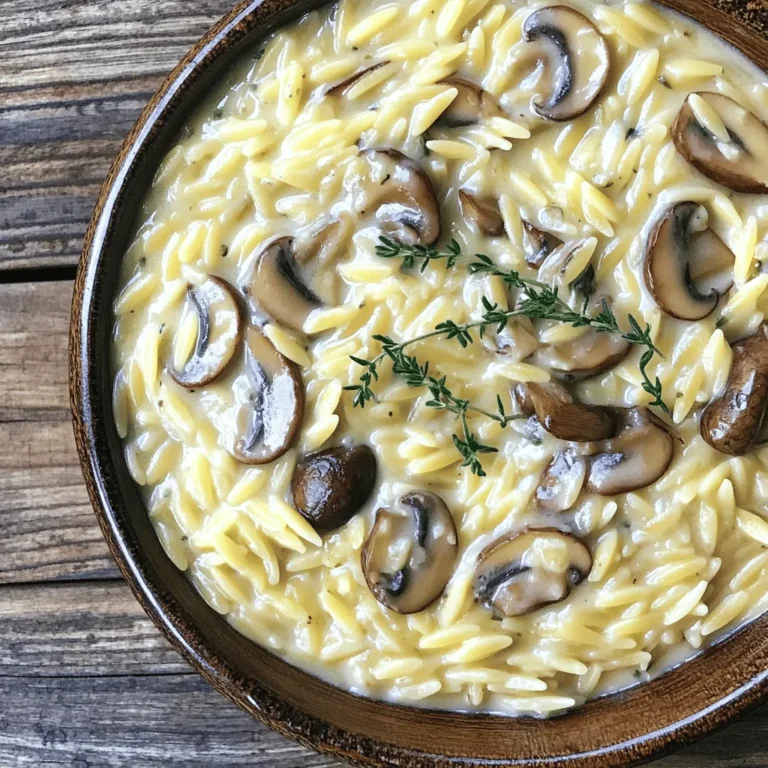
Creamy Mushroom Orzo Delightful and Comforting Meal
Roasted Vegetable Quinoa Salad Fresh and Flavorful Meal
Easy Chicken Enchilada Casserole Perfect Family Meal
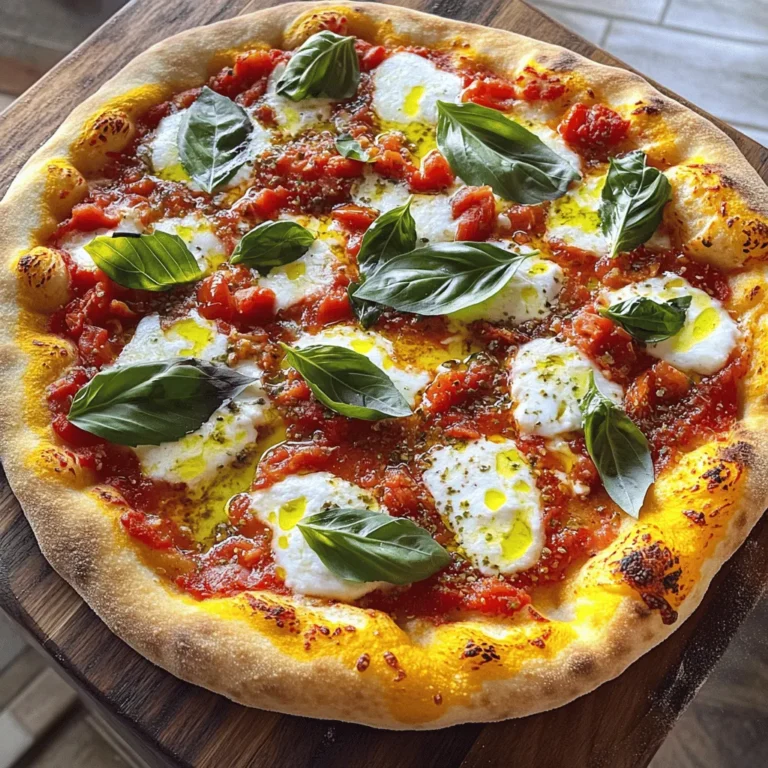
Classic Margherita Pizza Simple and Tasty Recipe
Easy Chicken Pot Pie Simple and Savory Delight
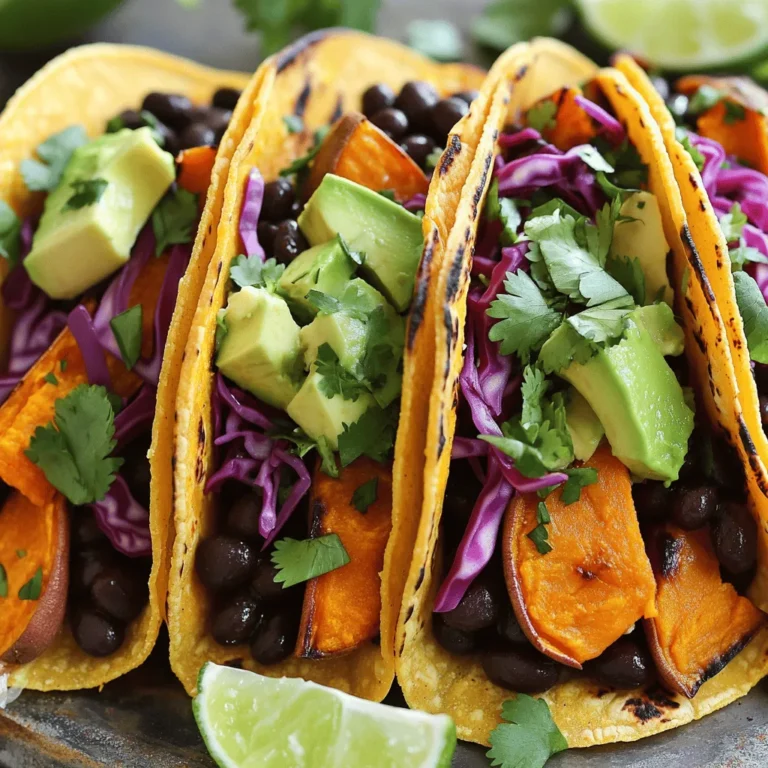
Savory Sweet Potato Black Bean Tacos Recipe
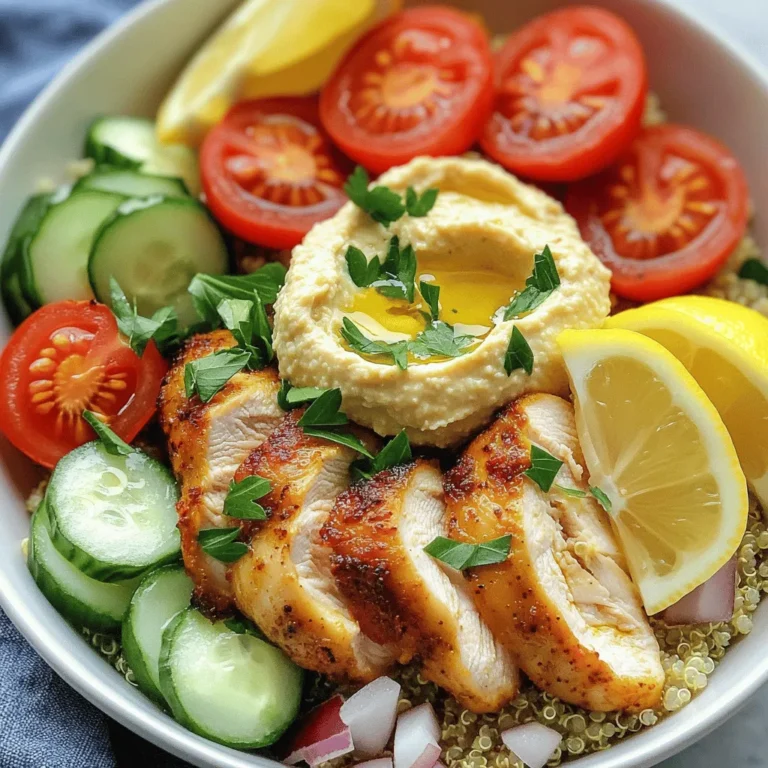
Savory Chicken Shawarma Bowls Easy and Flavorful Meal
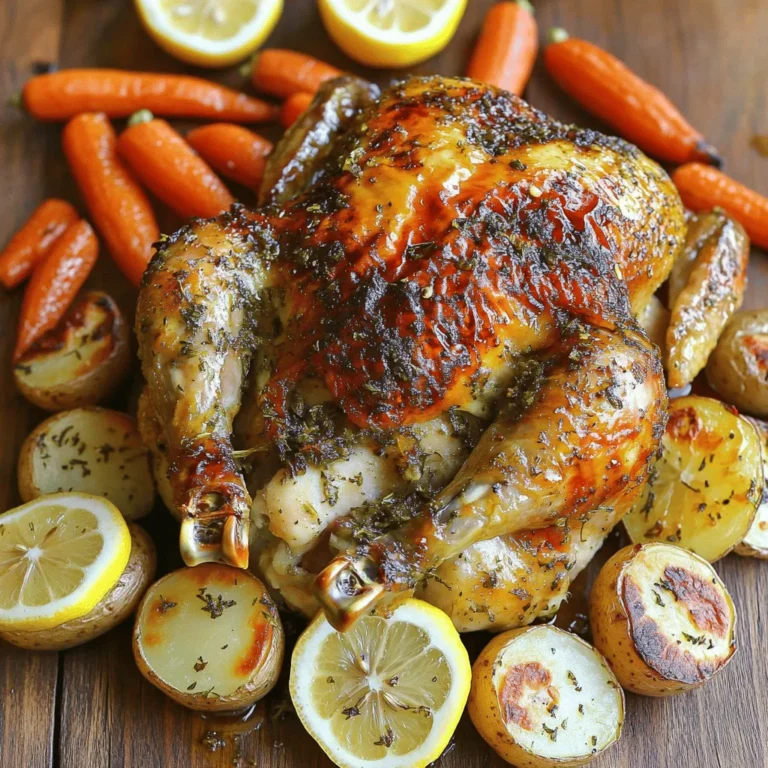
Lemon Herb Roasted Chicken Flavorful and Simple Meal
Page navigation
Previous Page
Previous
1
…
15
16
17
18
19
…
38
Next Page
Next
Home
Dinner
Appetizer
Desserts
Drinks
About
Contact
Privacy Policy
Toggle Menu Close
Search for:
Search

![- 1 cup quinoa, thoroughly rinsed - 2 cups vegetable broth, for cooking quinoa - 1 bell pepper (your choice of color), diced into bite-sized pieces - 1 medium zucchini, diced into half-moons - 1 cup cherry tomatoes, halved - 1 red onion, cut into wedges - 2 tablespoons extra-virgin olive oil - 1 teaspoon garlic powder - 1 teaspoon smoked paprika - Salt and freshly ground black pepper, to taste To create a great Roasted Vegetable Quinoa Salad, start with quinoa. Quinoa is a grain that packs lots of protein. It cooks fluffy and has a nice, nutty flavor. Next, gather fresh vegetables like bell pepper, zucchini, cherry tomatoes, and red onion. These veggies add color and taste. You will also need olive oil and some seasonings. Olive oil brings richness and helps vegetables roast nicely. Garlic powder and smoked paprika add depth to the dish. Don’t forget to use salt and pepper to enhance all the flavors. - 1/4 cup fresh parsley, finely chopped - 1/4 cup feta cheese, crumbled (optional, for added creaminess) - 2 tablespoons balsamic vinegar, for drizzling You can add some optional ingredients for more flavor. Feta cheese gives a creamy touch and pairs well with the veggies. Fresh parsley adds brightness and a pop of green. Balsamic vinegar drizzled on top gives a sweet and tangy finish. Feel free to mix and match what you like! - About 200 calories per serving - Quinoa is high in protein and fiber - Vegetables provide vitamins and minerals This salad is healthy and filling. Each serving has around 200 calories. Quinoa is great for your body because it is full of protein and fiber. The vegetables add vitamins that support your health. You can make dietary adjustments too! For a lower-calorie option, skip the cheese. Or, add more veggies for extra nutrients. For the full recipe, check out the [Full Recipe]. To start, rinse 1 cup of quinoa under cool water. This step helps remove the bitter coating called saponin. Next, in a medium pot, combine the rinsed quinoa with 2 cups of vegetable broth. Bring the mixture to a boil over medium-high heat. Once boiling, lower the heat to simmer and cover the pot. Let it cook for about 15 minutes. When the liquid is gone, remove it from heat. Let it rest, covered, for another 5 minutes. After resting, fluff the quinoa gently with a fork and set it aside. While the quinoa cooks, preheat your oven to 425°F (220°C). This high heat helps develop rich flavors in the vegetables. In a large bowl, mix your diced bell pepper, zucchini, halved cherry tomatoes, and red onion wedges. Drizzle 2 tablespoons of extra-virgin olive oil over the veggies. Sprinkle 1 teaspoon of garlic powder, 1 teaspoon of smoked paprika, and salt and pepper to taste. Use your hands or a spatula to coat the vegetables evenly. Line a baking sheet with parchment paper and spread the seasoned vegetables in a single layer. Roast them for 20-25 minutes. Stir them halfway through to ensure even cooking. The veggies should be tender and caramelized. In a large serving bowl, combine the fluffy quinoa and roasted vegetables. Gently fold in 1/4 cup of freshly chopped parsley and, if you like, 1/4 cup of crumbled feta cheese for extra creaminess. Drizzle 2 tablespoons of balsamic vinegar over the salad and toss everything together. This adds a tangy flavor that ties the dish together. Taste the salad and adjust the seasoning with more salt and pepper if needed. Enjoy this vibrant dish warm or chilled. You can find the full recipe for more detailed steps. To achieve the ideal quinoa texture, rinsing is key. Rinse the quinoa well under cold water. This removes bitter saponins. Next, use vegetable broth instead of water. It adds a rich flavor that makes the quinoa shine. Cook on medium heat until it boils. Then, lower the heat and cover it. Let it simmer for about 15 minutes. After it absorbs all the liquid, fluff it gently with a fork. This step makes the quinoa light and airy. Roasting vegetables brings out their natural sweetness. Preheat your oven to 425°F (220°C). Dice your vegetables into even pieces for uniform cooking. Toss them with olive oil and seasonings. This helps them caramelize nicely. Spread them on a baking sheet in a single layer. Roast for 20-25 minutes. Stir halfway through to ensure even roasting. You want them to be tender and slightly golden. Preparing ingredients in advance saves time. You can cook quinoa a day ahead. Store it in an airtight container in the fridge. Chop your vegetables and keep them in a separate bowl. This keeps them fresh until you're ready to roast. You can also mix the olive oil and seasonings in a jar. Shake it up when you are ready to use it. For storing leftover salad, use a container with a tight lid. This keeps it fresh for up to three days. If you added feta cheese, consider storing it separately. It can become soggy if mixed in. Enjoy the salad cold or warm, as it tastes great either way. Pairing this salad with proteins makes it more filling. Grilled chicken, shrimp, or chickpeas work well. You can also add hard-boiled eggs for extra protein. Serving the salad warm gives it a cozy feel, while chilling it brings out refreshing flavors. You can enjoy it straight from the fridge. Drizzle some extra balsamic vinegar on top before serving for a flavorful kick. For the full recipe, click [Full Recipe]. {{image_4}} You can mix up your roasted vegetable quinoa salad by using seasonal veggies. In spring, try asparagus or peas. In summer, add corn or eggplant. In fall, roasted sweet potatoes or Brussels sprouts work well. Winter brings hearty choices like carrots and parsnips. You can also swap quinoa for other grains like farro or barley. Each grain brings a new texture and flavor to your dish. To make your salad even tastier, try adding herbs and spices. Fresh basil or cilantro can brighten the salad. For a spicy kick, add red pepper flakes. You can also mix in nuts or seeds for crunch. Almonds, walnuts, or sunflower seeds add great flavor and nutrition. Toast them lightly for extra taste. This salad is easy to adapt for different diets. It is naturally vegan and gluten-free. If you have allergies, leave out nuts or cheese. You can also use dairy-free cheese if you want a creamy texture. This way, everyone can enjoy a healthy, delicious meal. To keep your roasted vegetable quinoa salad fresh, use an airtight container. Glass or BPA-free plastic containers work well. Make sure to cool the salad to room temperature before sealing it. This helps prevent moisture buildup. You can store the salad in the fridge for up to four days. After that, the flavors may fade. You can enjoy this quinoa salad cold or warm. To reheat, place the salad in a microwave-safe bowl. Heat it in short bursts, about 30 seconds at a time, stirring in between. This helps it warm evenly. If you prefer it cold, simply take it out of the fridge and enjoy it straight away. The flavors get even better after a day in the fridge, making it a great make-ahead meal. For the full recipe, refer back to the section on ingredients. Yes, you can use other grains. Some good options are: - Brown rice - Farro - Barley - Couscous Each grain has its own cooking time. For brown rice, cook it for about 40-45 minutes. Farro takes 25-30 minutes. Barley cooks in about 30-35 minutes, while couscous only needs about 10 minutes. Adjust your cooking method based on the grain you choose. To make your salad more filling, add protein. Here are some great options: - Grilled chicken - Chickpeas - Black beans - Tofu Grilled chicken adds a nice flavor. Chickpeas and black beans provide fiber. Tofu is a great vegan choice. Add about 1 cup of your chosen protein to keep it balanced and tasty. Yes, this salad is great for meal prep. Here are some tips for storing it: - Use airtight containers to keep it fresh. - Store the quinoa and vegetables separately if you can. - Add any dressing right before serving. The salad will stay good for about 3-4 days in the fridge. Enjoy it cold or warm up the quinoa and veggies for a comforting meal. For the full recipe, check out the details above! This blog post showed you how to make a tasty roasted vegetable quinoa salad. You learned about the key ingredients, from quinoa and fresh veggies to optional add-ins. We discussed easy steps for cooking and roasting, plus tips for meal prep and serving. Now it's your turn to enjoy this vibrant dish. Feel free to swap ingredients to match your taste. You can also adjust it for dietary needs. This salad is flexible, healthy, and perfect for any meal. Enjoy creating your own version!](https://blissfulmeal.com/wp-content/uploads/2025/07/49d1f9f9-b6b6-4d45-83d9-8fa46e2176e8-768x768.webp)