Skip to content
About
Contact
Cookie Policy
Copyright Policy
Disclaimer
Search
Home
Dinner
Appetizer
Desserts
Drinks
About
Contact
Privacy Policy
Toggle Menu
Home
/
Dinner
- Page 22
Dinner
Pineapple BBQ Chicken Kabobs Satisfy Any Grill Lover
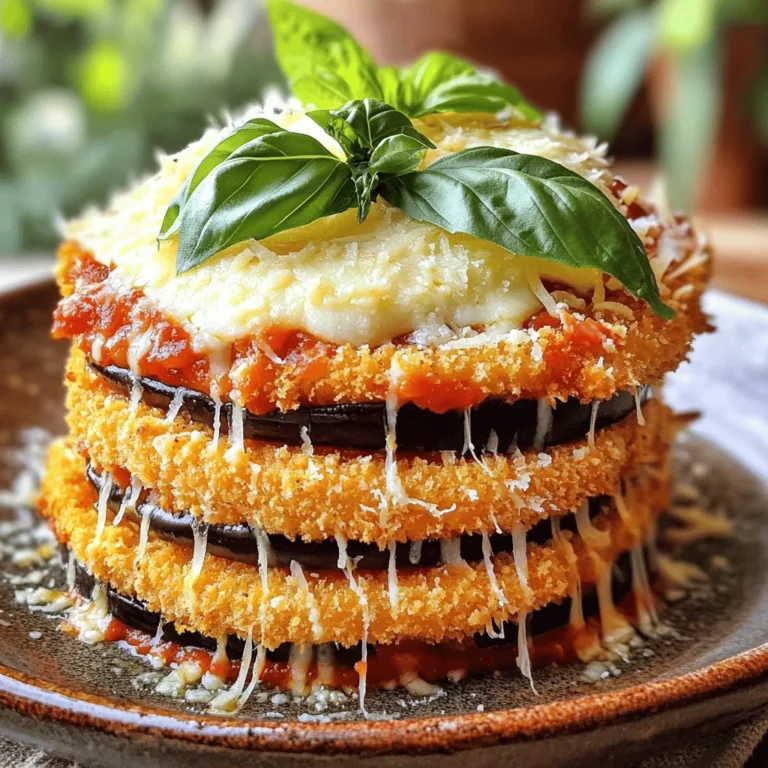
Eggplant Parmesan Bake Flavorful and Hearty Dish
Sautéed Green Beans with Garlic Flavorful Side Dish
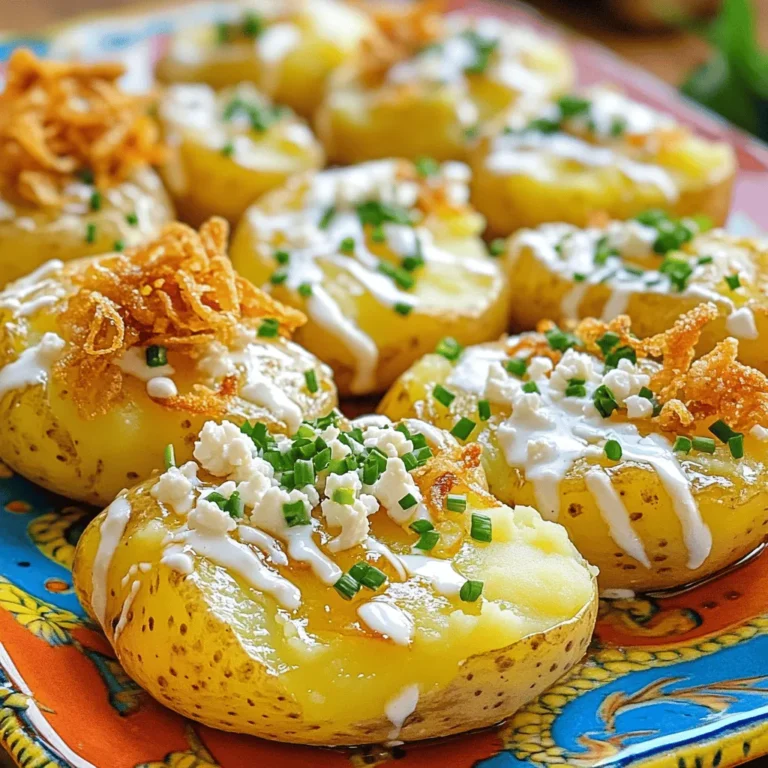
Easy Smashed Potatoes Creamy Garlic Delight Recipe
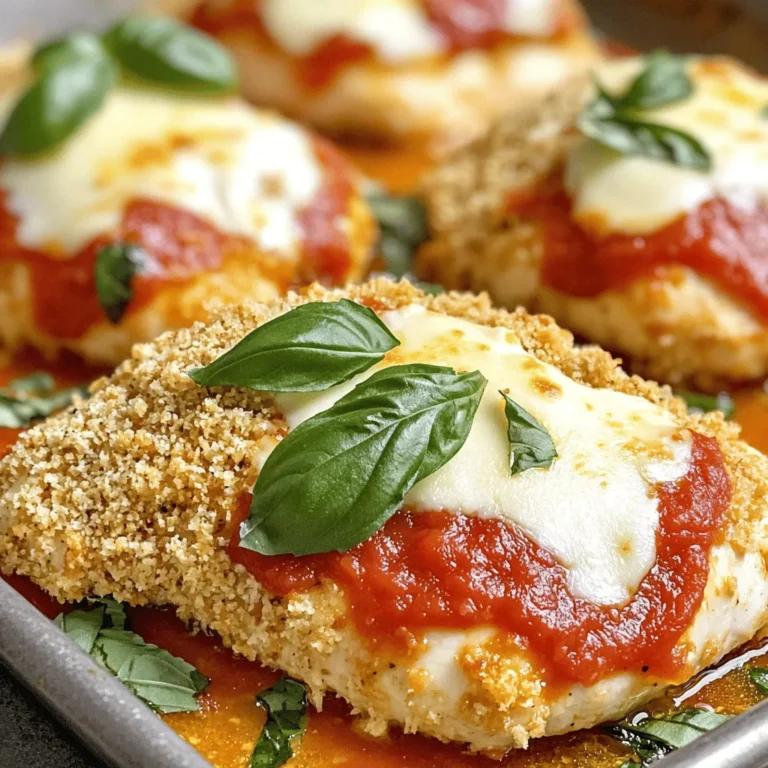
Baked Chicken Parmesan Flavorful and Easy Recipe
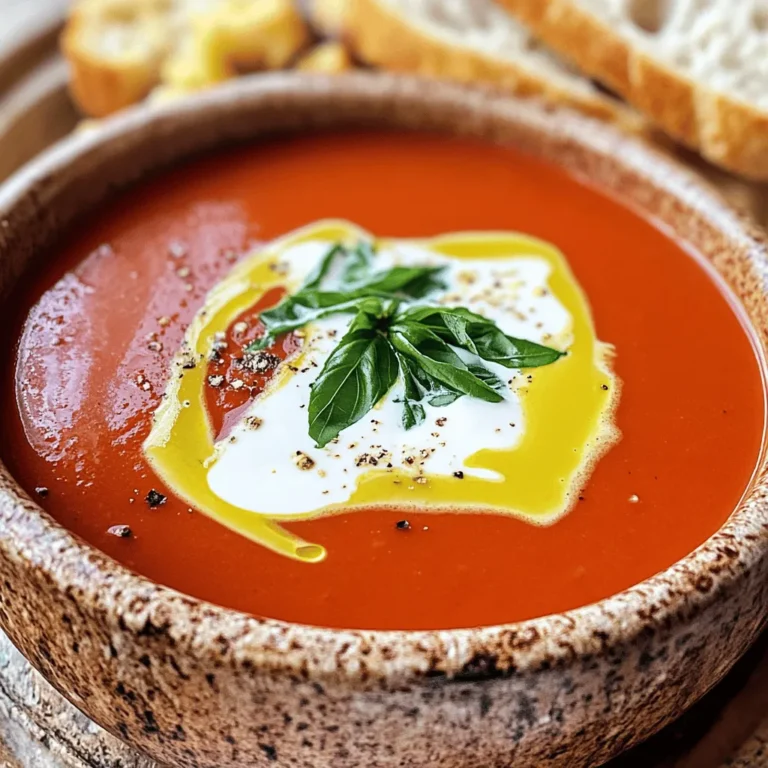
Creamy Tomato Basil Soup Hearty and Flavorful Recipe
Easy Stuffed Peppers Tasty and Healthy Delight
Maple Dijon Roasted Carrots Flavorful and Easy Recipe
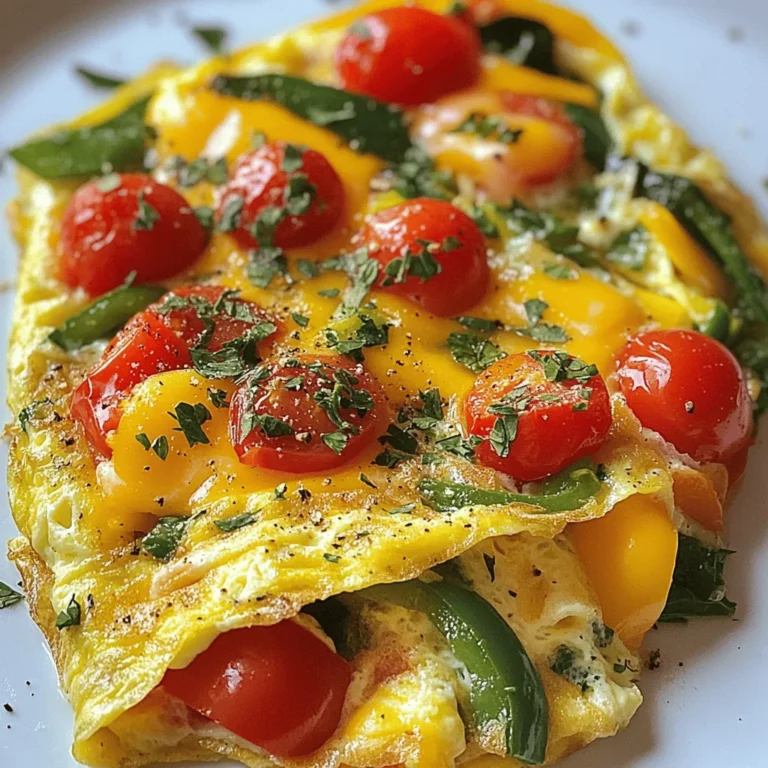
Easy Veggie Omelette Quick and Simple Breakfast Idea
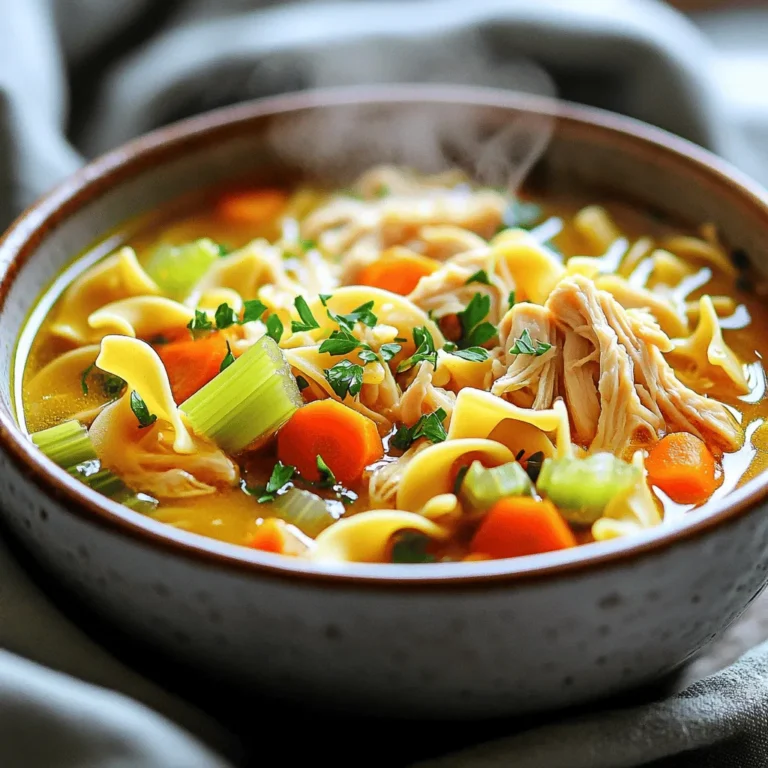
Homemade Chicken Noodle Soup Comforting and Simple Recipe
Page navigation
Previous Page
Previous
1
…
20
21
22
23
24
…
38
Next Page
Next
Home
Dinner
Appetizer
Desserts
Drinks
About
Contact
Privacy Policy
Toggle Menu Close
Search for:
Search

![- 1 lb chicken breast, cut into 1-inch cubes - 1 cup fresh pineapple, cut into 1-inch cubes - 1 bell pepper (red or yellow), cut into 1-inch pieces - 1 medium red onion, cut into wedges - 1/2 cup BBQ sauce (store-bought or homemade) - 2 tablespoons olive oil - 1 teaspoon garlic powder - 1 teaspoon smoked paprika - Salt and pepper to taste - Skewers - Grill or grill pan When I gather the ingredients for Pineapple BBQ Chicken Kabobs, I start by choosing fresh items. Fresh chicken breast is key for moist kabobs. I prefer ripe pineapples for the best flavor. Bell peppers give a nice crunch and color. Red onion adds a sweet bite. For the BBQ sauce, choose your favorite brand or make your own. Next, I prepare the marinade. I mix olive oil with garlic powder and smoked paprika. This mix is simple but packs a punch. A dash of salt and pepper balances all the flavors. I coat the chicken pieces in this marinade, letting them soak up the goodness. For cooking, I use skewers. Wooden skewers need soaking in water first. This prevents them from burning on the grill. I heat my grill to medium-high. This ensures the kabobs cook evenly. Gathering these ingredients and tools makes the cooking process fun and easy. Check out the Full Recipe for detailed steps to create this mouthwatering dish! To start, you need to marinate the chicken. In a large mixing bowl, combine the chicken cubes with the BBQ sauce, olive oil, garlic powder, smoked paprika, salt, and pepper. This mix gives the chicken great flavor. Stir well until the chicken is fully coated. Cover the bowl and refrigerate it for at least 30 minutes. For the best taste, let it marinate for up to 2 hours. This step is key to making your kabobs delicious. After marinating, it's time to prepare the skewers. Take your skewers and start threading the ingredients. Alternate the marinated chicken with pieces of fresh pineapple, bell pepper, and red onion. Aim to have 3-4 pieces of chicken on each skewer, separated by a chunk of pineapple and either bell pepper or onion. This mix not only looks good but also tastes amazing. It adds sweet and savory flavors to each bite. Next, you need to grill the kabobs. Preheat your grill to medium-high heat. If you are using a grill pan, heat it over medium heat and lightly brush it with oil to prevent sticking. Once the grill is hot, place the skewers on the grates. Grill the kabobs for about 10-12 minutes. Turn them every few minutes for even cooking. The chicken is done when it reaches 165°F (75°C) and has nice grill marks. For the last 2-3 minutes of grilling, brush more BBQ sauce on the kabobs. This makes them extra tasty and gives a nice caramelized look. After grilling, carefully remove the kabobs and let them rest for a minute before serving. This helps keep the juices inside. Enjoy your Pineapple BBQ Chicken Kabobs! For the complete recipe, check out the Full Recipe section. To get great grill marks, heat your grill to medium-high. Use a meat thermometer to check the chicken. Aim for 165°F (75°C). This ensures your chicken is safe to eat. To avoid overcooking, turn the kabobs every few minutes. This helps them cook evenly without drying out. You can mix up the marinade for more flavor. Try adding soy sauce or ginger for a twist. If you want a spicy kick, add hot sauce to the BBQ sauce. For the best BBQ sauce, choose one with a balance of sweet and tangy. This will complement the pineapple well. When serving, place the kabobs on a large platter. Add extra pineapple slices for color and taste. For a nice touch, sprinkle chopped cilantro or parsley on top. This adds freshness and vibrancy. Pair the kabobs with fluffy rice or a crisp salad to complete your meal. Don't forget to check out the Full Recipe for more details! {{image_4}} You can switch up the meat in these kabobs. Shrimp works great for a quick cook. Just marinate them the same way as chicken. You can also use tofu for a vegetarian option. Cut the tofu into cubes and press it to remove extra water. Then, marinate it like the chicken. This gives you a tasty, meat-free kabob. Adding more fruits and veggies can take these kabobs to the next level. Try using mango or zucchini for a twist. You can even toss in cherry tomatoes for a burst of flavor. If you like heat, add jalapeños or a spicy marinade. This will bring a nice kick to your kabobs. While grilling is classic, you can also bake these kabobs in the oven. Preheat your oven to 400°F (200°C). Place the skewers on a baking sheet and cook for about 20 minutes. Turn them halfway for even cooking. Air frying is another option. Set your air fryer to 400°F (200°C) and cook for 10-12 minutes. Both methods will give you juicy kabobs. Check the [Full Recipe] for more details! To store leftovers, place kabobs in an airtight container. This keeps them fresh and tasty. You can store them in the fridge for up to three days. If you want to enjoy them later, freezing is a great option. When reheating kabobs, keep the texture in mind. The best way to reheat is on the stove or grill. This helps maintain their juiciness. You can use a microwave too, but it may not keep them as tasty. If you use the microwave, heat in short bursts to avoid overcooking. You can freeze kabobs for up to three months. To freeze, wrap them tightly in plastic wrap. Then, place them in a freezer bag. For best results, thaw them in the fridge overnight before reheating. This step helps them maintain their flavor and texture. Marinate the chicken for at least 30 minutes. If you have more time, go for 2 hours. This longer marination helps the chicken soak up the BBQ flavor. The more time it sits, the better it tastes. Yes, you can use wooden skewers. Make sure to soak them in water for about 30 minutes. This prevents burning while they grill. You can also use metal skewers if you have them. These kabobs go great with fluffy rice, fresh salads, or grilled veggies. You can also serve them with corn on the cob or a tangy coleslaw. These sides balance the sweet and savory flavors. Use a meat thermometer to check the chicken's internal temperature. It should reach 165°F (75°C). This ensures the chicken is safe to eat and juicy. Cook the kabobs on medium-high heat for even cooking. Yes, it is safe to eat frozen kabobs. Just make sure to thaw them in the fridge before grilling. This helps ensure they cook evenly. Always check that they reach the safe temperature. You can add shrimp, beef, or tofu instead of chicken. Mix in different veggies like zucchini or mushrooms. Experiment with fruits like peaches or mango for added sweetness. To make BBQ sauce, mix ketchup, brown sugar, vinegar, and spices. Simmer the mix on low heat for 20 minutes. Adjust flavors to your taste by adding more sugar or spices. This sauce will add a personal touch to your kabobs. For the full recipe, check the [Full Recipe]. Pineapple BBQ chicken kabobs are a tasty and fun dish to make. We covered key ingredients, like chicken and pineapple, and important steps, like marinating and grilling. I shared tips for perfect grill marks and flavor boosts. You can even try new proteins or cooking methods. Leftover kabobs can be stored easily, too. With these insights, you're ready to impress at your next cookout. Enjoy cooking and tasting!](https://blissfulmeal.com/wp-content/uploads/2025/06/c01b5364-0b9a-46af-bb16-414e11ec00cf-768x768.webp)
![Sautéed green beans with garlic is a simple dish that shines with fresh flavors. Here’s what you need for this tasty side: - 1 pound of fresh green beans, trimmed and washed - 3 tablespoons of extra virgin olive oil - 4 cloves of garlic, finely minced - Zest of 1 large lemon - Juice of 1 fresh lemon - 1 teaspoon of red pepper flakes (optional, for a spicy kick) - Sea salt and freshly cracked black pepper to taste - ¼ cup of toasted slivered almonds, for an elegant garnish Each ingredient plays a key role. The green beans bring a crisp texture, while the garlic adds depth. Olive oil provides healthy fat and flavor. Lemon zest and juice brighten the dish. Red pepper flakes can add a nice heat, but you can skip them if you prefer a milder taste. Finally, toasted almonds give a crunchy finish. For the full recipe, check the previous section. 1. Washing and trimming green beans: Start by washing 1 pound of fresh green beans under cool water. This removes dirt and grit. Trim the ends of the beans to get them ready for cooking. I like to set them in a colander to drain well. 2. Preparing garlic and other ingredients: Next, finely mince 4 cloves of garlic. You want small pieces to spread their flavor well. Gather your other ingredients: lemon zest, lemon juice, olive oil, sea salt, black pepper, and optional red pepper flakes. 1. Heating olive oil: Grab a large skillet and heat 3 tablespoons of extra virgin olive oil over medium-high heat. You know it’s ready when it shimmers slightly. 2. Sautéing garlic: Carefully add the minced garlic to the hot oil. Sauté it for about 30 seconds. Stir it continuously. This will bring out its rich flavor without burning it. 3. Adding green beans and seasoning: Toss in the trimmed green beans. Stir them in the aromatic garlic oil. Cook for about 5–7 minutes, stirring often. The beans should turn vibrant green and be tender-crisp. If you like some heat, add 1 teaspoon of red pepper flakes in the last minute. 4. Finishing touches: Remove the skillet from heat. Stir in the lemon zest and lemon juice. Season with sea salt and freshly cracked black pepper to taste. 5. Serving: Transfer the sautéed green beans to a serving platter. For an elegant touch, sprinkle ¼ cup of toasted slivered almonds on top. This adds a nice crunch and flavor. For the full recipe, check the [Full Recipe]. To make the best sautéed green beans, focus on the texture. You want them tender-crisp. Start by cooking the beans for 5 to 7 minutes. Keep stirring them. This way, they cook evenly. The vibrant green color shows they are ready. Avoid burnt garlic by watching the heat. Heat the olive oil until it shines, but not too hot. Add the minced garlic and stir it for 30 seconds. When it smells good, it’s time to add the beans. If the garlic turns brown, it can taste bitter. Sautéed green beans pair well with many main dishes. They go great with grilled chicken or fish. You can also serve them with roasted veggies for a colorful plate. For garnishing, use toasted slivered almonds on top. They add a nice crunch. You can also add lemon wedges for extra freshness. These small touches will make your dish look and taste amazing. For the full recipe, check out the [Full Recipe]. {{image_4}} You can make sautéed green beans even more exciting. Try adding spices like cumin or smoked paprika. These spices bring warmth and depth to the dish. If you like a touch of sweetness, sprinkle in some cinnamon. It adds a new layer of flavor that surprises the palate. Another great idea is to incorporate nuts or seeds. While toasted slivered almonds are perfect, you can swap them for walnuts or sunflower seeds. Each nut brings its unique taste. Just make sure to toast them lightly for that crunchy texture. If you want to make this dish vegan, it’s simple. Just skip the butter and use olive oil. This keeps the dish rich and flavorful while making it plant-based. You can also swap out the almonds for pumpkin seeds for a nut-free option. For gluten-free needs, good news! This recipe is naturally gluten-free. Just ensure that any added spices or ingredients are gluten-free. You can enjoy this dish without worry, making it a great choice for everyone at the table. For the full recipe, visit the [Full Recipe] section. To keep your sautéed green beans fresh, store them in the fridge. Use an airtight container. They stay good for about 3 to 5 days. Make sure they cool down before sealing. This helps prevent moisture from building up. When you reheat, use the stove. Heat them in a skillet over medium heat. Add a little olive oil to keep them moist. Stir frequently until they are warm. This way, they stay crisp and flavorful. Freezing is a great option if you have leftovers. First, let the green beans cool completely. Then, place them in freezer-safe bags. Remove as much air as possible to prevent freezer burn. They can last up to 3 months in the freezer. To thaw, take them out the night before. Place them in the fridge to defrost slowly. You can also microwave them for quick thawing. Just be careful not to cook them too long. Once thawed, reheat them as you would with leftovers. This keeps their vibrant color and taste. Sautéed green beans are a great side dish. They pair well with many main dishes. Here are some tasty options: - Grilled chicken: The smoky flavor complements the beans. - Roast beef: The richness of the beef goes well with the fresh taste of the beans. - Salmon: The lightness of salmon balances the crunch of the beans. - Pasta: Add some sautéed green beans to any pasta for a colorful dish. These options make a well-rounded meal. Feel free to mix and match! Yes, you can use frozen green beans. They are quick and easy. However, here are some tips: - Thaw them first: This helps to ensure they cook evenly. - Adjust cooking time: Cook for about 3-5 minutes less. Frozen beans often cook faster than fresh. - Drain well: Make sure to drain excess water before adding them to the skillet. Using frozen beans saves time, but fresh beans offer a better crunch. You can easily make sautéed green beans without garlic. Here are some tasty flavor alternatives: - Shallots: Use minced shallots for a mild onion taste. - Lemon juice: Add more lemon for a zesty kick. - Herbs: Try thyme or basil for a fresh flavor. - Butter: Swap olive oil for butter for a rich taste. These options let you enjoy the beans in different ways, even without garlic. For the full recipe, check out the link! In this post, we explored how to make delicious sautéed green beans. We covered key ingredients like fresh green beans and garlic, plus tips for cooking them right. You learned to perfect the tender-crisp texture and avoid burnt garlic. Variations allowed for easy adjustments based on your taste and diet. Finally, we discussed storage and creative serving ideas. Whether you're a novice or a pro, these methods will elevate your side dishes and impress your guests. Enjoy cooking and sharing this tasty dish!](https://blissfulmeal.com/wp-content/uploads/2025/06/95e35dd1-643c-43ef-aaf0-909e7f660cd6-768x768.webp)
![- 4 large bell peppers (red, yellow, or green) - 1 cup cooked quinoa - 1 can (15 oz) black beans, rinsed and drained - 1 cup corn (frozen or canned) - 1 cup diced tomatoes - 1 teaspoon ground cumin - 1 teaspoon chili powder - 1 cup shredded cheese (cheddar or mozzarella) - Fresh cilantro for garnish When making easy stuffed peppers, you want to focus on fresh, tasty ingredients. Start with four large bell peppers. You can pick any color you love. Red, yellow, or green all work well. These peppers will be the star of your dish! Next, grab one cup of cooked quinoa. Quinoa adds protein and texture. It's light and fluffy, which makes it perfect for stuffing. Then, get one can of black beans. Rinse and drain them well. These beans add a rich flavor and a creamy texture to your filling. Don't forget about one cup of corn! You can use frozen or canned corn. It adds a sweet crunch and bright color to your dish. For seasonings, you will need one cup of diced tomatoes. You can use fresh or canned, just be sure to drain them if needed. Add one teaspoon of ground cumin and one teaspoon of chili powder for warmth and depth. Finally, top your peppers with one cup of shredded cheese. Cheddar and mozzarella both melt well and bring that gooey goodness. To finish, sprinkle some fresh cilantro on top for a fresh touch. This mix of flavors makes your stuffed peppers a tasty and healthy delight. For the complete recipe, check out the [Full Recipe]. - Preheat your oven to 375°F (190°C). - Take your bell peppers and slice off their tops. Remove the seeds and membranes inside. - In a large bowl, combine cooked quinoa, black beans, corn, and diced tomatoes. - Add ground cumin, chili powder, garlic powder, salt, and pepper to the mix. Stir well to blend all the ingredients. - Stuff each pepper with the quinoa mixture, packing it tightly. - Place the stuffed peppers upright in a baking dish. If they wobble, trim the bottoms for balance. - Sprinkle shredded cheese on top of each pepper for extra flavor. - Cover the baking dish with foil to keep the peppers moist. Bake for 30 minutes. - After 30 minutes, take off the foil and bake until the cheese melts and looks golden, about 10-15 minutes. For the full recipe, check out the details above. Enjoy your delicious creation! To make your stuffed peppers shine, choose vibrant bell peppers. Red, yellow, and green peppers add color to your plate. This makes the dish more tempting. When filling, pack the mixture tightly. This helps the peppers hold their shape and flavor. Every oven is different. You may need to adjust the cooking time. Start with 30 minutes covered with foil. After that, check for doneness. The peppers should be tender when pierced with a fork. If they need more time, bake them longer. Serve your stuffed peppers with a side of mixed greens. A wedge of lime adds a nice touch. It brings out the flavors in the dish. For a fresh finish, sprinkle more cilantro on top before serving. You can find the full recipe for these tasty delights in the section above. {{image_4}} You can make stuffed peppers even more colorful and healthy. - Add diced zucchini or spinach for extra nutrients. - Swap quinoa for rice or other grains like farro or barley. These changes keep the dish light and tasty. Plus, they help you sneak in more veggies. Want to make your stuffed peppers heartier? Consider adding protein. - Incorporate ground turkey or shredded chicken for a filling meal. - Mix in diced ham or sausage for a savory twist. These additions will make your dish more satisfying and boost the flavor. Looking to spice things up? Flavor is key in stuffed peppers. - Add salsa or hot sauce to the filling for a spicy kick. - Experiment with different types of cheese for unique tastes. Using a mix of cheeses can change the whole profile of your dish. Get creative and enjoy the process! Store your leftover stuffed peppers in an airtight container. They last up to 3 days in the fridge. When you want to enjoy them again, reheat them in the oven or microwave. This keeps them tasty and warm. You can freeze unbaked stuffed peppers for future meals. This makes dinner quick and easy later on. Just thaw them overnight in the fridge. Bake them directly from frozen, but adjust the cooking time as needed. This way, you always have a healthy meal ready to go! For the full recipe, you can check the earlier sections. You need to bake stuffed peppers for 30 minutes covered. After that, remove the cover and bake for an additional 10-15 minutes. This helps the cheese melt and the peppers soften nicely. Yes, you can prepare stuffed peppers ahead of time. Store them in the fridge for up to three days. You can also freeze them for longer storage. Just thaw them before baking. Stuffed peppers go well with a side salad or roasted vegetables. You can add some rice or quinoa on the side for extra texture. This makes a balanced meal. Yes, stuffed peppers are a healthy choice. They are packed with proteins from beans and quinoa. You can easily customize the filling for any diet, making them a versatile dish. Easy stuffed peppers combine tasty ingredients and simple steps. You can use colorful bell peppers, quinoa, black beans, and spices for a delightful meal. Remember to pack the filling tightly for the best outcome. You can adjust cooking times based on your oven. Feel free to customize with added veggies or proteins to mix things up. Lastly, store leftovers properly for future meals. Enjoy making this healthy and fun dish, and share it with friends or family. Your cooking can bring smiles!](https://blissfulmeal.com/wp-content/uploads/2025/06/2961c605-41e0-43a0-bb6f-3e6fd55ed999-768x768.webp)
![To make Maple Dijon Roasted Carrots, you need the following ingredients: - 2 pounds of baby carrots, cleaned and trimmed - 3 tablespoons pure maple syrup - 1 tablespoon Dijon mustard - 2 tablespoons extra virgin olive oil - 1 teaspoon garlic powder - 1 teaspoon dried thyme - Sea salt and freshly ground black pepper, to taste - Fresh parsley, finely chopped (for garnish) These ingredients come together to create a sweet and tangy flavor. The maple syrup adds a natural sweetness that pairs perfectly with the sharpness of Dijon mustard. The garlic powder and thyme give the dish a savory kick, while the olive oil helps everything roast beautifully in the oven. When selecting your carrots, look for firm, vibrant baby carrots. They should be free from blemishes. This will ensure that your dish looks great and tastes fresh. If you want to switch things up, consider using a mix of carrot colors for more visual appeal. Purple, orange, and yellow carrots can make your dish pop! You can find the complete recipe in the Full Recipe section. - Preparation time: 10 minutes - Total cooking time: 30 minutes - Servings: 4 1. Preheat your oven to 425°F (220°C). This heat helps the carrots brown well. 2. In a large bowl, mix the maple syrup, Dijon mustard, olive oil, garlic powder, and thyme. Add sea salt and black pepper, too. Stir until smooth. 3. Add the cleaned baby carrots to the bowl. Toss them in the marinade. Make sure each carrot gets coated well. 1. Line a large baking sheet with parchment paper. Place the carrots in a single layer. Leave space between them for even cooking. 2. Roast the carrots for 25-30 minutes. Halfway through, turn them over for nice browning. They should be tender when you pierce them with a fork. 3. Once done, take the carrots out and let them cool for a few minutes. This helps the flavors blend better. For the full recipe, check out the details above. Enjoy your tasty Maple Dijon Roasted Carrots! For the best roasted carrots, spacing is key. Place the carrots in a single layer on the baking sheet. If they are too close, they will steam instead of roast. This can make them soft and mushy. Turning the carrots halfway through roasting is also important. This ensures they brown evenly on all sides. Use tongs to flip them gently, avoiding any splatter. To boost the flavor, consider adding spices. A pinch of cumin or paprika can add a nice kick. You can also try adding a dash of cayenne pepper for some heat. If you have leftovers, don’t worry! They make a great addition to salads or grain bowls. Chop them up and mix them with your favorite greens. You can also add them to wraps for a tasty lunch. For more ideas, check the Full Recipe. {{image_4}} You can change some ingredients to suit your taste. For sweeteners, try agave syrup instead of maple syrup. It gives a different flavor but still tastes great. Also, feel free to swap herbs. Instead of dried thyme, use rosemary or oregano. These herbs add a new twist to the dish. Each herb brings its unique taste, making the carrots stand out. Maple Dijon roasted carrots pair well with many main dishes. They go nicely with grilled chicken or salmon. The sweet and tangy taste balances the savory flavors. For side dishes, serve them with a fresh salad or mashed potatoes. They also work great alongside quinoa or rice. These options create a colorful plate that looks as good as it tastes. Want the full recipe to try it out? Check out the [Full Recipe]. To store your Maple Dijon Roasted Carrots, let them cool first. Place them in an airtight container. You can keep them in the fridge for up to five days. Make sure to label the container with the date. This way, you know when they were made. If you want to keep them longer, you can freeze them. Just place the carrots in a freezer bag. Remove as much air as possible before sealing. When it’s time to eat your leftovers, reheat them carefully. To avoid sogginess, use the oven or an air fryer. Preheat your oven to 350°F (175°C). Spread the carrots on a baking sheet. Heat them for about 10-15 minutes, or until they are warmed through. If you use an air fryer, set it to 350°F (175°C) and cook for about 5-7 minutes. This keeps them crispy and delicious. Enjoy your tasty carrots again! Can I use regular carrots instead of baby carrots? Yes, you can use regular carrots. Just cut them into smaller pieces. This helps them cook evenly. Aim for pieces about the same size as baby carrots for best results. How can I make this recipe ahead of time? You can prepare the carrots and the marinade a day ahead. Simply coat the carrots with the marinade and store them in the fridge. When ready, just roast them as directed. Is it possible to make this dish vegan-friendly? Yes, this recipe is already vegan. It uses maple syrup for sweetness and olive oil for richness. So, it’s perfect for anyone seeking plant-based meals! What to do if the carrots are undercooked? If your carrots are still firm after roasting, return them to the oven. Roast them for an additional 5–10 minutes. Check them often until they reach your desired tenderness. How to avoid burning during roasting? To prevent burning, spread the carrots out evenly on the baking sheet. Avoid overcrowding. If you notice them browning too quickly, lower the oven temperature slightly. This blog covers the key to scrumptious maple Dijon roasted carrots. You learned about the ingredients, steps, and tips for perfect results. Remember to space the carrots well and turn them halfway for even cooking. Explore variations like using agave syrup or swapping herbs. Storing leftovers properly keeps them fresh, and reheating can keep them tasty. Try this recipe with your favorite main dish or as a delightful side. Enjoy your cooking and impress your guests with these delicious carrots!](https://blissfulmeal.com/wp-content/uploads/2025/06/77e4a280-1a9a-4805-8b6d-e0fe2c6a3f65-768x768.webp)