Skip to content
About
Contact
Cookie Policy
Copyright Policy
Disclaimer
Search
Home
Dinner
Appetizer
Desserts
Drinks
About
Contact
Privacy Policy
Toggle Menu
Home
/
Dinner
- Page 3
Dinner
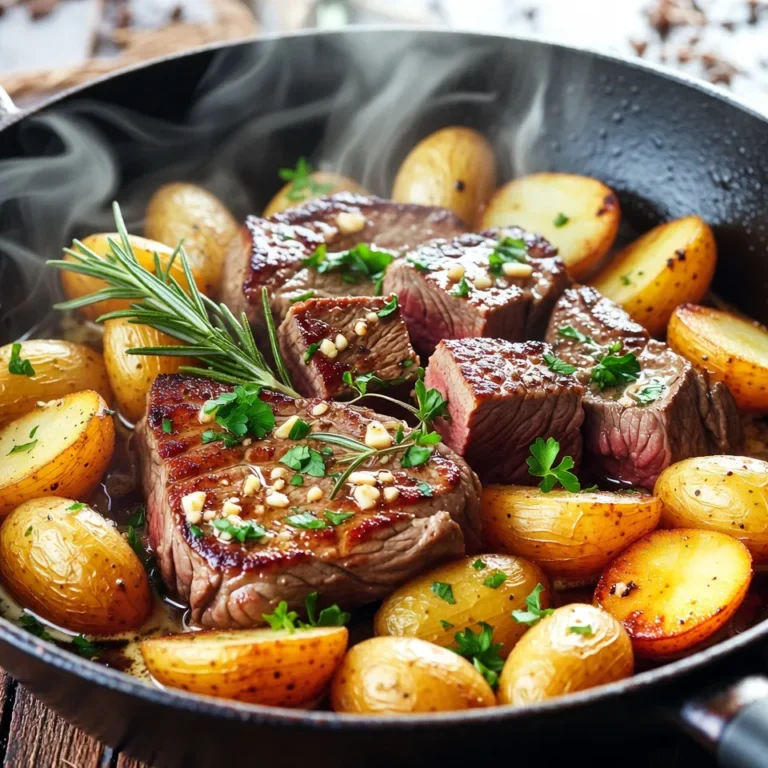
Garlic Butter Steak and Potatoes Skillet Delight
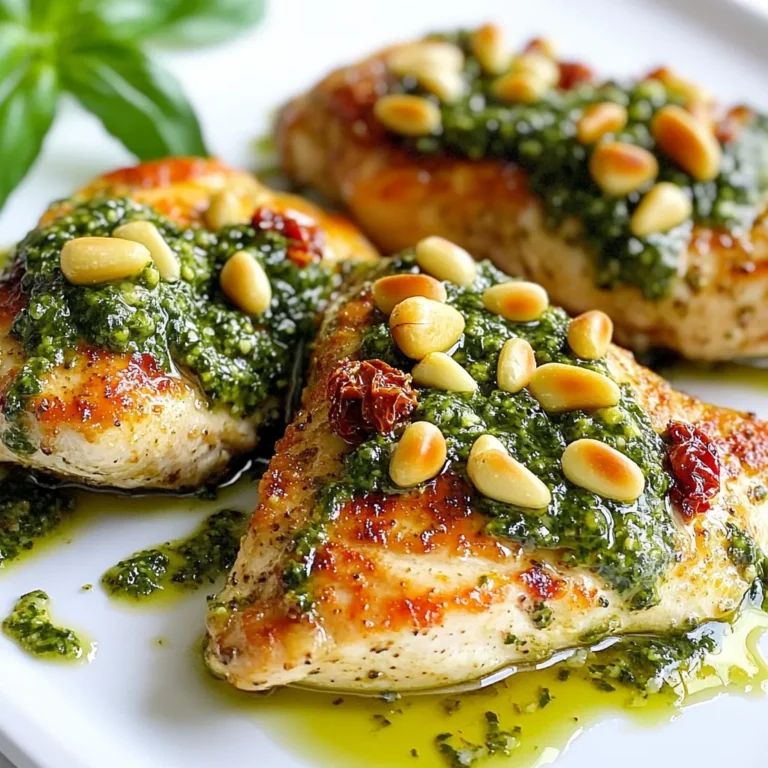
Sun-Dried Tomato Pesto Chicken Flavorful and Easy Meal
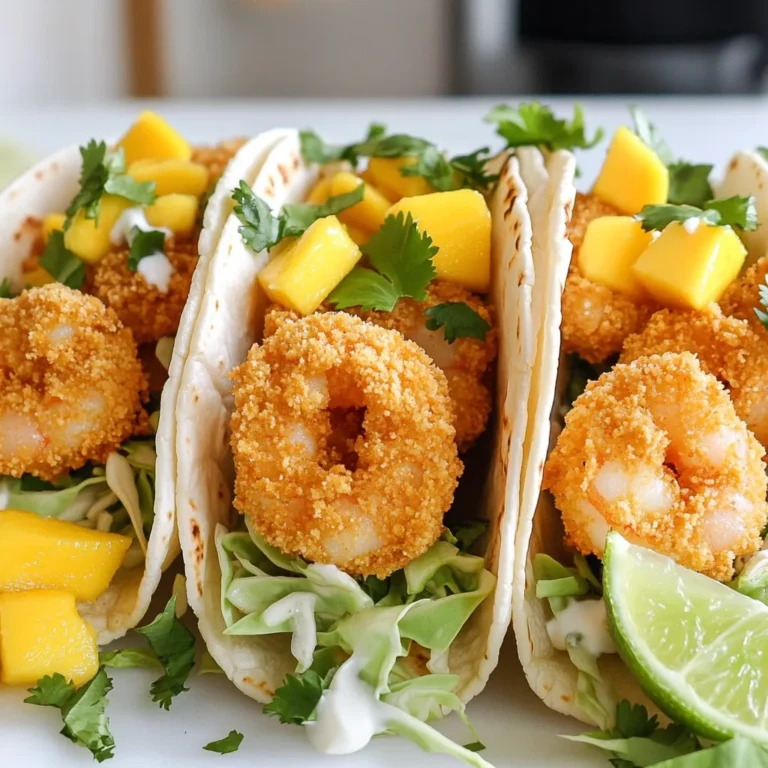
Air Fryer Shrimp Tacos Flavorful and Easy Recipe
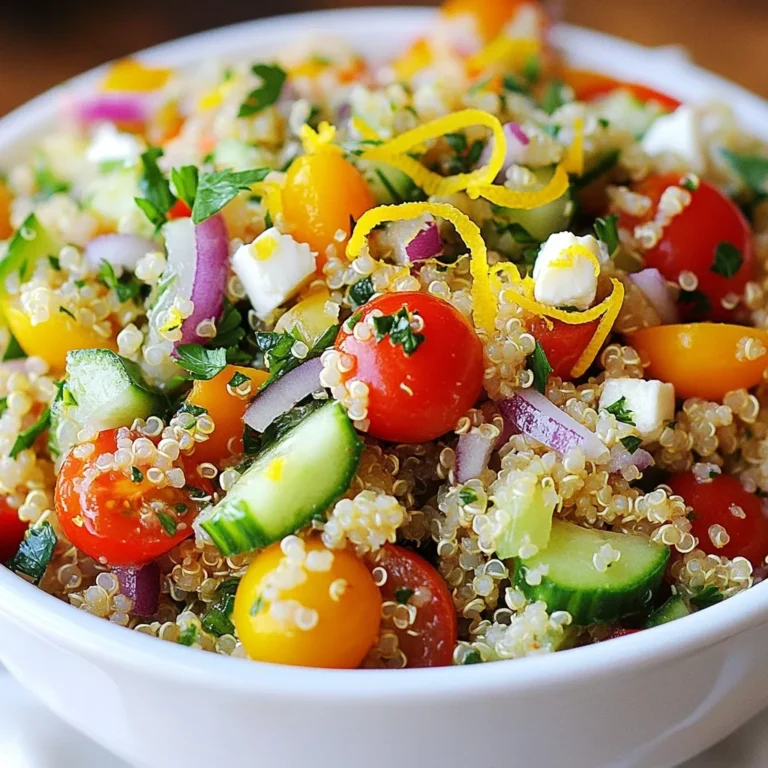
Lemon Herb Quinoa Salad Fresh and Flavorful Side
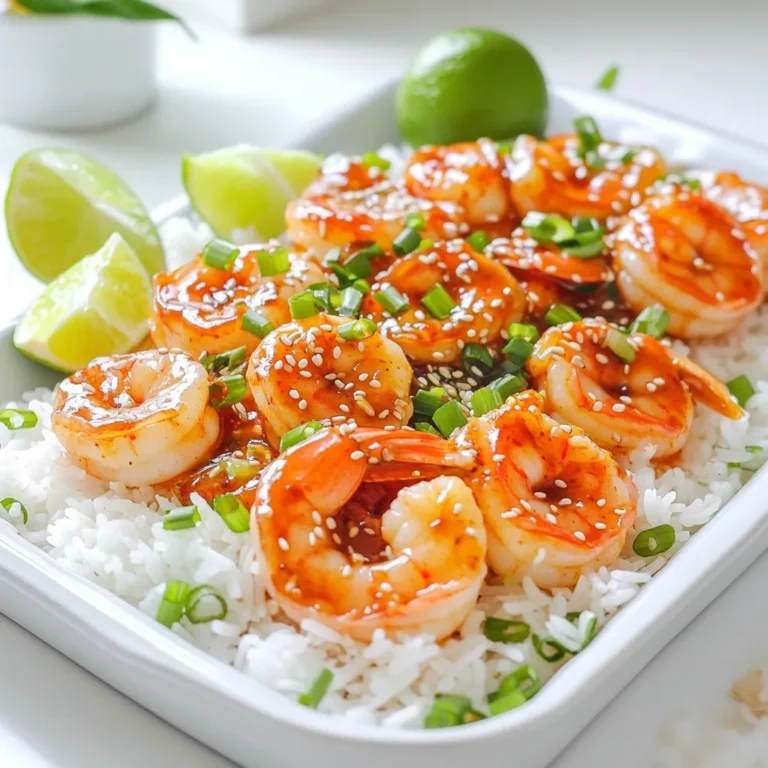
Minute Sweet Chili Shrimp Flavorful and Quick Dish
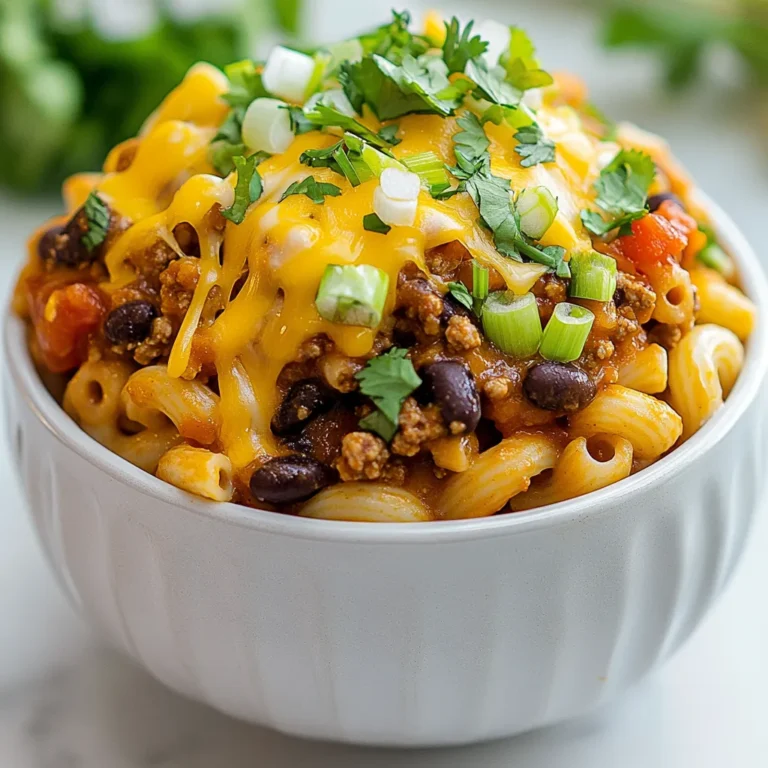
Loaded Taco Macaroni Flavor-Packed Comfort Dish
Garlic Lemon Shrimp Sheet Pan Flavorful and Easy Meal
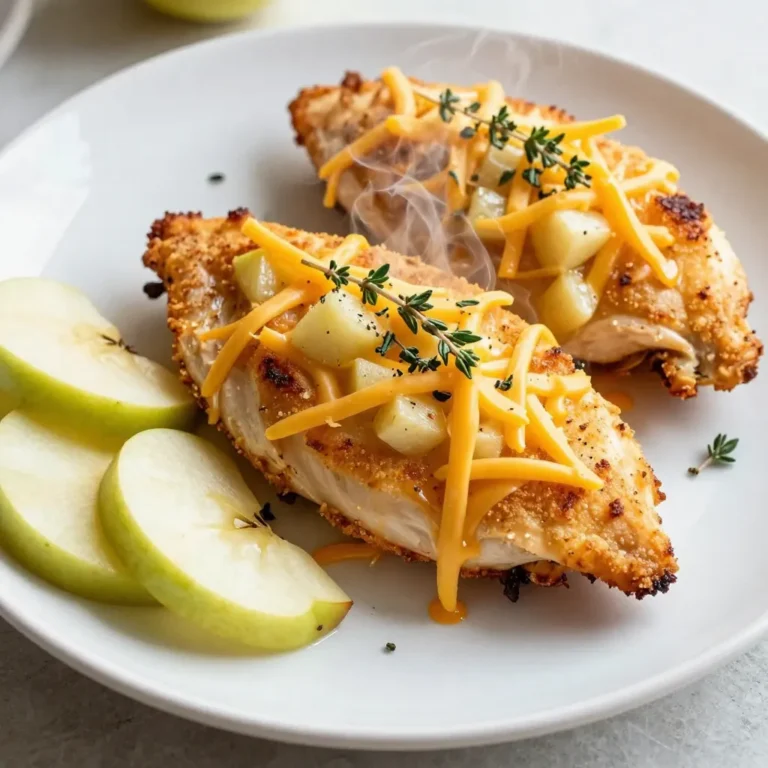
Apple Cheddar Stuffed Chicken Tasty and Simple Recipe
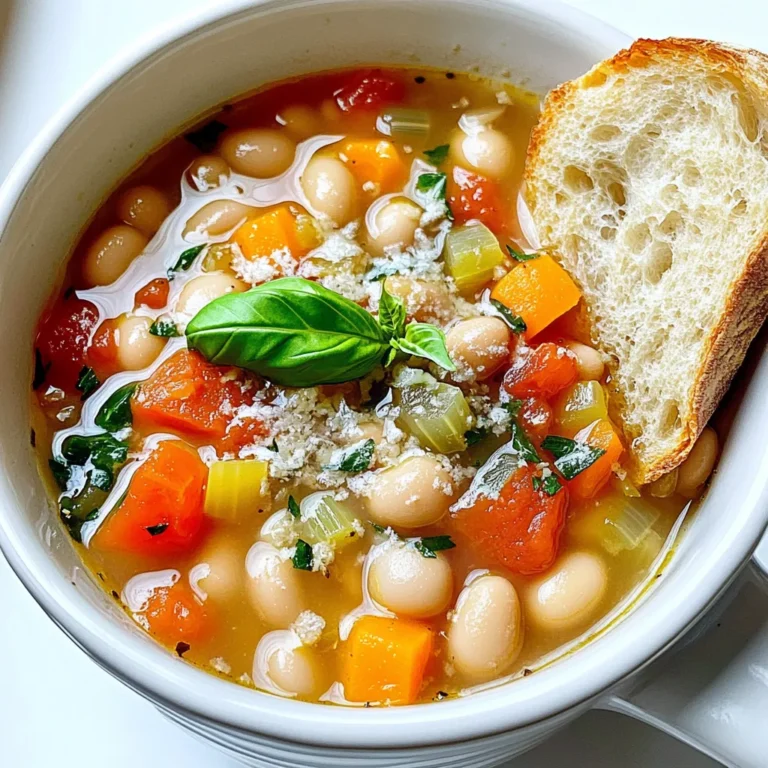
Slow Cooker Tuscan White Bean Soup Flavor Boost
Sheet Pan Spicy Harissa Veggie Bowls Quick and Tasty
Page navigation
Previous Page
Previous
1
2
3
4
5
…
38
Next Page
Next
Home
Dinner
Appetizer
Desserts
Drinks
About
Contact
Privacy Policy
Toggle Menu Close
Search for:
Search