Skip to content
About
Contact
Cookie Policy
Copyright Policy
Disclaimer
Search
Home
Dinner
Appetizer
Desserts
Drinks
About
Contact
Privacy Policy
Toggle Menu
Home
/
Dinner
- Page 32
Dinner
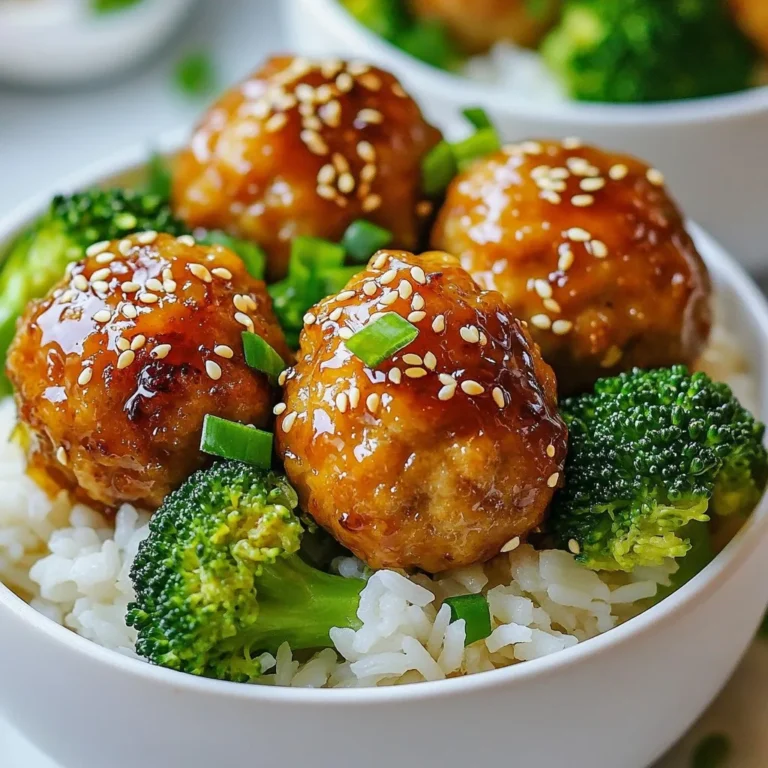
Teriyaki Chicken Meatball Bowls Flavorful Easy Recipe
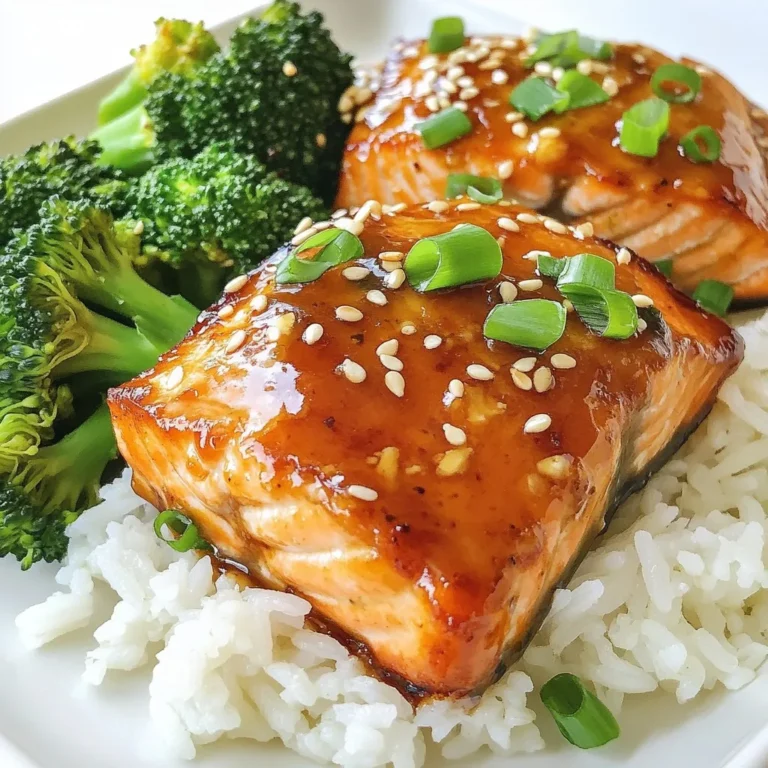
Baked Teriyaki Salmon Flavorful and Simple Recipe
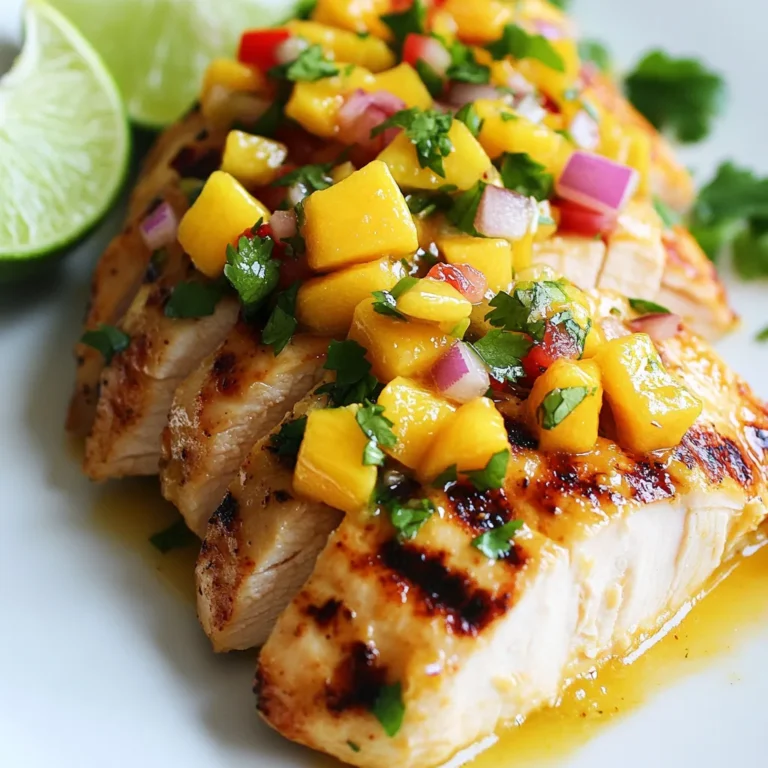
Mango Salsa Chicken Flavorful and Easy Dinner Option
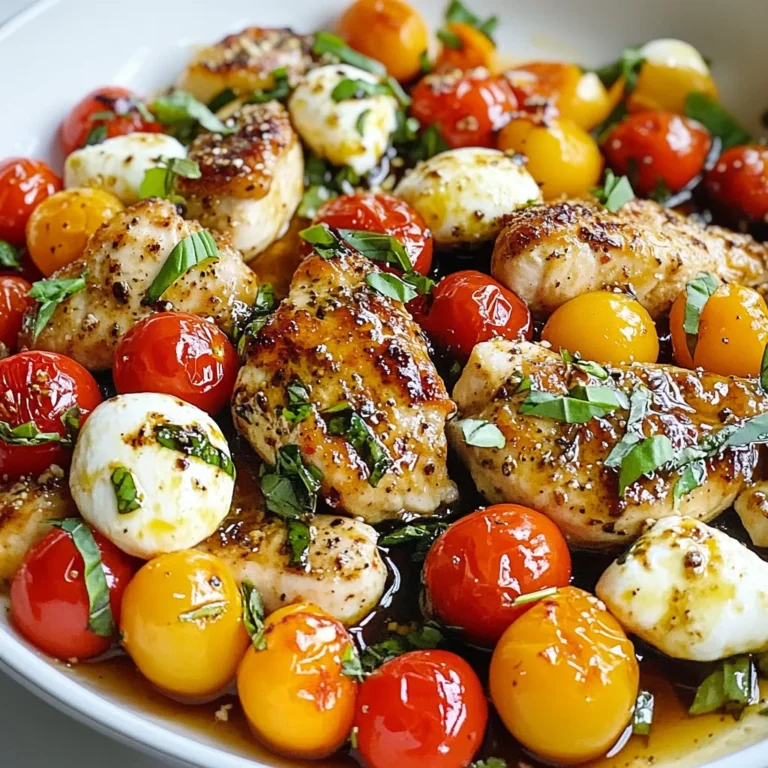
Caprese Chicken Skillet Quick and Tasty Dinner Idea
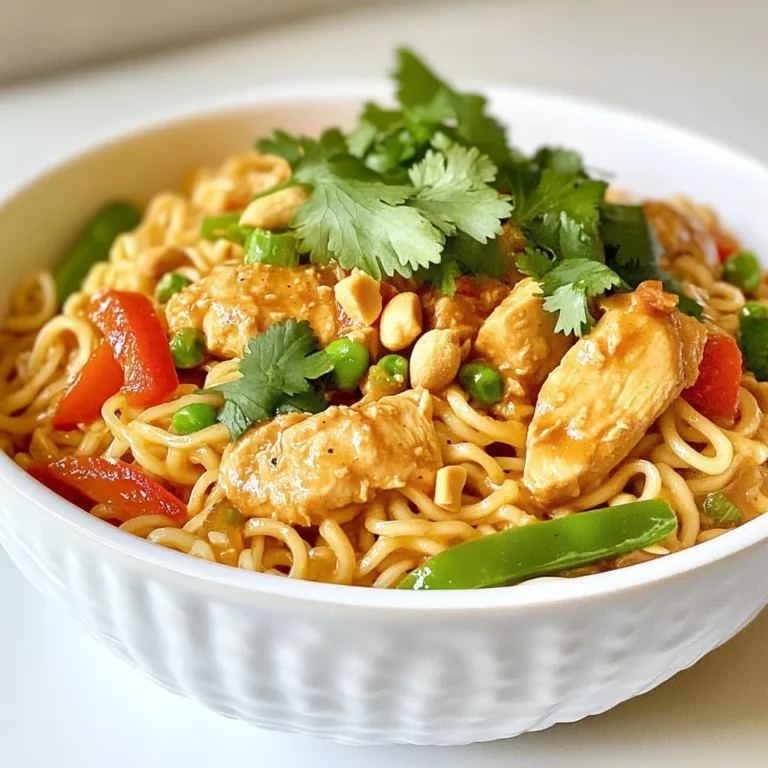
Spicy Peanut Chicken Ramen Flavorful and Easy Recipe
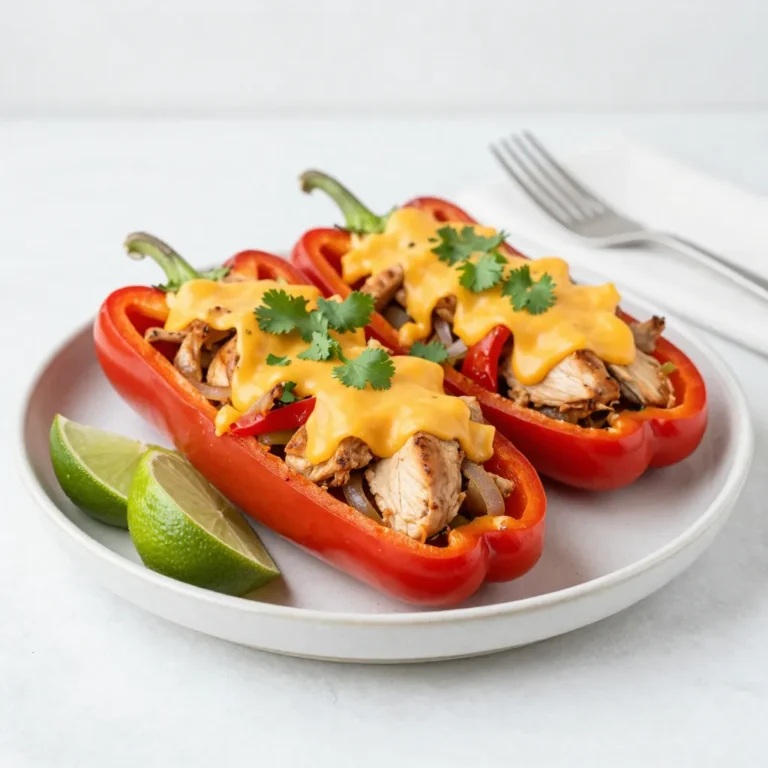
Chicken Fajita Stuffed Peppers Tasty and Simple Meal
Cajun Salmon with Corn Salsa Flavorful Dinner Delight
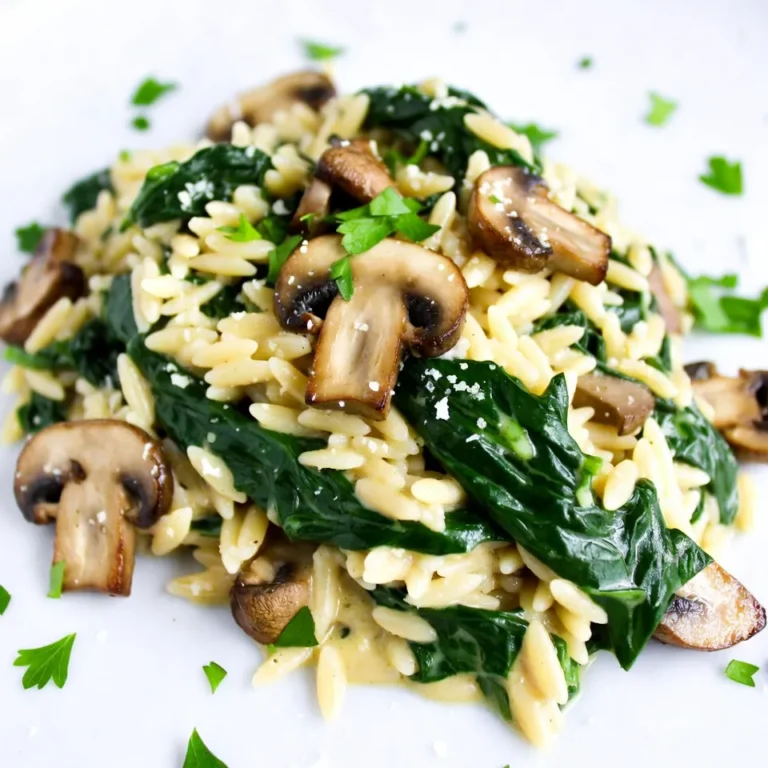
Creamy Mushroom Spinach Orzo Delightful and Easy Meal
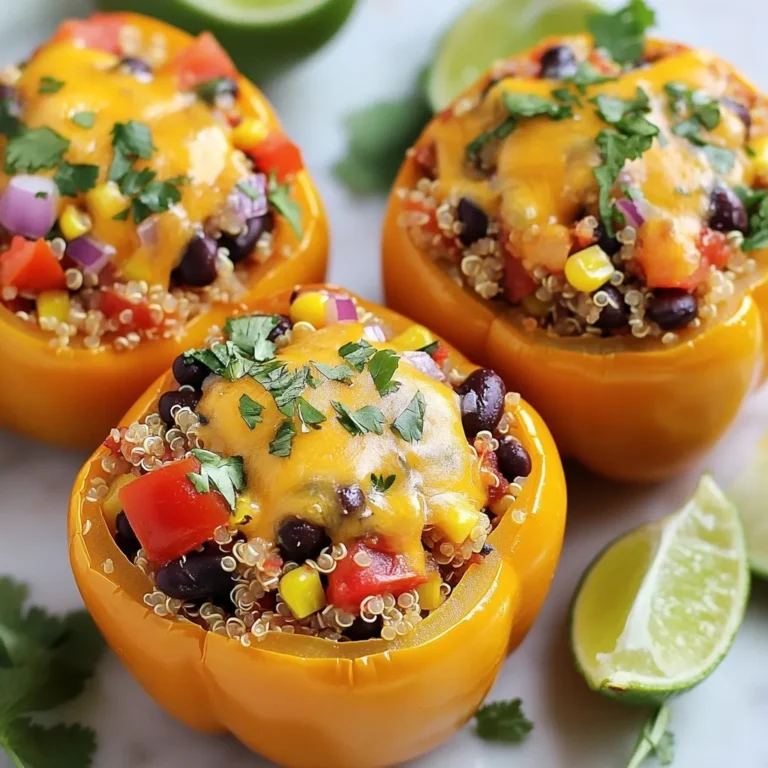
Southwest Quinoa Stuffed Peppers Flavorful Health Dish
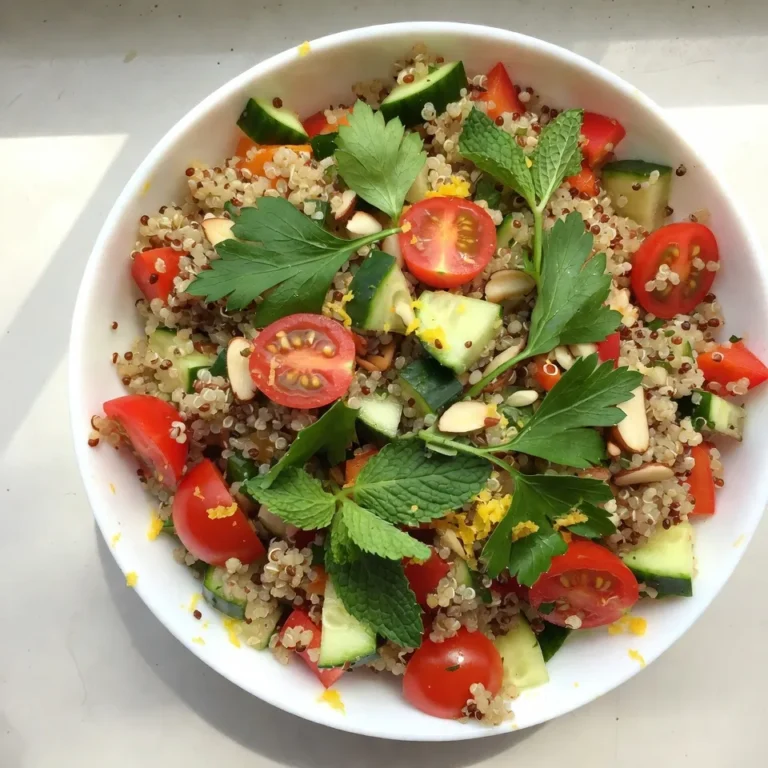
Lemon Herb Quinoa Salad Fresh and Healthy Delight
Page navigation
Previous Page
Previous
1
…
30
31
32
33
34
…
38
Next Page
Next
Home
Dinner
Appetizer
Desserts
Drinks
About
Contact
Privacy Policy
Toggle Menu Close
Search for:
Search