Skip to content
About
Contact
Cookie Policy
Copyright Policy
Disclaimer
Search
Home
Dinner
Appetizer
Desserts
Drinks
About
Contact
Privacy Policy
Toggle Menu
Home
/
Dinner
- Page 33
Dinner
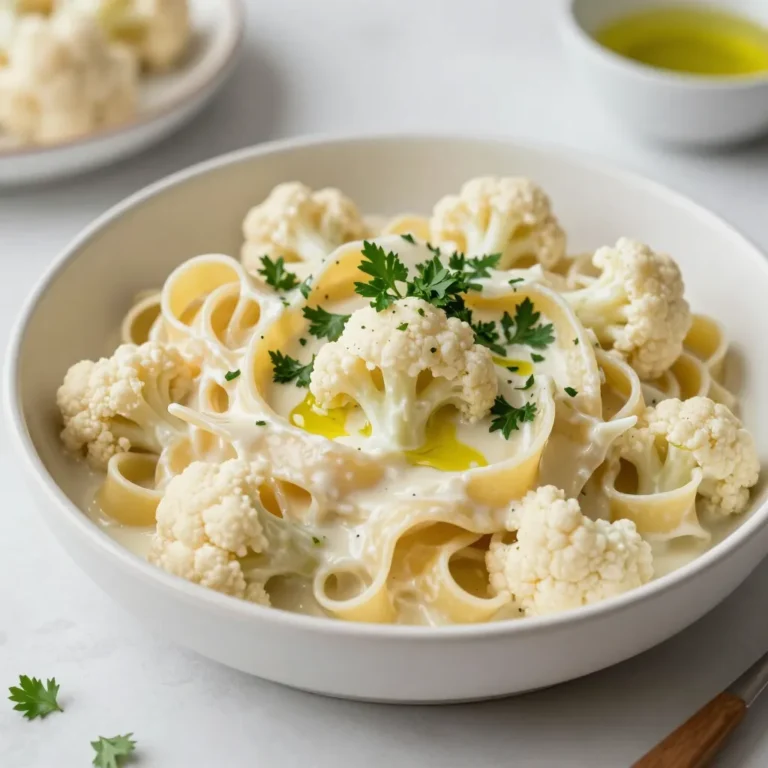
Creamy Cauliflower Alfredo Irresistible Flavor Boost
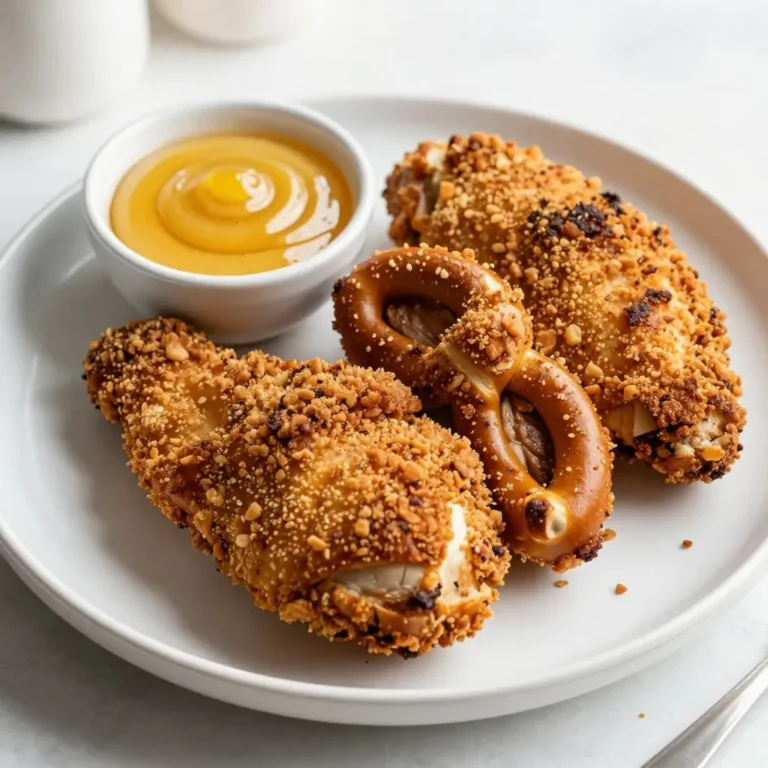
Pretzel Crusted Chicken with Honey Mustard Delight
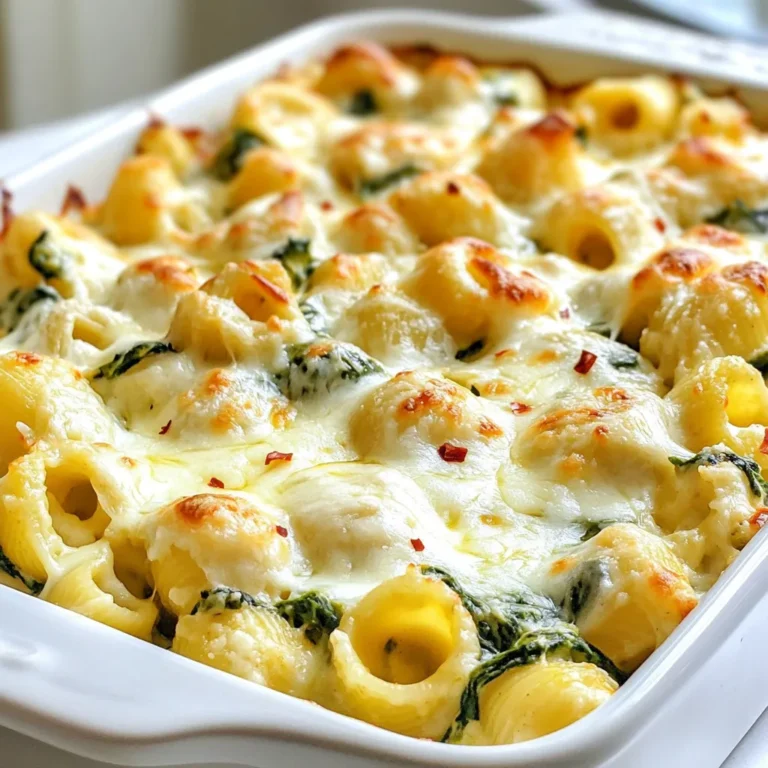
Creamy Spinach Artichoke Pasta Bake Flavorful Dish
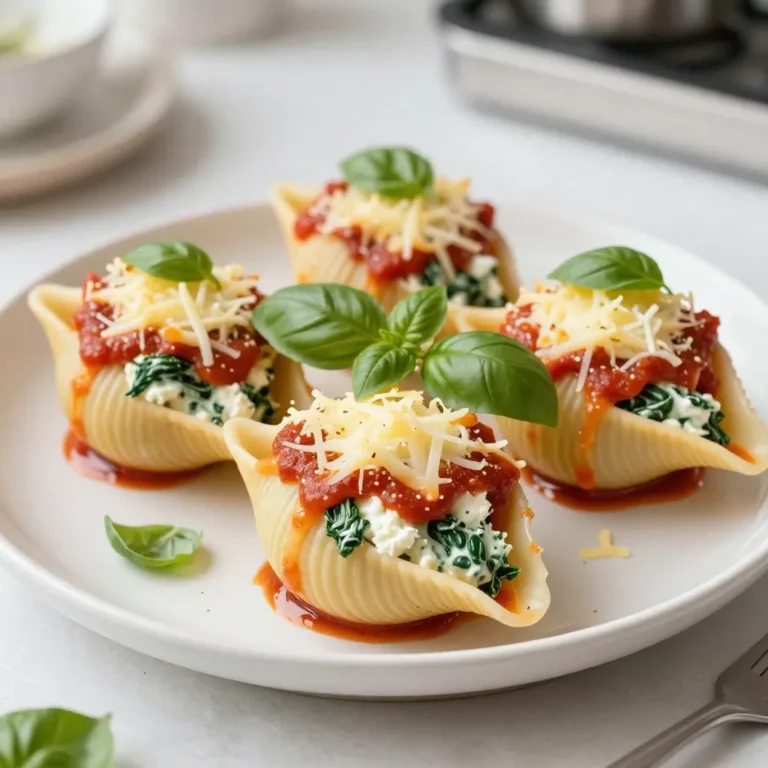
Cheesy Spinach Stuffed Shells Wholesome Dinner Delight
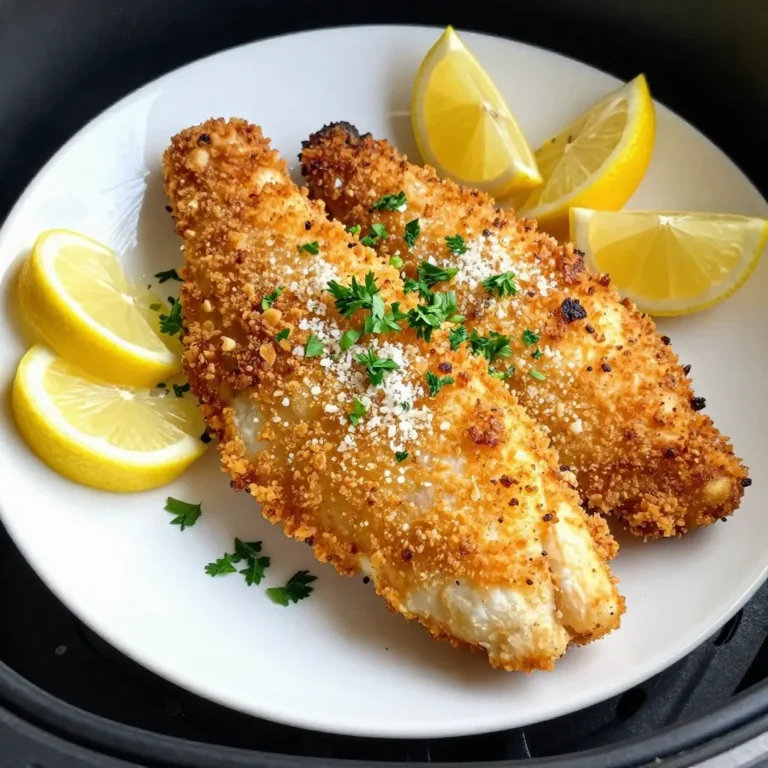
Air Fryer Parmesan Crusted Cod Crispy and Simple Meal
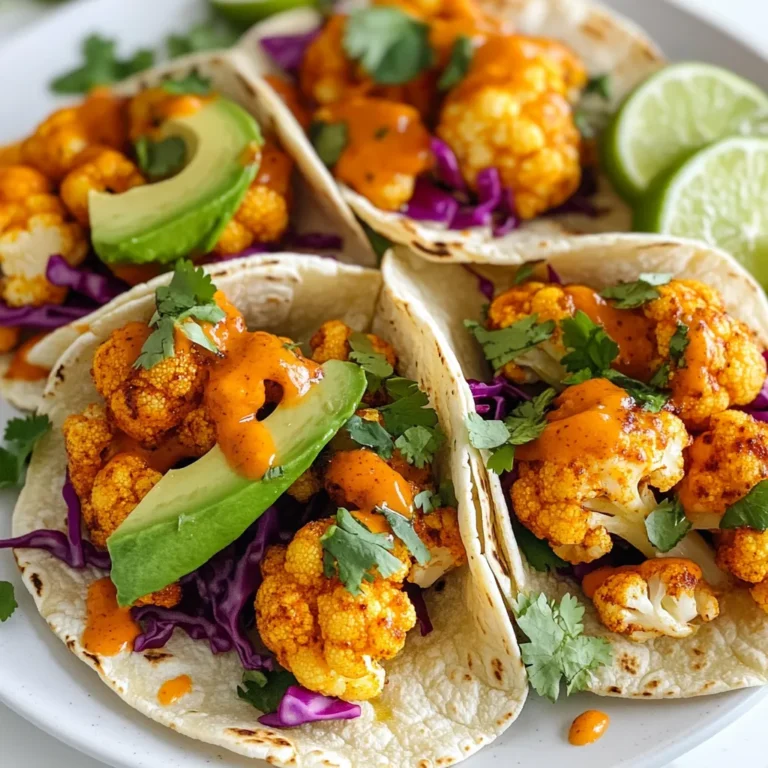
Buffalo Cauliflower Tacos Flavorful and Easy Recipe
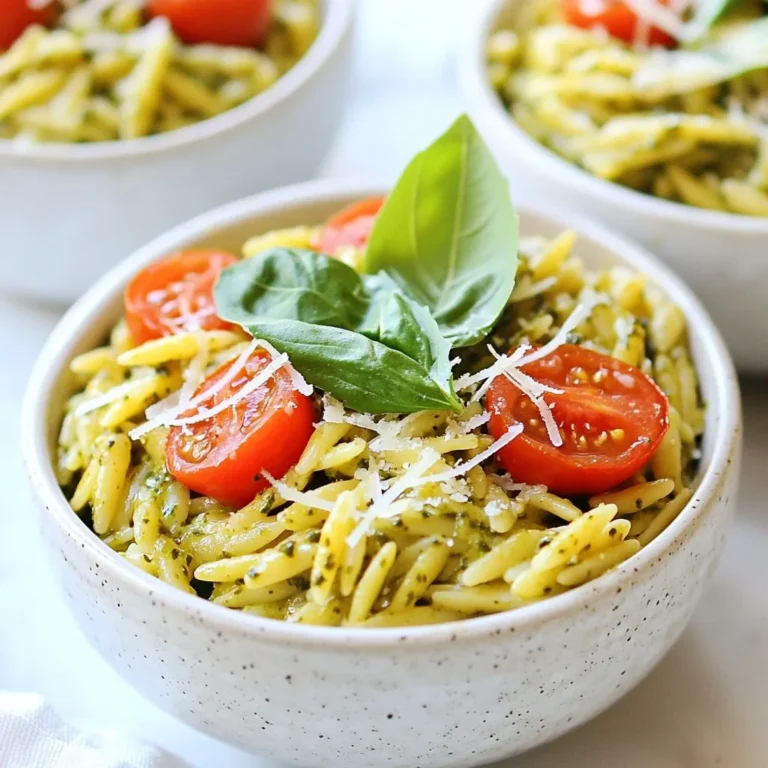
Creamy Pesto Orzo Delightful and Easy Dinner Dish
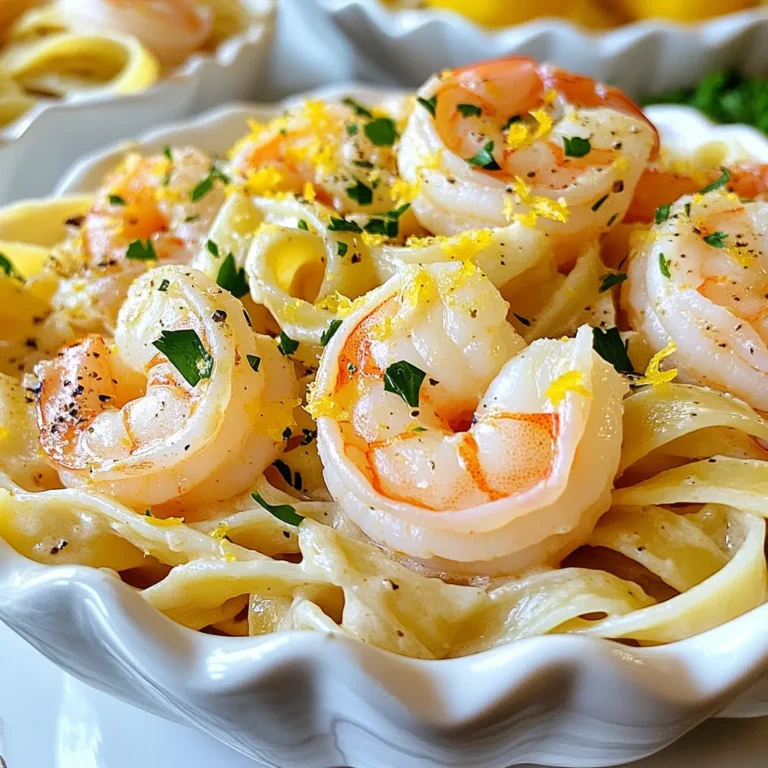
Creamy Garlic Shrimp Pasta Delight Easy Dinner Recipe
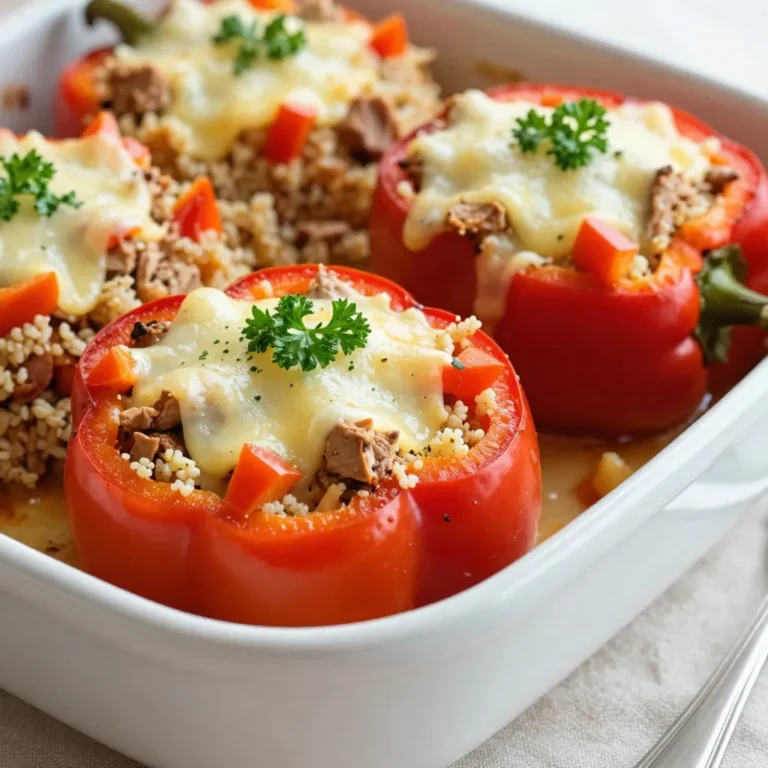
Stuffed Bell Pepper Casserole Flavorful Family Dish
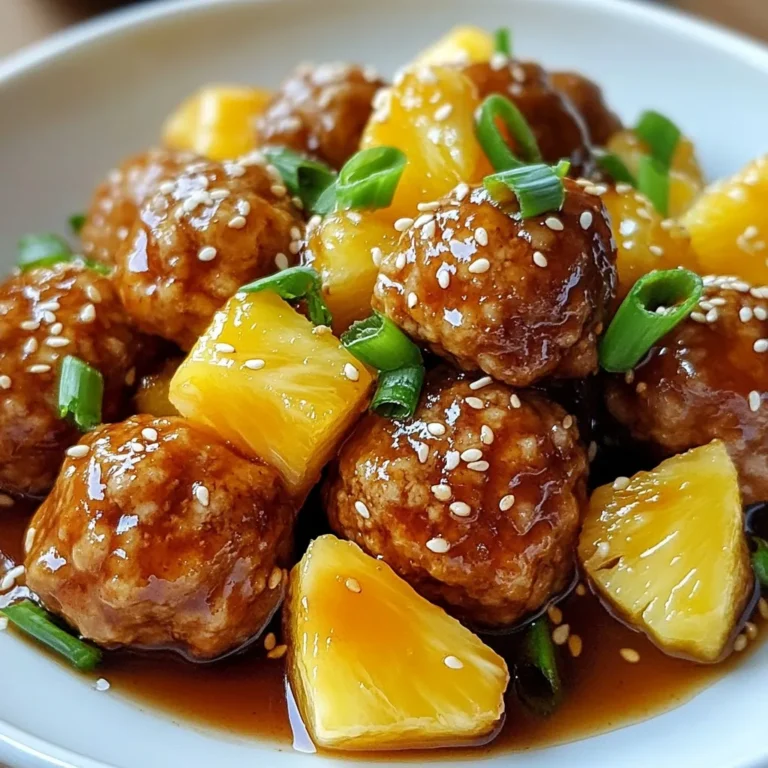
Savory Pineapple Teriyaki Meatballs Easy and Tasty Recipe
Page navigation
Previous Page
Previous
1
…
31
32
33
34
35
…
38
Next Page
Next
Home
Dinner
Appetizer
Desserts
Drinks
About
Contact
Privacy Policy
Toggle Menu Close
Search for:
Search