Skip to content
About
Contact
Cookie Policy
Copyright Policy
Disclaimer
Search
Home
Dinner
Appetizer
Desserts
Drinks
About
Contact
Privacy Policy
Toggle Menu
Home
/
Dinner
- Page 34
Dinner
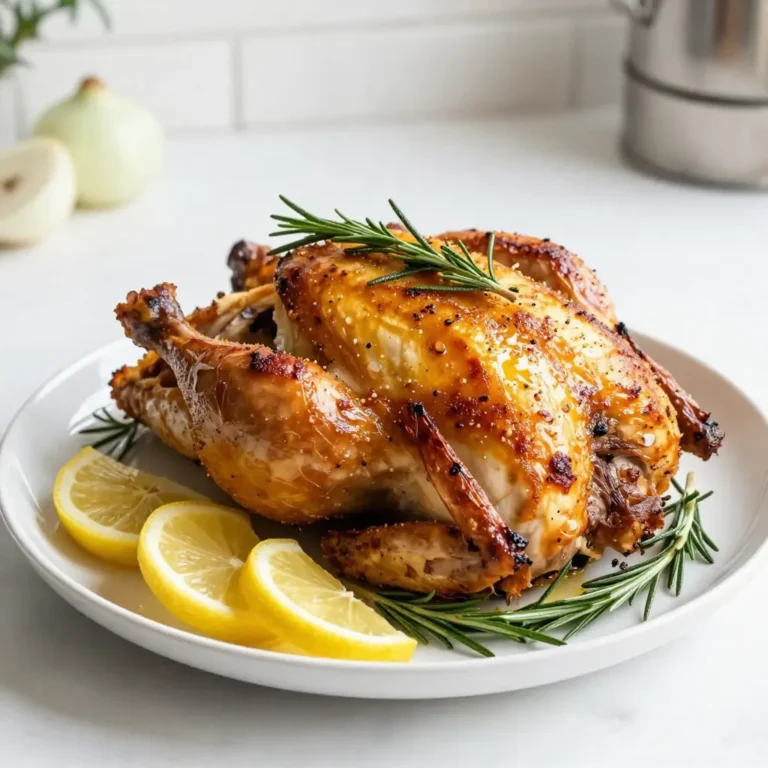
Lemon Rosemary Roasted Chicken Flavorful and Easy Meal
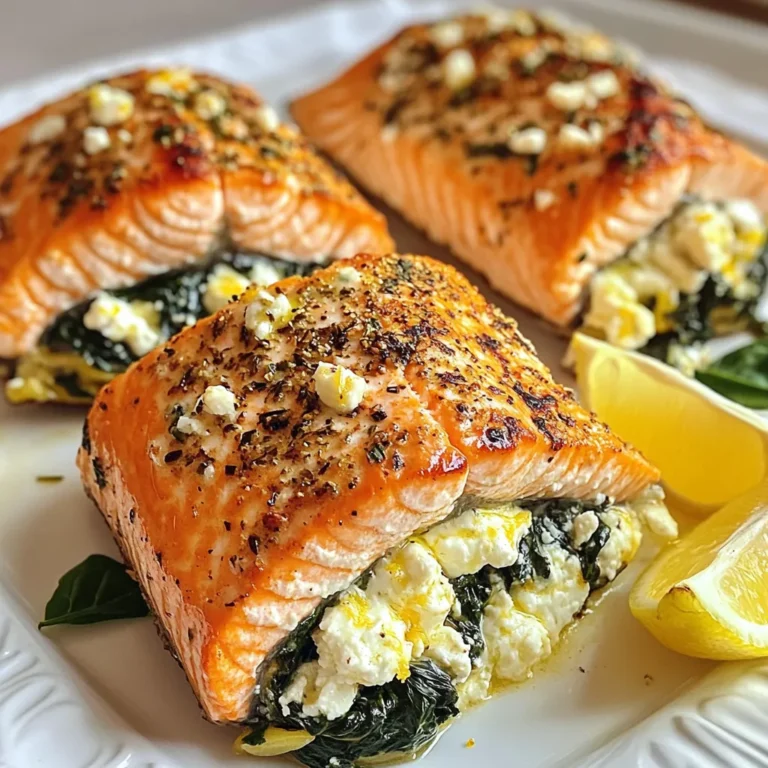
Stuffed Salmon with Spinach Feta Delight Recipe
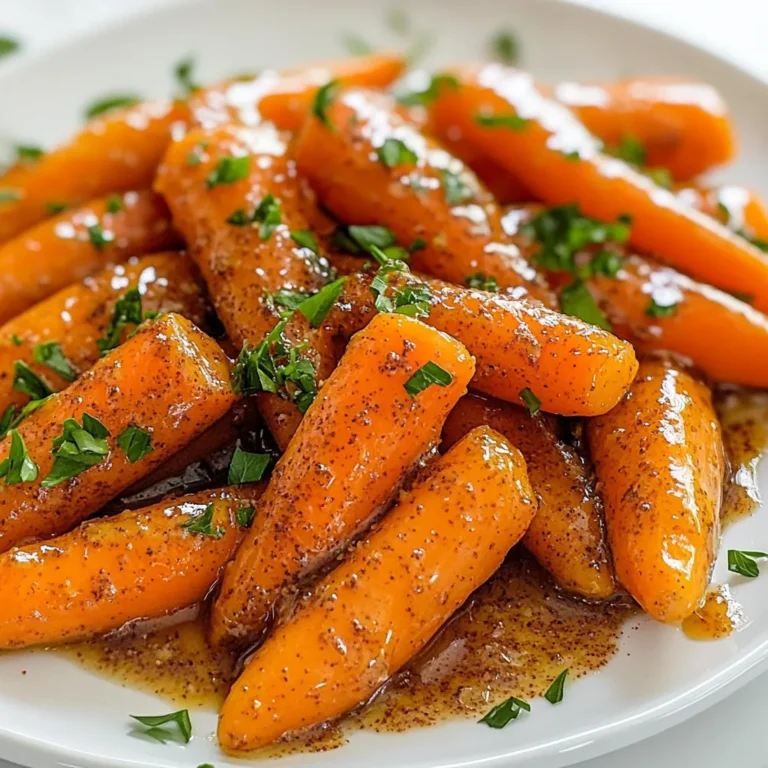
Brown Sugar Cinnamon Roasted Carrots Delightful Dish
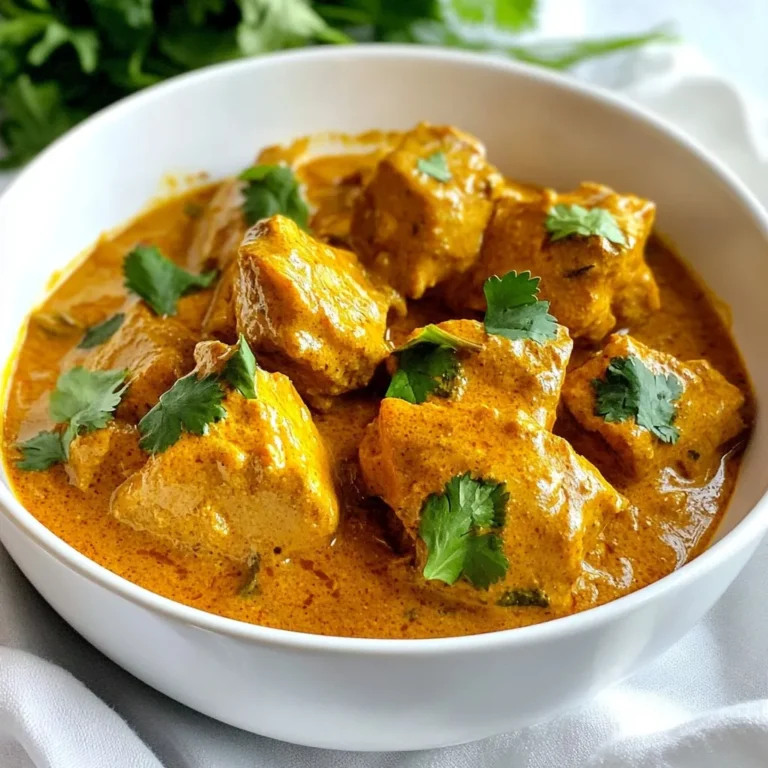
Instant Pot Butter Chicken Easy and Flavorful Recipe
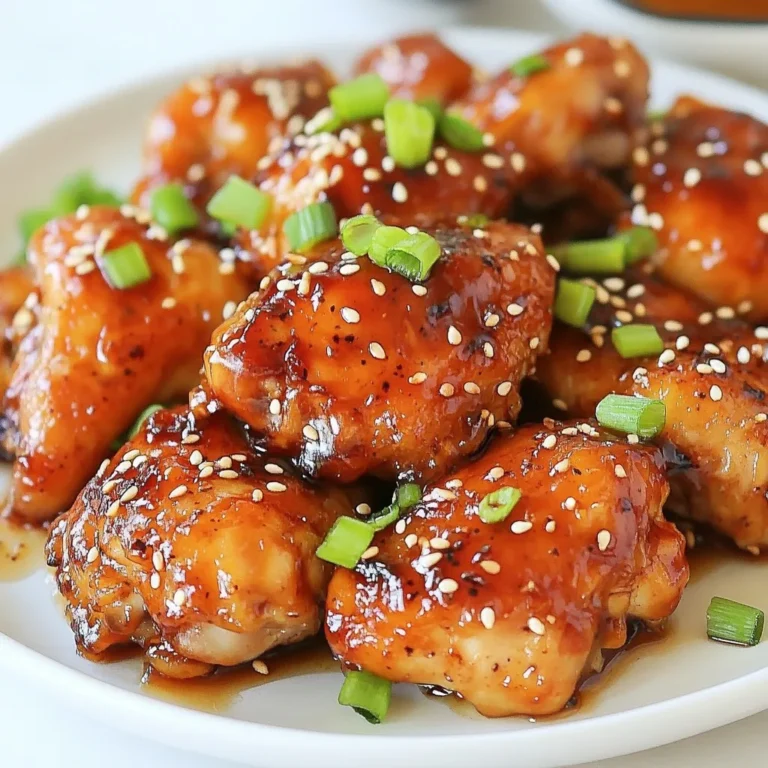
Sticky Honey Soy Chicken Simple and Delicious Recipe
Lemon Basil Grilled Chicken Recipe for Flavorful Meal
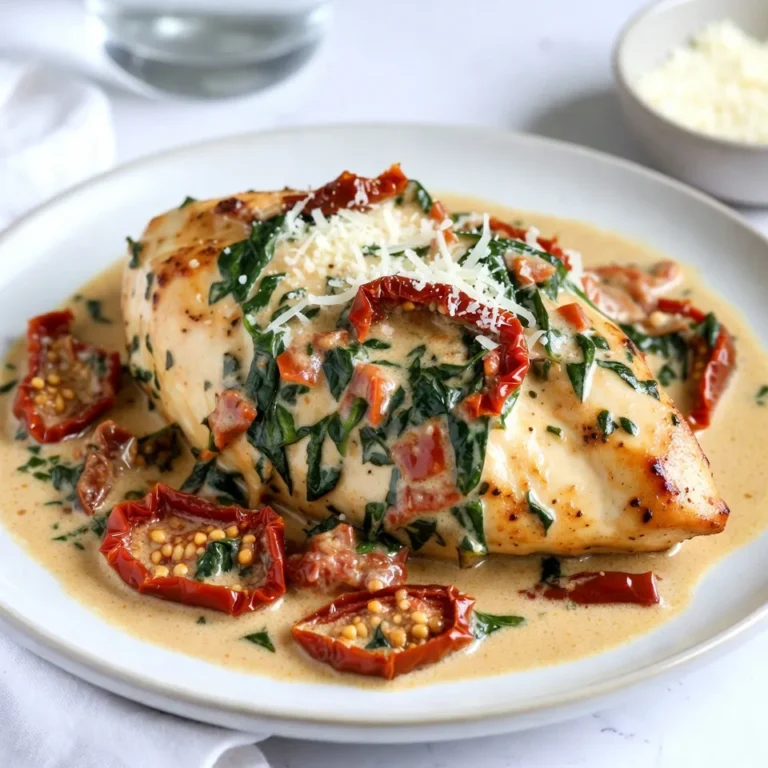
Creamy Sun-Dried Tomato Chicken Flavorful Dinner Delight
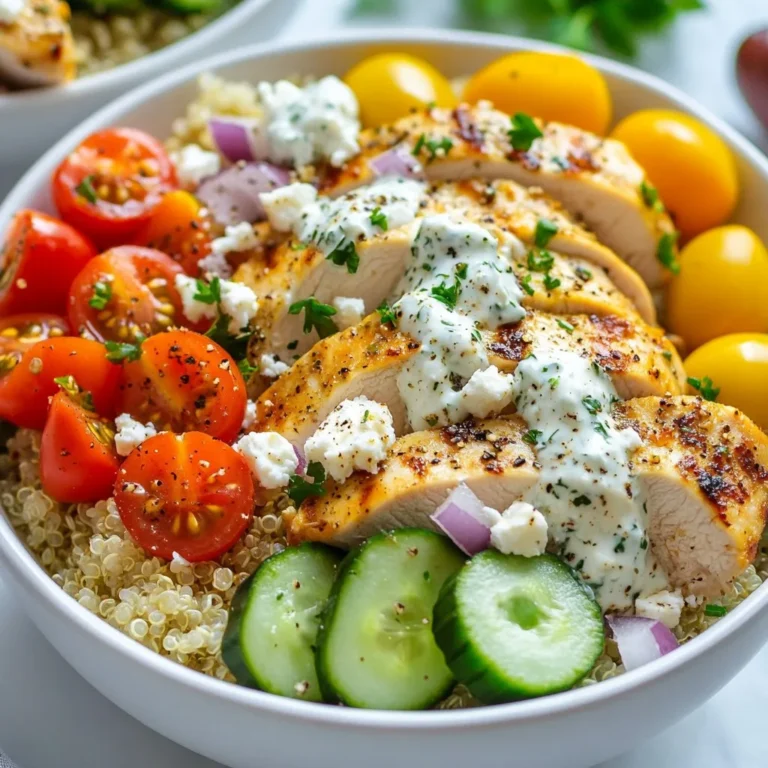
Greek Chicken Gyro Bowls Flavorful and Easy Meal
Flavorful Greek Chicken Gyro Bowls You’ll Love
Cajun Chicken and Rice Bowls Flavorful Delight Recipe
Page navigation
Previous Page
Previous
1
…
32
33
34
35
36
…
38
Next Page
Next
Home
Dinner
Appetizer
Desserts
Drinks
About
Contact
Privacy Policy
Toggle Menu Close
Search for:
Search