Skip to content
About
Contact
Cookie Policy
Copyright Policy
Disclaimer
Search
Home
Dinner
Appetizer
Desserts
Drinks
About
Contact
Privacy Policy
Toggle Menu
Home
/
Dinner
- Page 35
Dinner
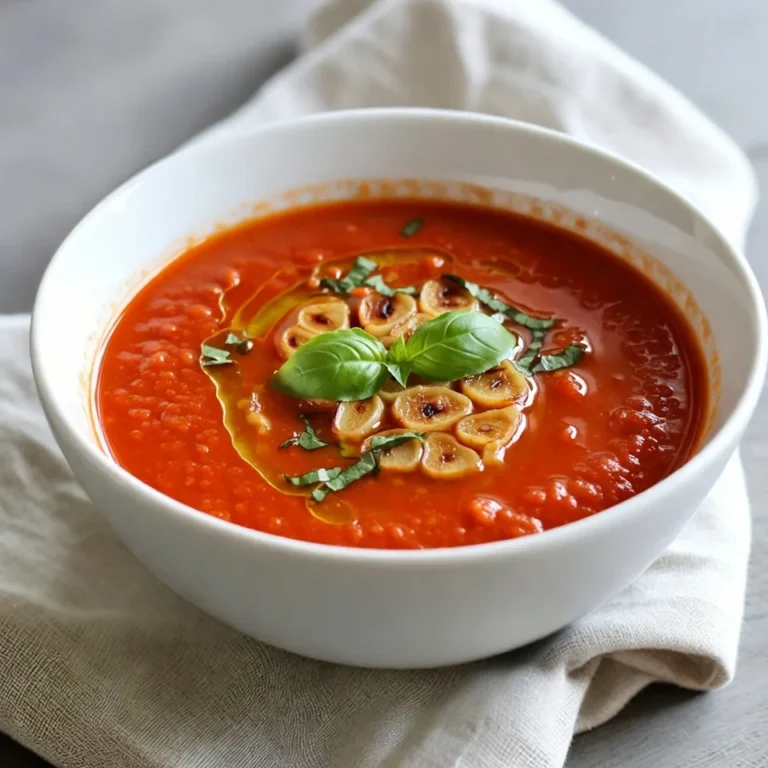
Roasted Garlic Tomato Soup Flavorful and Hearty Dish
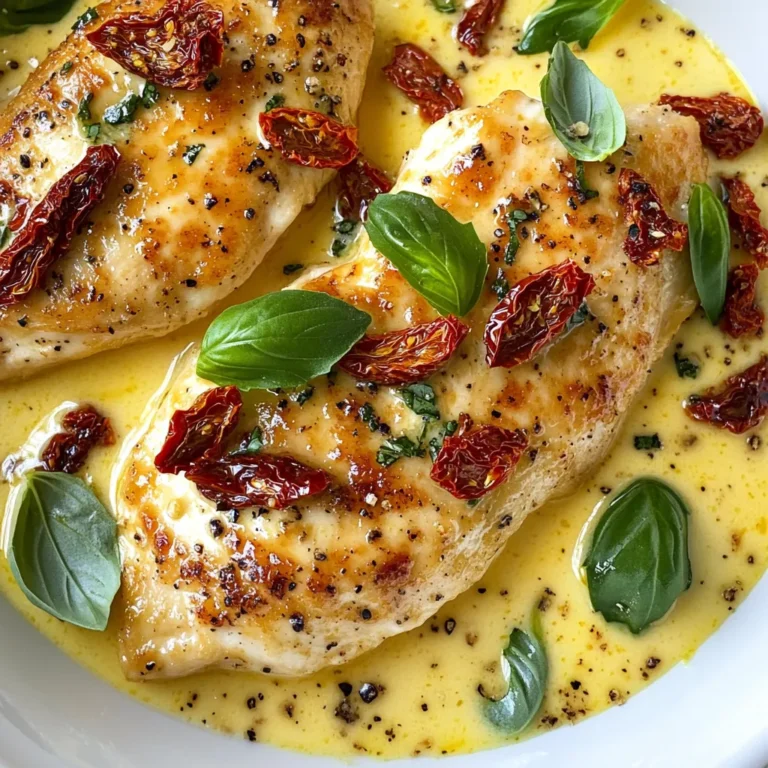
Creamy Sun Dried Tomato Chicken Flavorful and Simple
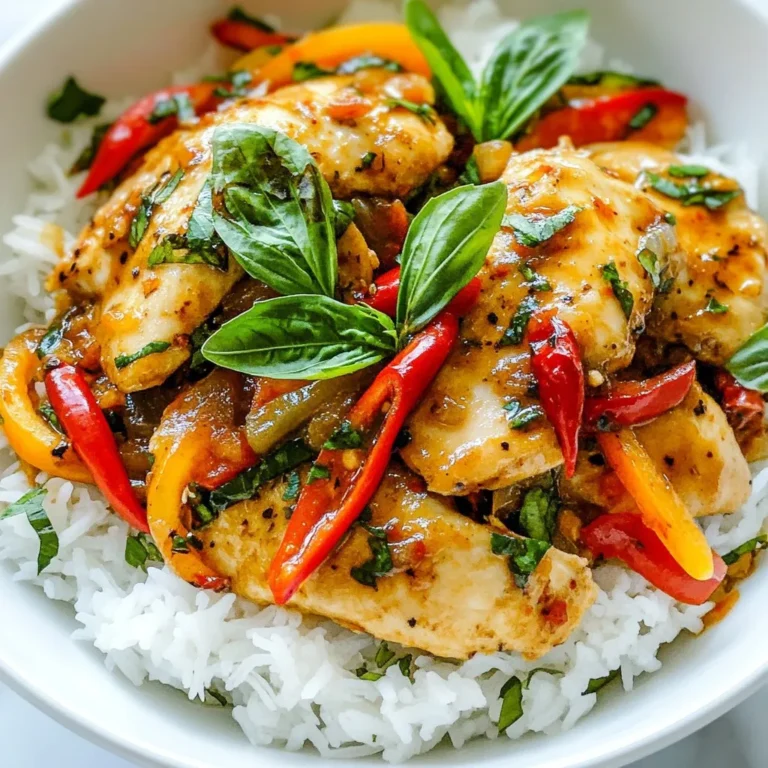
Spicy Thai Basil Chicken Flavorful and Easy Recipe
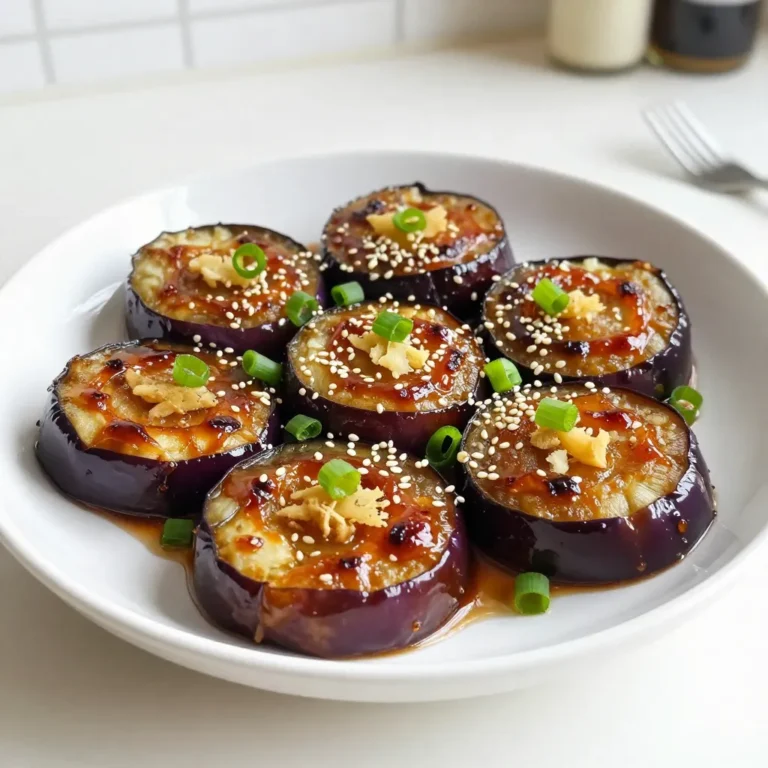
Miso Ginger Glazed Eggplant Flavorful and Simple Dish
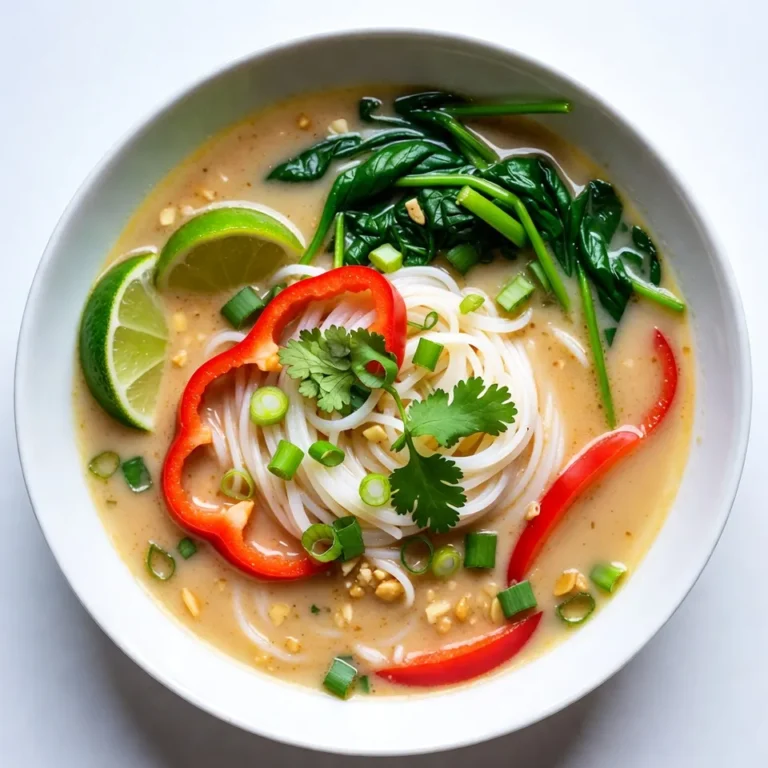
Thai Coconut Curry Noodle Soup Simple and Comforting Meal
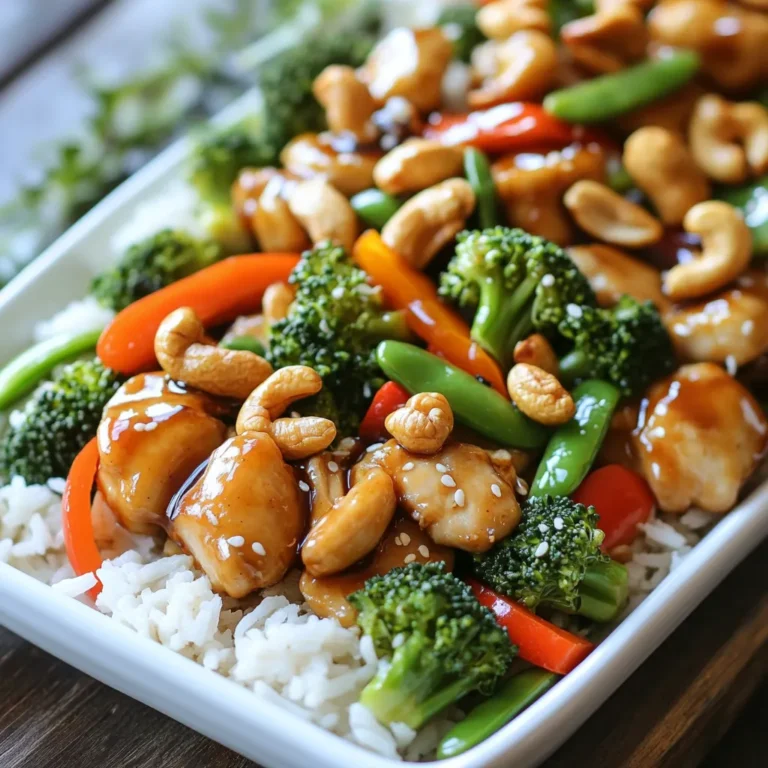
Sheet Pan Cashew Chicken Quick and Tasty Meal
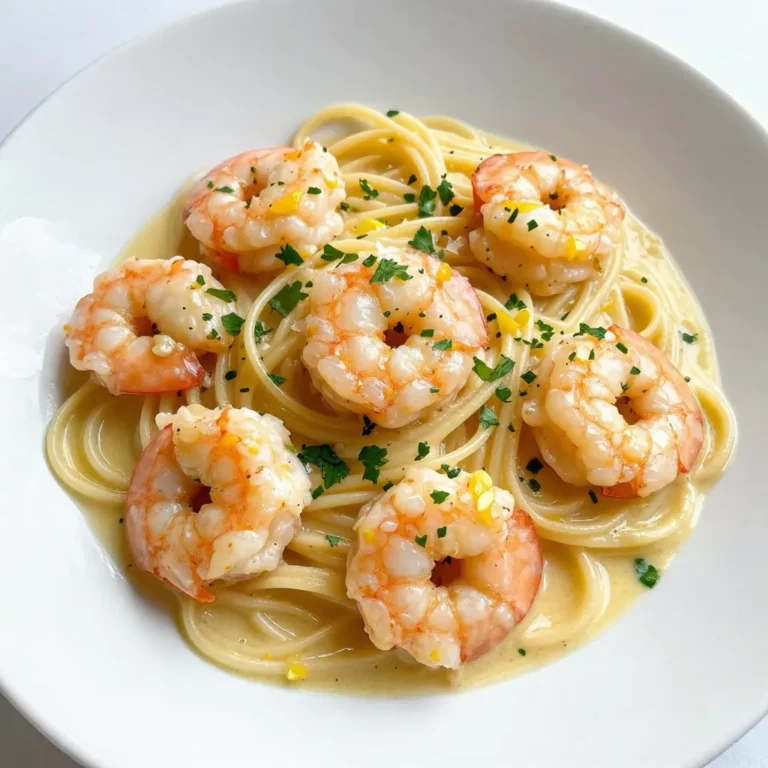
Lemon Garlic Shrimp Scampi Fresh and Flavorful Recipe
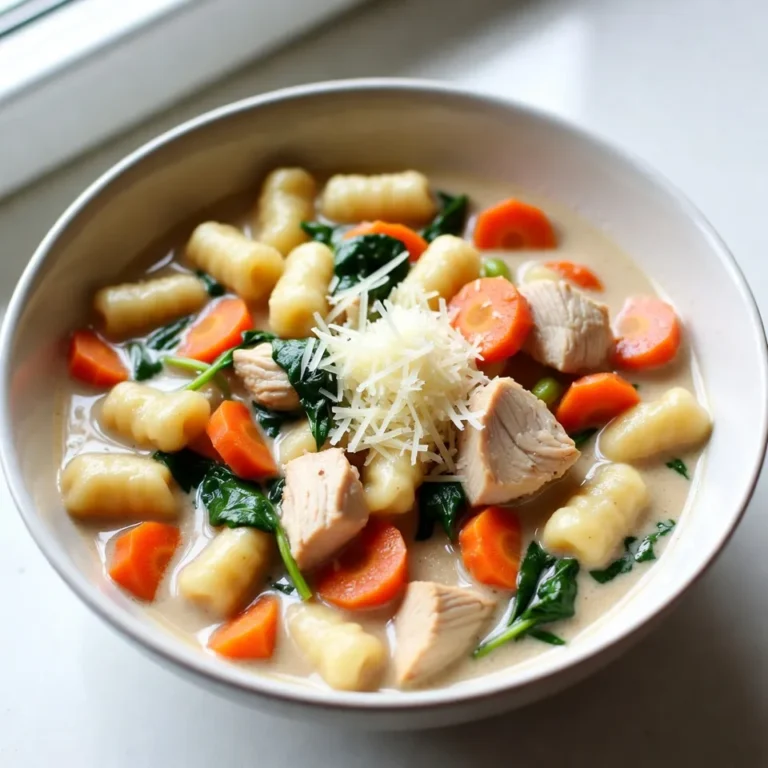
Creamy Chicken Gnocchi Soup Hearty and Flavorful Meal
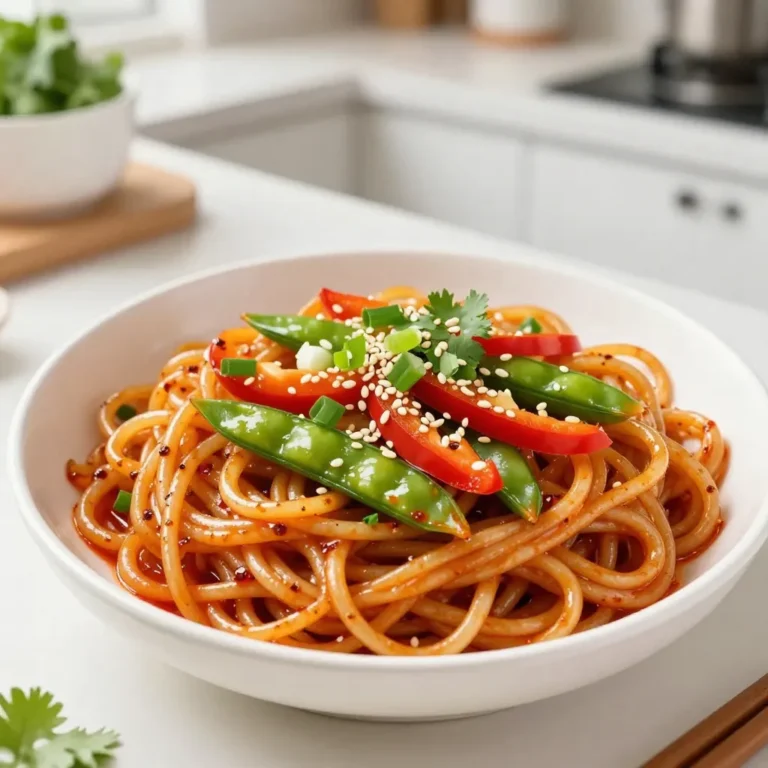
Sweet Chili Garlic Noodles Flavorful and Simple Meal
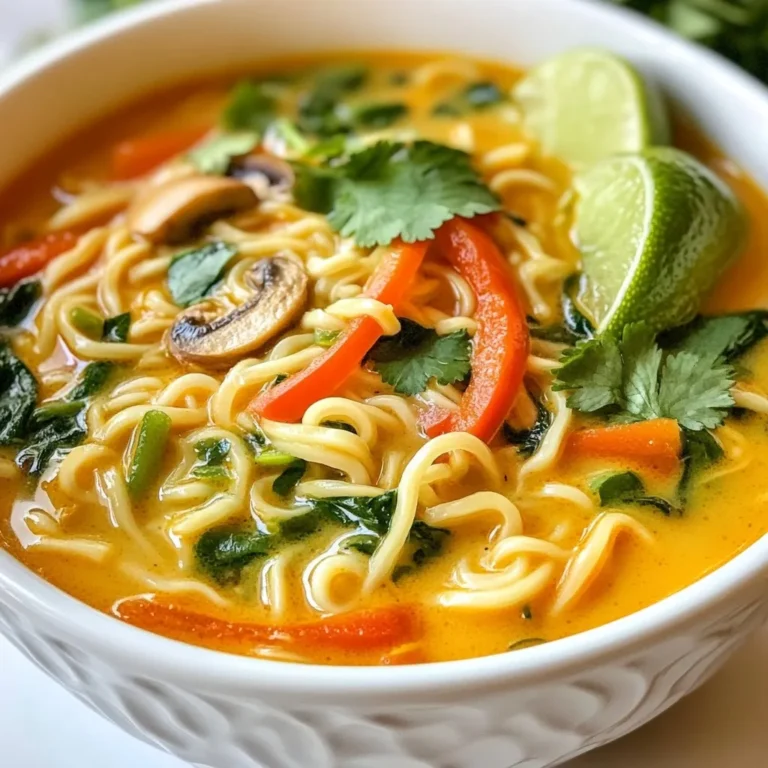
Coconut Curry Ramen Flavorful and Easy Recipe
Page navigation
Previous Page
Previous
1
…
33
34
35
36
37
38
Next Page
Next
Home
Dinner
Appetizer
Desserts
Drinks
About
Contact
Privacy Policy
Toggle Menu Close
Search for:
Search