Skip to content
About
Contact
Cookie Policy
Copyright Policy
Disclaimer
Search
Home
Dinner
Appetizer
Desserts
Drinks
About
Contact
Privacy Policy
Toggle Menu
Home
/
Dinner
- Page 37
Dinner
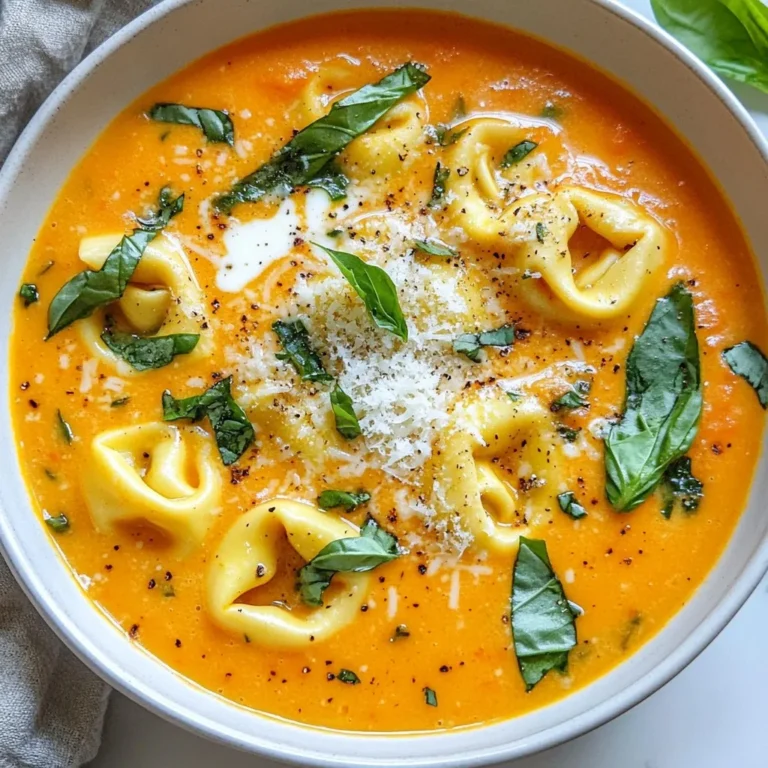
Creamy Tomato Basil Tortellini Soup Flavorful Delight
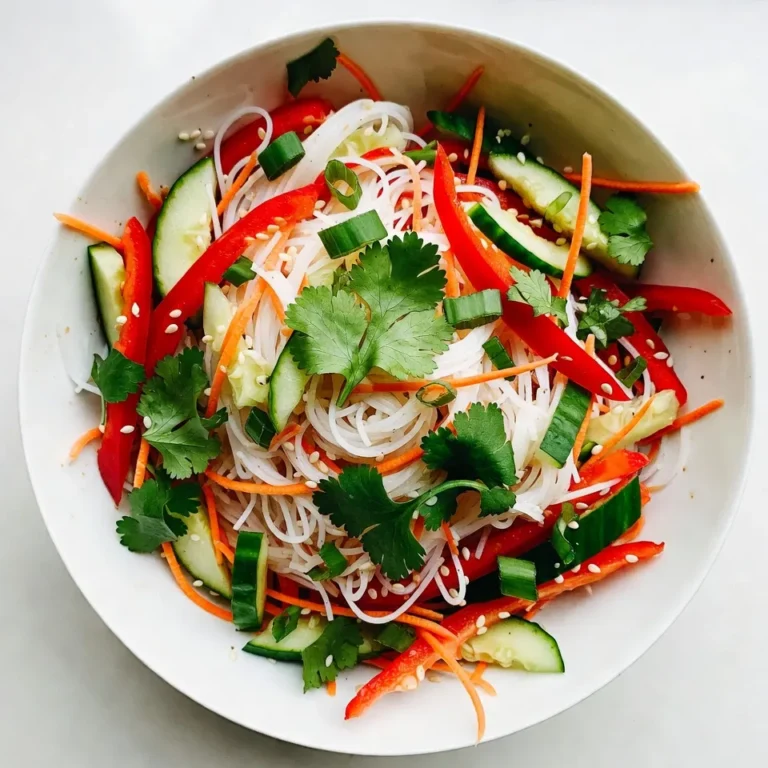
Sesame Ginger Noodle Salad Fresh and Flavorful Dish
Creamy Garlic Parmesan Orzo Delicious and Simple Meal
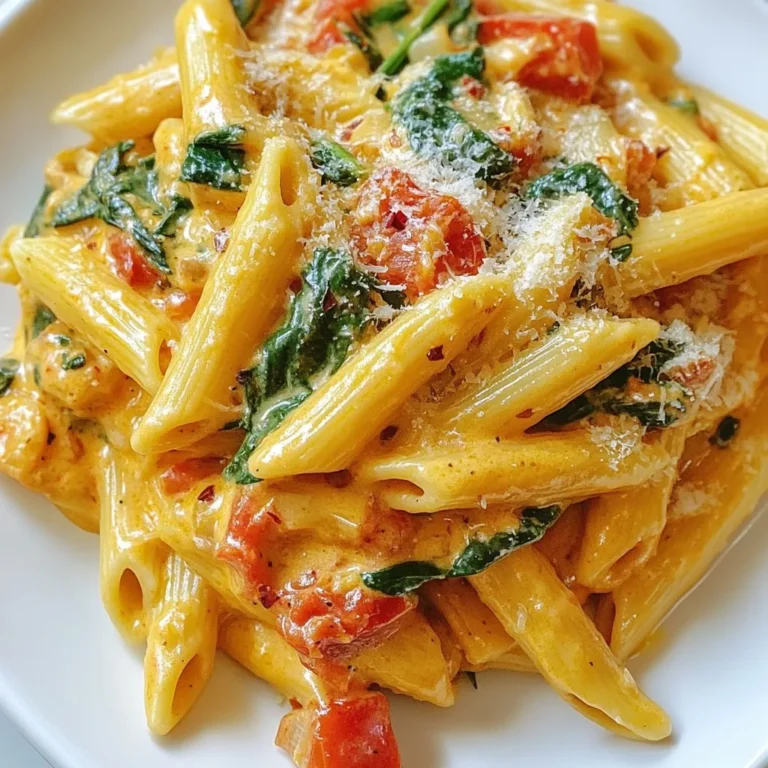
Creamy Tomato Spinach Pasta Irresistible Recipe Guide
Vegan Pesto Pasta Salad Bright and Flavorful Dish
Coconut Lime Rice Simple and Flavorful Recipe
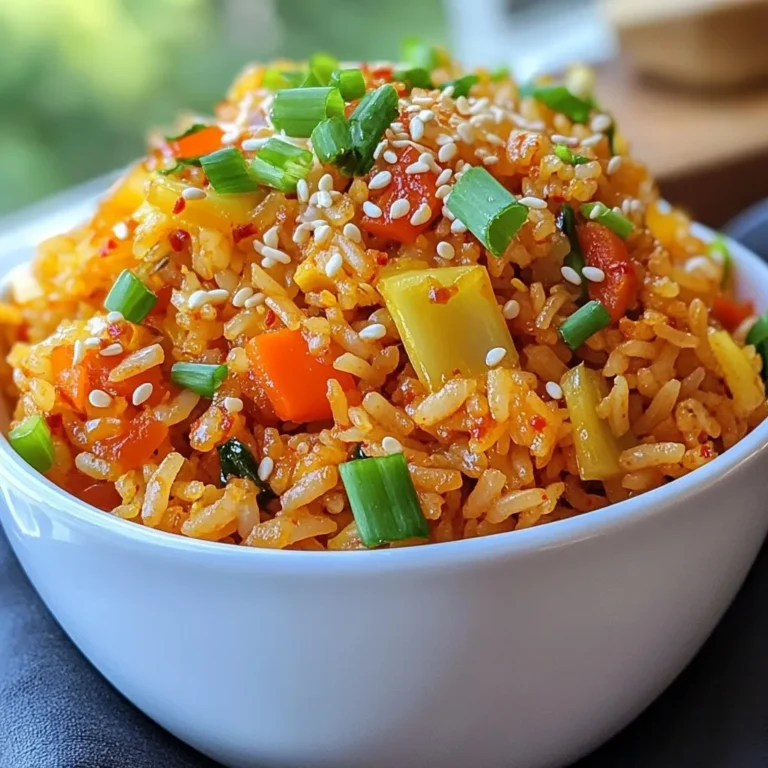
Spicy Kimchi Fried Rice Tasty Weeknight Meal
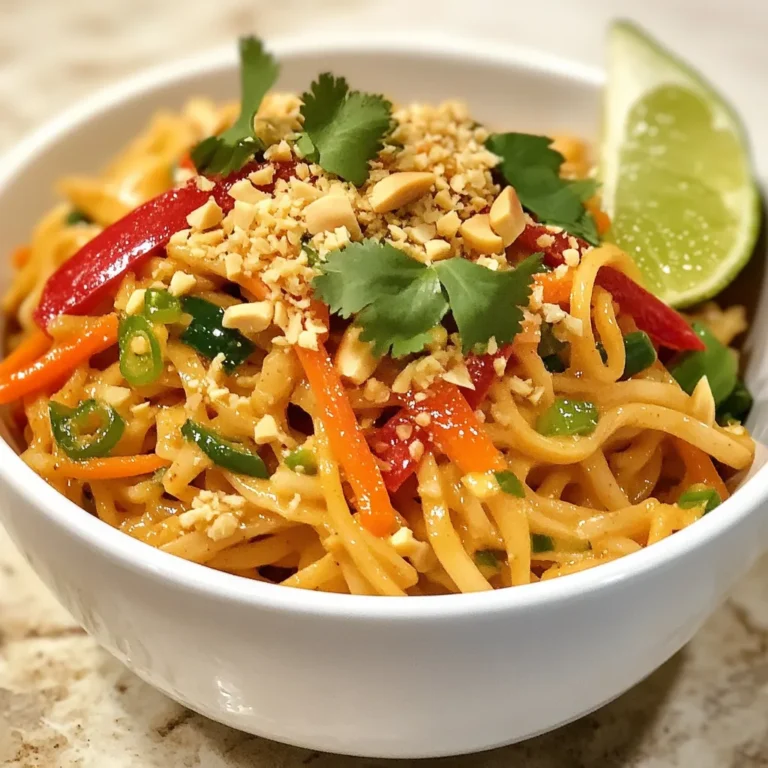
Spicy Peanut Noodles Flavorful and Easy Recipe
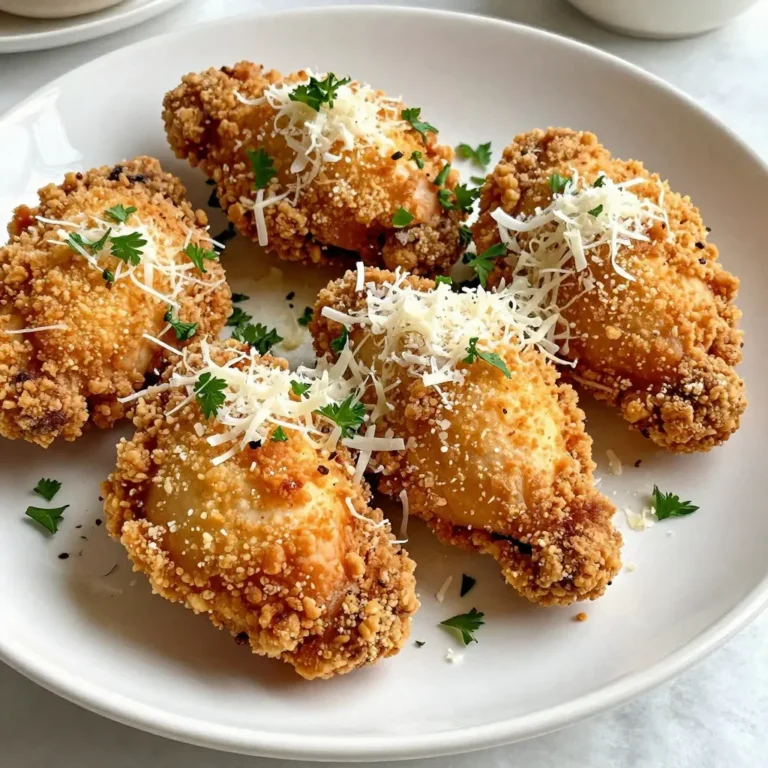
Sheet Pan Parmesan Crusted Chicken Perfectly Crispy
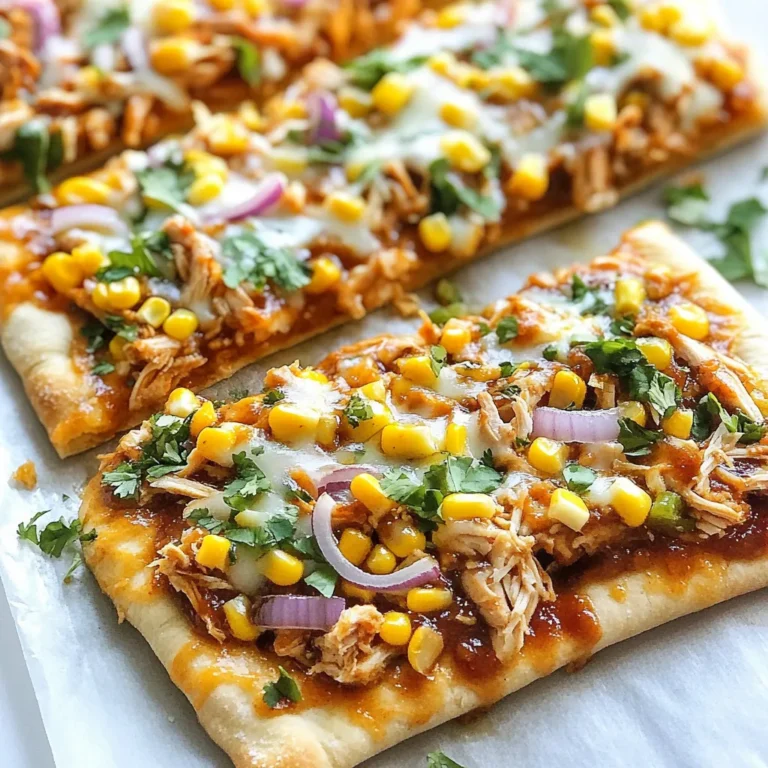
BBQ Chicken Flatbread Pizza Easy and Flavorful Meal
Page navigation
Previous Page
Previous
1
…
35
36
37
38
Next Page
Next
Home
Dinner
Appetizer
Desserts
Drinks
About
Contact
Privacy Policy
Toggle Menu Close
Search for:
Search