Skip to content
About
Contact
Cookie Policy
Copyright Policy
Disclaimer
Search
Home
Dinner
Appetizer
Desserts
Drinks
About
Contact
Privacy Policy
Toggle Menu
Home
/
Dinner
- Page 38
Dinner
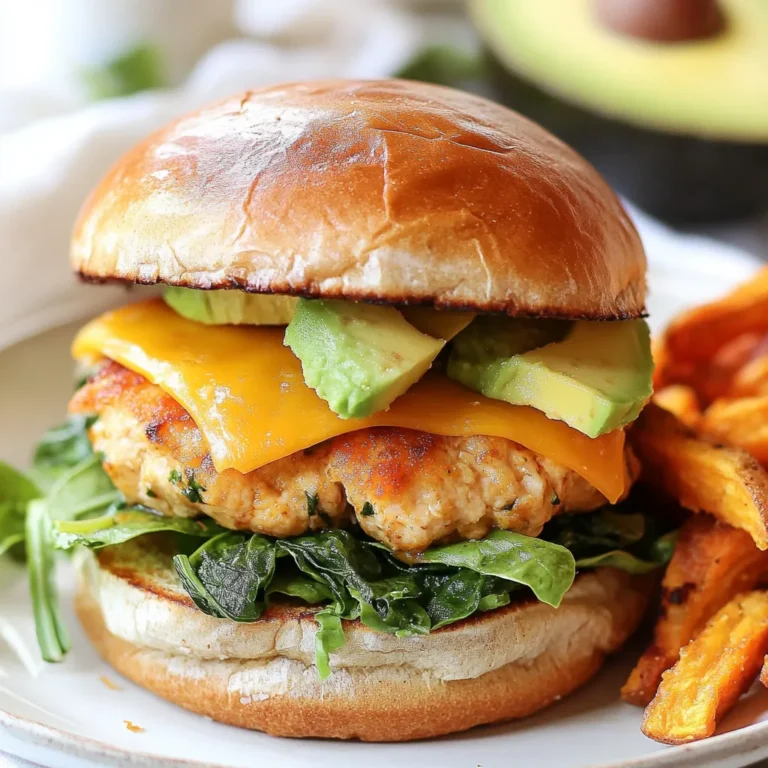
Flavorful White Cheddar Spinach Chicken Burgers Recipe
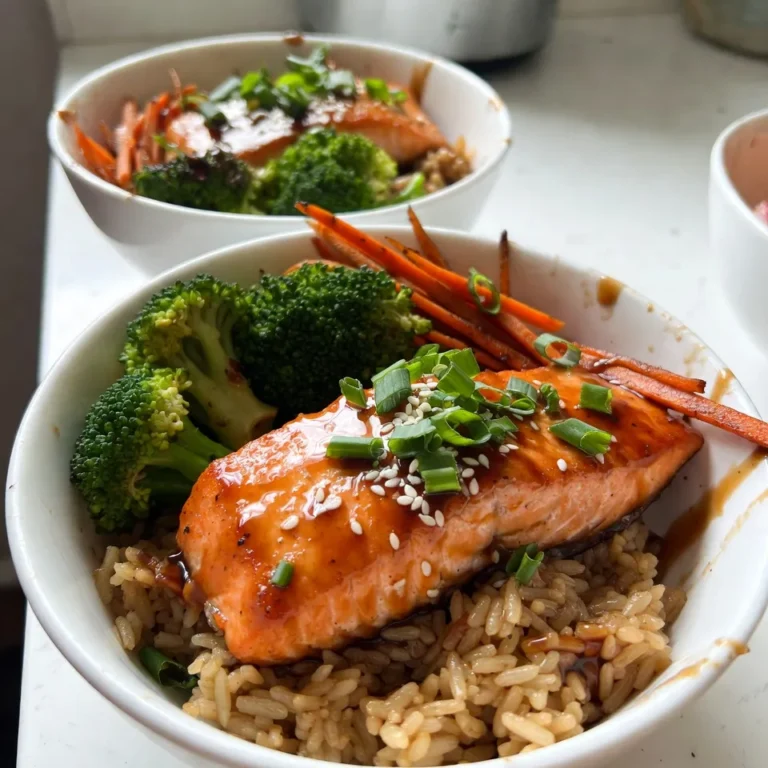
Teriyaki Salmon Rice Bowls Flavorful and Easy Recipe
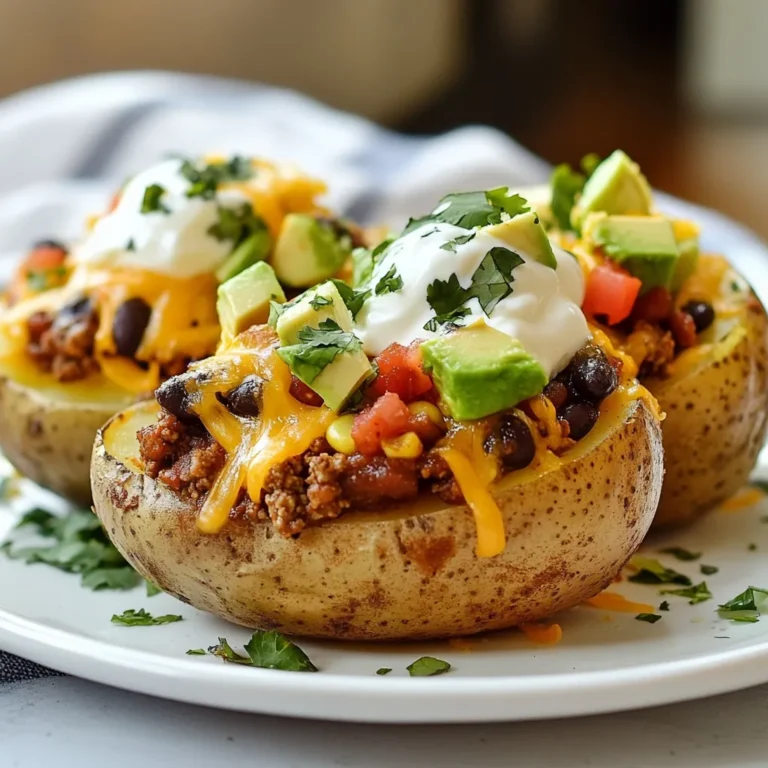
Cheesy Taco Potatoes Simple and Flavorful Recipe
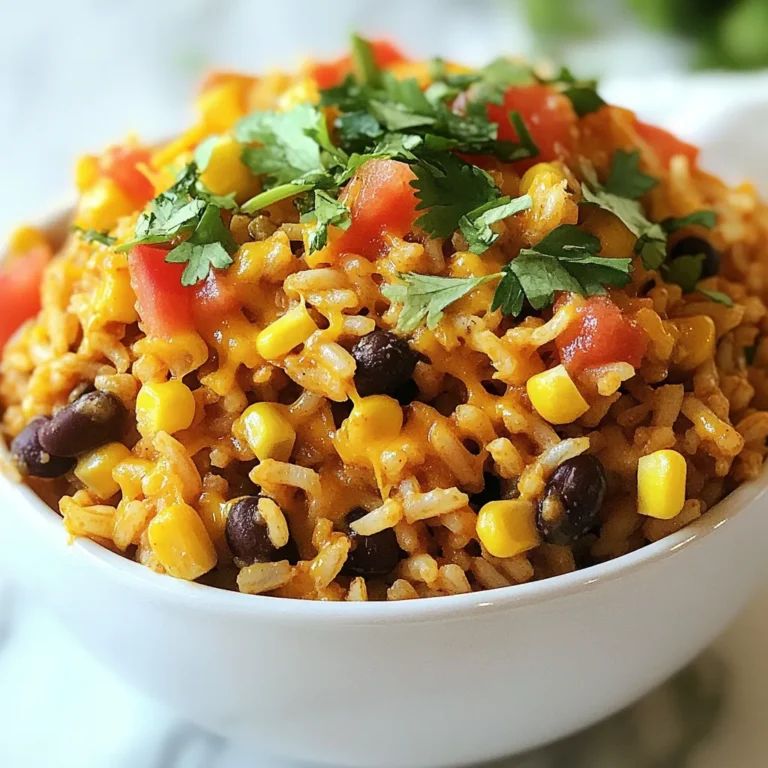
Cheesy Taco Rice Flavorful and Easy Weeknight Meal
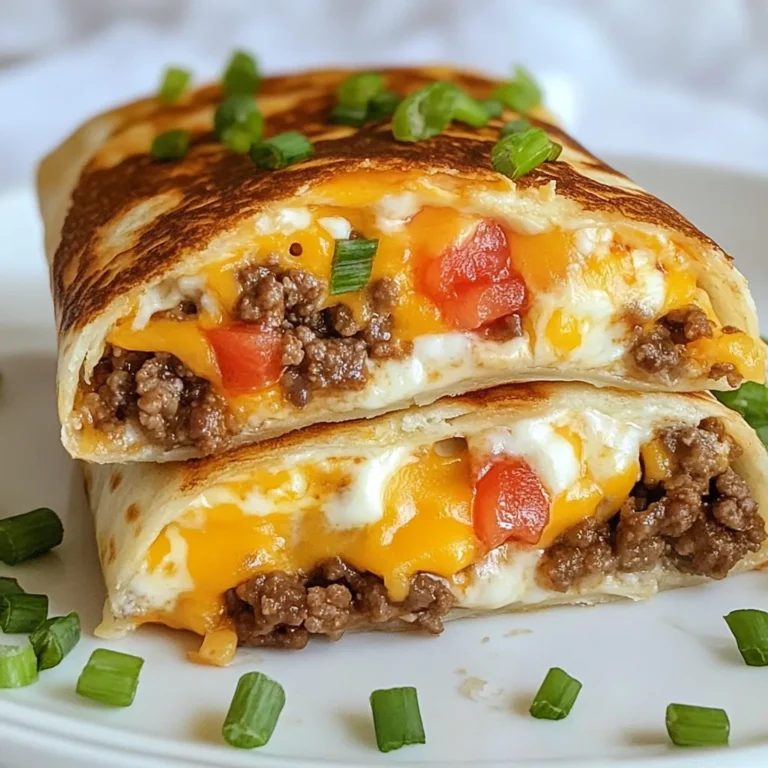
Grilled Cheese Burrito Copycat Simple and Tasty Meal
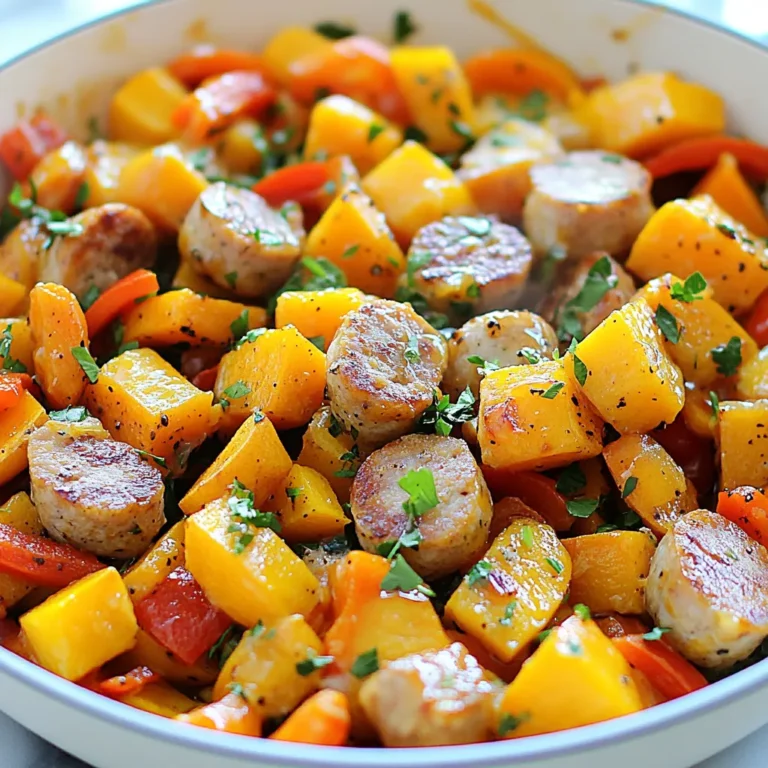
Sausage Sweet Potato Honey Garlic Skillet Delight
Cheesy Spinach Stuffed Tortellini Skillet Delight
Page navigation
Previous Page
Previous
1
…
36
37
38
Home
Dinner
Appetizer
Desserts
Drinks
About
Contact
Privacy Policy
Toggle Menu Close
Search for:
Search