Skip to content
About
Contact
Cookie Policy
Copyright Policy
Disclaimer
Search
Home
Dinner
Appetizer
Desserts
Drinks
About
Contact
Privacy Policy
Toggle Menu
Home
/
Dinner
- Page 4
Dinner
Creamy Cheddar Broccoli Soup Slow Cooker Delight
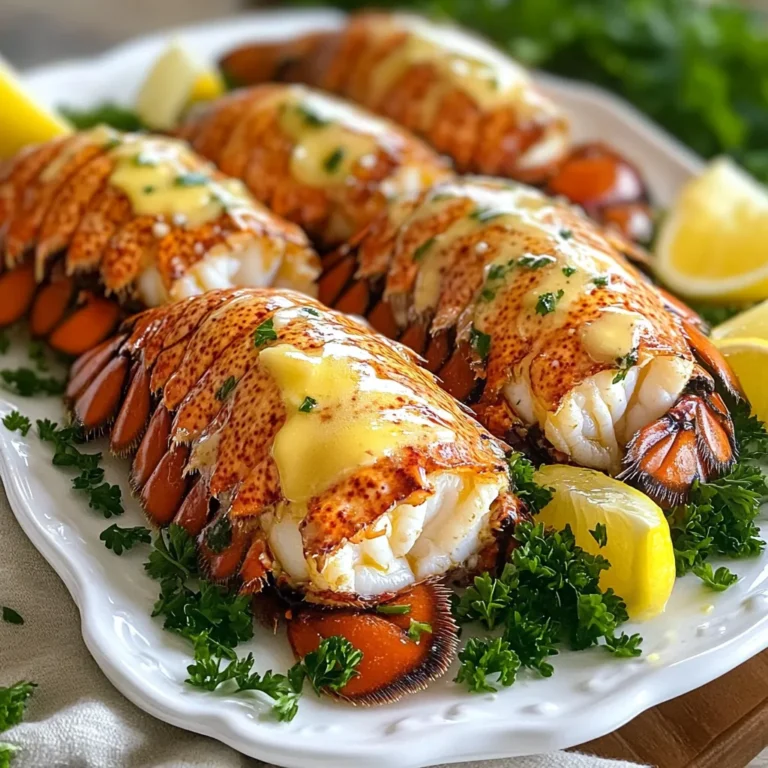
Garlic Butter Lobster Tails Quick and Tasty Dish
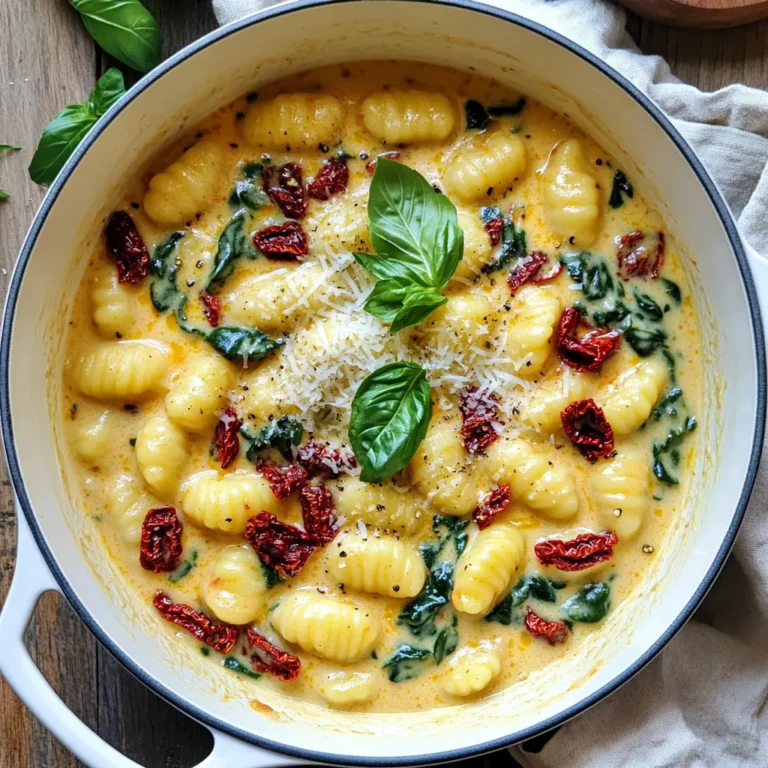
Creamy Sun Dried Tomato Gnocchi One Pot Delight
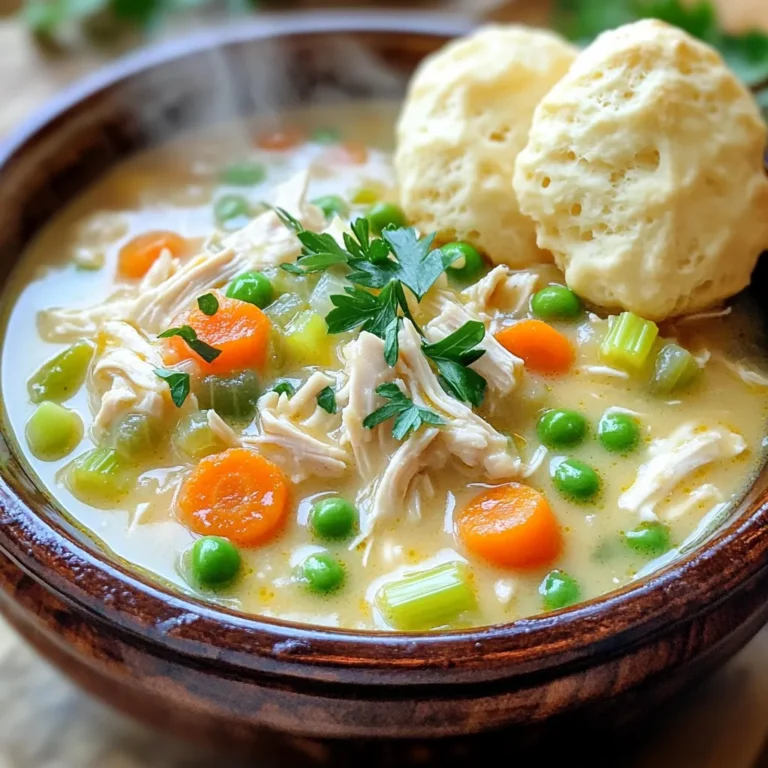
Slow Cooker Chicken Pot Pie Soup Comforting and Easy
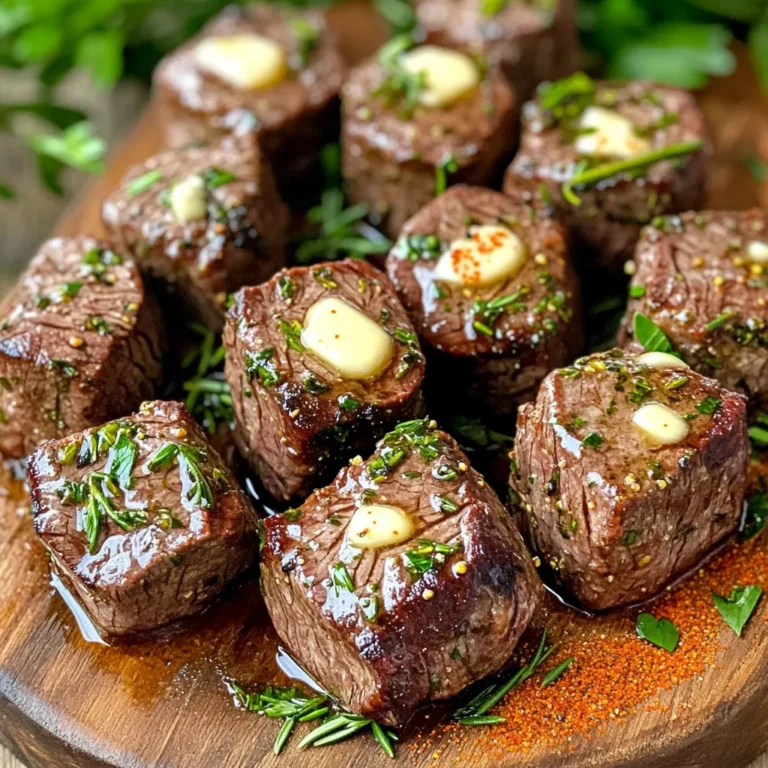
Air Fryer Garlic Butter Steak Bites Flavorful Delight
Instant Pot Chicken Tortilla Soup Flavorful Delight
Creamy Sun-Dried Tomato Chicken Tasty and Easy Meal
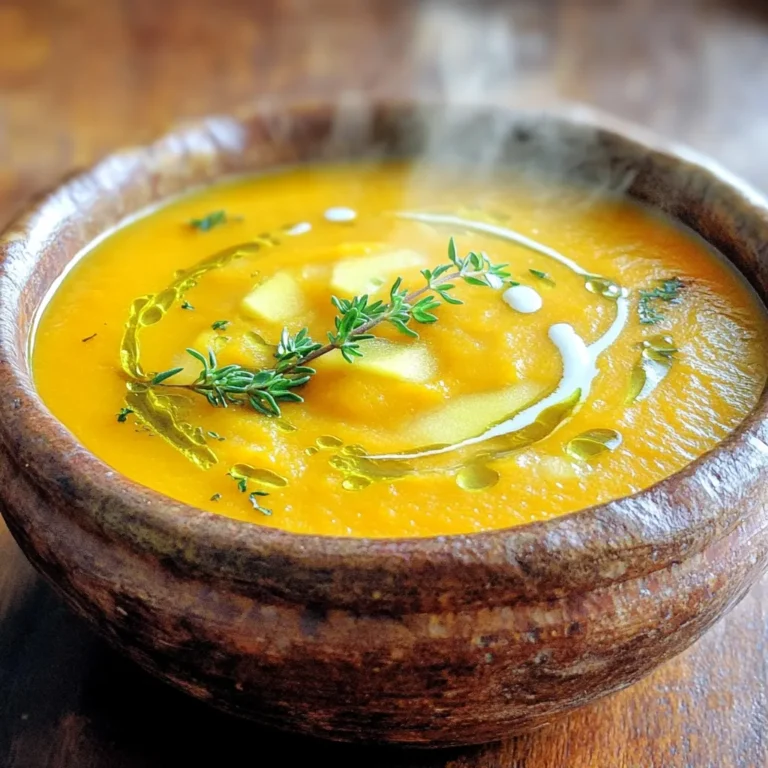
Butternut Squash Apple Soup Creamy and Flavorful Treat
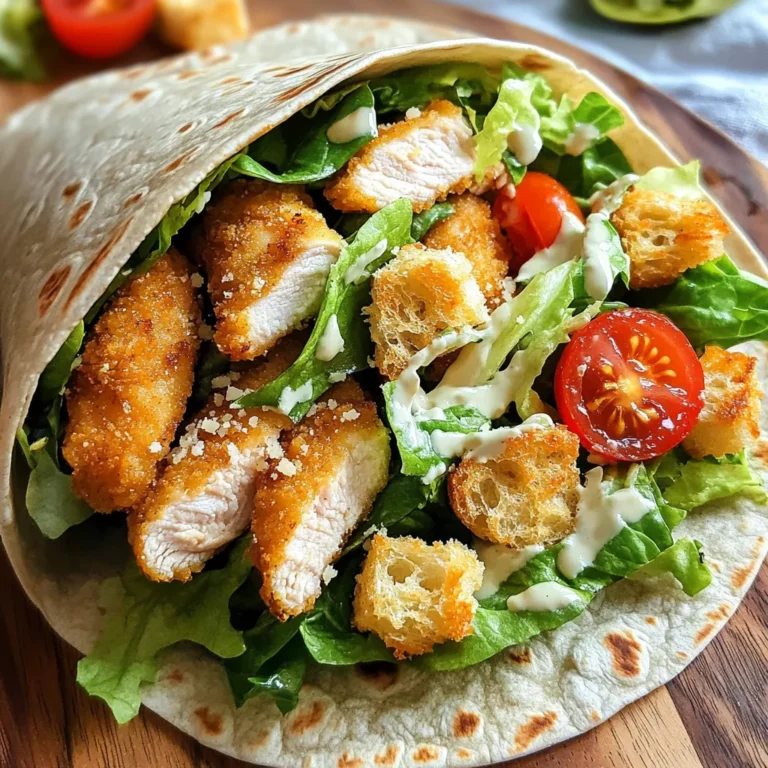
Savory Air Fryer Chicken Caesar Wraps Recipe
Savory Sesame Garlic Chicken Rice Bowls Recipe
Page navigation
Previous Page
Previous
1
2
3
4
5
6
…
38
Next Page
Next
Home
Dinner
Appetizer
Desserts
Drinks
About
Contact
Privacy Policy
Toggle Menu Close
Search for:
Search