Skip to content
About
Contact
Cookie Policy
Copyright Policy
Disclaimer
Search
Home
Dinner
Appetizer
Desserts
Drinks
About
Contact
Privacy Policy
Toggle Menu
Home
/
Dinner
- Page 5
Dinner
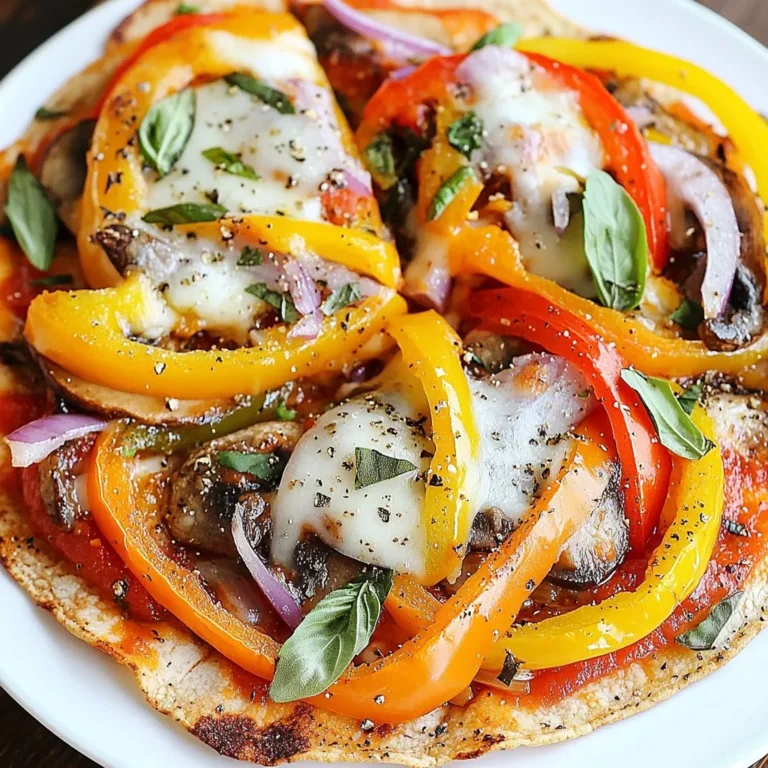
Tortilla Pizza Air Fryer Quick and Tasty Recipe
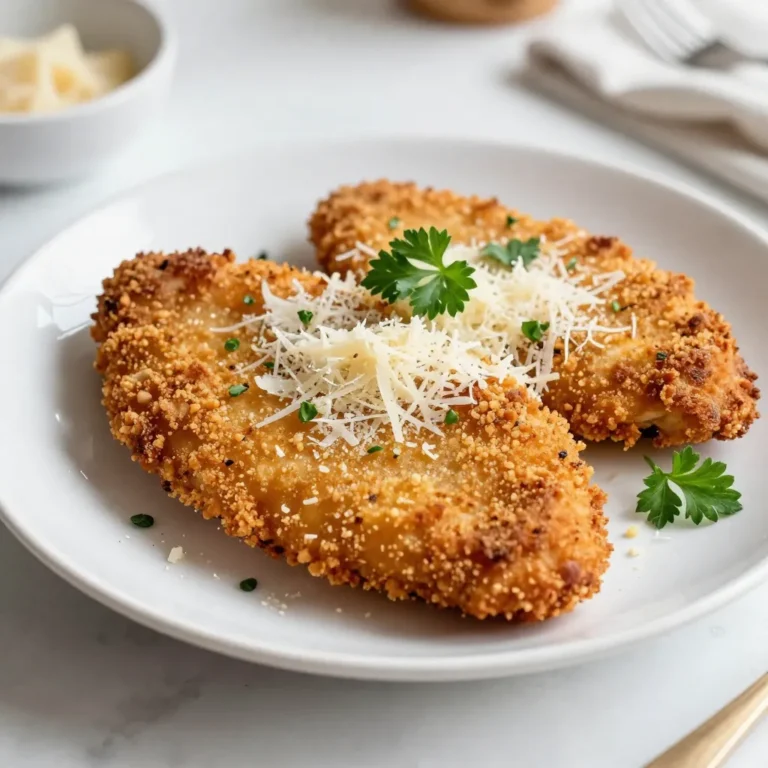
Parmesan Crusted Chicken Cutlets Crispy Delight
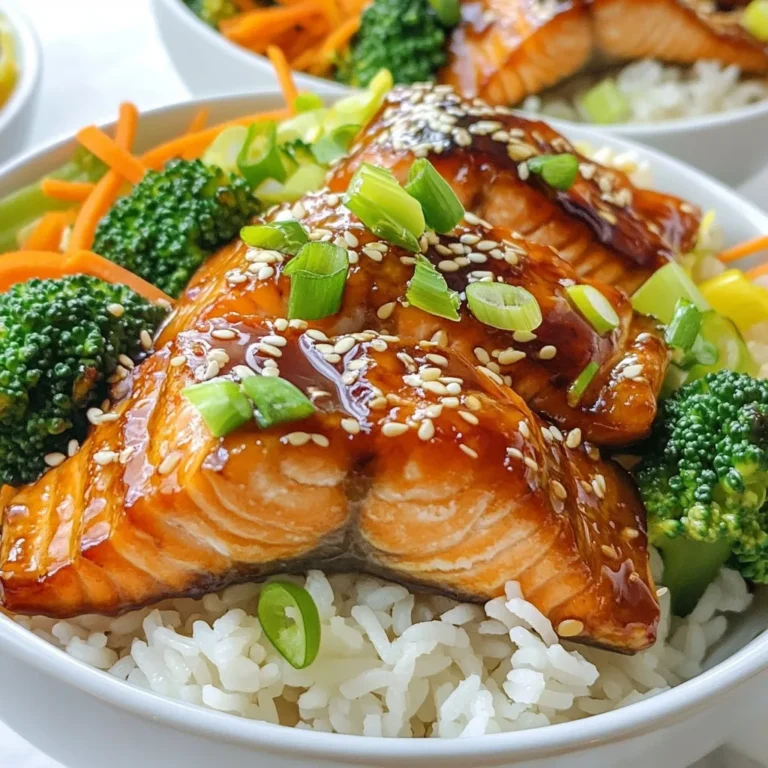
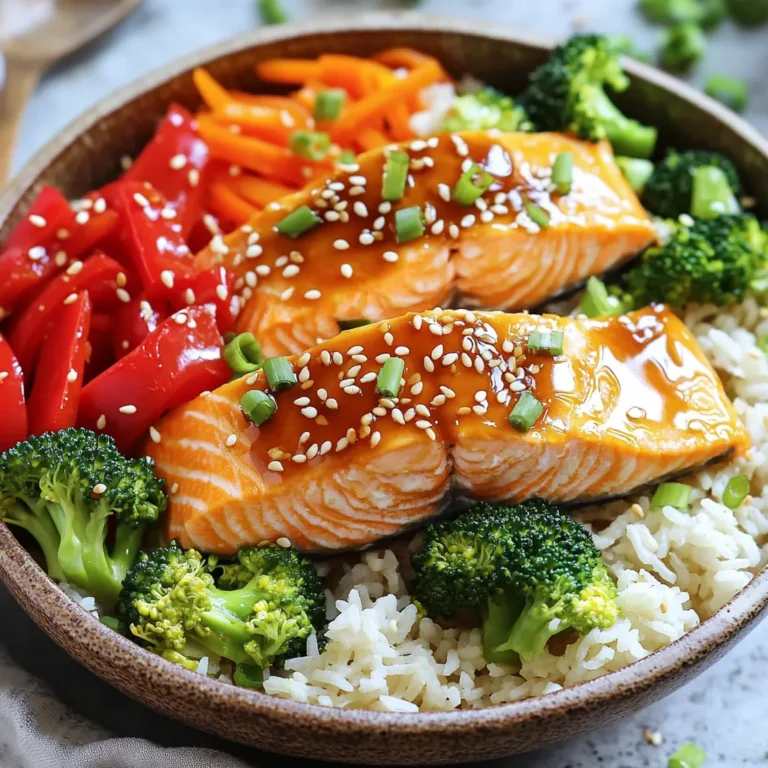
Teriyaki Salmon Bowls Flavorful and Easy Meal Prep
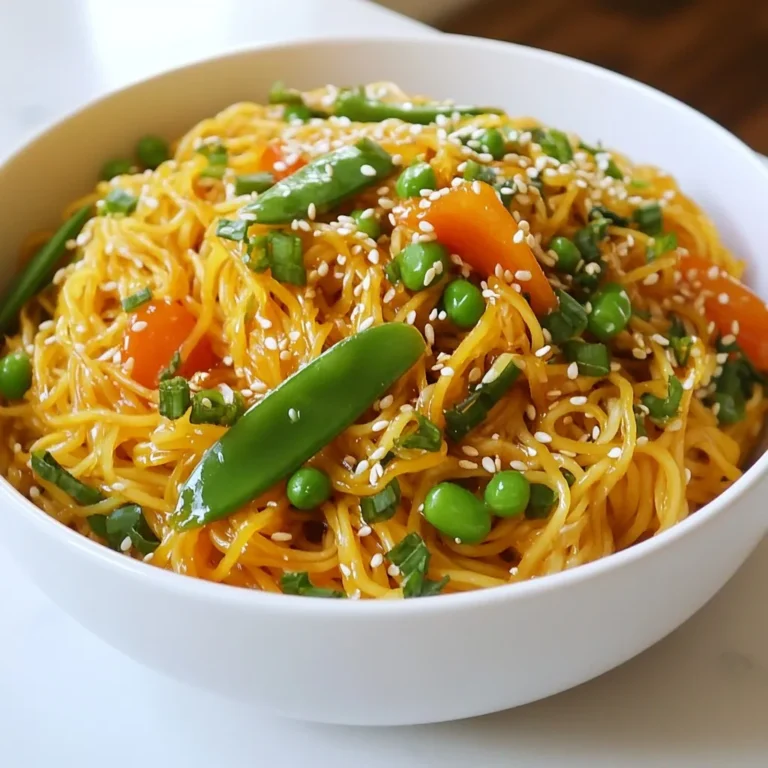
Sweet Chili Garlic Noodles Flavorful and Easy Dish
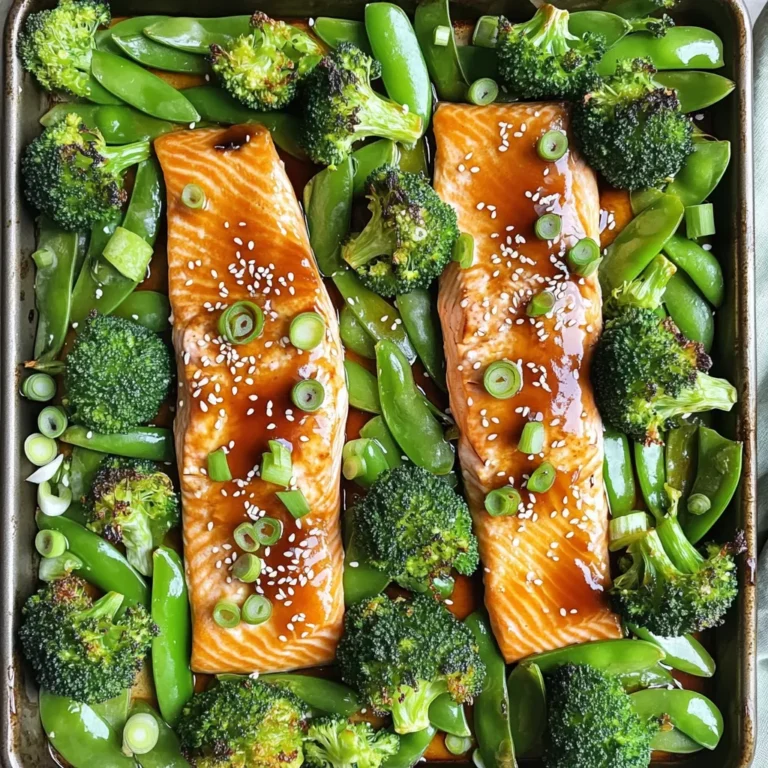
Sheet-Pan Teriyaki Salmon and Broccoli Delight
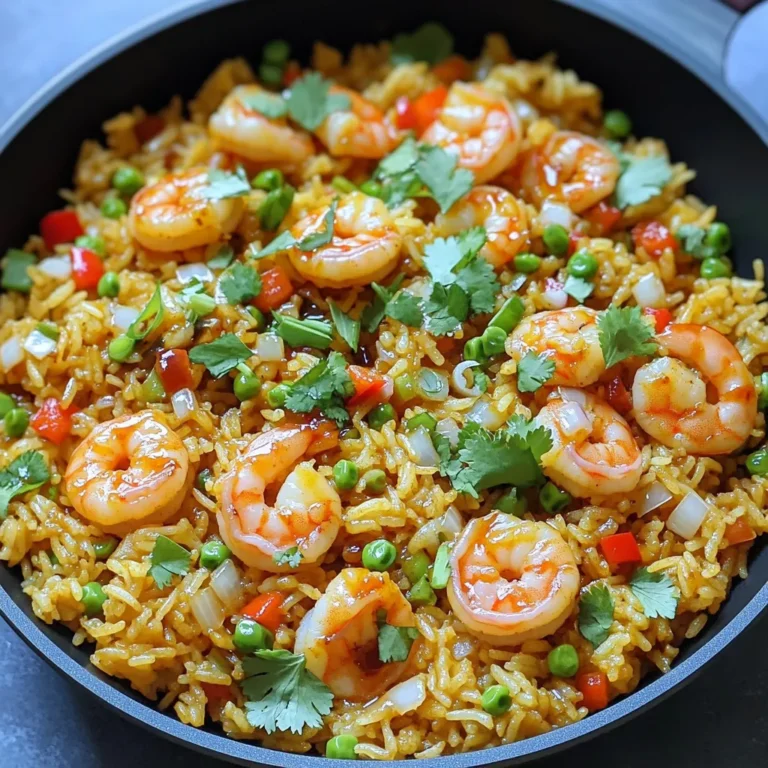
Spicy Garlic Shrimp Fried Rice in 15 Minutes Dish
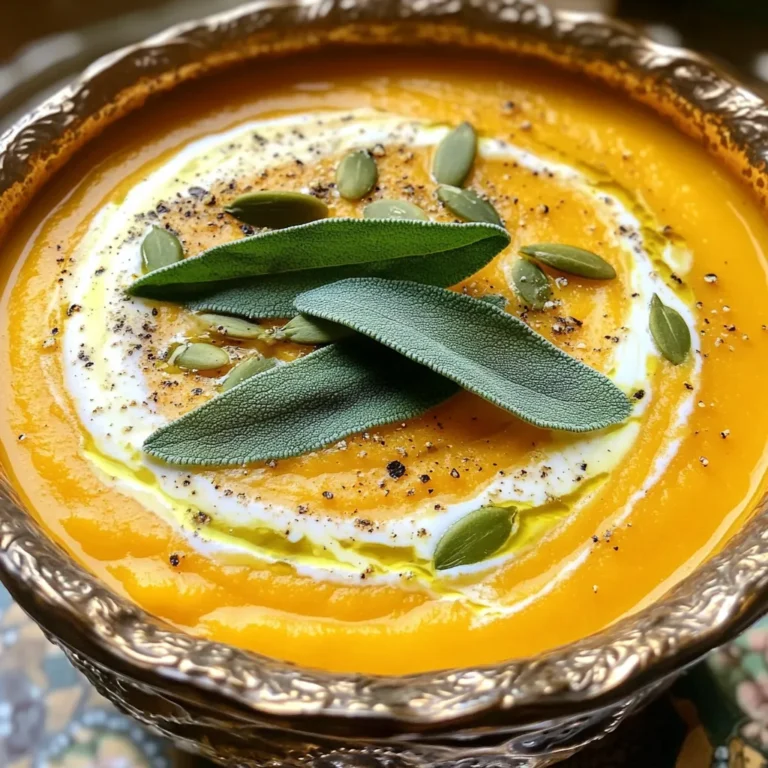
Butternut Squash Bisque with Crispy Sage Delight
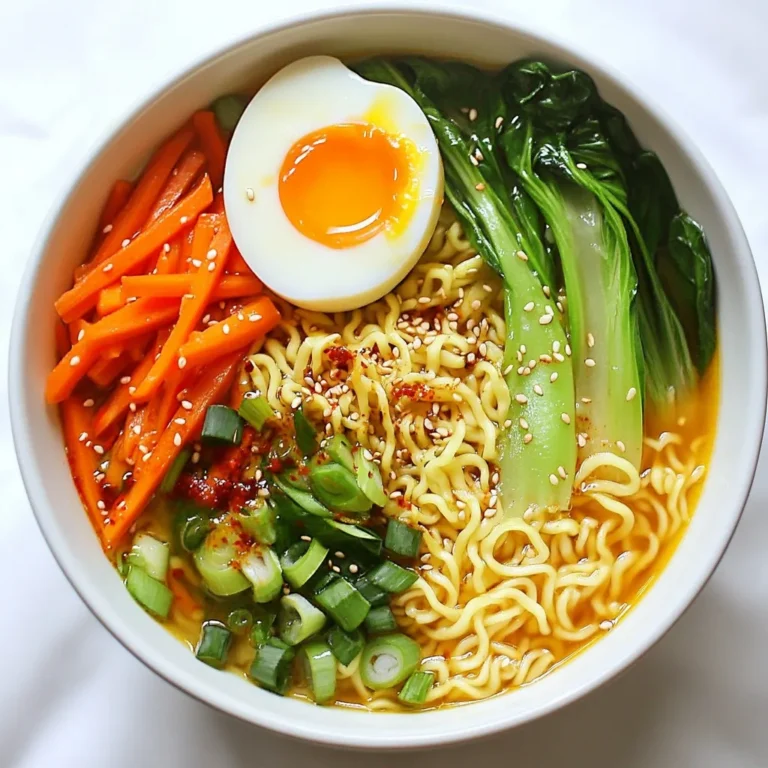
Chili Garlic Ramen Noodles Bold and Flavorful Recipe
Savory Sheet-Pan Honey Garlic Salmon Rice Bowls
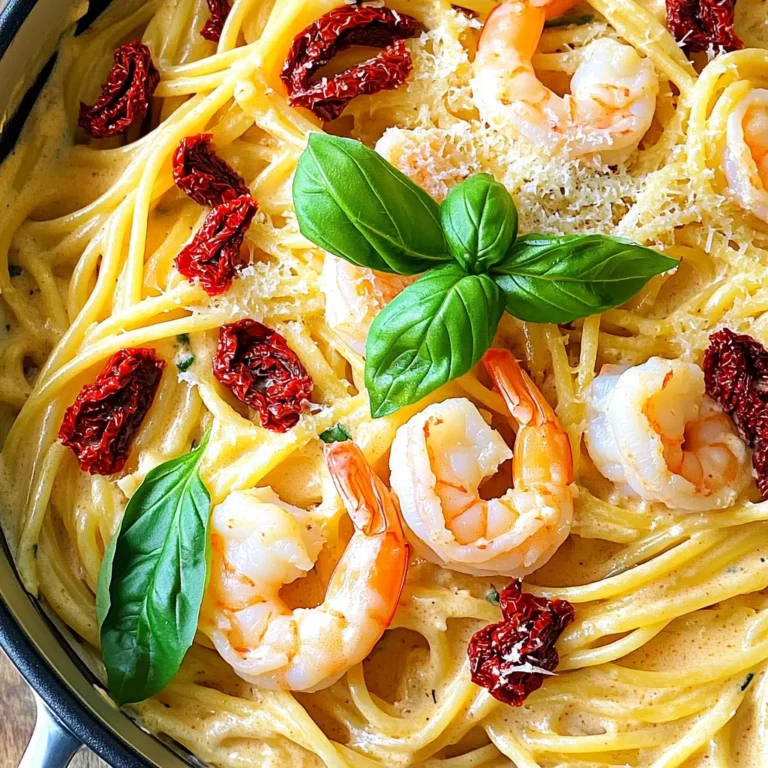
One-Pot Creamy Sun-Dried Tomato Shrimp Pasta Delight
Page navigation
Previous Page
Previous
1
…
3
4
5
6
7
…
38
Next Page
Next
Home
Dinner
Appetizer
Desserts
Drinks
About
Contact
Privacy Policy
Toggle Menu Close
Search for:
Search