Skip to content
About
Contact
Cookie Policy
Copyright Policy
Disclaimer
Search
Home
Dinner
Appetizer
Desserts
Drinks
About
Contact
Privacy Policy
Toggle Menu
Home
/
Dinner
- Page 6
Dinner
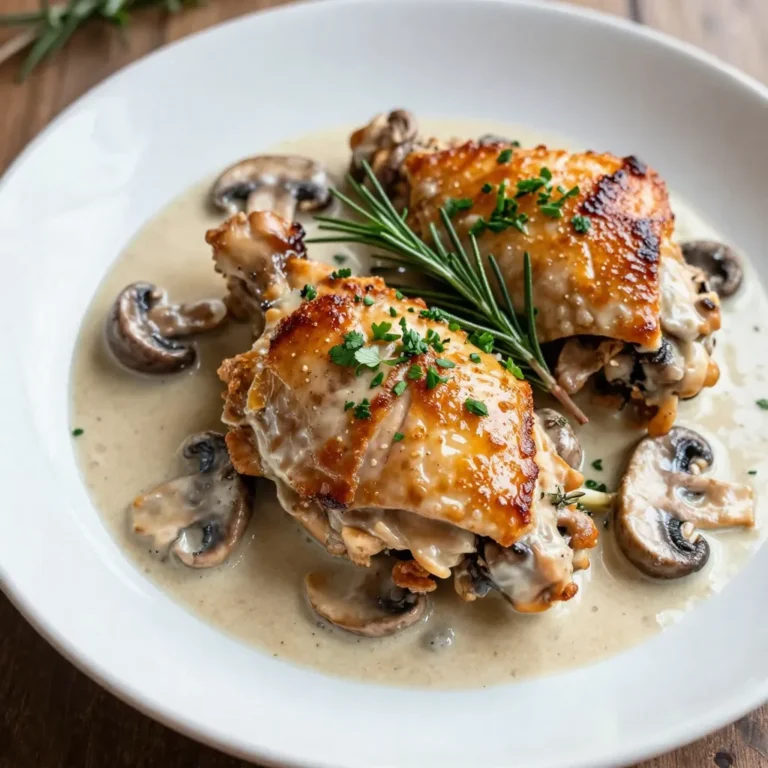
Creamy Mushroom Chicken Thighs Flavorful Dinner Delight
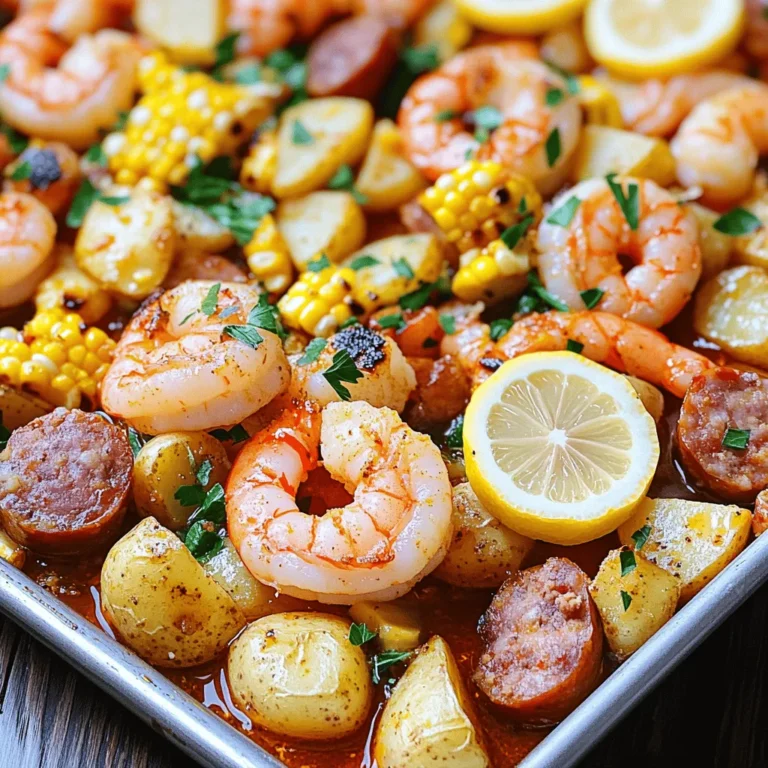
Sheet Pan Shrimp Boil Flavorful Family Feast
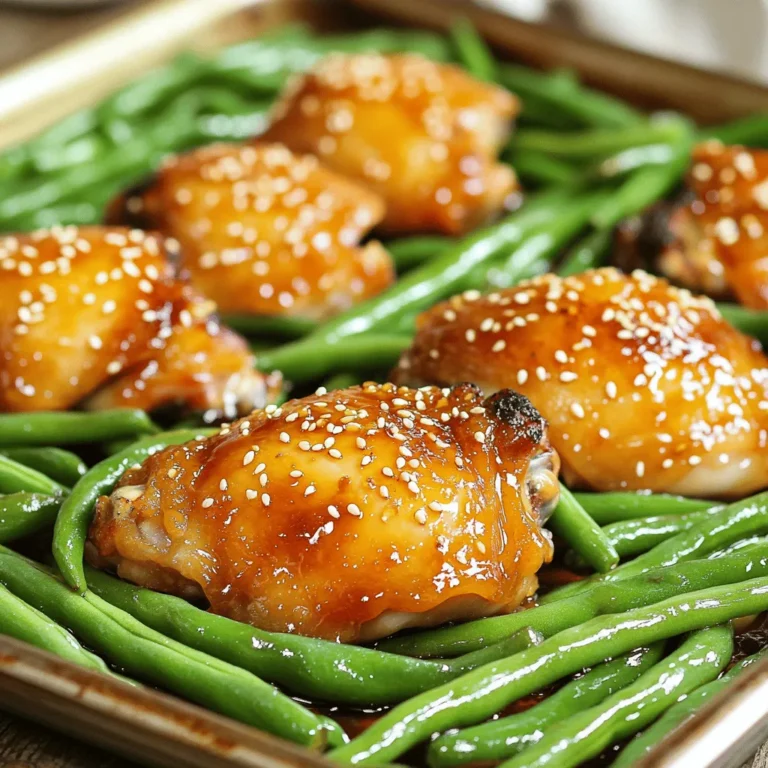
Honey Garlic Chicken and Green Beans Sheet Pan Delight
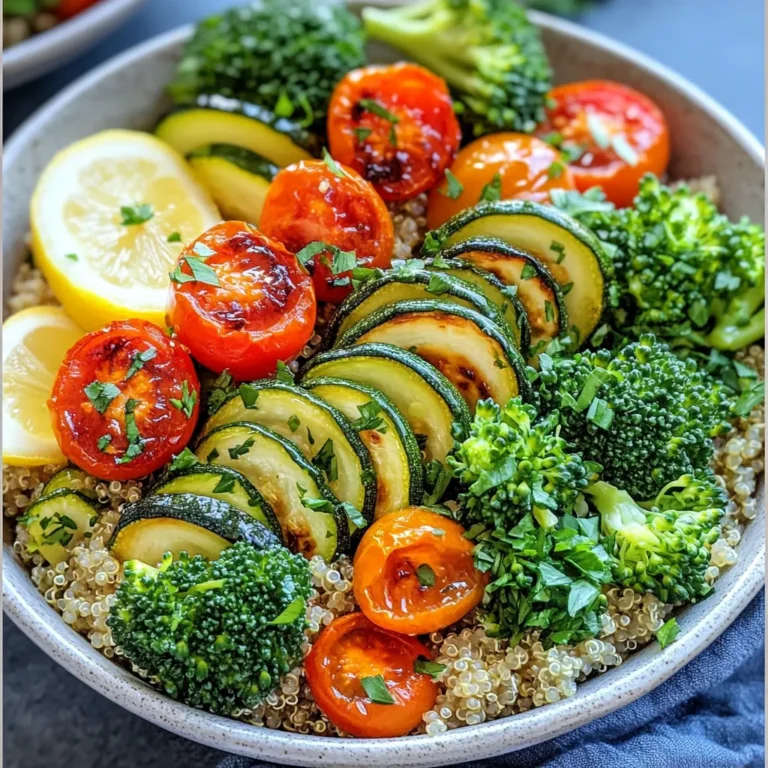
Garlic Herb Roasted Veggie Quinoa Bowls Delightful Meal
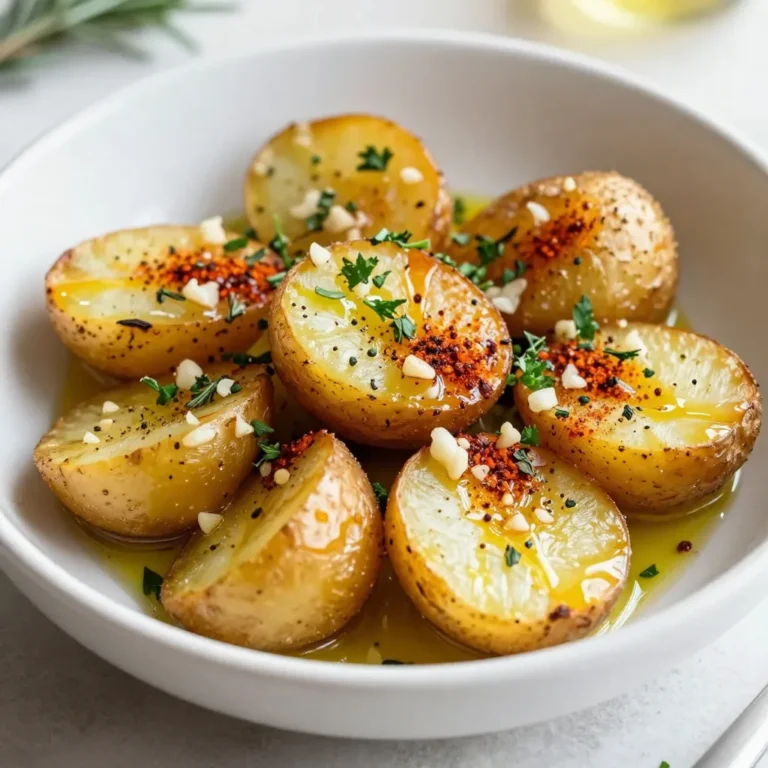
Herb Roasted Baby Potatoes Flavorful and Easy Recipe
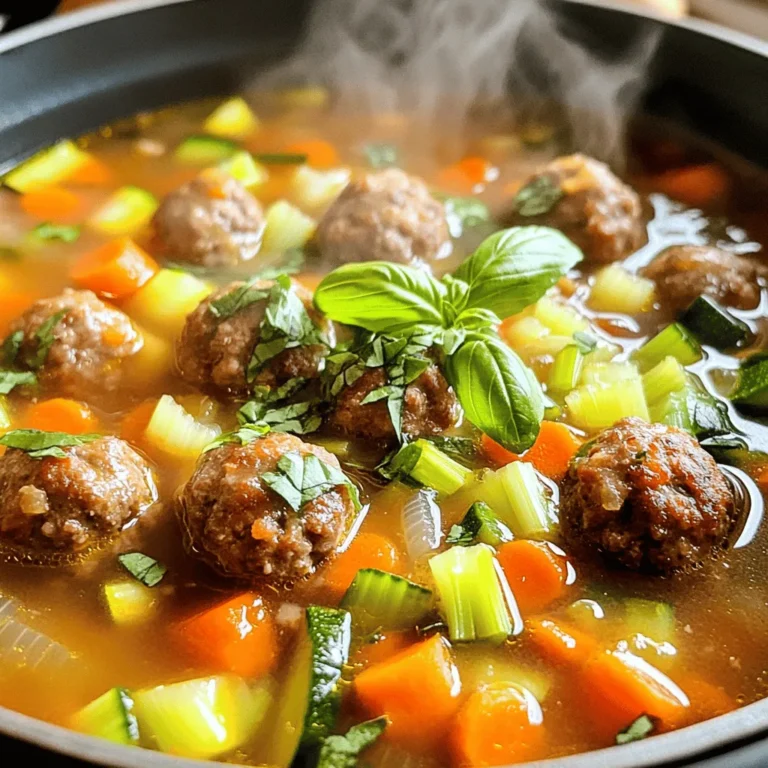
Italian Meatball Soup Flavorful and Hearty Recipe
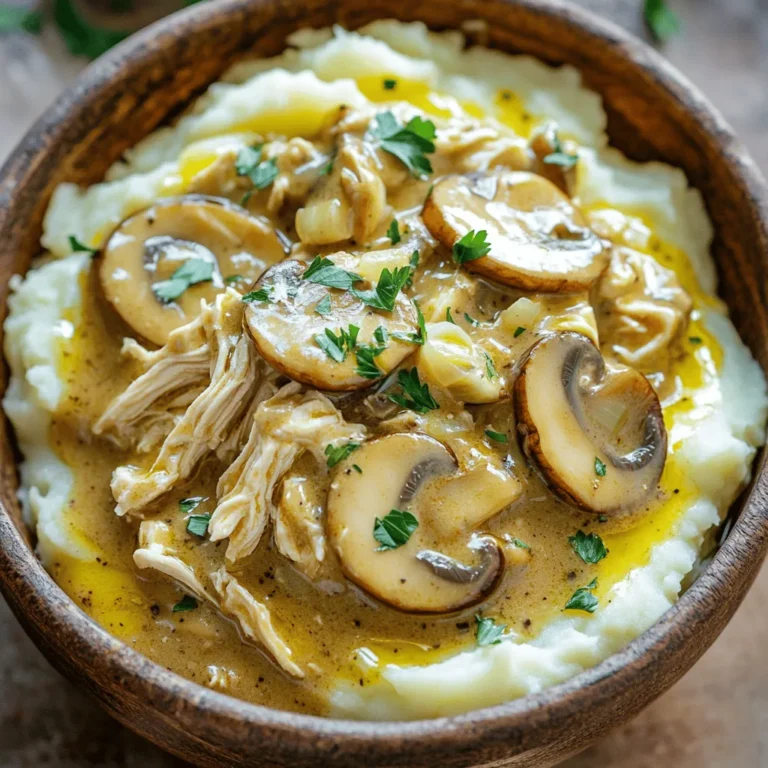
Creamy Mushroom Chicken Slow Cooker Delight
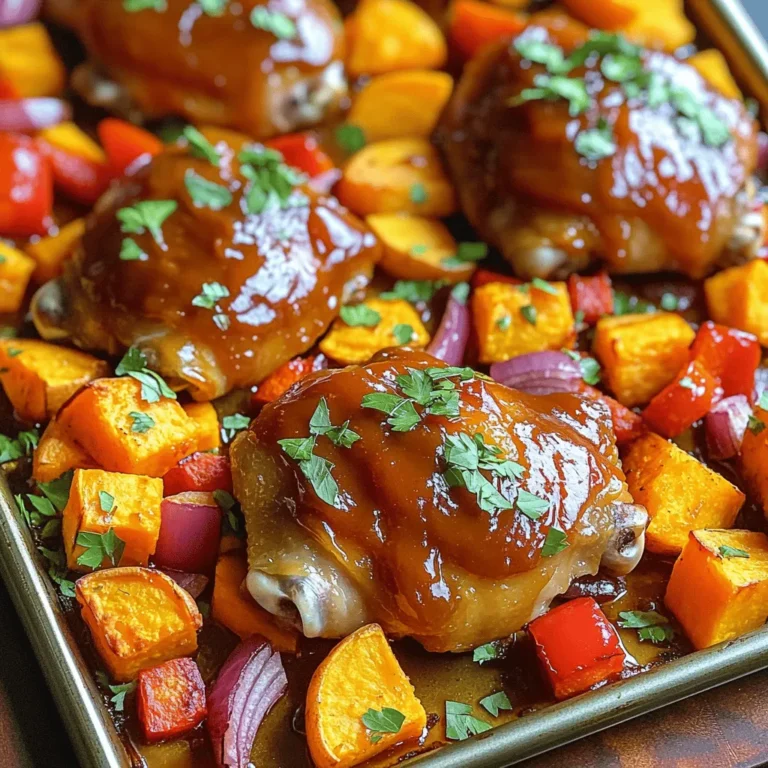
BBQ Chicken Sweet Potato Sheet Pan Delightful Meal
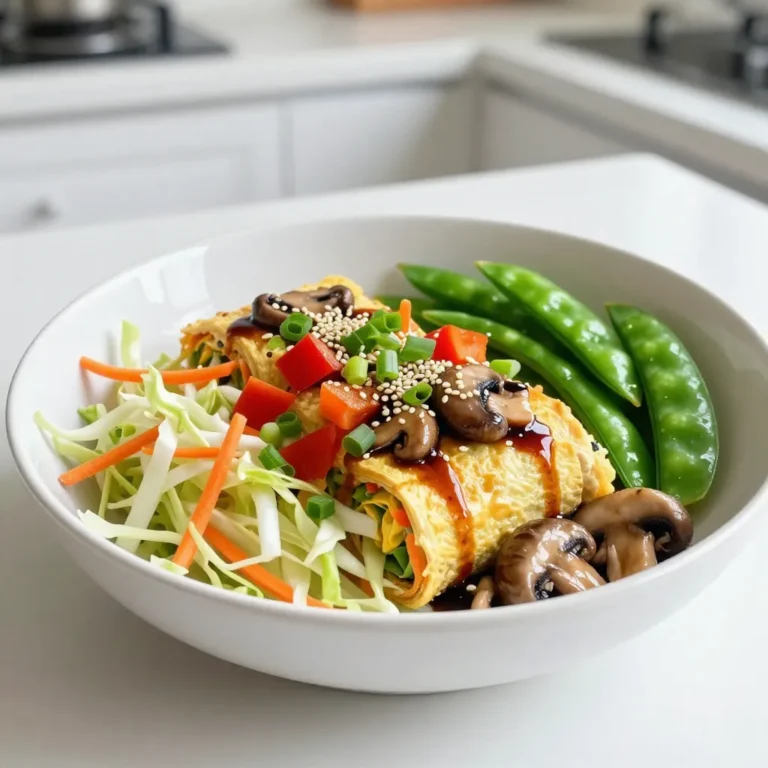
Veggie Loaded Egg Roll in a Bowl Easy and Flavorful
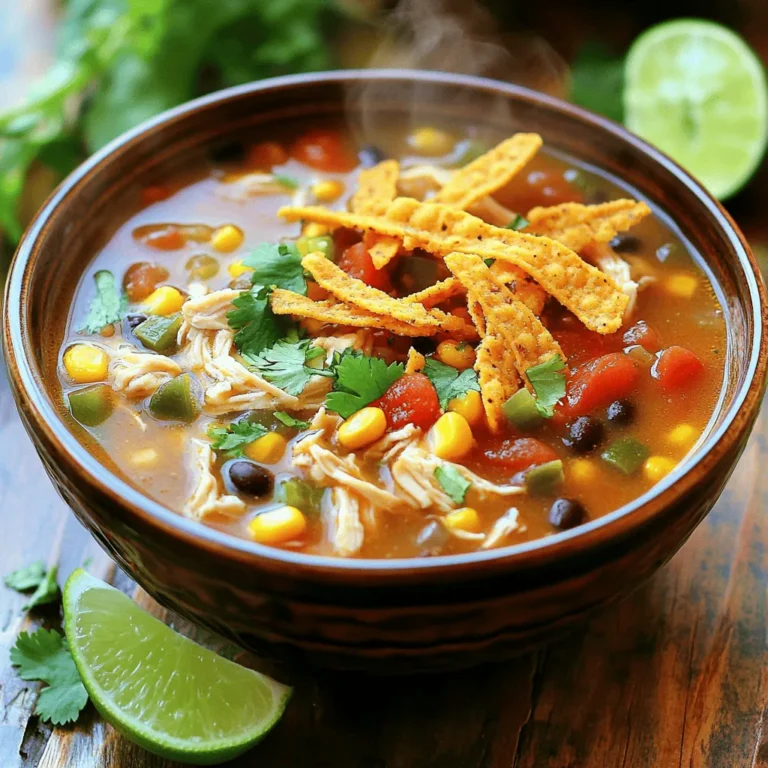
Slow Cooker Chicken Tortilla Soup Tasty Comfort Meal
Page navigation
Previous Page
Previous
1
…
4
5
6
7
8
…
38
Next Page
Next
Home
Dinner
Appetizer
Desserts
Drinks
About
Contact
Privacy Policy
Toggle Menu Close
Search for:
Search