Skip to content
About
Contact
Cookie Policy
Copyright Policy
Disclaimer
Search
Home
Dinner
Appetizer
Desserts
Drinks
About
Contact
Privacy Policy
Toggle Menu
Home
/
Drinks
Drinks
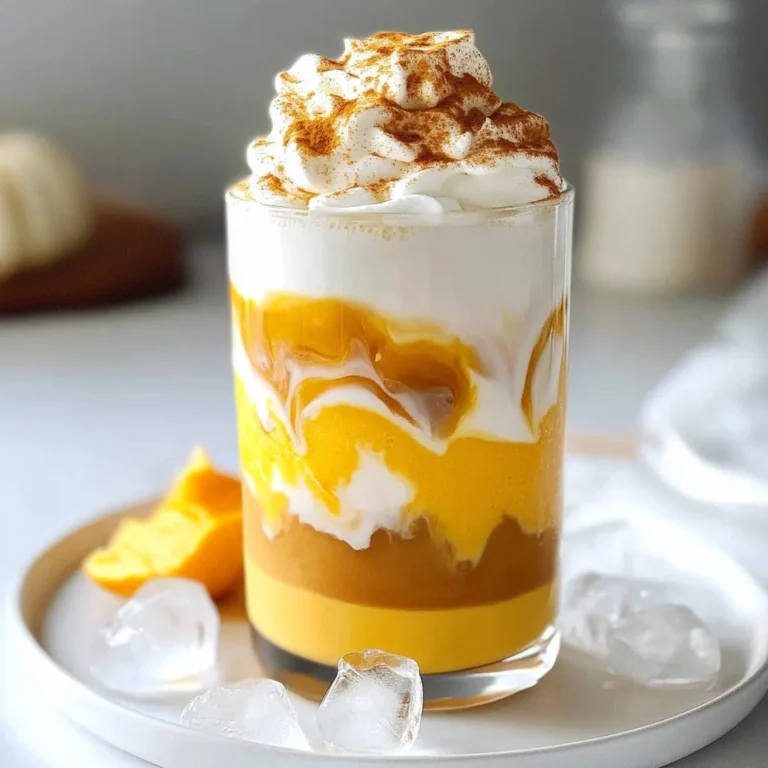
Pumpkin Cream Cold Brew Copycat Refreshing Recipe
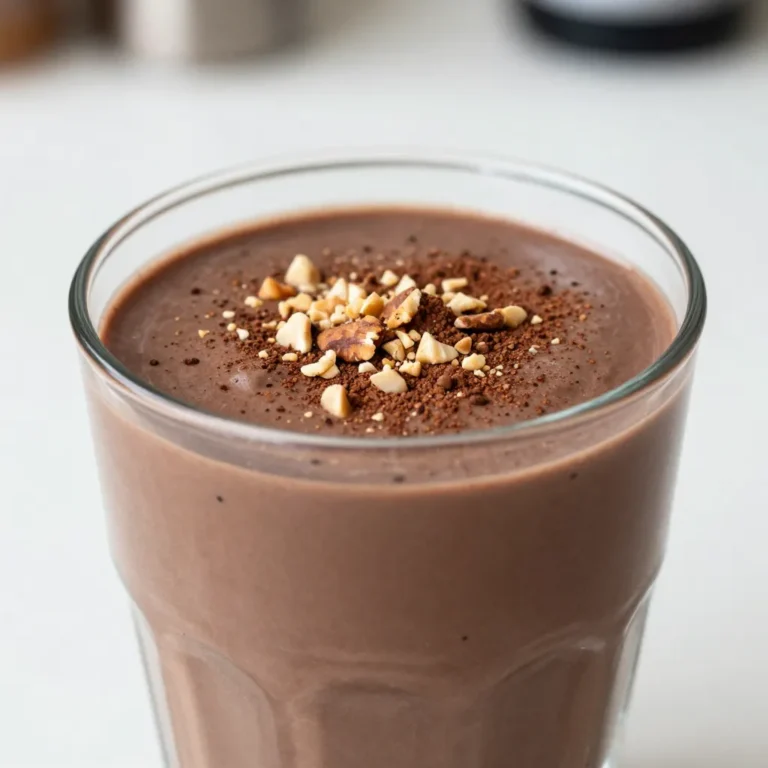
Chocolate Peanut Butter Protein Smoothie Boost
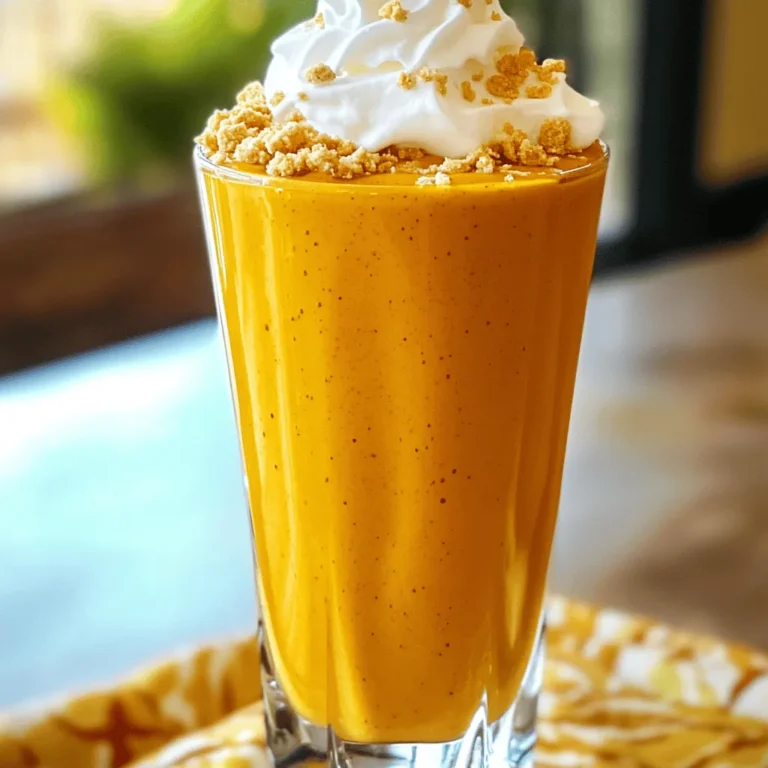
Pumpkin Cheesecake Protein Smoothie Rich and Creamy
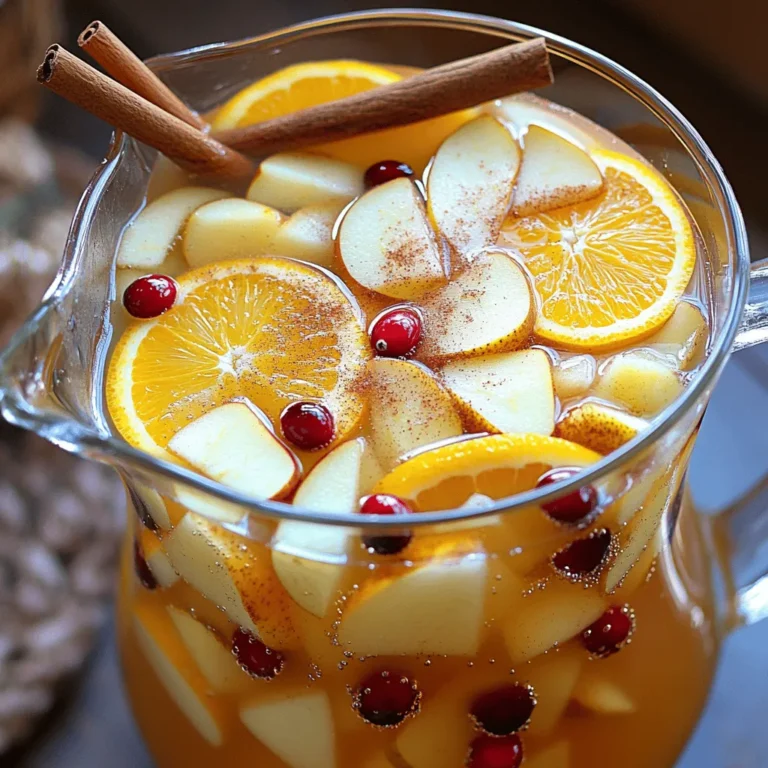
Apple Cider Sangria with Cinnamon Sticks Delight
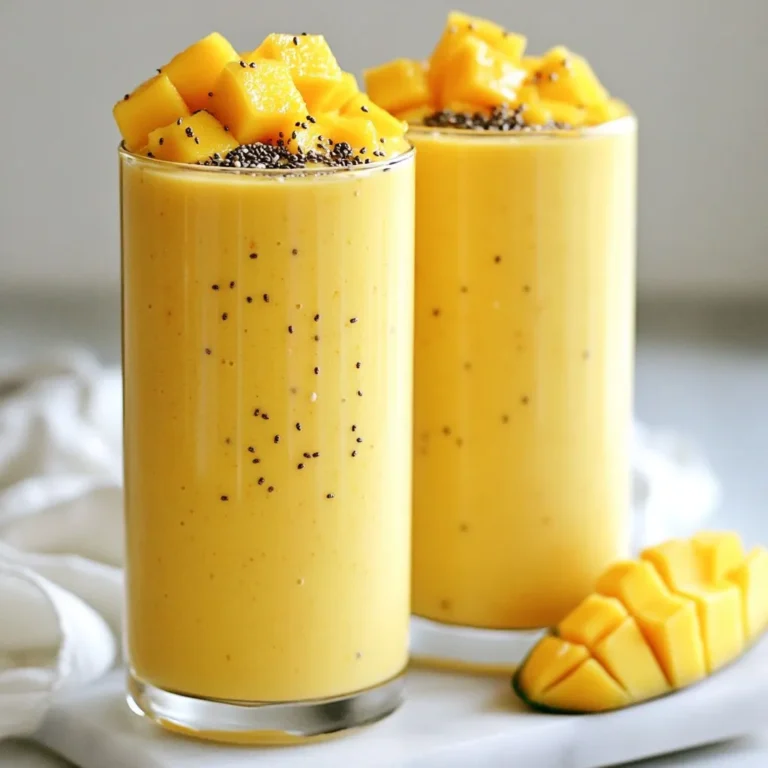
Creamy Coconut Mango Smoothie Refreshing and Easy Recipe
Pineapple Coconut Smoothie Bowl Refreshing Recipe
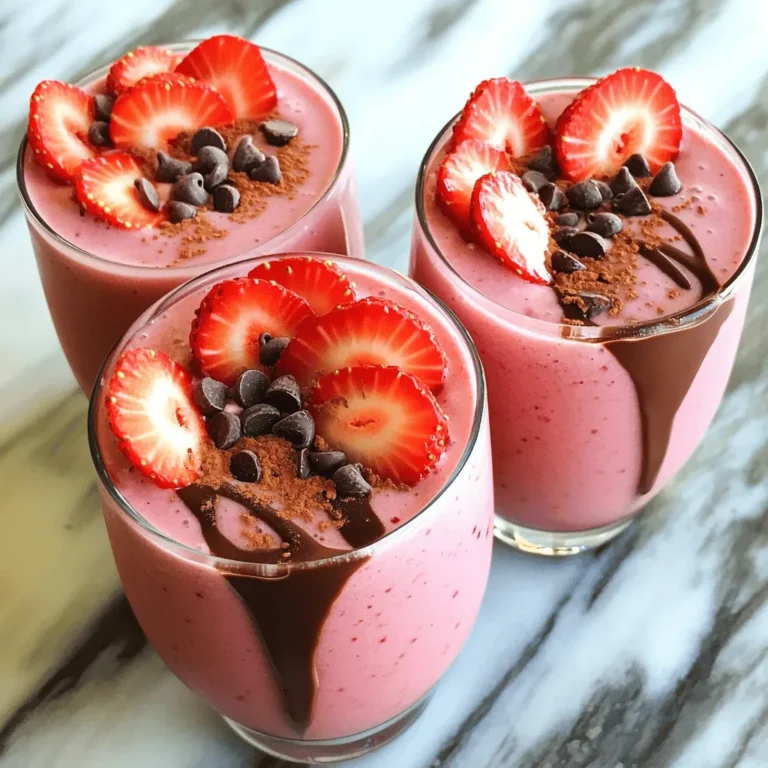
Chocolate Covered Strawberry Smoothie Delightful Blend
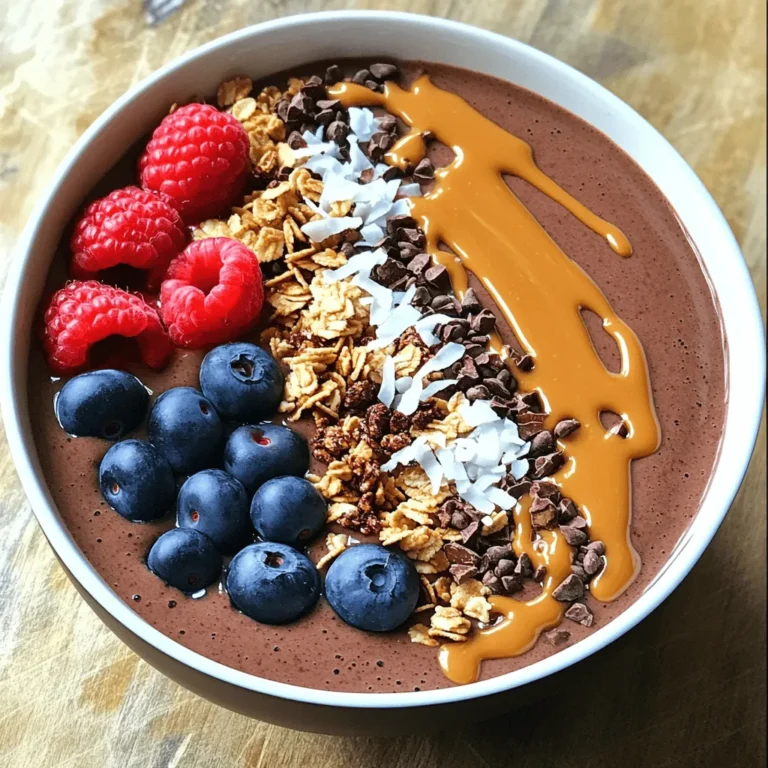
Chocolate Peanut Butter Smoothie Bowl Rich and Creamy Treat
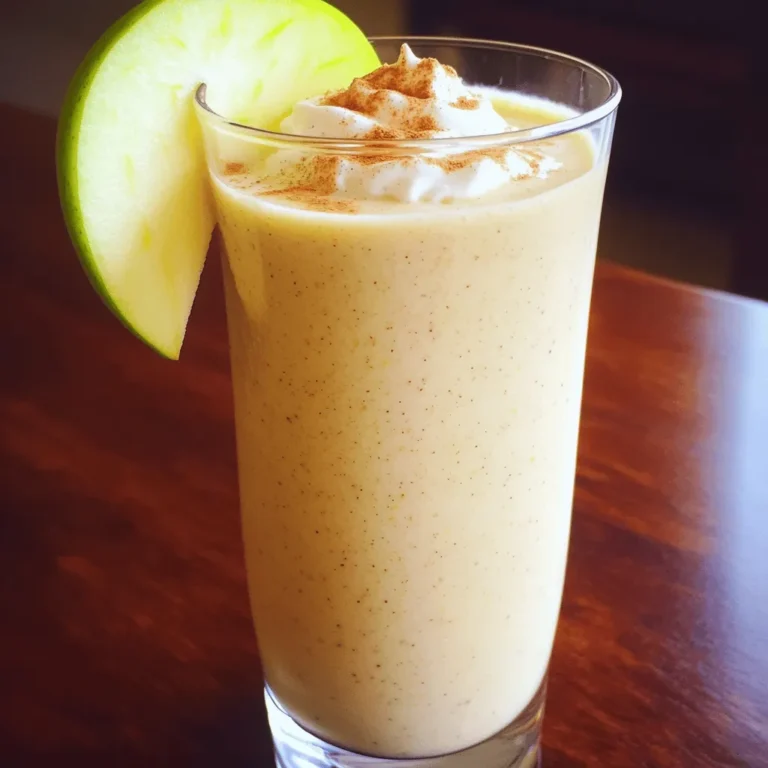
Cinnamon Apple Pie Smoothie Tasty and Healthy Blend
Apple Cinnamon Breakfast Smoothie Healthy Start Today
Page navigation
1
2
3
4
Next Page
Next
Home
Dinner
Appetizer
Desserts
Drinks
About
Contact
Privacy Policy
Toggle Menu Close
Search for:
Search