Skip to content
About
Contact
Cookie Policy
Copyright Policy
Disclaimer
Search
Home
Dinner
Appetizer
Desserts
Drinks
About
Contact
Privacy Policy
Toggle Menu
Home
/
Drinks
- Page 4
Drinks
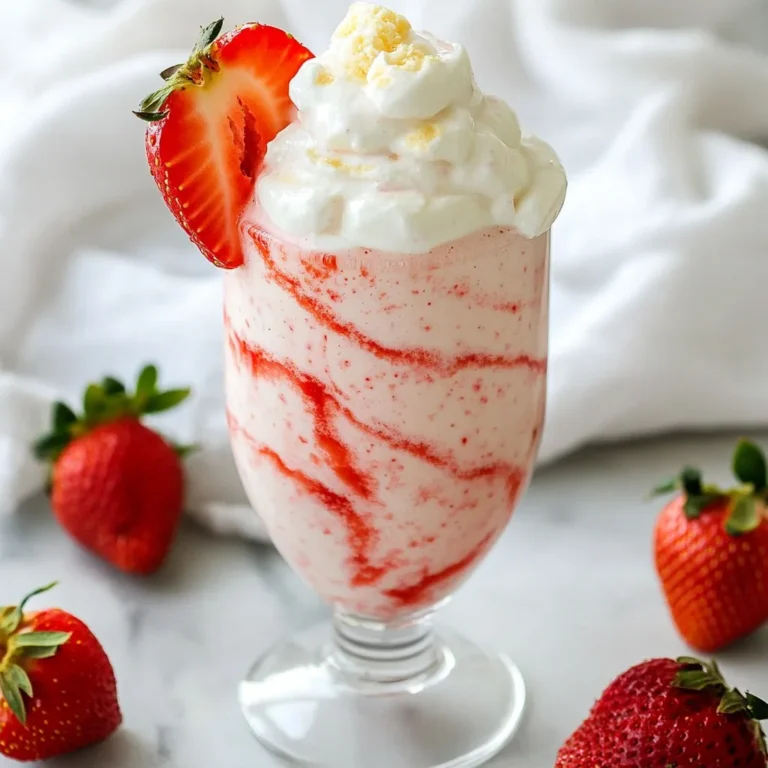
Strawberry Cheesecake Smoothie Rich and Creamy Delight
Strawberry Cheesecake Smoothie Rich and Creamy Delight
Strawberry Cheesecake Smoothie Rich and Creamy Delight
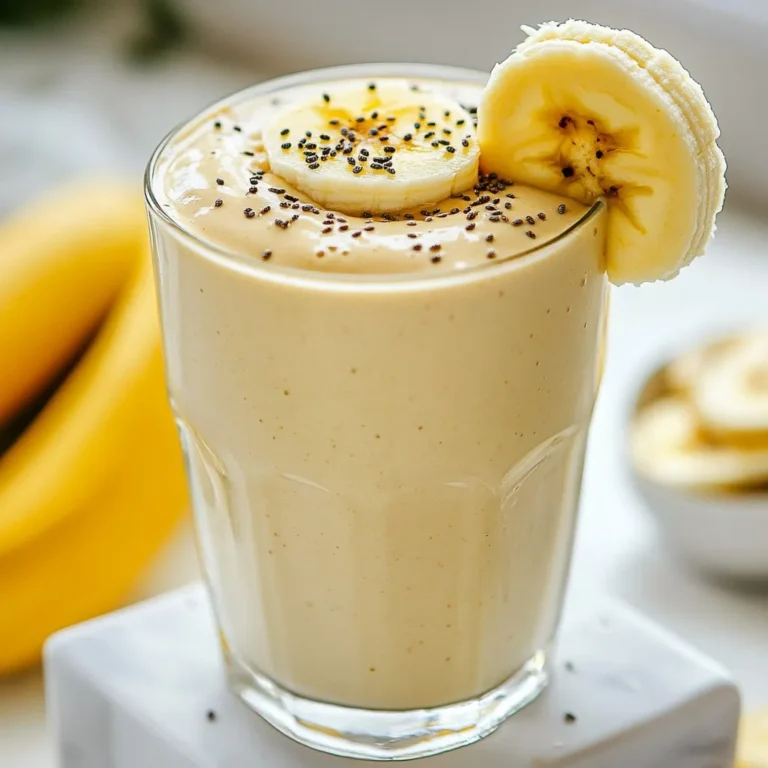
Peanut Butter Banana Smoothie Nutritious Energy Boost
Salted Caramel Hot Chocolate Rich and Creamy Delight
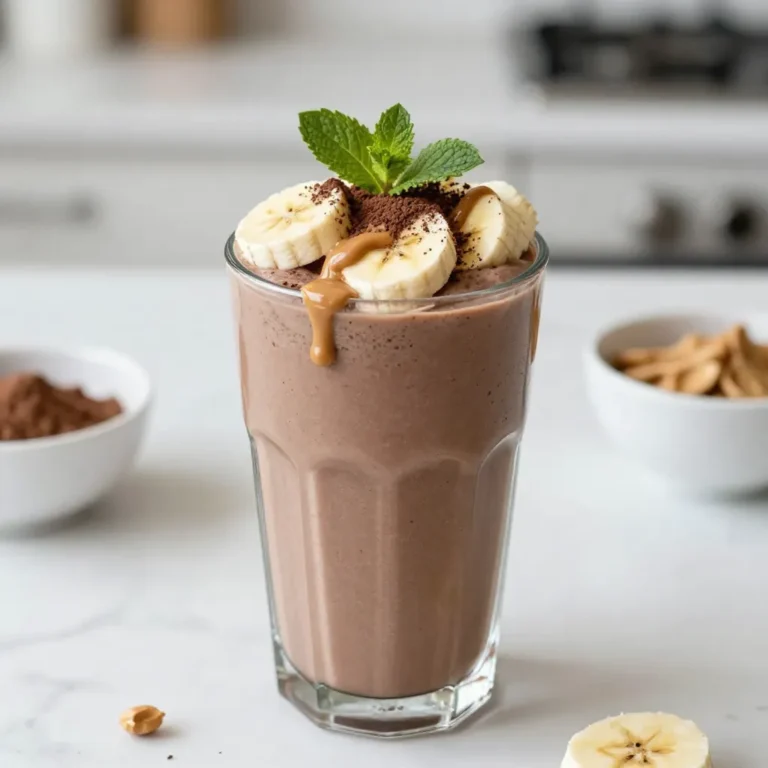
Chocolate Peanut Butter Banana Smoothie Nourishing Treat
Chocolate Peanut Butter Protein Shake Delicious Boost
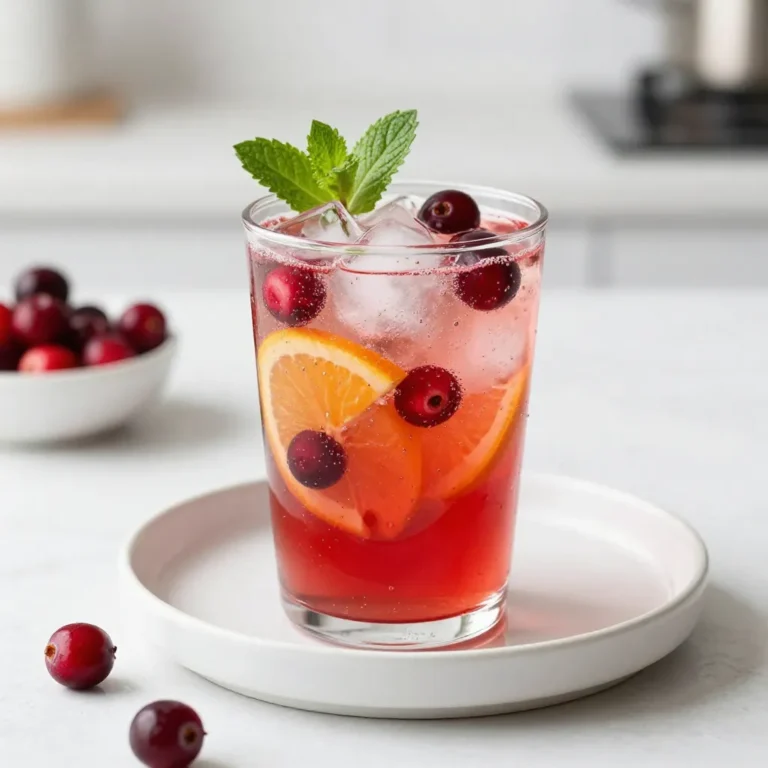
Sparkling Cranberry Punch Refreshing Holiday Delight
Strawberry Cheesecake Smoothie Rich and Creamy Delight
Page navigation
Previous Page
Previous
1
2
3
4
Home
Dinner
Appetizer
Desserts
Drinks
About
Contact
Privacy Policy
Toggle Menu Close
Search for:
Search