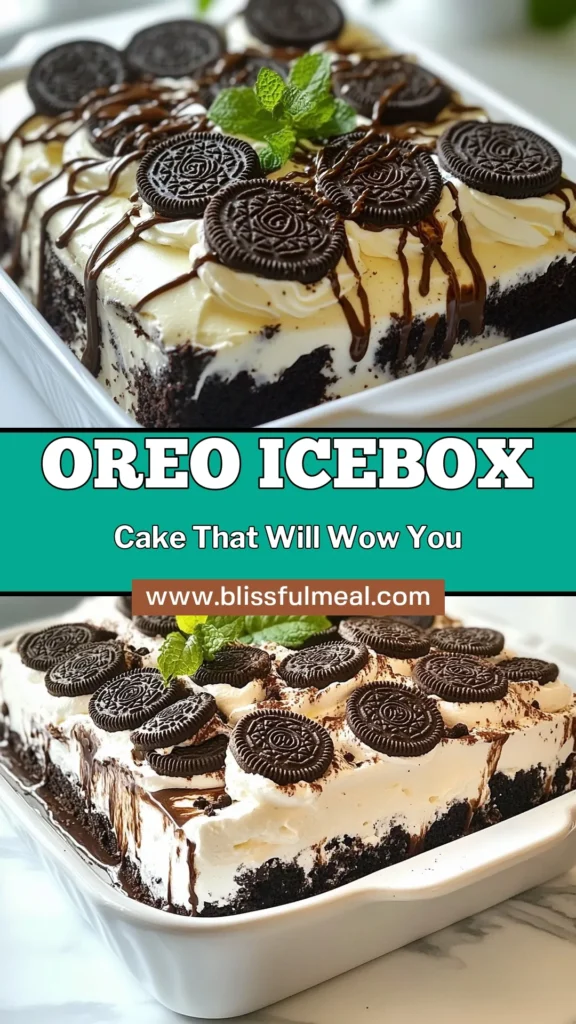
Chocolate Oreo Icebox Cake Delightful No-Bake Treat
Craving a sweet and easy dessert? This Chocolate Oreo Icebox Cake is the perfect no-bake treat! With just a handful of ingredients, you can create a delicious dessert that’s sure to impress. Whether you’re hosting a party or just treating yourself, this cake is simple to make and full of flavor. Let’s dive into the ingredients and make this delightful dessert together!
Why I Love This Recipe
- Layered Indulgence: This cake is a perfect blend of chocolate and cream, making each bite a delightful experience.
- Easy to Make: This no-bake recipe is simple and quick, perfect for any occasion without the hassle of baking.
- Customizable: You can easily adapt this recipe with different flavors or add-ins, making it versatile for everyone’s taste.
- Showstopper Presentation: With its stunning layers and garnishes, this cake is sure to impress your guests and make any gathering special.
Ingredients
Required Ingredients
– 2 packs of Oreo cookies (regular or double stuffed)
– 2 cups heavy whipping cream
– 1 cup powdered sugar
– 1 teaspoon vanilla extract
– 1 cup chocolate syrup
– 1 cup crushed Oreos (for garnish)
– Fresh mint leaves (for decoration, optional)
Quality matters! For Oreos, I suggest using double stuffed for a richer flavor. When choosing heavy cream, look for brands with a high fat content. This helps create a rich and fluffy whipped cream.
Optional Ingredients
You can make this cake fit your needs. Use gluten-free Oreos if needed. If you prefer a dairy-free version, try coconut whipped cream. For added flair, top with fresh berries or drizzle caramel sauce over the cake. You could also add crushed nuts for a nice crunch.
Feel free to get creative! Each variation can give your Chocolate Oreo Icebox Cake a new twist.

Step-by-Step Instructions
Preparing the Whipped Cream
To start, you need to make the whipped cream. In a large mixing bowl, combine 2 cups of heavy whipping cream, 1 cup of powdered sugar, and 1 teaspoon of vanilla extract. Using an electric mixer, beat the mixture on high speed for about 3 to 5 minutes.
You want to whip it until stiff peaks form. This means the cream holds its shape well when you lift the whisk. If you see it start to look fluffy and thick, you’re almost there! Use a large bowl and a whisk attachment for the best results. This helps mix the cream evenly and quickly.
Layering the Cake
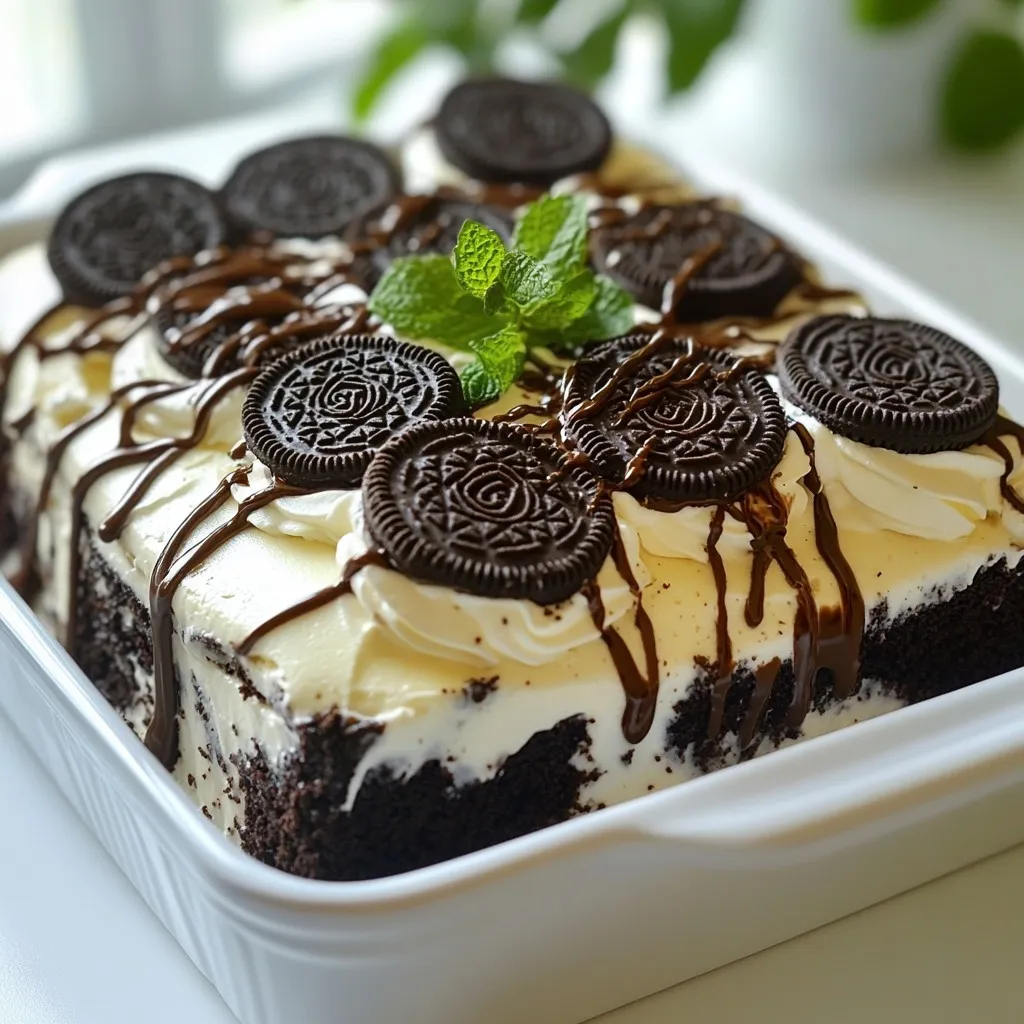
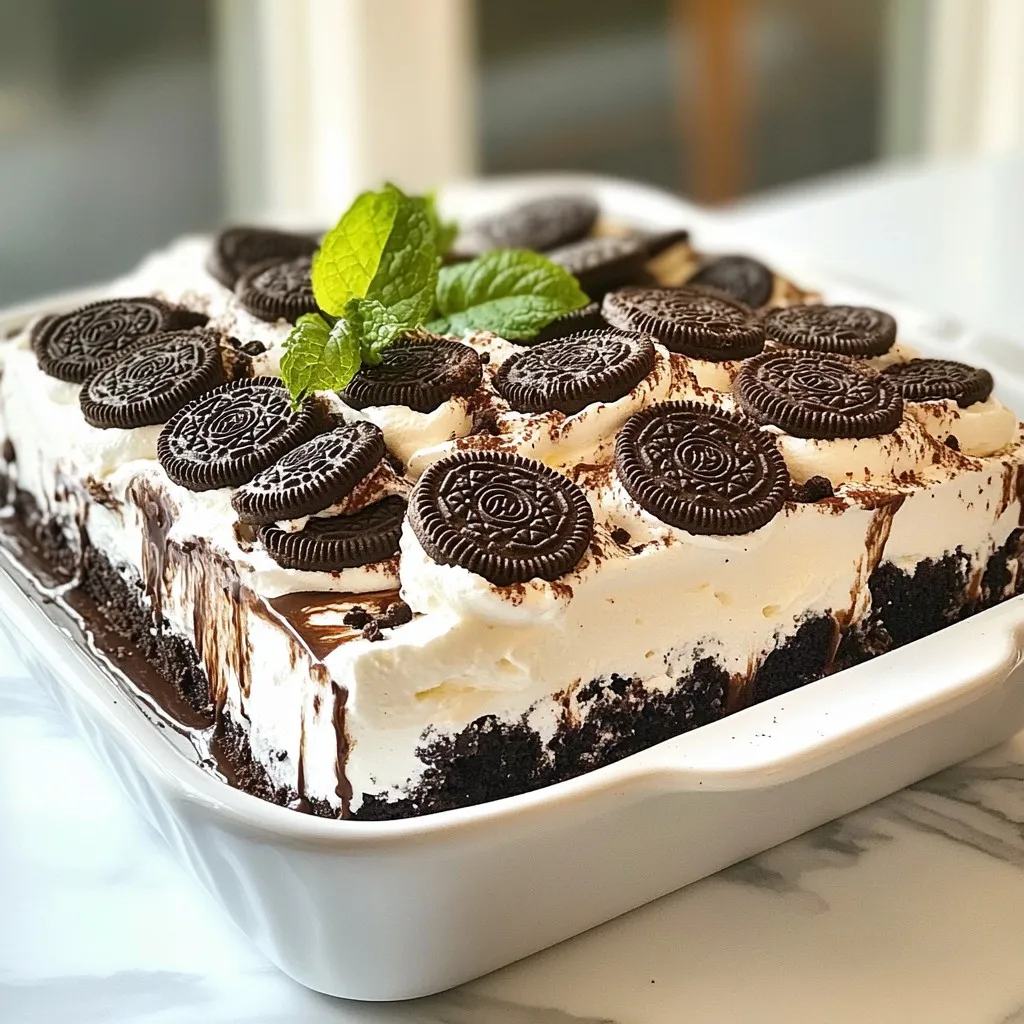
Now, let’s layer the cake! Grab an 8×8 inch baking dish. You will need to dip each Oreo cookie into 1 cup of chocolate syrup. Just give each cookie a quick dunk on both sides. You don’t want them soaked, just lightly coated.
Begin by placing the dipped Oreos in a single layer at the bottom of your dish. Make sure to cover the bottom completely. After that, carefully spread an even layer of the whipped cream mixture over the Oreos. Use a spatula to smooth it out.
Next, repeat the layering process. Add another layer of dipped Oreos followed by more whipped cream. Keep layering until you run out of either Oreos or whipped cream. The last layer should always be whipped cream for a nice finish.
Chilling and Serving
Chilling is key for this cake! Once you’re done layering, cover the dish tightly with plastic wrap. Place it in the refrigerator for at least 4 hours. For best taste, chill it overnight. This step allows the cookies to soften and the flavors to mix.
When you’re ready to serve, sprinkle the top with crushed Oreos. You can also add fresh mint leaves for a pop of color and freshness. Cut the cake into squares and serve it chilled. A drizzle of extra chocolate syrup can make it look even better!
Tips & Tricks
Troubleshooting Common Issues
If you over-whip the cream, it can turn grainy. To fix this, gently fold in a little more heavy cream to smooth it out. Watch your mixing speed to avoid this problem.
To avoid soggy cookies, don’t soak the Oreos in chocolate syrup. Just a quick dip is enough. This keeps them crisp and adds a nice flavor.
Best Practices for Layering
For even layers, use a spatula to spread the whipped cream smoothly. Make sure each layer of cookies is flat and aligned. This makes your cake look neat and tasty.
To achieve a polished finish, smooth the top layer of whipped cream carefully. A clean spatula helps here. For a final touch, sprinkle crushed Oreos evenly on top.
Timing and Preparation
Prep your ingredients in advance to save time. You can measure the cream and sugar before starting. This makes the workflow smooth and quick.
To save more time, chill the cake overnight. This allows the flavors to blend well. Plus, it makes cutting the cake easier when it’s firm.
Pro Tips
- Tip for Whipped Cream: Make sure to use chilled heavy cream for better whipping results. Cold cream whips up faster and achieves a better texture.
- Tip for Layering: For a more decadent flavor, consider adding a layer of chocolate ganache between the Oreo and whipped cream layers.
- Tip for Dipping Oreos: Don’t soak the Oreos in chocolate syrup; a quick dip on both sides is enough to add flavor without making them soggy.
- Tip for Presentation: Before serving, lightly dust the top with cocoa powder for an elegant finish, in addition to the crushed Oreos.
Variations
Flavor Variations
You can switch up the Oreo flavor to create fun twists. Try using mint Oreos for a refreshing touch. Birthday cake Oreos add a festive feel, while peanut butter Oreos give a nutty kick. To enhance flavors, consider adding a splash of liqueur like Kahlua or Irish cream. You can also mix in a drop of almond extract or orange zest for an extra layer of taste.
Dietary Modifications
If you want a vegan option, use coconut cream instead of heavy cream. You can find dairy-free Oreos, which work great in this recipe. For gluten-free needs, look for gluten-free Oreo brands. Just make sure to check the labels carefully to ensure they fit your diet.
Creative Toppings
While crushed Oreos are classic, you can get creative here. Try adding chocolate shavings, sprinkles, or fresh fruit like strawberries or raspberries. In summer, berries shine bright, while in fall, a sprinkle of cinnamon or nutmeg brings warmth. These simple changes can make your cake feel new and exciting.
Storage Info
Best Practices for Storing
To keep your Chocolate Oreo Icebox Cake fresh, store it in the fridge. Place any leftovers in an airtight container. If you do not have one, wrap the dish tightly with plastic wrap. This keeps the cake moist and flavorful. Make sure to seal it well to prevent any air from getting in. In the fridge, this cake will stay fresh for about four to five days.
Freezing Techniques
You can freeze this cake if you have leftovers. To freeze, first cut the cake into individual squares. This makes it easier to thaw later. Wrap each piece tightly with plastic wrap. Then, place the wrapped pieces in a freezer-safe bag. This will help keep the cake fresh for about one to two months.
When you are ready to enjoy it again, take it out of the freezer. Allow it to thaw in the fridge for several hours. This helps keep the texture and flavor intact. Freezing may make the whipped cream a bit softer, but the chocolate and Oreo flavors will still shine. Enjoy your delicious treat anytime!
FAQs
How long does the Chocolate Oreo Icebox Cake last in the fridge?
The Chocolate Oreo Icebox Cake lasts about 3 to 4 days in the fridge. Keep it covered to avoid drying out. Check for signs of spoilage, like an off smell or changes in texture. If it looks or smells strange, it’s best to throw it away.
Can I make this cake ahead of time?
Yes, you can make this cake ahead of time. I recommend preparing it a day in advance. This allows the flavors to blend well and the cookies to soften. The cake tastes even better when chilled overnight.
What can I use instead of heavy whipping cream?
If you need an alternative to heavy whipping cream, try coconut cream or whipped coconut milk. Both options are dairy-free and great for vegan diets. You can also use a store-bought non-dairy whipped topping. Just make sure it fits your dietary needs.
This blog post guides you through making a delicious Chocolate Oreo Icebox Cake. We covered the key ingredients, explained step-by-step whipping and layering, and shared useful tips and tricks. With variations for dietary needs, you’ll find options that work for everyone. Remember to chill your cake well for the best flavor. Enjoy your baking adventure! You now have all the tools to impress with this simple, tasty dessert. Go make your chocolate dream a realit

Decadent Chocolate Oreo Icebox Cake
Ingredients
- 2 packs Oreo cookies (regular or double stuffed)
- 2 cups heavy whipping cream
- 1 cup powdered sugar
- 1 teaspoon vanilla extract
- 1 cup chocolate syrup
- 1 cup crushed Oreos (for garnish)
- optional Fresh mint leaves (for decoration)
Instructions
- Begin by preparing your whipped cream. In a large mixing bowl, combine the heavy whipping cream, powdered sugar, and vanilla extract.
- With an electric mixer, beat the cream mixture on high speed for about 3-5 minutes, until stiff peaks form.
- Take an 8x8 inch baking dish and start layering the cake. Briefly dip each Oreo cookie into the chocolate syrup, ensuring they are coated but not soaked.
- Arrange the dipped Oreos in a single layer at the bottom of your baking dish, covering the bottom completely.
- Carefully spread an even layer of the whipped cream mixture over the Oreos, smoothing it out with a spatula.
- Repeat the layering process: add another layer of dipped Oreos followed by another layer of whipped cream.
- Once layered, cover the dish tightly with plastic wrap and place it in the refrigerator. Chill for a minimum of 4 hours, but overnight is ideal.
- Just before serving, sprinkle the top generously with crushed Oreos and add fresh mint leaves if desired.