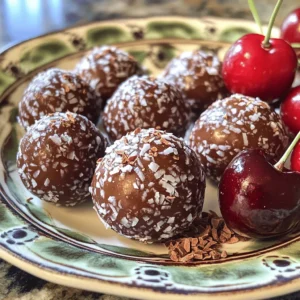
Cherry Chocolate Bliss Balls
Discover the irresistible Cherry Chocolate Bliss Balls that are perfect for a healthy snack or dessert! Made with fresh cherries, wholesome oats, and rich cocoa, these no-bake treats are packed with flavor and nutrition. In just a few simple steps, you can create these delightful bite-sized balls that everyone will love. Click through to explore the detailed recipe and indulge in a sweet, guilt-free treat!