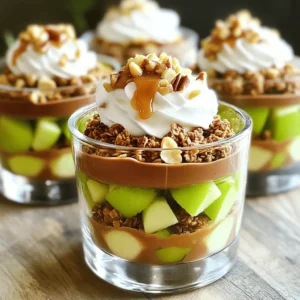
No-Bake Chocolate Caramel Apple Pie Cups
Indulge in these delicious No-Bake Chocolate Caramel Apple Pie Cups that are perfect for any occasion! Made with fresh Granny Smith apples, creamy chocolate pudding, and rich caramel sauce, these layered treats are easy to prepare and a crowd-pleaser. In just 15 minutes of prep time, you can create a delightful dessert that will impress everyone. Click through to explore the full recipe and enjoy this sweet treat today!